| aliases | created | modified |
|---|---|---|
2020-03-28 07:52:59 UTC |
2021-02-28 14:39:04 UTC |
This tutorial assumes that you are hosting your cloud notebook on a GitHub repository. In theory, it works similarly for all git repository platforms such as GitLab, Gitea, or your self-hosted ones etc.
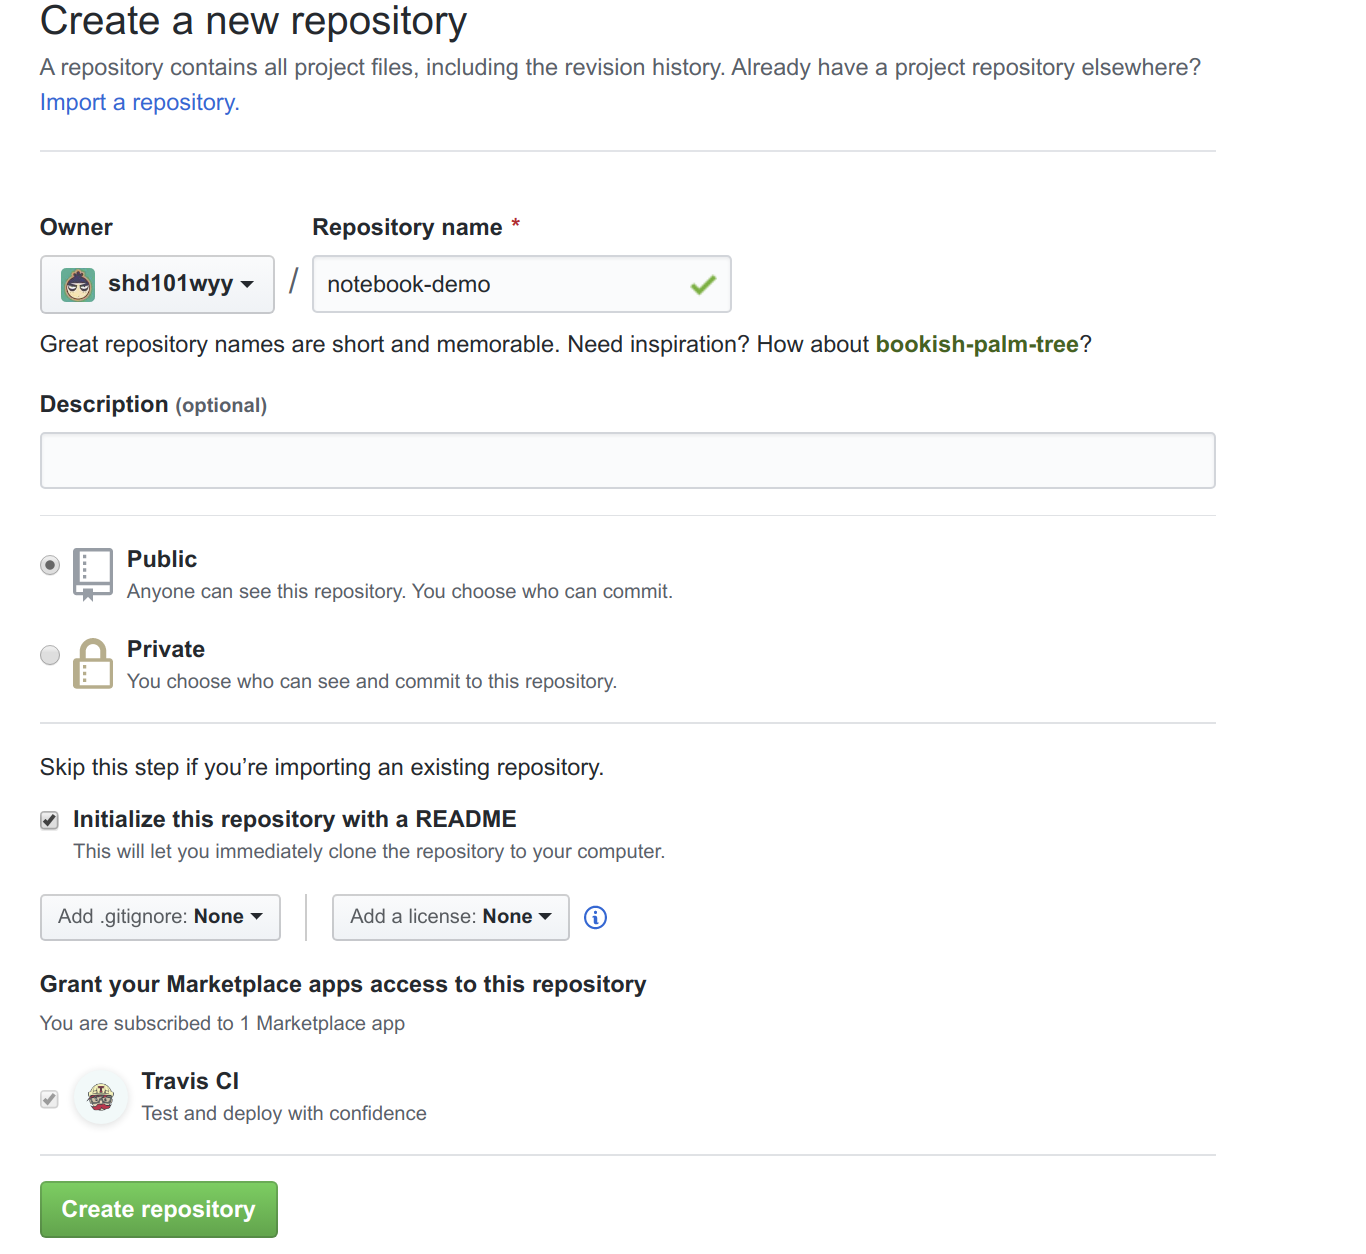
- Create a not empty git repository
If you already had an git repository, you could skip to the next step now. Otherwise, you can follow the offical GitHub tutorial to create a git repository.
For example, below I created a git repository with name notebook-demo,
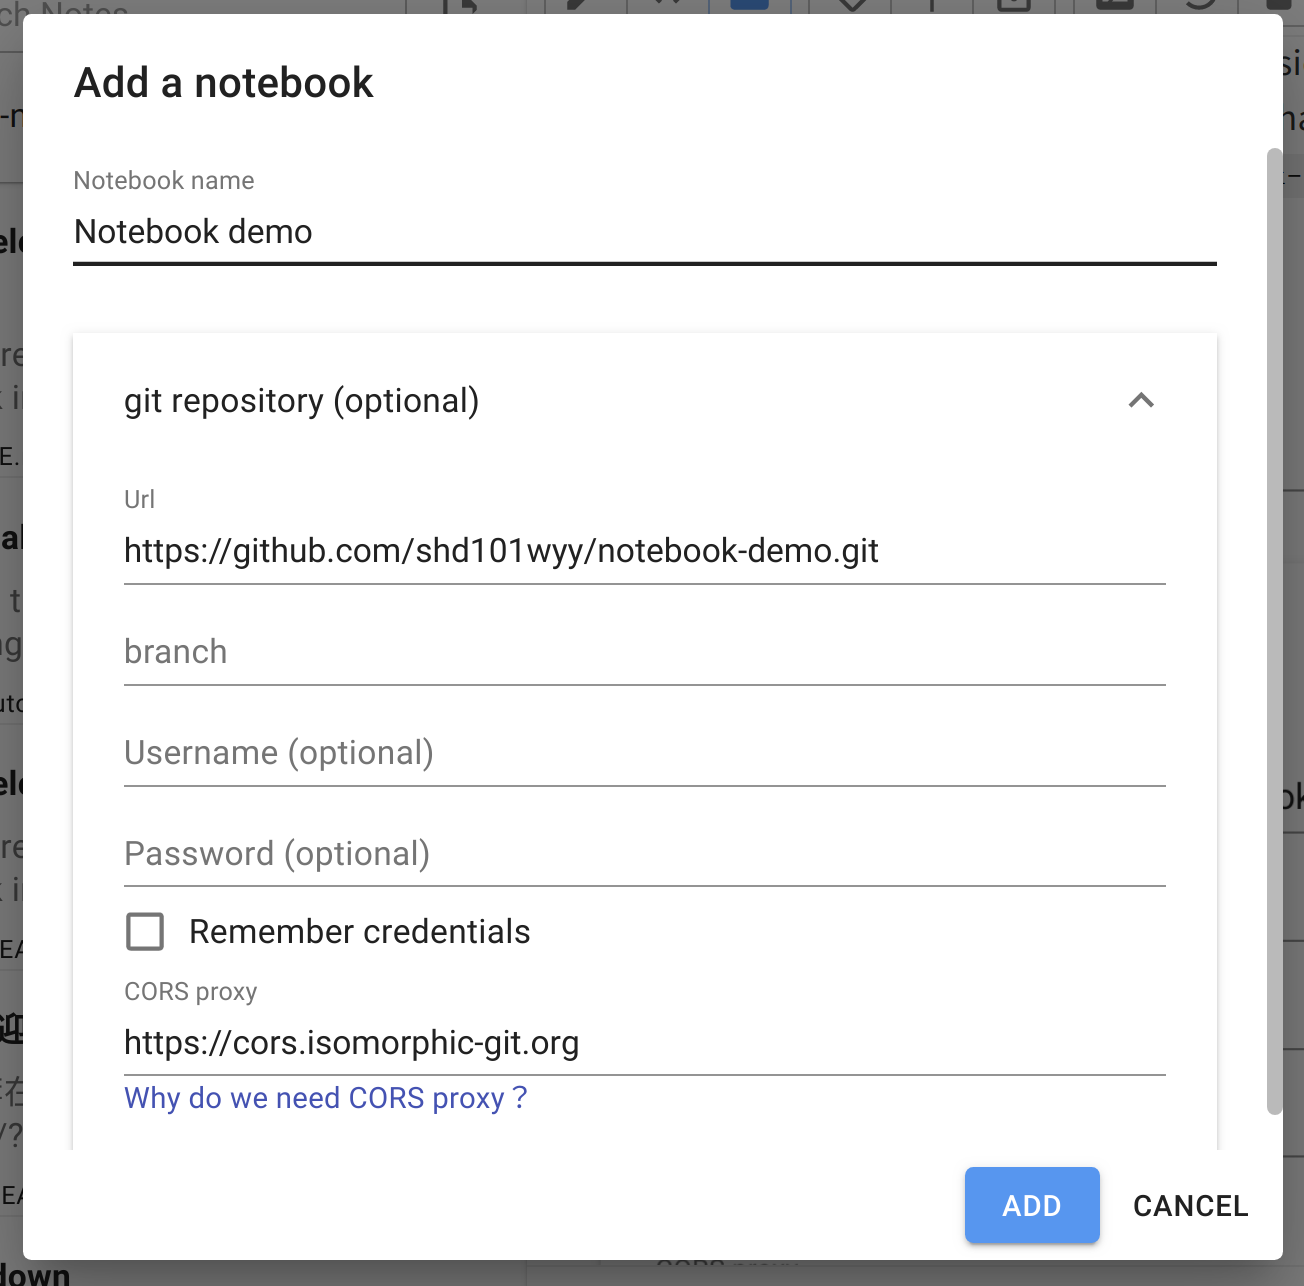
- Add your notebook in Crossnote
Click the + button next to Notebooks in sidebar.
Then enter the git URL of the repository that we just created. In our case it is https://github.com/shd101wyy/notebook-demo.git
Click the ADD button to add the notebook.
- Keep your notebook up to date
Crossnote doesn't support automatically updating your notebooks right now.
You will have to manually upload your notebook to git repository or download the updates from git repository.
There are two buttons in the toolbar of the editor that can help you perform the task.

When you upload a notebook, you may need to fill in your (Git repository) Username and (Git repository) Password.
For a notebook on GitHub, it is recommended to fill in a personal access token in Username (not Password). Just leave Password blank.
For example:
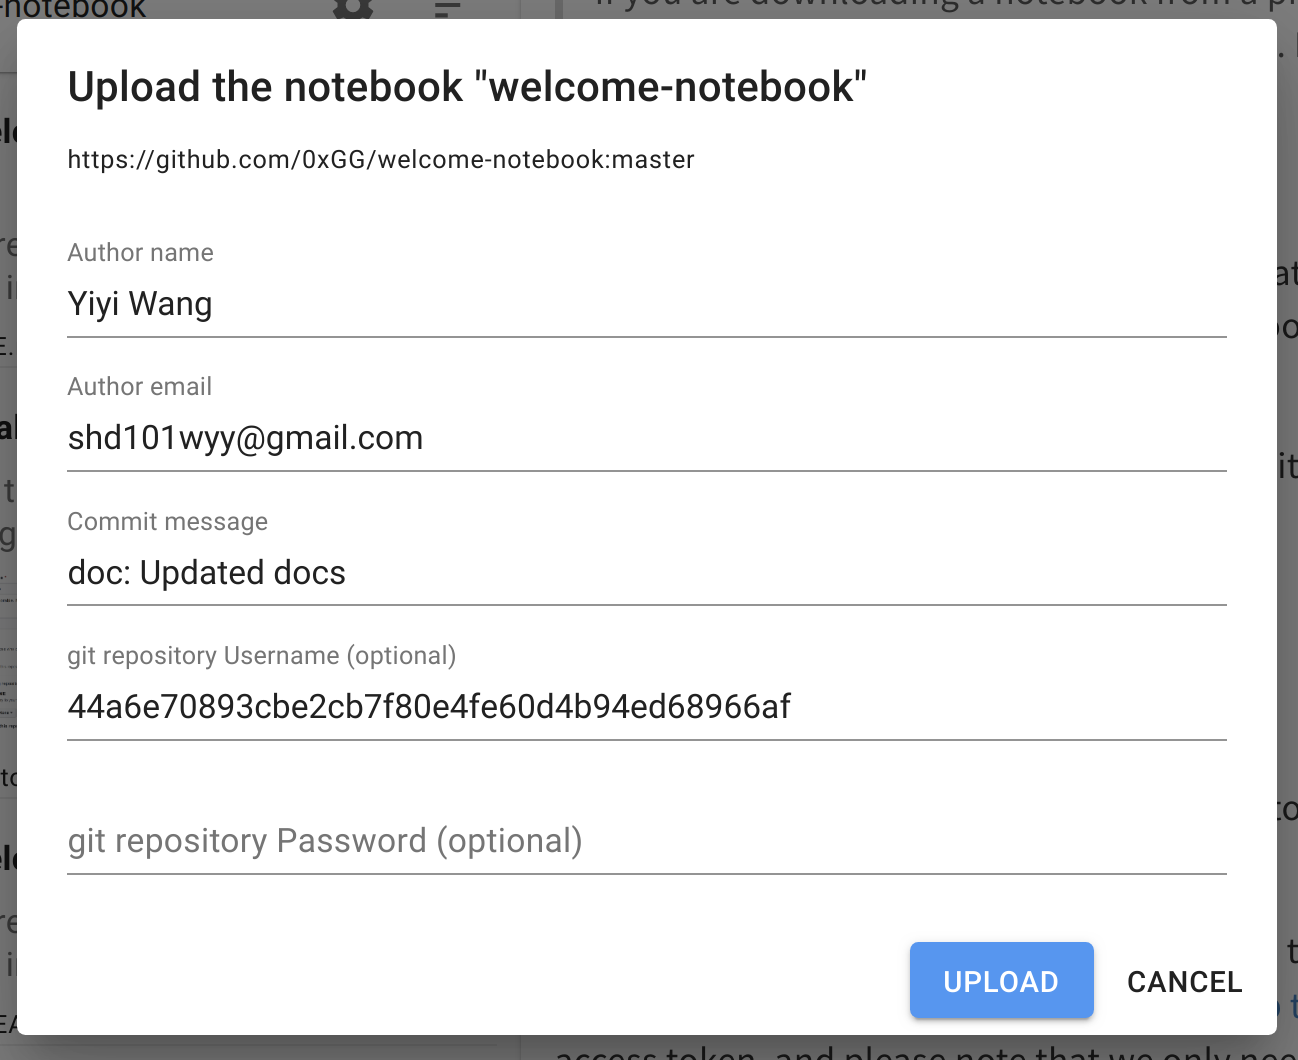
See this GitHub tutorial for how to create a personal access token, and please note that we only need repo permission.
You can generate a token here: personal access token here.
- Username and Password
If you are downloading a notebook from a private repository, you may also need to fill in the
UsernameandPassword. Don't worry, we won't upload your credentials to our server.
You can also configure your git repository in notebook settings after you download the notebook
If you have any questions about the tutorial, feel free to post a GitHub issue😉.