Can we move the network thumbnail menu? #7484
Replies: 12 comments 22 replies
-
|
it can't be moved, sorry... |
Beta Was this translation helpful? Give feedback.
-
|
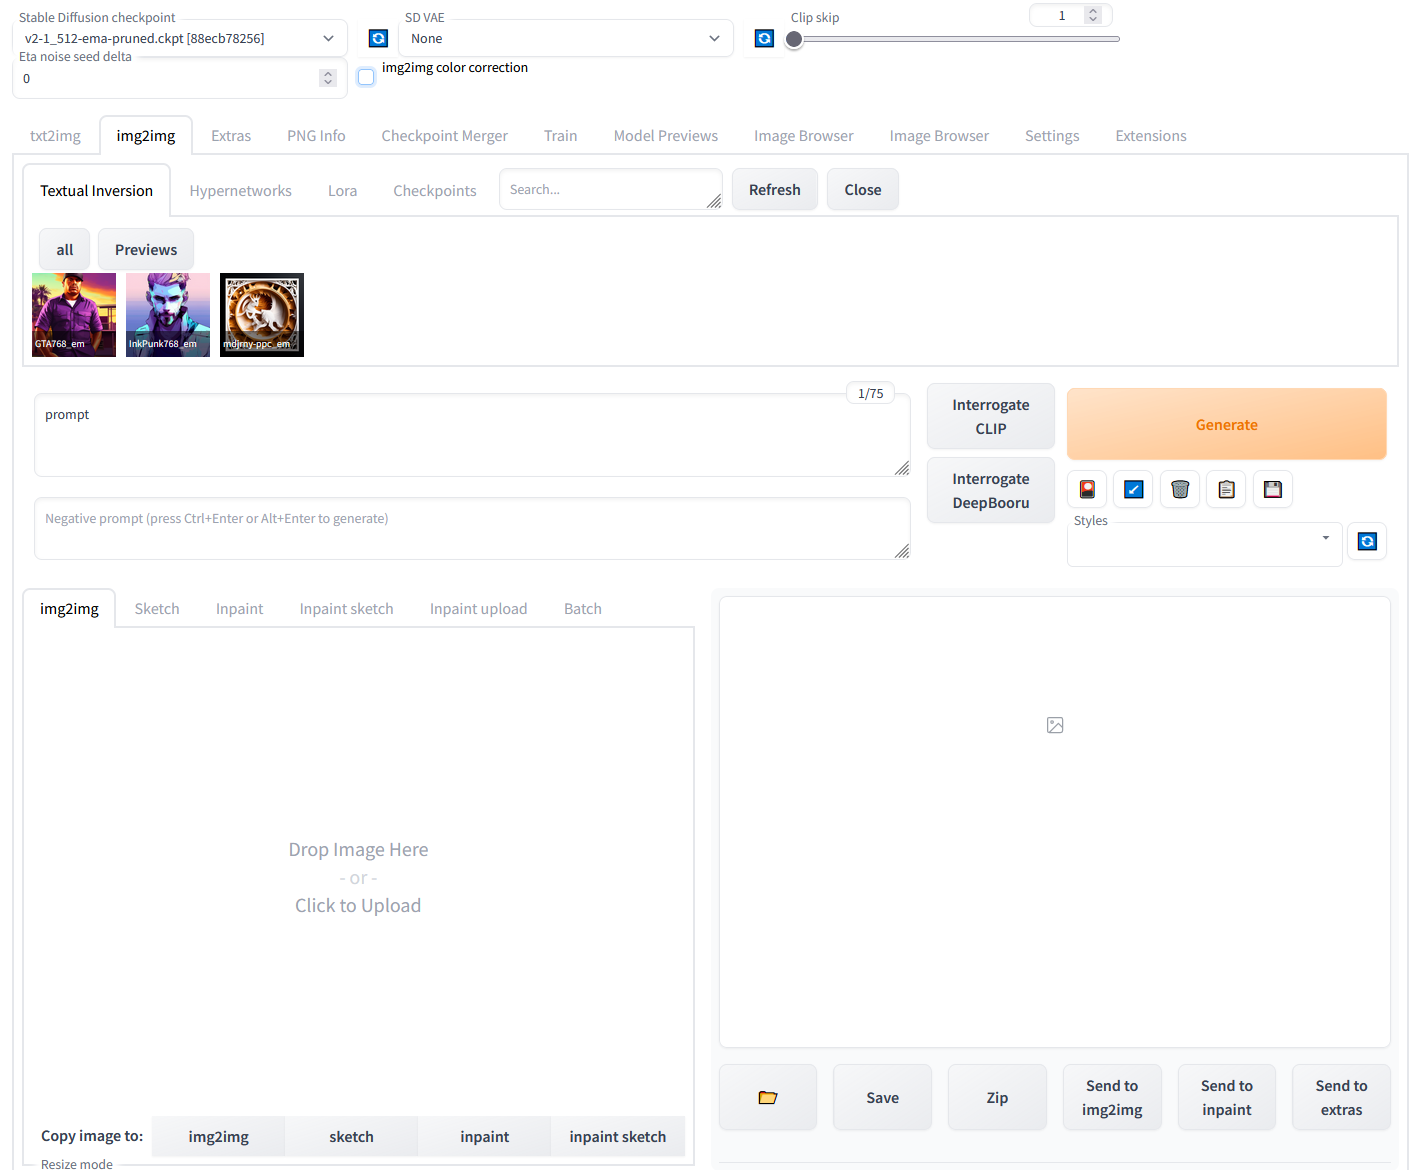
create user.css in the root of your installation folder if its not already there and add this css to it #tab_txt2img #txt2img_toprow ~ .form,
#tab_img2img #img2img_toprow ~ .form,
#tab_img2img #img2img_extra_networks {
order: -1;
}
Old CSS (No longer works after automatic 1111 updated to gradio 3.23.0)#txt2img_extra_networks,
#img2img_extra_networks {
order: -1;
} |
Beta Was this translation helpful? Give feedback.
-
|
This no longer moved the extra network above prompts. |
Beta Was this translation helpful? Give feedback.
-
|
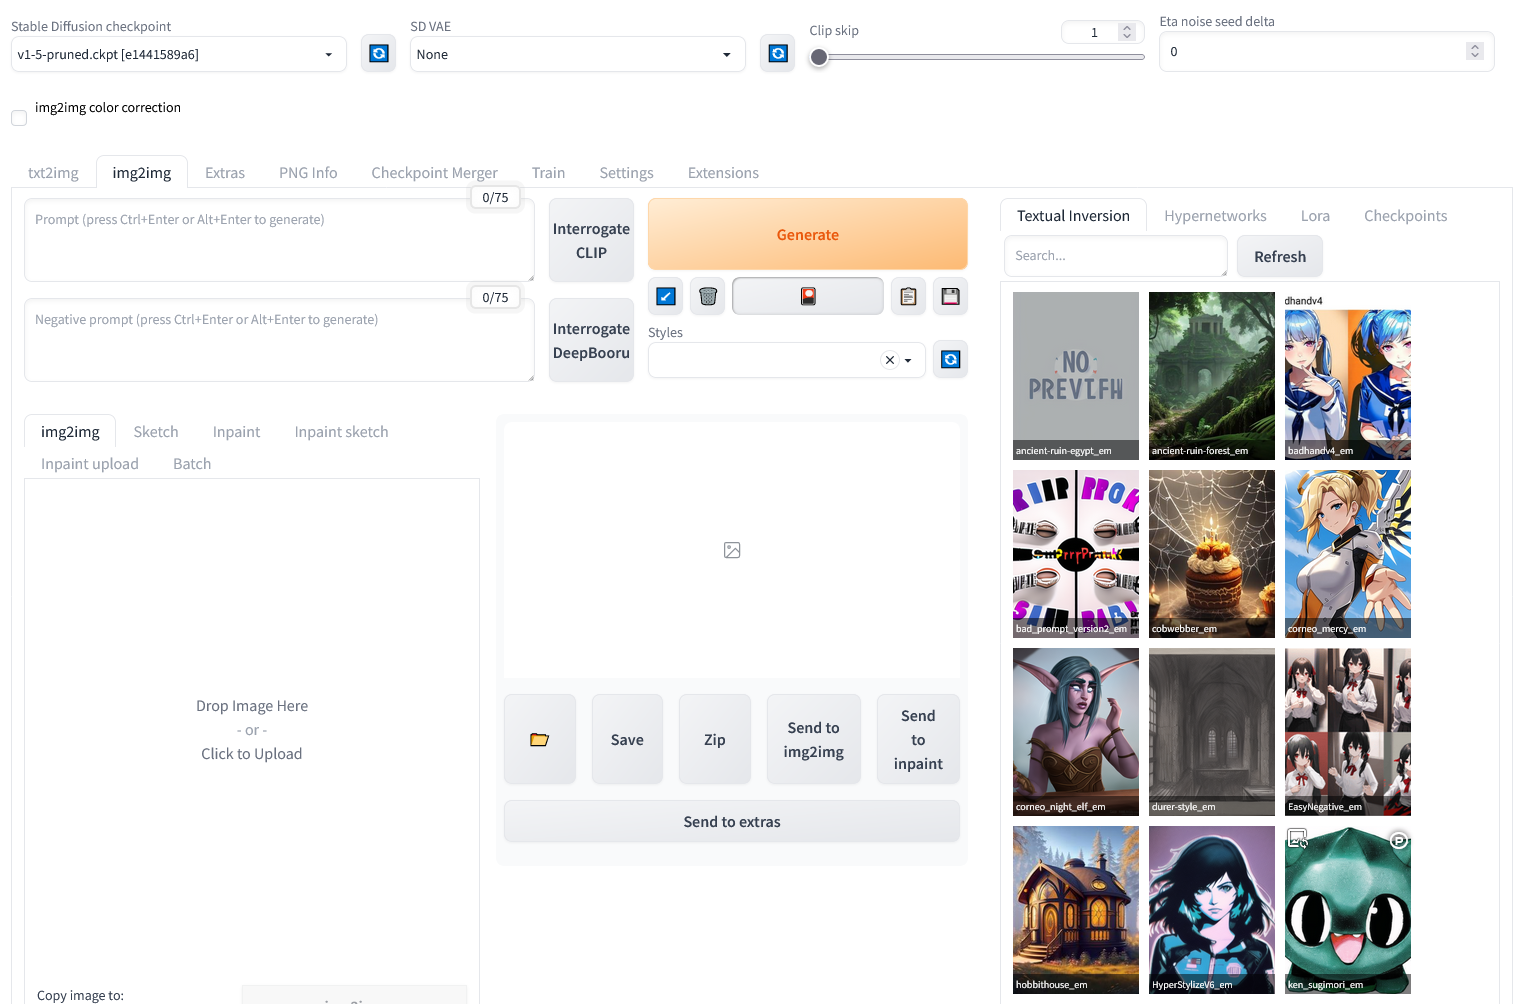
change it to this and it should work again on the latest a1111 build: #tab_txt2img #txt2img_toprow ~ .form,
#tab_img2img #img2img_extra_networks {
order: 1;
} |
Beta Was this translation helpful? Give feedback.
-
|
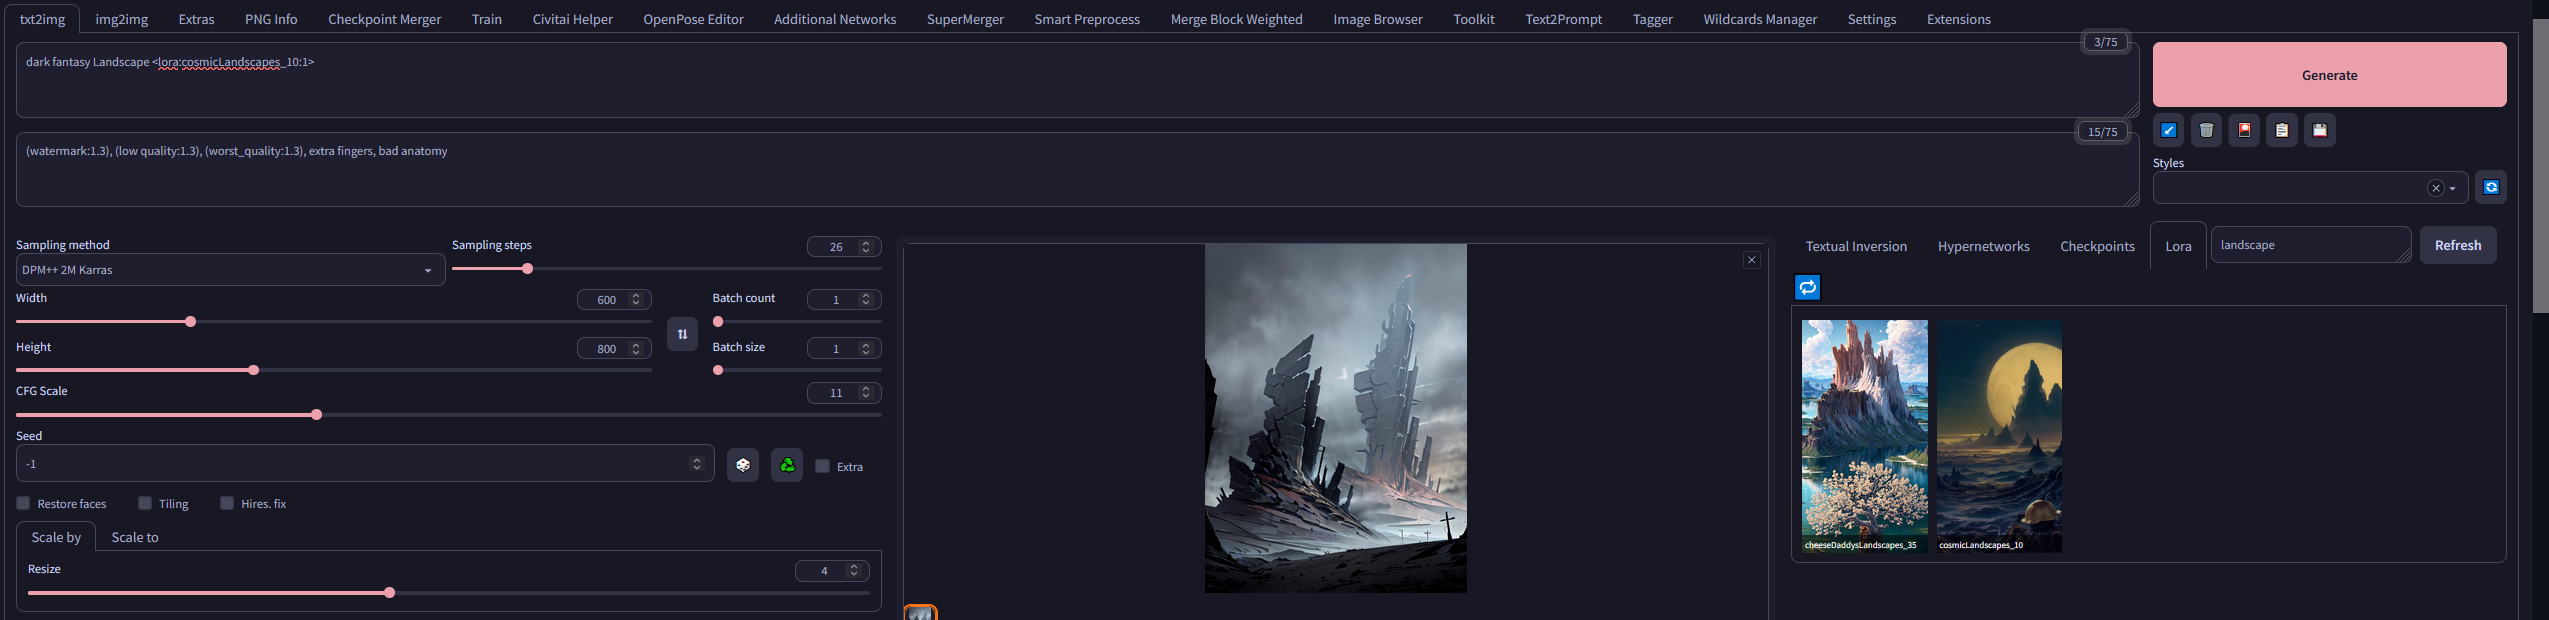
I decided that I personally like the extra networks off to the side. This is the CSS I wrote to do that if anyone else is interested. Works better with larger screens but I added some media queries to hopefully make it look decent on a 1080p screen too.
#tab_txt2img > div,
#tab_img2img > div {
	display: grid;
}

#txt2img_toprow,
#img2img_toprow {
	grid-column-start: 1;
	grid-column-end: 2;
	grid-row-start: 1;
	grid-row-end: 2;
}

#tab_img2img #img2img_toprow ~ .form {
	display: contents;
}

#tab_txt2img #txt2img_toprow ~ .form,
#tab_img2img #img2img_extra_networks {
	grid-column-start: 3;
	grid-column-end: 4;
	grid-row-start: 1;
	grid-row-end: 4;
}

#tab_txt2img #txt2img_toprow ~ .form + div,
#tab_img2img #img2img_extra_networks + div {
	grid-column-start: 1;
	grid-column-end: 2;
	grid-row-start: 3;
	grid-row-end: 4;
}

.extra-network-thumbs, .extra-network-cards {
	max-height: 80vh; /* <- if you have a large number of subfolders and there isnt enough room vertically, increase this number */
	overflow: auto;
}

@media (min-width: 3146px) {
	#txt2img_toprow,
 	#img2img_toprow,
	#tab_txt2img #txt2img_toprow ~ .form + div,
	#tab_img2img #img2img_extra_networks + div {
		max-width: 1800px;
	}
}

@media (max-width: 3145px) {
	#tab_txt2img #txt2img_toprow ~ .form,
	#tab_img2img #img2img_extra_networks {
		max-width: 1300px;
		min-width: 1300px;
	}
}

@media (max-width: 2145px) {
	#tab_txt2img #txt2img_toprow ~ .form,
	#tab_img2img #img2img_extra_networks {
		max-width: 1000px;
		min-width: 1000px;
	}
}

@media (max-width: 1890px) {
	#tab_txt2img #txt2img_toprow ~ .form,
	#tab_img2img #img2img_extra_networks {
		max-width: 800px;
		min-width: 800px;
	}
}

@media (max-width: 1650px) {
	#tab_txt2img #txt2img_toprow ~ .form,
	#tab_img2img #img2img_extra_networks {
		max-width: 500px;
		min-width: 500px;
	}
}

@media (max-width: 970px) {
	#tab_txt2img #txt2img_toprow ~ .form,
	#tab_img2img #img2img_extra_networks {
		grid-column-start: 1;
		grid-column-end: 2;
		grid-row-start: 2;
		grid-row-end: 2;
		max-width: unset;
		min-width: unset;
	}
} |
Beta Was this translation helpful? Give feedback.
-
|
I opted to keep the prompt bar across the top.
|

Beta Was this translation helpful? Give feedback.
-
|
could you share it |
Beta Was this translation helpful? Give feedback.
-
#tab_txt2img > div,
#tab_img2img > div {
	display: grid;
}

#txt2img_toprow,
#img2img_toprow {
	grid-column-start: 1;
	grid-column-end: 4;
	grid-row-start: 1;
	grid-row-end: 2;
}

#tab_img2img #img2img_toprow ~ .form {
	display: contents;
}

#tab_txt2img #txt2img_toprow ~ .form,
#tab_img2img #img2img_extra_networks {
	grid-column-start: 3;
	grid-column-end: 4;
	grid-row-start: 3;
	grid-row-end: 4;
}

#tab_txt2img #txt2img_toprow ~ .form + div,
#tab_img2img #img2img_extra_networks + div {
	grid-column-start: 1;
	grid-column-end: 2;
	grid-row-start: 3;
	grid-row-end: 4;
}

.extra-network-thumbs, .extra-network-cards {
	max-height: 60vh; /* <- if you have a large number of subfolders and there isnt enough room vertically, increase this number */
	overflow: auto;
}

@media (min-width: 3146px) {
	#txt2img_toprow,
	#img2img_toprow,
	#tab_txt2img #txt2img_toprow ~ .form + div,
	#tab_img2img #img2img_extra_networks + div {
		max-width: 1800px;
	}
}

@media (max-width: 3145px) {
	#tab_txt2img #txt2img_toprow ~ .form,
	#tab_img2img #img2img_extra_networks {
		max-width: 1300px;
		min-width: 1300px;
	}
}

@media (max-width: 2145px) {
	#tab_txt2img #txt2img_toprow ~ .form,
	#tab_img2img #img2img_extra_networks {
		max-width: 1000px;
		min-width: 1000px;
	}
}

@media (max-width: 1890px) {
	#tab_txt2img #txt2img_toprow ~ .form,
	#tab_img2img #img2img_extra_networks {
		max-width: 800px;
		min-width: 800px;
	}
}

@media (max-width: 1650px) {
	#tab_txt2img #txt2img_toprow ~ .form,
	#tab_img2img #img2img_extra_networks {
		max-width: 500px;
		min-width: 500px;
	}
}

@media (max-width: 970px) {
	#tab_txt2img #txt2img_toprow ~ .form,
	#tab_img2img #img2img_extra_networks {
		grid-column-start: 1;
		grid-column-end: 2;
		grid-row-start: 2;
		grid-row-end: 2;
		max-width: unset;
		min-width: unset;
	}
} |
Beta Was this translation helpful? Give feedback.
-
I'm now using this arrangement, but does anyone know how to resize the columns or at least the preview window itself without expanding the settings? *also now apparently the generated preview doesn't scale to the window.. |
Beta Was this translation helpful? Give feedback.
-
|
The generated preview looks correct to me? |
Beta Was this translation helpful? Give feedback.
-
|
Glad I had asked now, any of these arrangements are better than the original, thanks guys. |
Beta Was this translation helpful? Give feedback.
-
|
One thing I have been playing with is leaving the networks in their normal location, but within a scrollable box. I have over 1200 network files and hated having to scroll and scroll to get to the generated image. I have been testing putting them below the image, next to the image, and now above in a box. |
Beta Was this translation helpful? Give feedback.
-
|
@CurtisDS can't you just set Unrelated question, do you know how we could put the settings sliders inside of an accordion menu? There was a PR a while ago to do this, and it was shot down. But I would love to be able to hide the settings sliders when I don't need to make changes, such as mobile view. I didn't know if I could make some CSS changes to implement that.
|
Beta Was this translation helpful? Give feedback.
-
I tried that. It sets the width to 45% of the container (aka the grid cell) not the screen. But if I had have thought about it for two more seconds I could have used 45vw. But I went with media queries... oh well lol. |
Beta Was this translation helpful? Give feedback.
-
You cant do this in CSS without it being super hacky. You can however make an extension to do this. Create a folder inside your paste this into it: // Create a variable to track if the code has been run yet
var init = false;
// This function is automatically called by automatic1111 when the UI is updated
onUiUpdate(function() {
// This code should only be run once, so if init is true dont do anything. Init is set after we complete this the first time.
if(!init) {
// Get the settings elements (I put them in an array just to make the code to put them in the accordion a bit cleaner)
let els = [gradioApp().getElementById('txt2img_settings'), gradioApp().getElementById('img2img_settings')];
// if both elements exist that means the page is done loading and we can now wrap them in an accordion style element
if(typeof els[0] != "undefined" && typeof els[1] != "undefined") {
// Loop through each element in the array we created earlier
els.forEach(el => {
// Get the parent element of the element we are working on currently
const parent = el.parentNode;
// Get the position of the current element we are working on so we can put the accordion in the same spot as the element
const elIndex = Array.prototype.indexOf.call(parent.children, el);
// Create a details element. This will be the accordion element
const details = document.createElement("details");
// Create a summary element. This will contain the label text of the accordion
const summary = document.createElement("summary");
summary.textContent = "Settings";
// Add the summary element to the details element (aka the accordion)
details.appendChild(summary);
// Add the element we are working on into the details element (aka the accordion)
details.appendChild(el);
// Add the created accordion element into the parent container of the element we are working on. Insert it into the same position as the element we removed.
parent.insertBefore(details, parent.children[elIndex]||null);
// Set the panel to open by default
details.open = true;
// Add a class to the accordion so it is easier to write styles that target this element
details.classList = "custom-accordion";
});
// Now that we are done, set init to true so that it doesn't run more than once
init = true;
}
}
});style.css .custom-accordion {
position: relative;
margin: 0;
box-shadow: var(--block-shadow);
border-width: var(--block-border-width);
border-color: var(--block-border-color);
border-radius: var(--block-radius);
background: var(--block-background-fill);
width: 100%;
line-height: var(--line-sm);
padding: var(--block-padding);
cursor: pointer;
user-select: text;
}
.custom-accordion > summary {
font-weight: var(--section-header-text-weight);
font-size: var(--section-header-text-size);
}Its going to look shit. But you can play around with it. Add a
|

Beta Was this translation helpful? Give feedback.
-
|
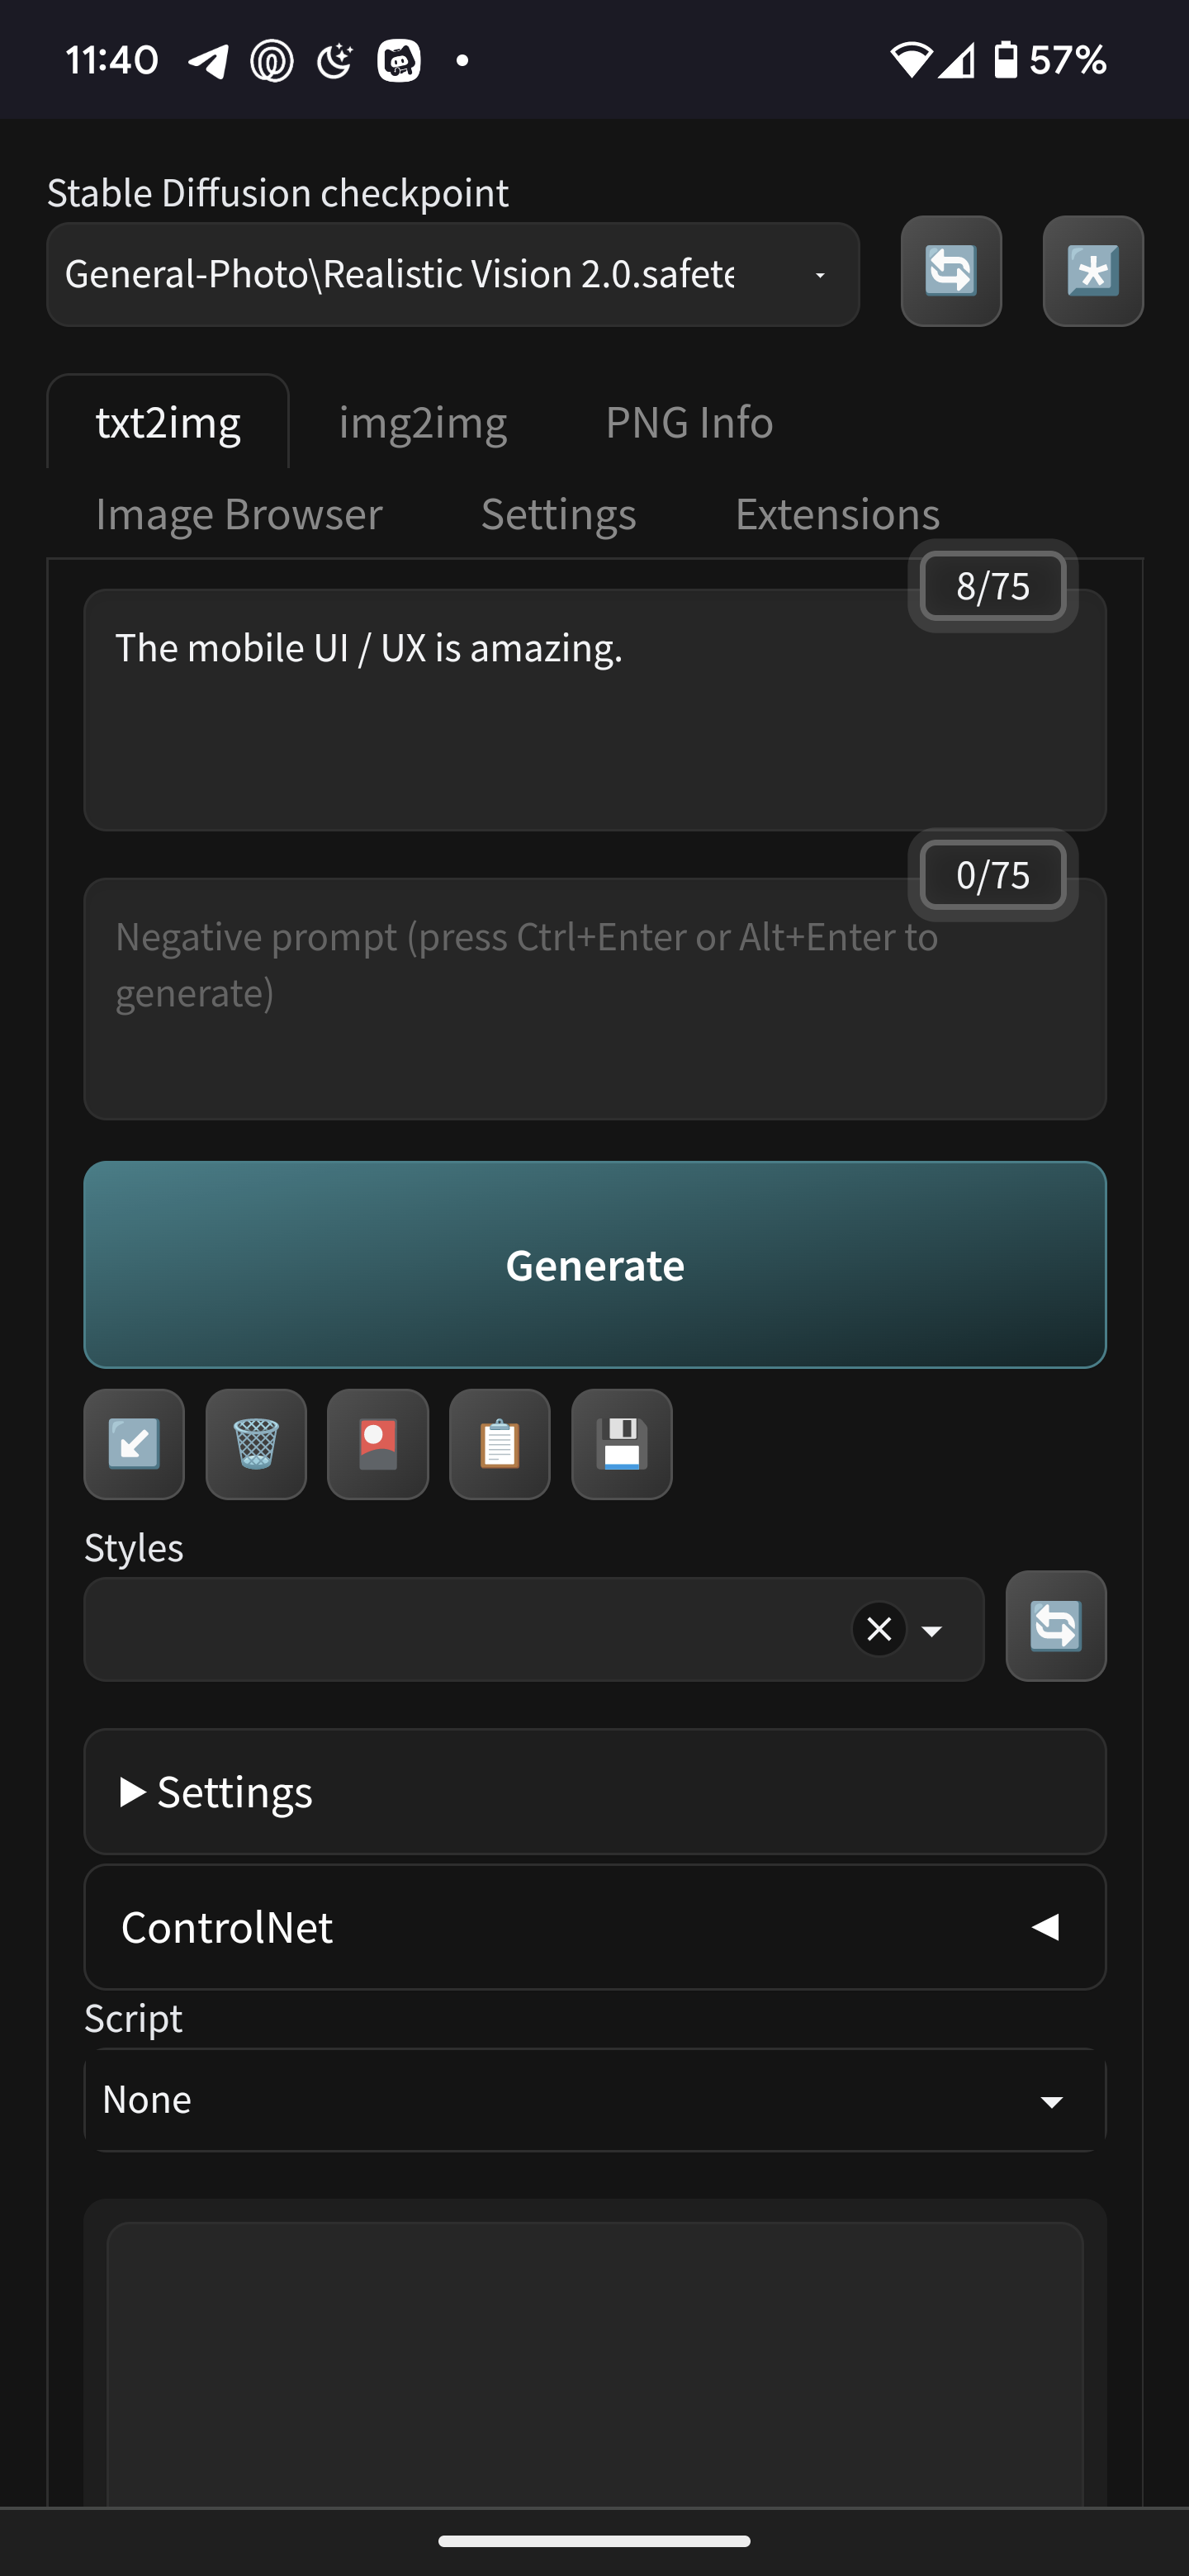
Thank you So Much! Originally I was picturing the default sliders going into an accordion that stacks above the other extensions such as ControlNet. But this collapses the entire thing, which is just as good if not better for mobile. This will save all the times I accidentally render a 2048-wide image just from scrolling up and down on my phone and bumping a slider.
|
Beta Was this translation helpful? Give feedback.
-
|
Yes I was trying to grab everything down to Hires,Fix, and just exclude the Extensions like ControlNet and the Scripts. So it would just be a column of accordion menus. |
Beta Was this translation helpful? Give feedback.
-
|
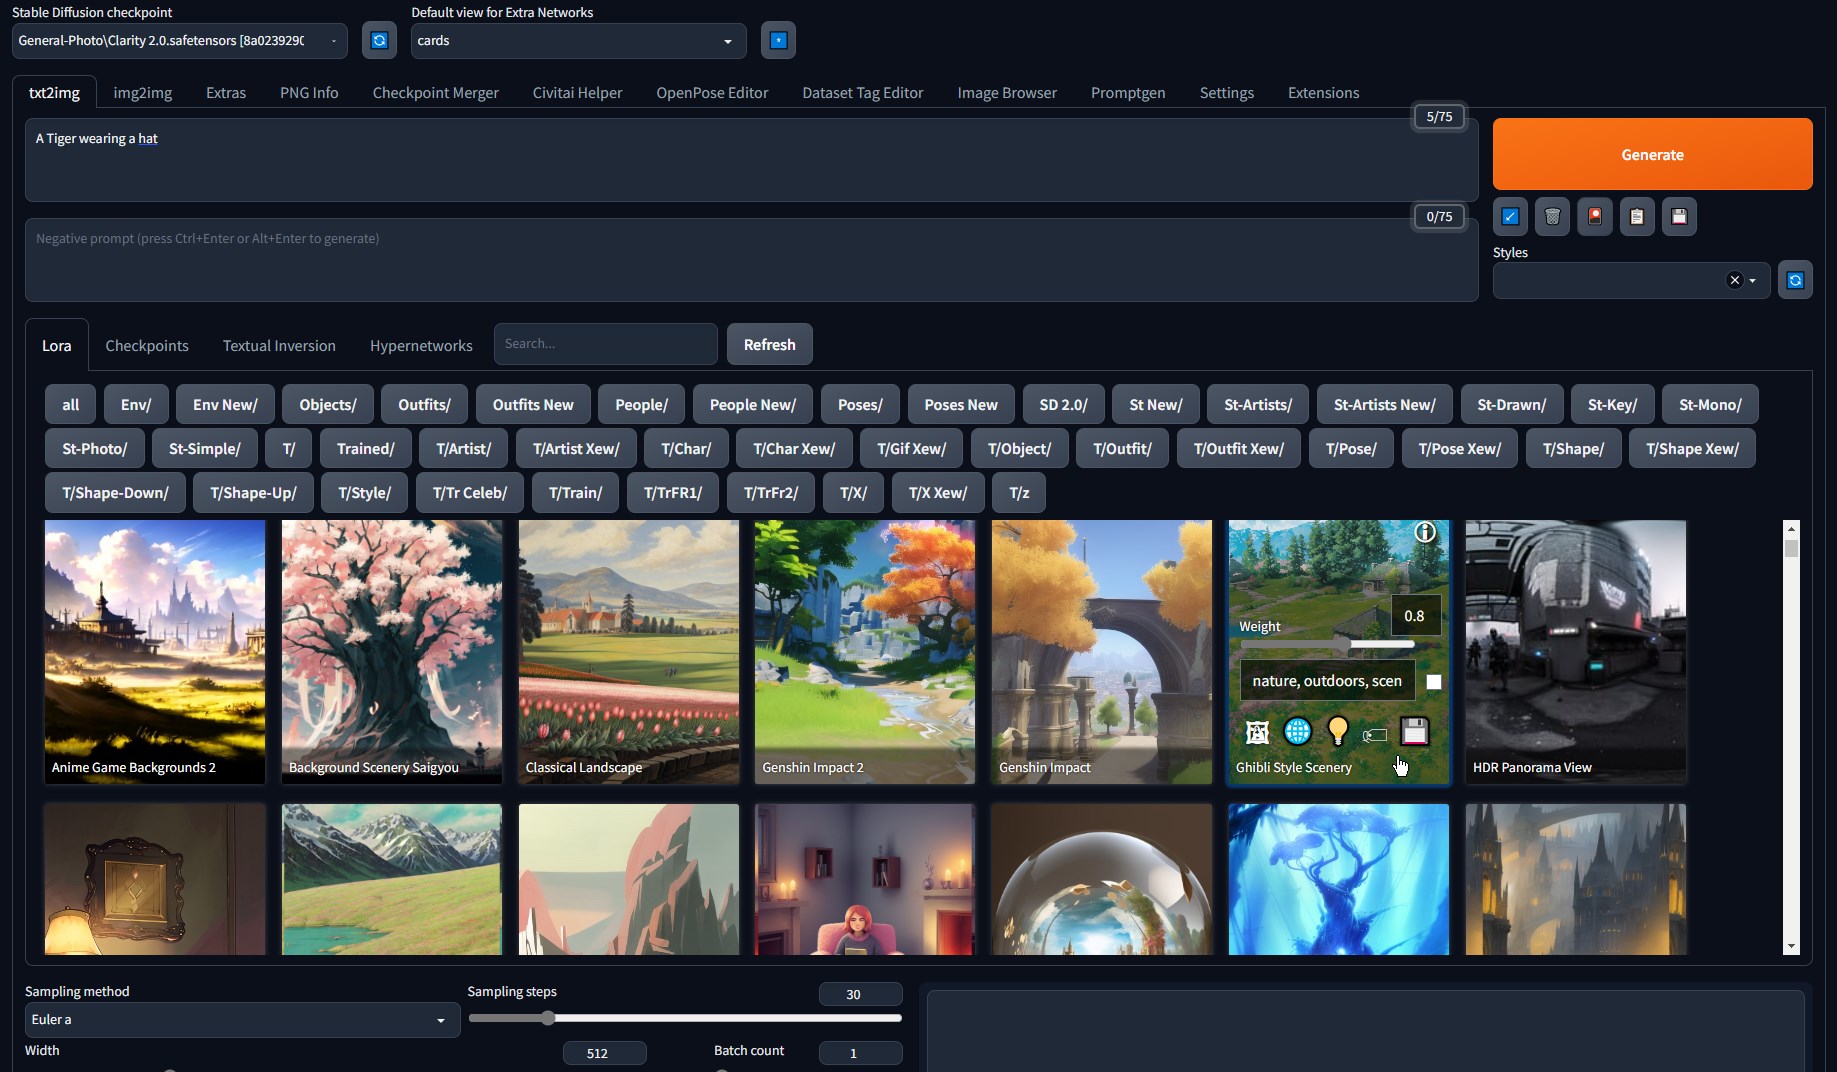
I am going for something like this: Or this |
Beta Was this translation helpful? Give feedback.
-
|
But what you made is awesome and meets my needs. I was just trying to tinker. |
Beta Was this translation helpful? Give feedback.
-
.custom-accordion {
	position: relative;
	margin: 0;
	box-shadow: var(--block-shadow);
	border-width: var(--block-border-width);
	border-color: var(--block-border-color);
	border-radius: var(--block-radius);
	border-top-left-radius: var(--block-radius) !important;
	border-top-right-radius: var(--block-radius) !important;
	background: var(--block-background-fill);
	width: 100%;
	line-height: var(--line-sm);
	padding: var(--block-padding);
	cursor: pointer;
	user-select: text;
}

.custom-accordion > summary {
	font-weight: var(--section-header-text-weight);
	font-size: var(--section-header-text-size);
}
// Create a variable to track if the code has been run yet
var init = false;
// This function is automatically called by automatic1111 when the UI is updated
onUiUpdate(function() {
// This code should only be run once, so if init is true dont do anything. Init is set after we complete this the first time.
if(!init) {
// Get all the elements you are interested in and put them into an object to make the later code a bit cleaner
let settingsObjects = [
{ // Text2Image elements
settingsElement: document.getElementById('txt2img_settings'),
scriptContainer: document.getElementById('txt2img_script_container'),
excludeElements: [ // These are just IDs not actual elements
'txt2img_script_container' // The sliders and other settings
]
},
{ // Image2Image elements
settingsElement: document.getElementById('img2img_settings'),
scriptContainer: document.getElementById('img2img_script_container'),
excludeElements: [ // These are just IDs not actual elements
'mode_img2img', // The source image of img2img
'img2img_script_container' // The sliders and other settings
]
}
];
// If both settings elements exist that means the page is done loading and we can now wrap them in an accordion style element
if(typeof settingsObjects[0].settingsElement != "undefined" && typeof settingsObjects[1].settingsElement != "undefined") {
// Loop through each object in the array we created earlier
settingsObjects.forEach(obj => {
// Create the main accordion
// Get the parent element of the element we are working on currently
const parent = obj.settingsElement.parentNode;
// Get the position of the current element we are working on so we can put the accordion in the same spot as the element
const elIndex = Array.prototype.indexOf.call(parent.children, obj.settingsElement);
// Create a details element. This will be the accordion element
const details = document.createElement("details");
// Create a summary element. This will contain the label text of the accordion
const summary = document.createElement("summary");
summary.textContent = "All Settings";
// Add the summary element to the details element (aka the accordion)
details.appendChild(summary);
// Add the element we are working on into the details element (aka the accordion)
details.appendChild(obj.settingsElement);
// Add the created accordion element into the parent container of the element we are working on. Insert it into the same position as the element we removed.
parent.insertBefore(details, parent.children[elIndex]||null);
// Set the accordion panel to open by default
details.open = true;
// Add a class to the accordion so it is easier to write styles that target this element
details.classList = "custom-accordion";
// Create the inner accordion
// Create another details element. This will be the inner accordion element
const innerDetails = document.createElement("details");
// Create a summary element. This will contain the label text of the inner accordion
const innerSummary = document.createElement("summary");
innerSummary.textContent = "Settings";
// Add the summary element to the inner details element (aka the inner accordion)
innerDetails.appendChild(innerSummary);
// Set the inner accordion panel to open by default
innerDetails.open = true;
// Add a class to the accordion so it is easier to write styles that target this element
innerDetails.classList = "custom-accordion";
// Loop through each child of the settings element and add the appropriate elements to the inner accordion
Array.from(obj.settingsElement.children).forEach(childEl => {
// If this is a valid child and not one of the excluded elements and not the scripts element add it to the inner accordion
if(childEl != null && typeof childEl != 'undefined' && !obj.excludeElements.includes(childEl.getAttribute('id')) && childEl.getAttribute('id') != obj.scriptContainer) {
innerDetails.appendChild(childEl);
}
});
// Add the created inner accordion element into settings element above the scripts container element.
obj.settingsElement.insertBefore(innerDetails, obj.scriptContainer);
});
// Now that we are done, set init to true so that it doesn't run more than once
init = true;
}
}
}); |
Beta Was this translation helpful? Give feedback.
-
|
You are amazing. It's just what I have been looking for.
|
Beta Was this translation helpful? Give feedback.
-
|
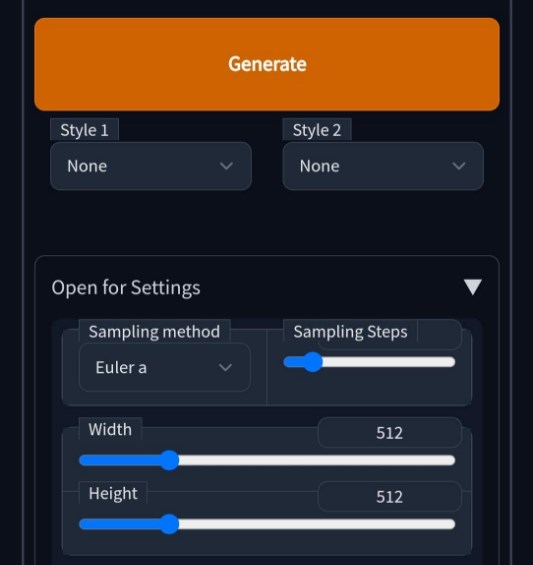
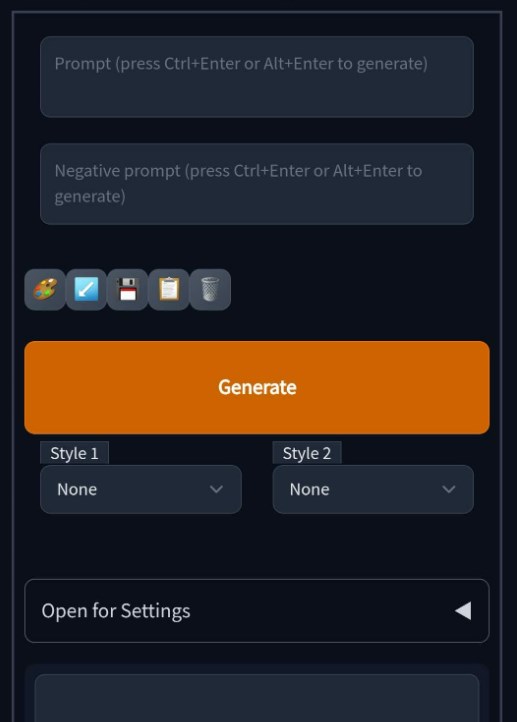
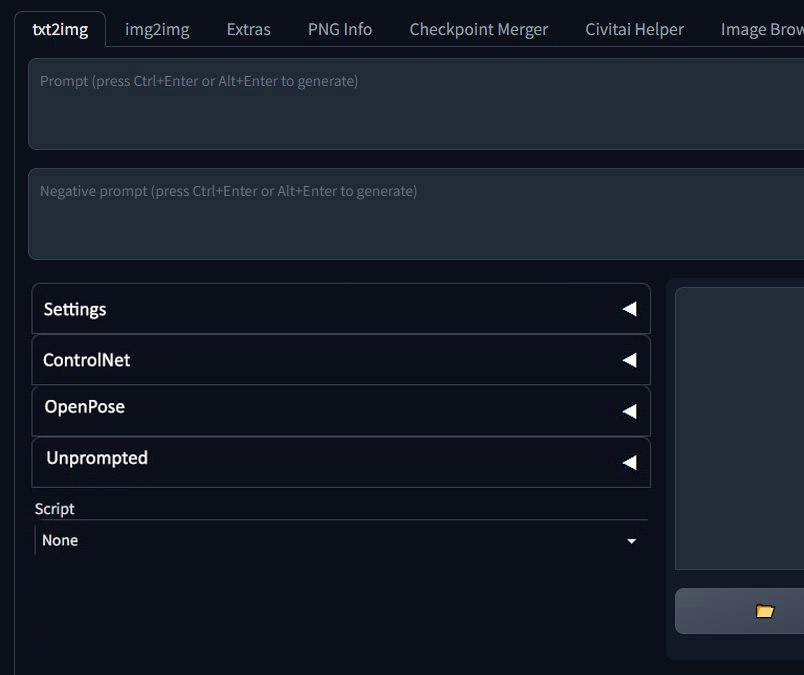
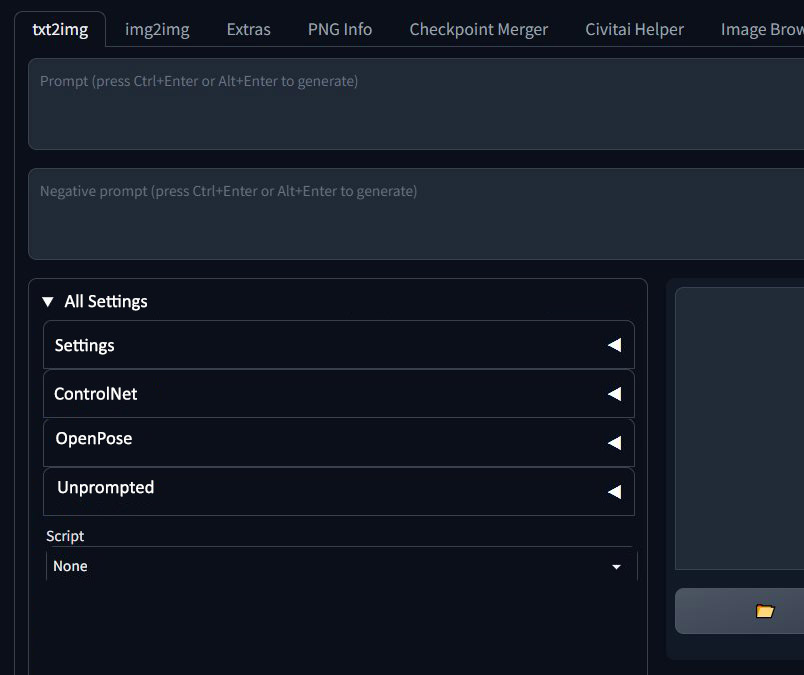
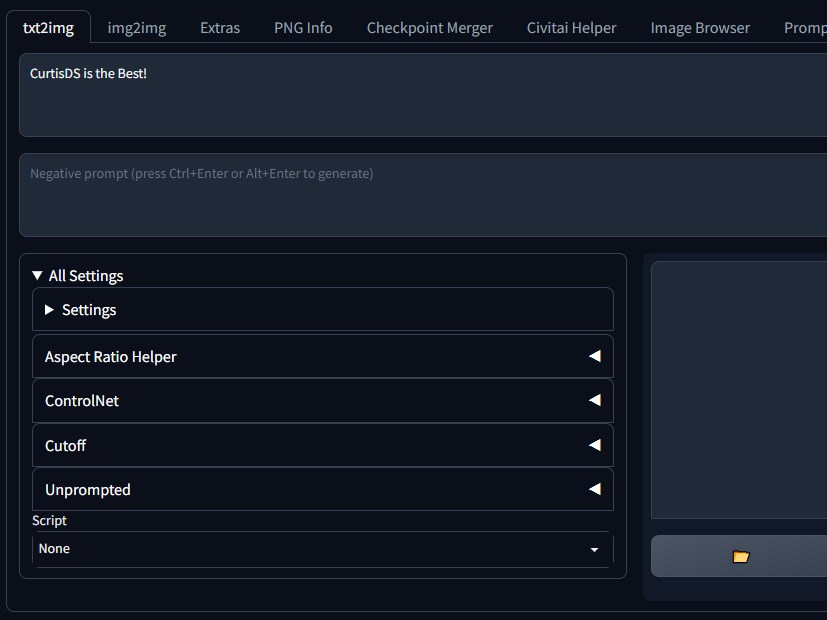
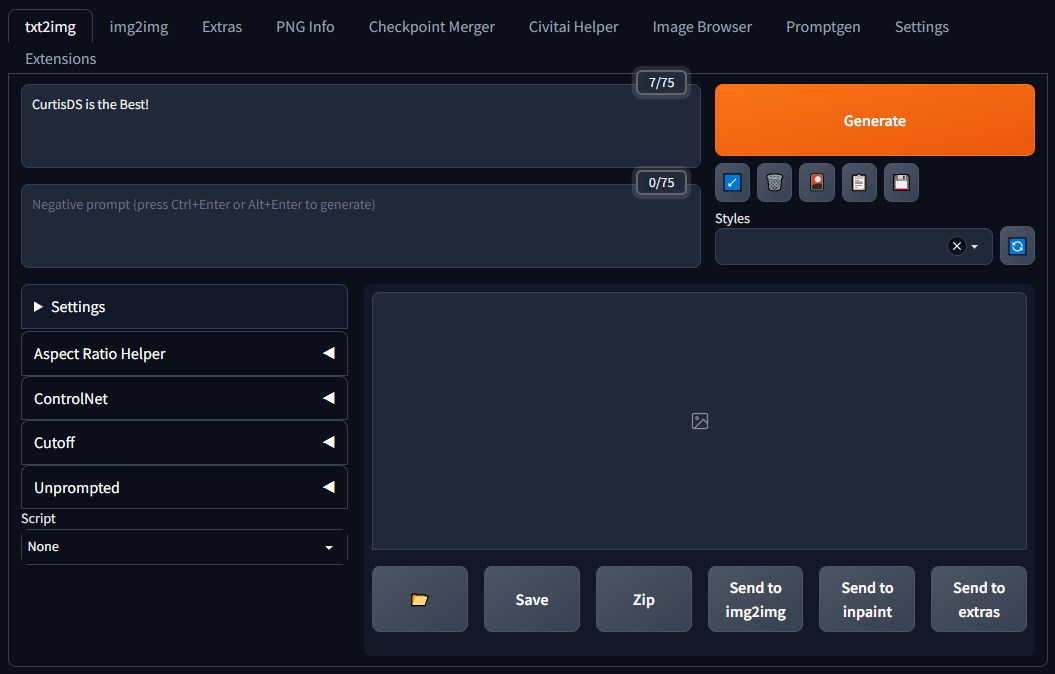
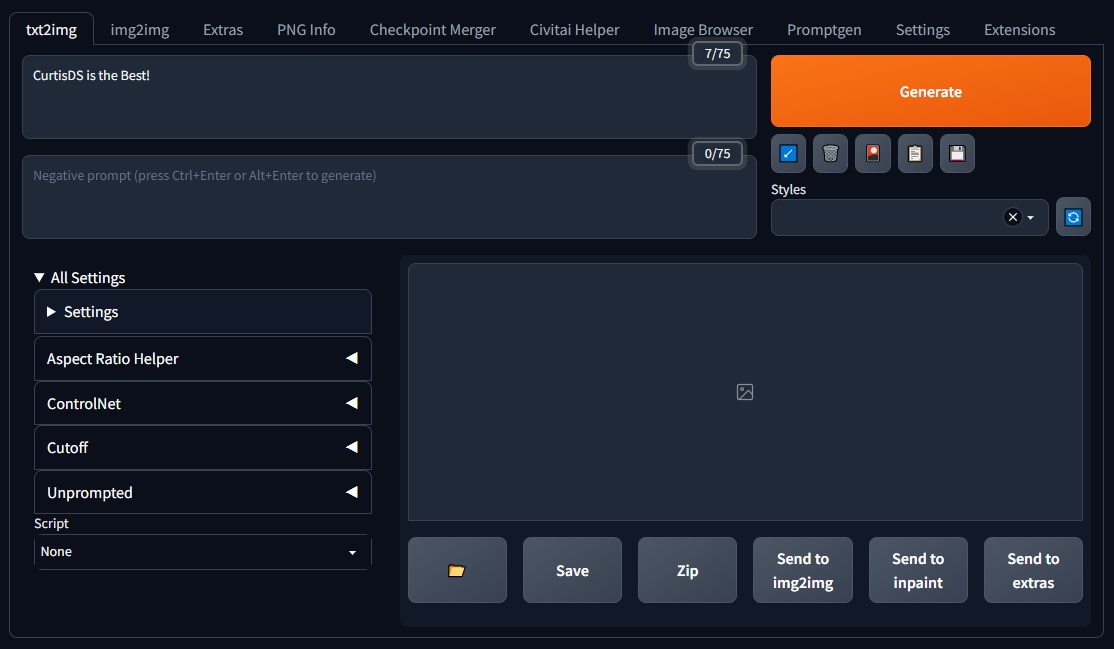
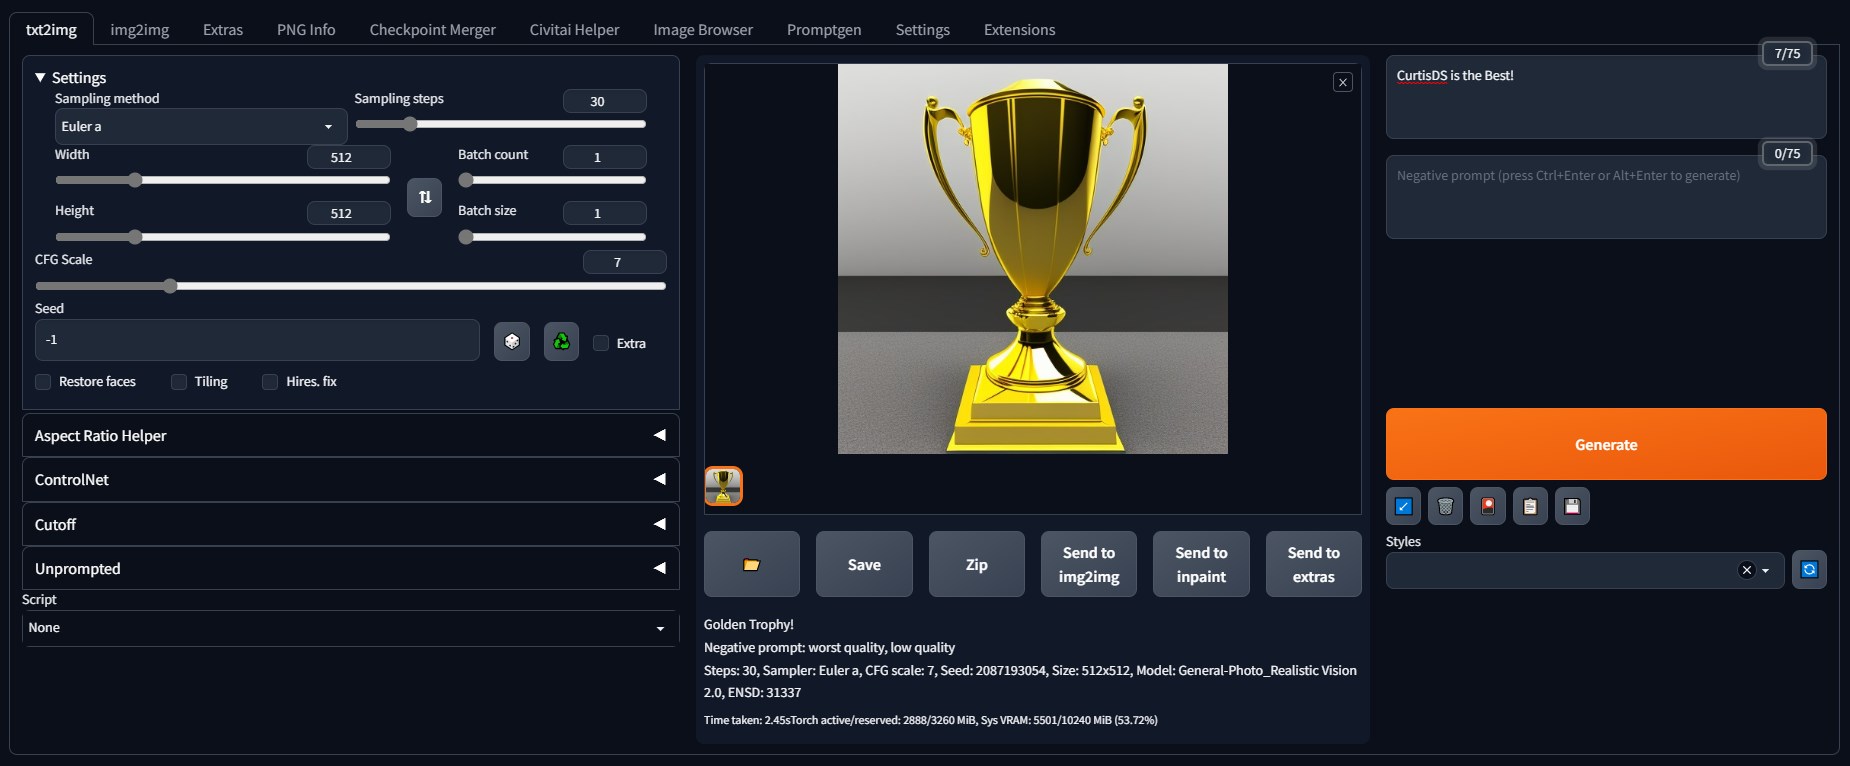
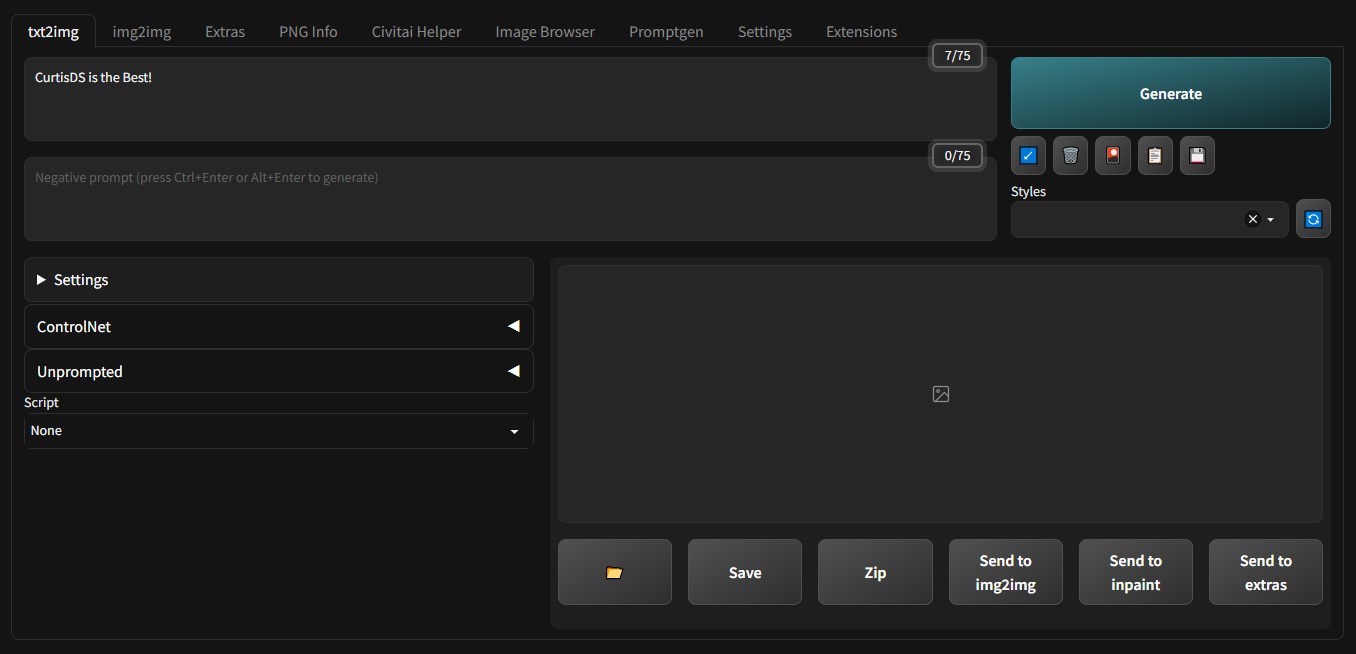
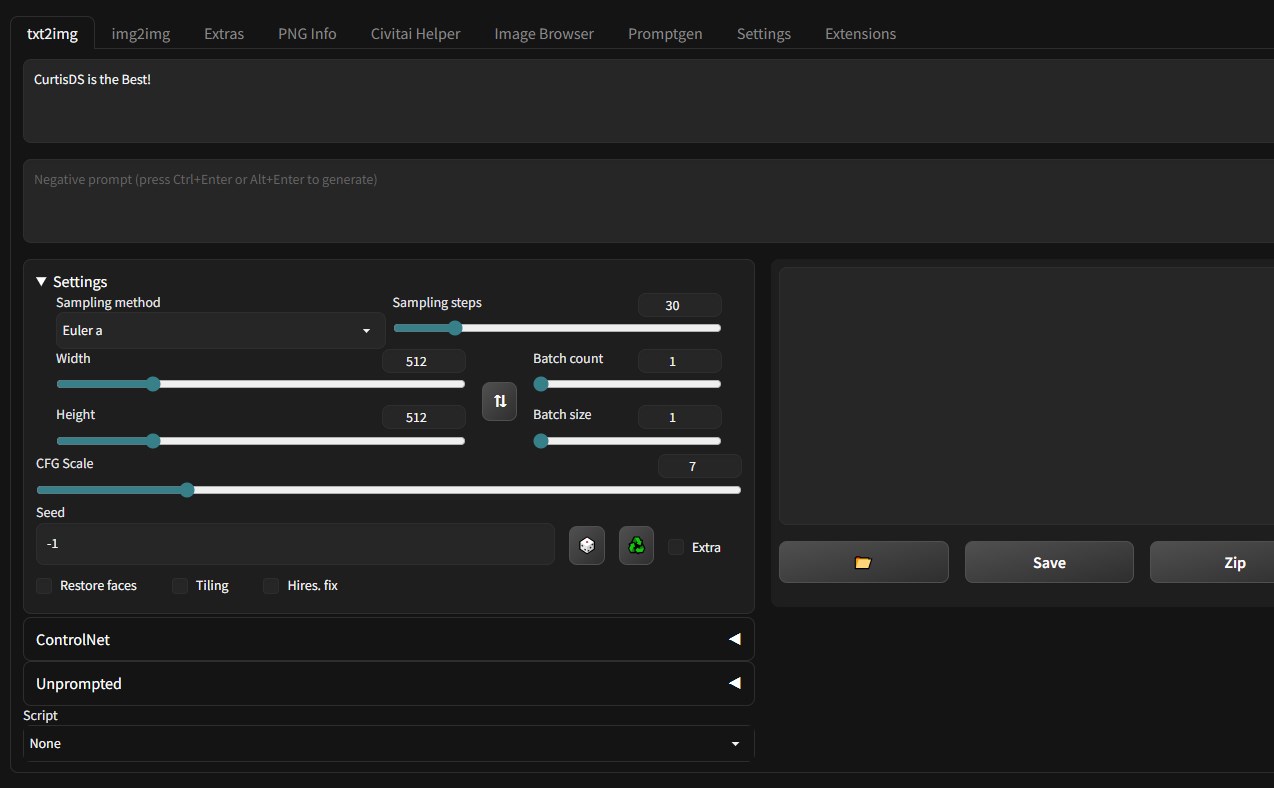
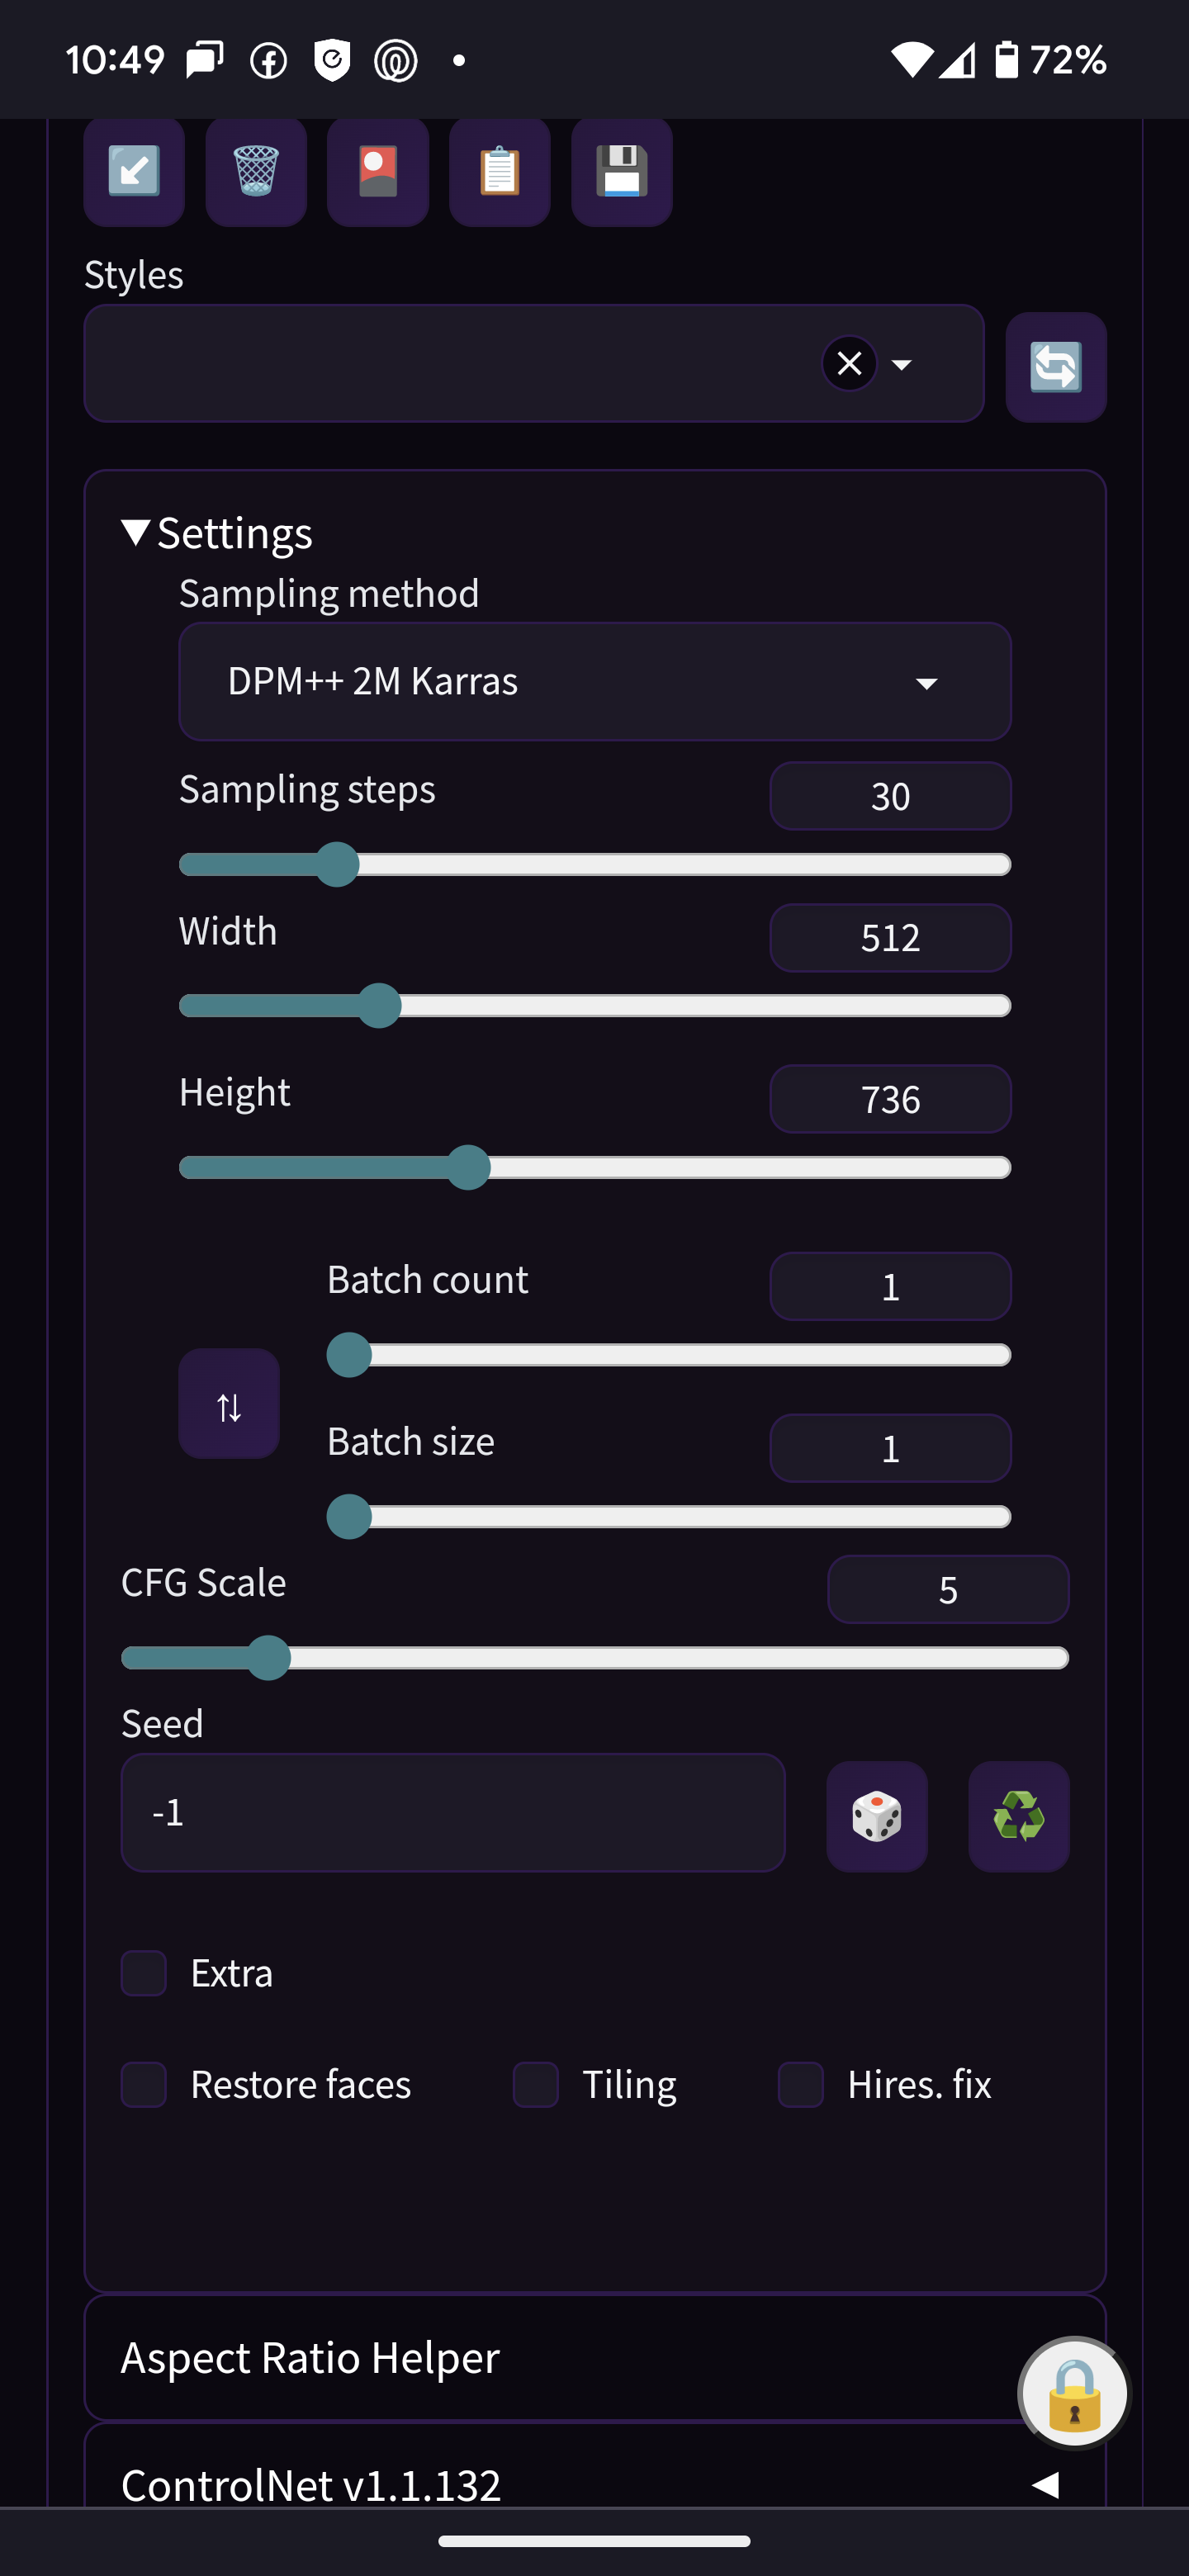
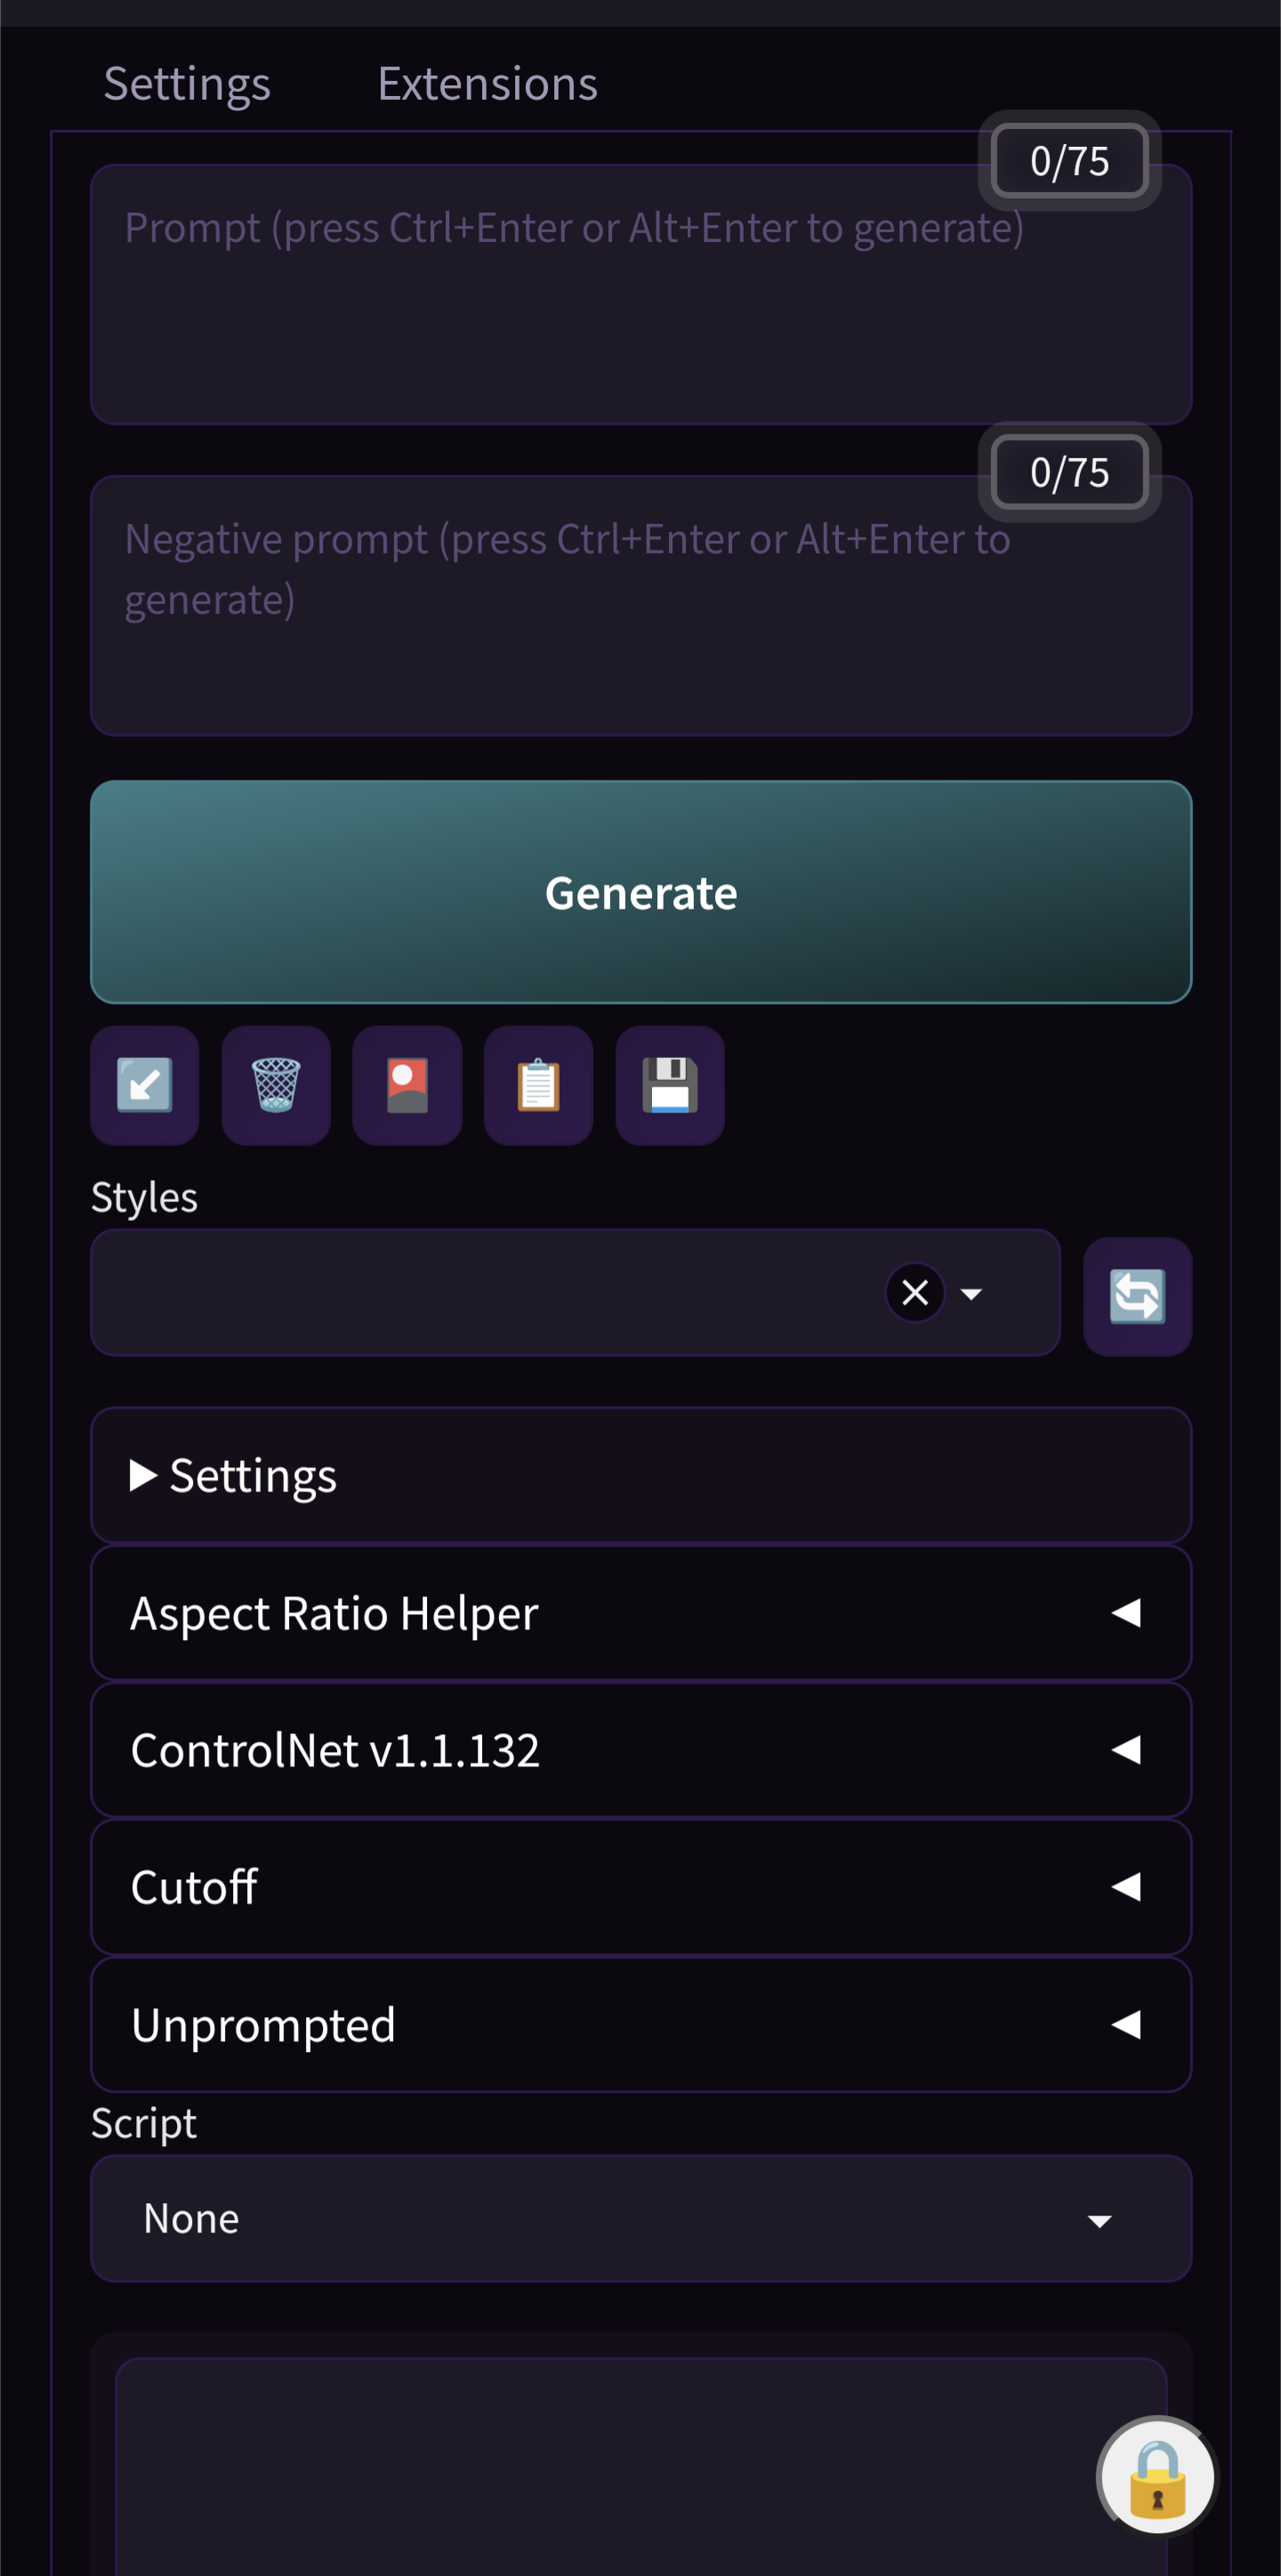
I made a version of the extension with and without the outer accordion. Depending on who is using the UI I can swap between. Here is the Result without the outer accordion and the settings collapsed. Here is the Result without the outer accordion and the settings expanded. Here is the Result with the outer accordion. Here is trying it with a three-column look. |

Beta Was this translation helpful? Give feedback.
-
|
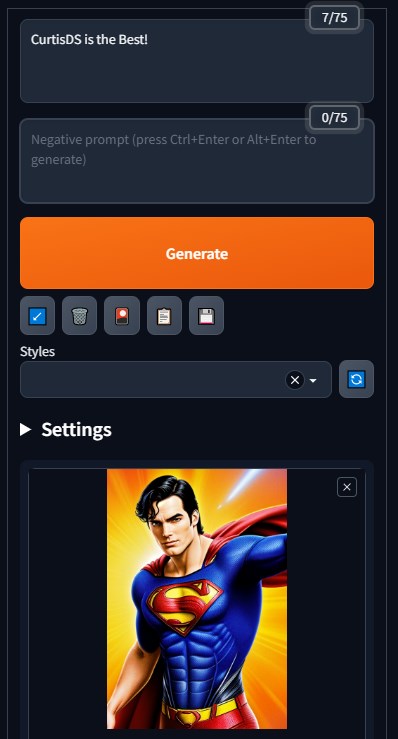
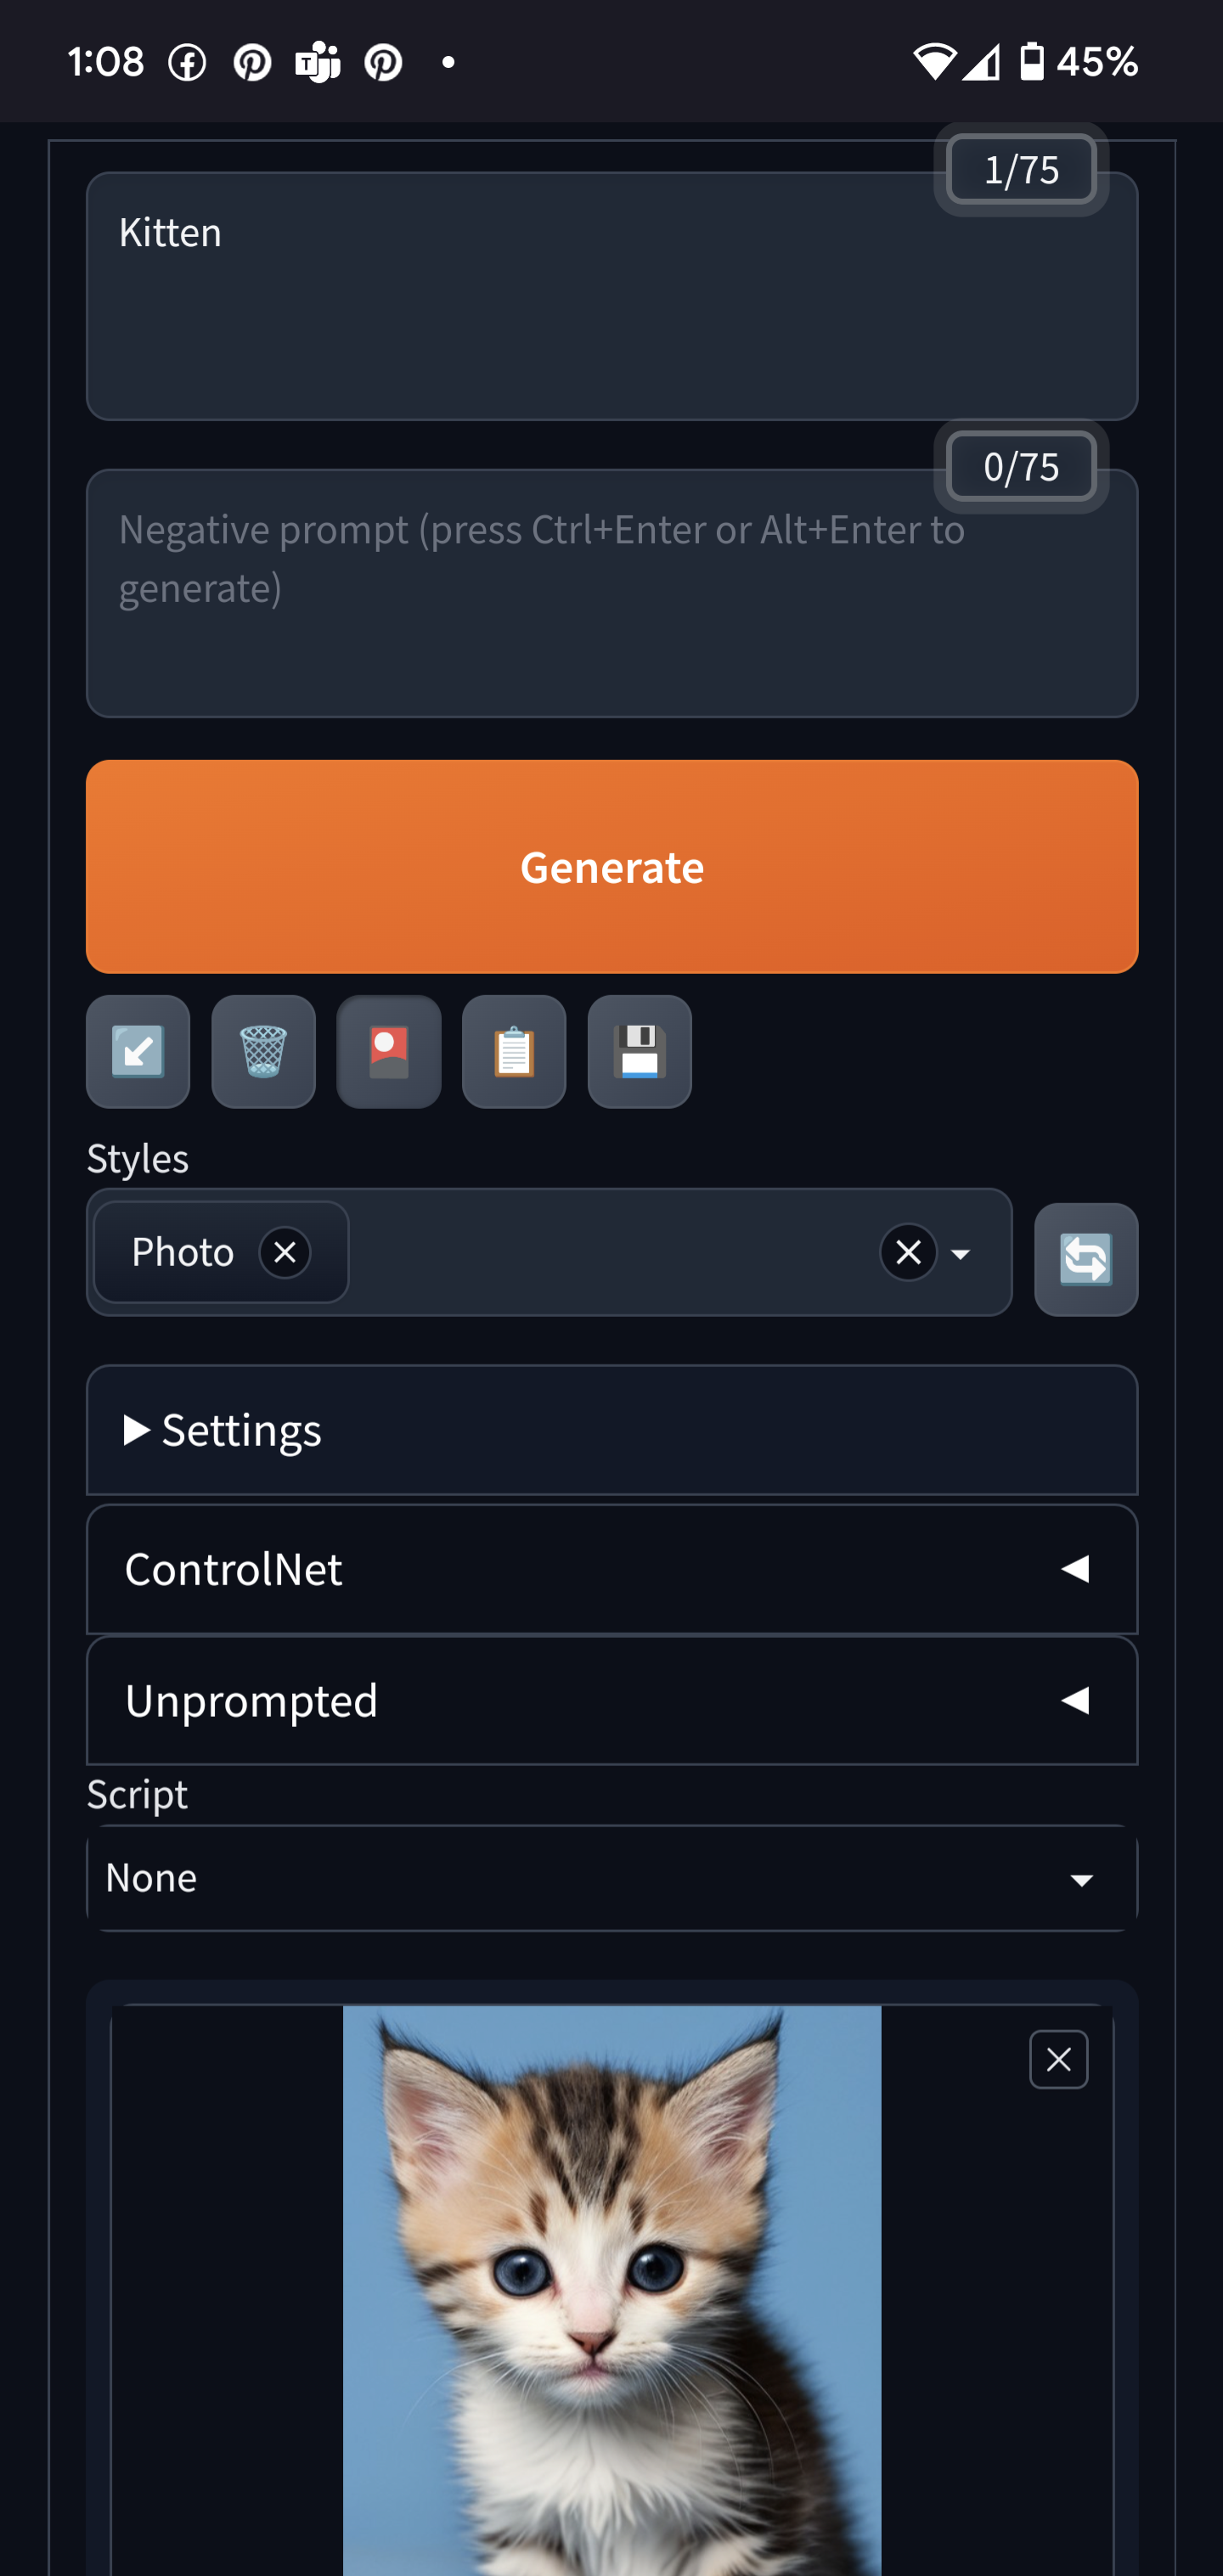
Look how glorious this mobile view is. |
Beta Was this translation helpful? Give feedback.
-
|
Here my final code: ALL Credit goes to @CurtisDS With the outer accordion: user.css .custom-accordion {
position: relative;
margin: 0;
box-shadow: var(--block-shadow);
border-width: var(--block-border-width);
border-color: var(--block-border-color);
border-radius: var(--block-radius);
border-top-left-radius: var(--block-radius) !important;
border-top-right-radius: var(--block-radius) !important;
background: var(--background-fill-secondary);
width: 100%;
line-height: var(--line-sm);
padding: var(--block-padding);
cursor: pointer;
user-select: text;
}
.custom-accordion > summary {
font-weight: var(--section-header-text-weight);
font-size: var(--section-header-text-size);
}
.custom-accordion-out {
width: 100%;
padding: var(--block-padding);
cursor: pointer;
user-select: text;
}
.custom-accordion-out > summary {
font-weight: var(--section-header-text-weight);
font-size: var(--section-header-text-size);
}script.js // Create a variable to track if the code has been run yet
var init = false;
// This function is automatically called by automatic1111 when the UI is updated
onUiUpdate(function() {
// This code should only be run once, so if init is true dont do anything. Init is set after we complete this the first time.
if(!init) {
// Get all the elements you are interested in and put them into an object to make the later code a bit cleaner
let settingsObjects = [
{ // Text2Image elements
settingsElement: document.getElementById('txt2img_settings'),
scriptContainer: document.getElementById('txt2img_script_container'),
excludeElements: [
'txt2img_script_container' // The sliders and other settings
]
},
{ // Image2Image elements
settingsElement: document.getElementById('img2img_settings'),
scriptContainer: document.getElementById('img2img_script_container'),
excludeElements: [
'mode_img2img', // The source image of img2img
'img2img_script_container' // The sliders and other settings
]
}
];
// If both settings elements exist that means the page is done loading and we can now wrap them in an accordion style element
if(typeof settingsObjects[0].settingsElement != "undefined" && typeof settingsObjects[1].settingsElement != "undefined") {
// Loop through each object in the array we created earlier
settingsObjects.forEach(obj => {
// Create the main accordion
// Get the parent element of the element we are working on currently
const parent = obj.settingsElement.parentNode;
// Get the position of the current element we are working on so we can put the accordion in the same spot as the element
const elIndex = Array.prototype.indexOf.call(parent.children, obj.settingsElement);
// Create a details element. This will be the accordion element
const details = document.createElement("details");
// Create a summary element. This will contain the label text of the accordion
const summary = document.createElement("summary");
summary.textContent = "All Settings";
// Add the summary element to the details element (aka the accordion)
details.appendChild(summary);
// Add the element we are working on into the details element (aka the accordion)
details.appendChild(obj.settingsElement);
// Add the created accordion element into the parent container of the element we are working on. Insert it into the same position as the element we removed.
parent.insertBefore(details, parent.children[elIndex]||null);
// Set the accordion panel to open by default
details.open = true;
// Add a class to the accordion so it is easier to write styles that target this element
details.classList = "custom-accordion-out";
// Create the inner accordion
// Create another details element. This will be the inner accordion element
const innerDetails = document.createElement("details");
// Create a summary element. This will contain the label text of the inner accordion
const innerSummary = document.createElement("summary");
innerSummary.textContent = "Settings";
// Add the summary element to the inner details element (aka the inner accordion)
innerDetails.appendChild(innerSummary);
// Set the inner accordion panel to open by default
innerDetails.open = true;
// Add a class to the accordion so it is easier to write styles that target this element
innerDetails.classList = "custom-accordion";
// Loop through each child of the main accordion and add the appropriate elements to the inner accordion
Array.from(obj.settingsElement.children).forEach(childEl => {
// If this is a valid child and not one of the excluded elements add it to the inner accordion
if(childEl != null && typeof childEl != 'undefined' && !obj.excludeElements.includes(childEl.getAttribute('id')) && childEl.getAttribute('id') != obj.scriptContainer) {
innerDetails.appendChild(childEl);
}
});
// Add the created inner accordion element into settings element above the scripts container element.
obj.settingsElement.insertBefore(innerDetails, obj.scriptContainer);
});
// Now that we are done, set init to true so that it doesn't run more than once
init = true;
}
}
});Without Outer Accordion: user.css .custom-accordion {
position: relative;
margin: 0;
box-shadow: var(--block-shadow);
border-width: var(--block-border-width);
border-color: var(--block-border-color);
border-radius: var(--block-radius);
border-top-left-radius: var(--block-radius) !important;
border-top-right-radius: var(--block-radius) !important;
background: var(--background-fill-secondary);
width: 100%;
line-height: var(--line-sm);
padding: var(--block-padding);
cursor: pointer;
user-select: text;
}
.custom-accordion > summary {
font-weight: var(--section-header-text-weight);
font-size: var(--section-header-text-size);
}script.js // Create a variable to track if the code has been run yet
var init = false;
// This function is automatically called by automatic1111 when the UI is updated
onUiUpdate(function() {
// This code should only be run once, so if init is true dont do anything. Init is set after we complete this the first time.
if(!init) {
// Get all the elements you are interested in and put them into an object to make the later code a bit cleaner
let settingsObjects = [
{ // Text2Image elements
settingsElement: document.getElementById('txt2img_settings'),
scriptContainer: document.getElementById('txt2img_script_container'),
excludeElements: [
'txt2img_script_container' // The sliders and other settings
]
},
{ // Image2Image elements
settingsElement: document.getElementById('img2img_settings'),
scriptContainer: document.getElementById('img2img_script_container'),
excludeElements: [
'mode_img2img', // The source image of img2img
'img2img_script_container' // The sliders and other settings
]
}
];
// If both settings elements exist that means the page is done loading and we can now wrap them in an accordion style element
if(typeof settingsObjects[0].settingsElement != "undefined" && typeof settingsObjects[1].settingsElement != "undefined") {
// Loop through each object in the array we created earlier
settingsObjects.forEach(obj => {
// Create the inner accordion
// Create another details element. This will be the inner accordion element
const innerDetails = document.createElement("details");
// Create a summary element. This will contain the label text of the inner accordion
const innerSummary = document.createElement("summary");
innerSummary.textContent = "Settings";
// Add the summary element to the inner details element (aka the inner accordion)
innerDetails.appendChild(innerSummary);
// Set the inner accordion panel to open by default
innerDetails.open = true;
// Add a class to the accordion so it is easier to write styles that target this element
innerDetails.classList = "custom-accordion";
// Loop through each child of the main accordion and add the appropriate elements to the inner accordion
Array.from(obj.settingsElement.children).forEach(childEl => {
// If this is a valid child and not one of the excluded elements add it to the inner accordion
if(childEl != null && typeof childEl != 'undefined' && !obj.excludeElements.includes(childEl.getAttribute('id')) && childEl.getAttribute('id') != obj.scriptContainer) {
innerDetails.appendChild(childEl);
}
});
// Add the created inner accordion element into settings element above the scripts container element.
obj.settingsElement.insertBefore(innerDetails, obj.scriptContainer);
});
// Now that we are done, set init to true so that it doesn't run more than once
init = true;
}
}
}); |
Beta Was this translation helpful? Give feedback.
-
|
I just wanted to come back and thank you again. It's so clean and nice now.
|
Beta Was this translation helpful? Give feedback.
-
|
glad you like it |
Beta Was this translation helpful? Give feedback.
-
|
|
Beta Was this translation helpful? Give feedback.
-
|
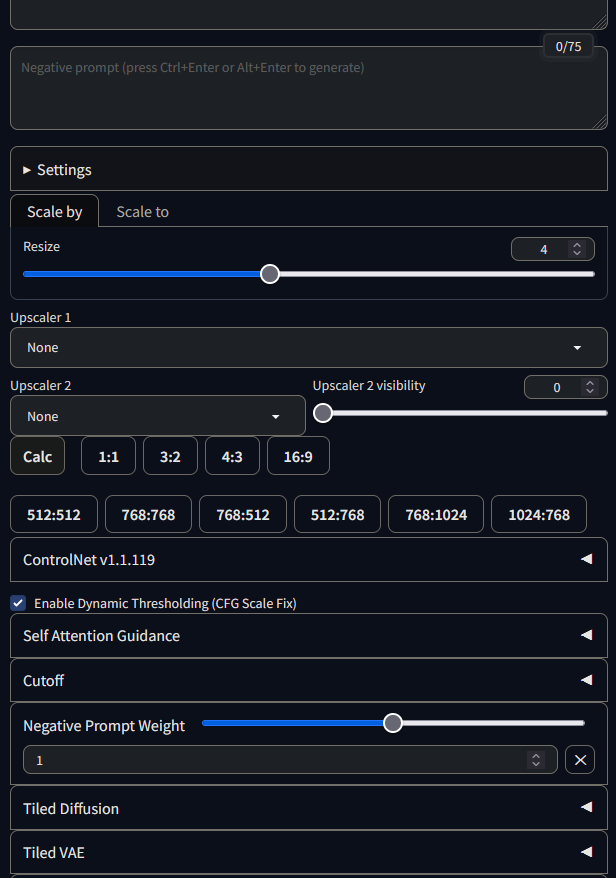
thank you. I've been using your script for a while. Later when the upscale tab moved to txt2img my UI becomes horrible. Would you mind showing me a way to adjust the script to hide the upscale setting and other stubborn extension such as Negative Prompt Weight? |
Beta Was this translation helpful? Give feedback.
-
|
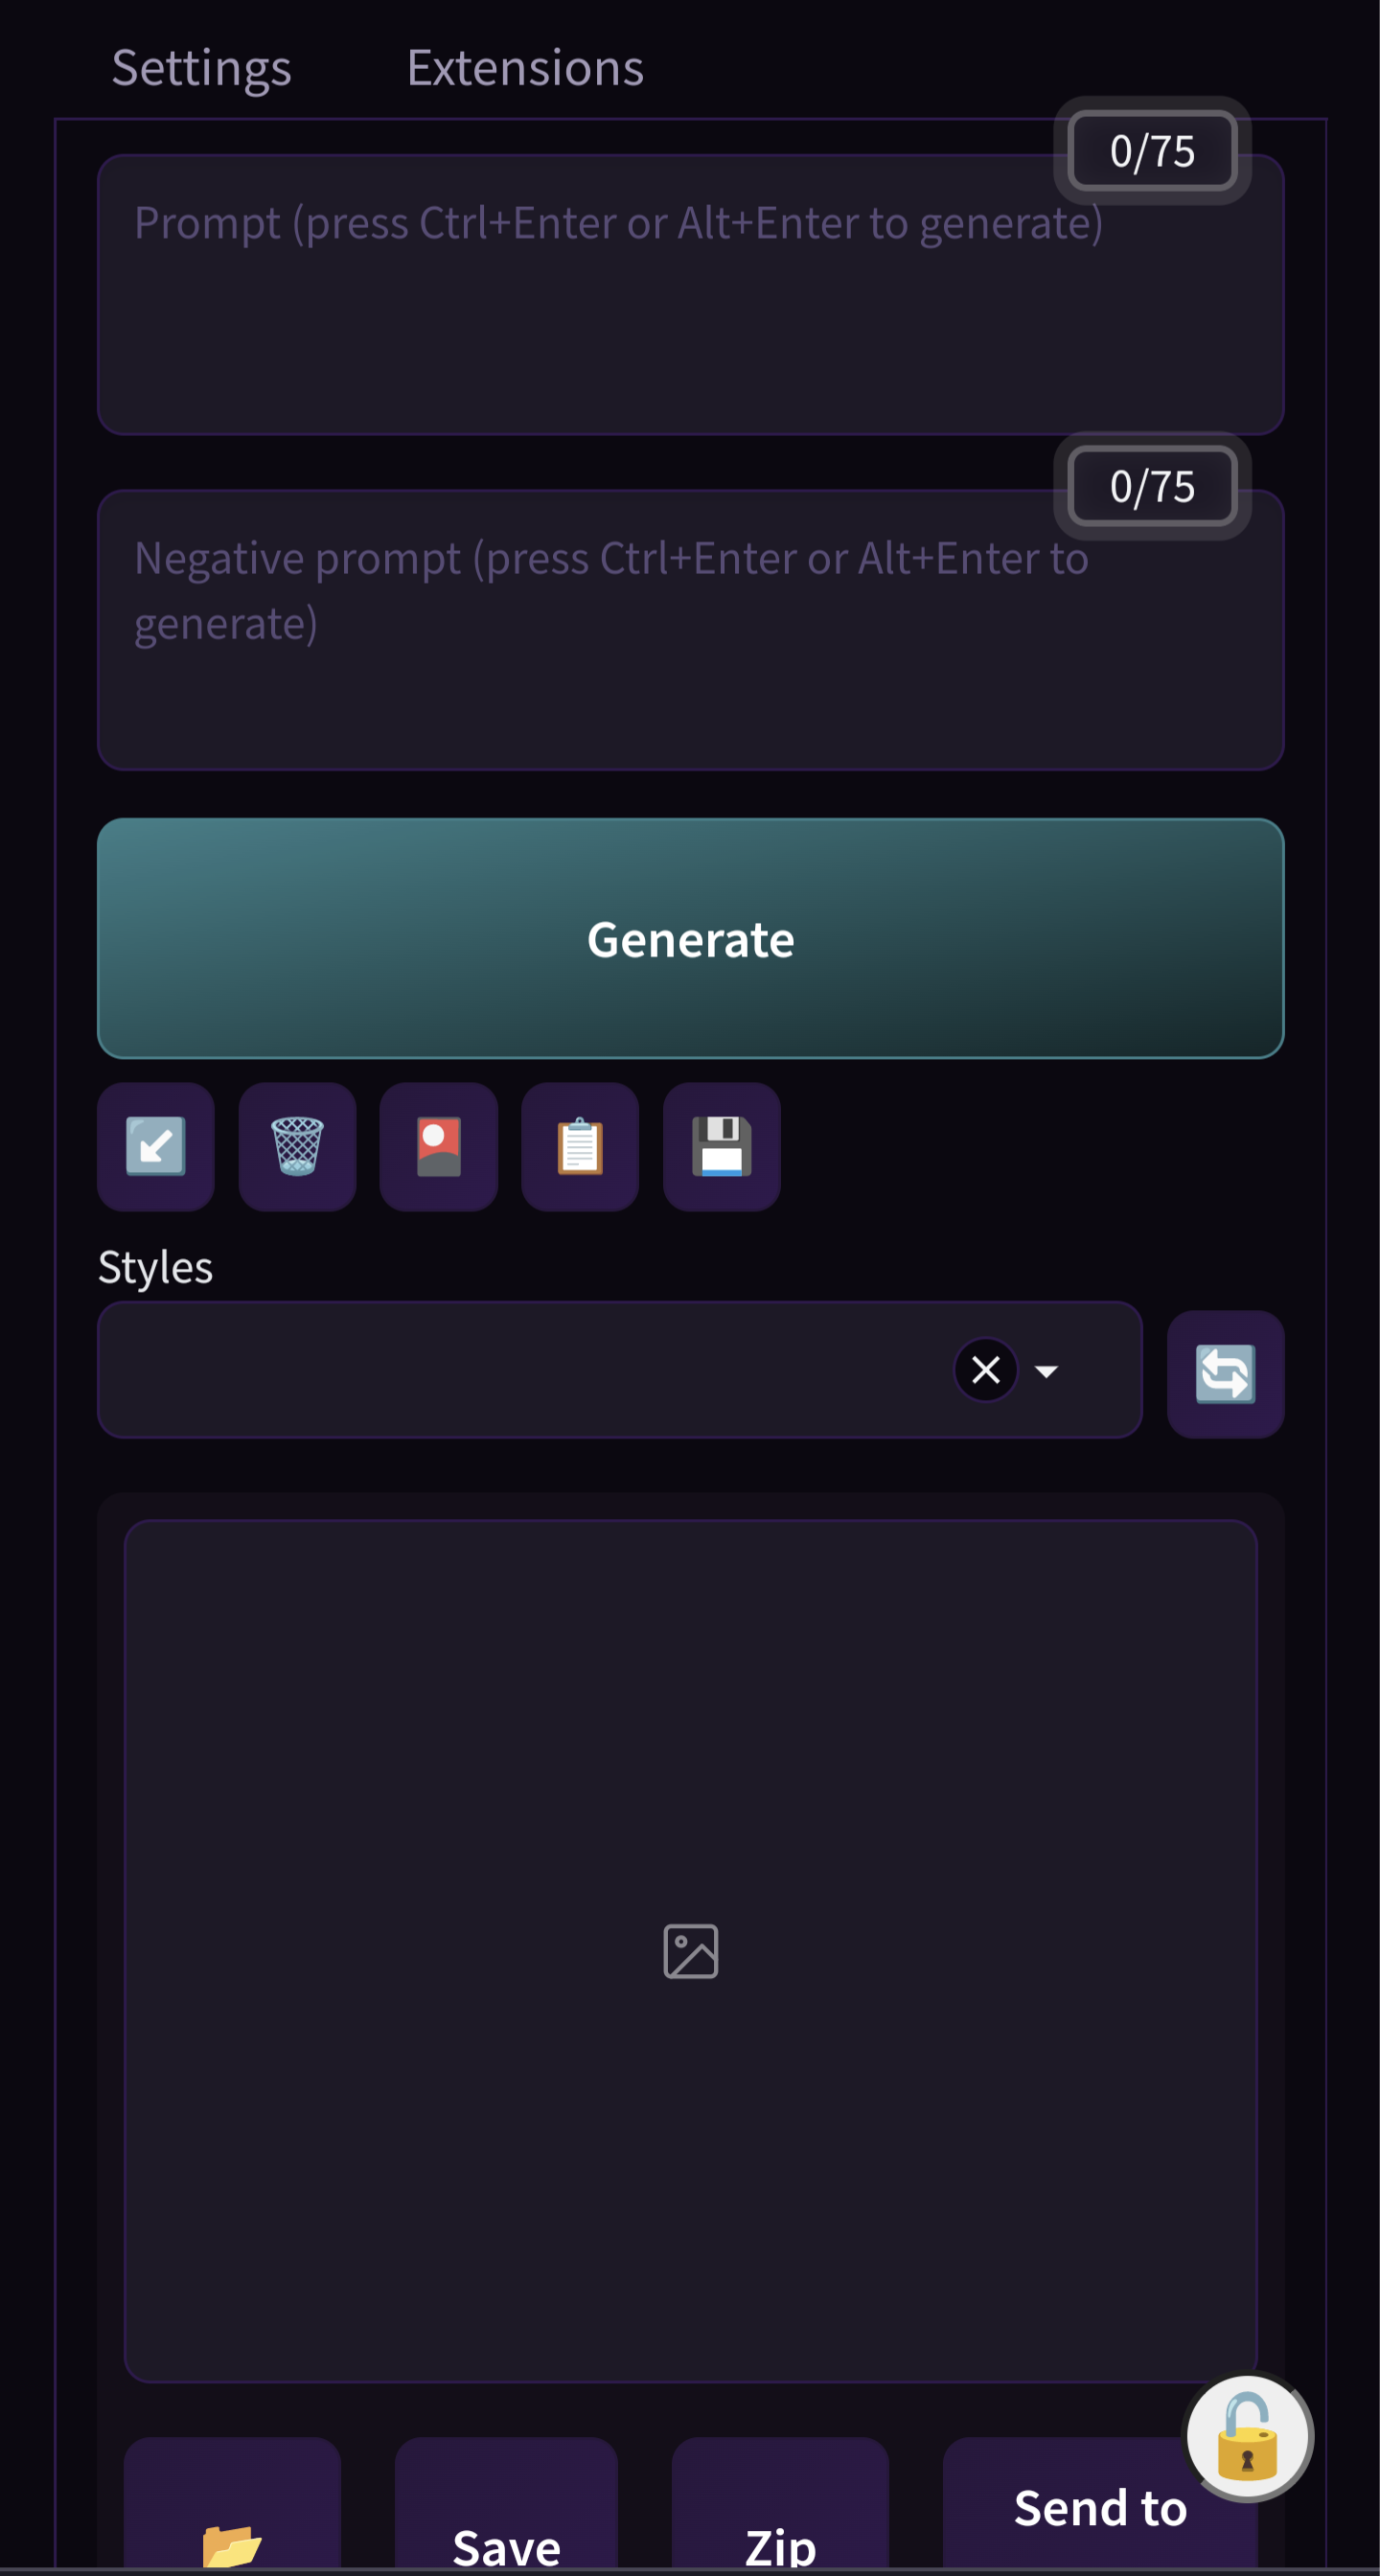
You must have some extension putting all of that there. Mine does not look like that at all. Here is mine with settings expanded. Here is mine with settings collapsed. Here is mine with all settings hidden. Using another extension called SD-Lock-UI |
Beta Was this translation helpful? Give feedback.
Uh oh!
There was an error while loading. Please reload this page.
-
Hi, if anyone knows how to do this it would be appreciated. I like the menu, I don't like where it is located. Can it be moved above the prompt boxes/generate button?
Beta Was this translation helpful? Give feedback.
All reactions