This repository was archived by the owner on Jan 29, 2018. It is now read-only.
Workflow: Existing Bitmap Image
- Find an existing image / draw an image in the application of your choosing
Here I'm just grabbing a random image of Google Images (no copyright infringement meant)

-
JPEG, GIF, BMP and PNG are all supported
-
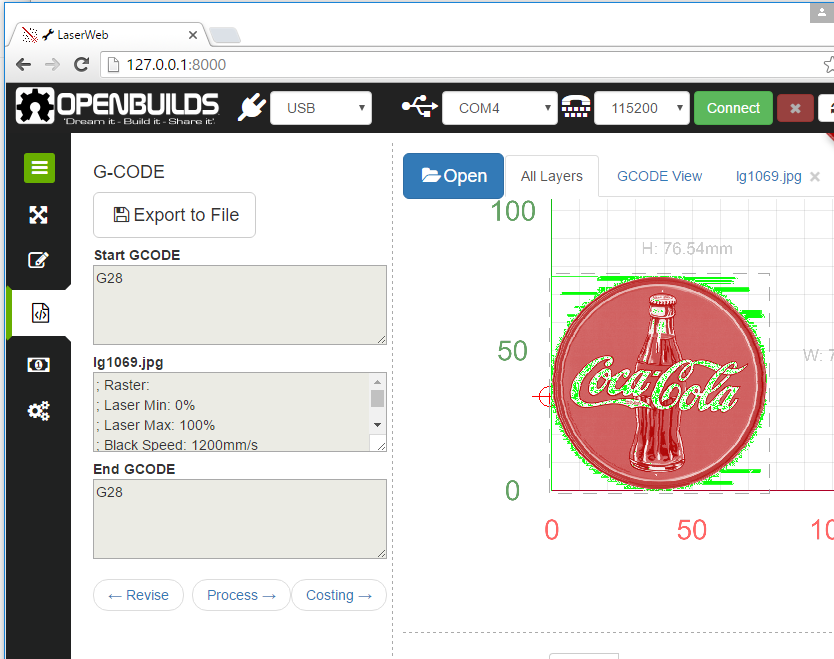
Open the file in LaserWeb
- Adjust the "bitmap resolution" to the correct DPI for the image (understanding DPI falls beyond the scope of this guide. But lets say you draw a picture for 100x100mm at 150DPI, the resulting PNG will be (100mm / 25.4mm * 150 = 886x886 pixels big. To get the pixels back to MM we scale it by the appropriate DPI. You can also cheat a little and play with the DPI till the size is achieved that you want the picture to be.

-
Ajust speed and power setting appropriate to your machine
-
Click Generate GCode: It will take a few seconds to convert the bitmap into a RASTER
- Run the job: The result of a Raster job, is a finely grayscaled image. Usually better suited to photographs and gradients. Unfortunately, lasering a raster is a time consuming job, since it scans over the image creating it line by line