sys_verify
The following guide provides a quick tour of your new installed system. This system has been created using the inventory files showed in the examples, so you may need to adapt IPs and host names to your infrastructure.
Let's first check the hosts, ssh into the frontend and check the hosts registered in OpenNebula. Verify that STAT is on and not err:
root@ubuntu2204-14:~# sudo -i -u oneadmin
oneadmin@ubuntu2204-14:~$ onehost list
  ID NAME                                               CLUSTER    TVM      ALLOCATED_CPU      ALLOCATED_MEM STAT
   1 172.20.0.9                                         default      0       0 / 100 (0%)     0K / 1.4G (0%) on
   0 172.20.0.8                                         default      0       0 / 100 (0%)     0K / 1.4G (0%) on
Similarly you can check the datastores. Note that all datastores are using ssh drivers.:
oneadmin@ubuntu2204-14:~$ onedatastore list
  ID NAME                                                      SIZE AVA CLUSTERS IMAGES TYPE DS      TM      STAT
   2 files                                                    19.2G 84% 0             0 fil  fs      ssh     on
   1 default                                                  19.2G 84% 0             0 img  fs      ssh     on
   0 system                                                       - -   0             0 sys  -       ssh     on
And finally the virtual networks created as part of the deployment:
oneadmin@ubuntu2204-14:~$ onevnet list
  ID USER     GROUP    NAME                            CLUSTERS   BRIDGE            STATE        LEASES OUTD ERRO
0 oneadmin oneadmin admin_net 0 br0 rdy 0 0 0Let's download an alpine image from the OpenNebula MarketPlace so we can later create some test VMs:
oneadmin@ubuntu2204-14:~$ onemarketapp export -d default 'Alpine Linux 3.17' alpine
IMAGE
    ID: 0
VMTEMPLATE
    ID: 0
Before proceeding let's wait for the alpine image to be in ready state, time will vary depending on your Internet connection speed:
oneadmin@ubuntu2204-14:~$ oneimage list
  ID USER     GROUP    NAME                                                 DATASTORE     SIZE TYPE PER STAT RVMS
   0 oneadmin oneadmin alpine                                               default       256M OS    No rdy     0
Finally, let's create a VM based on the Alpine template. Also, we will attach the VM to the admin_net network:
oneadmin@ubuntu2204-14:~$  onetemplate instantiate --nic admin_net alpine
VM ID: 0
Now, wait for the VM to reach the running state (you can use onevm top):
onevm list
  ID USER     GROUP    NAME                                 STAT  CPU     MEM HOST                           TIME
   0 oneadmin oneadmin alpine-0                             runn    1    128M 172.20.0.9                 0d 01h50
Finally, verify VM connectivity. The VM will be using the first IP in the range, 172.20.0.100 in our example (adjust as needed):
oneadmin@ubuntu2204-14:~$ ping -c 2 172.20.100
PING 172.20.100 (172.20.0.100) 56(84) bytes of data.
64 bytes from 172.20.0.100: icmp_seq=1 ttl=64 time=1.07 ms
64 bytes from 172.20.0.100: icmp_seq=2 ttl=64 time=1.13 ms

--- 172.20.100 ping statistics ---
2 packets transmitted, 2 received, 0% packet loss, time 1002ms
rtt min/avg/max/mdev = 1.069/1.098/1.128/0.029 ms
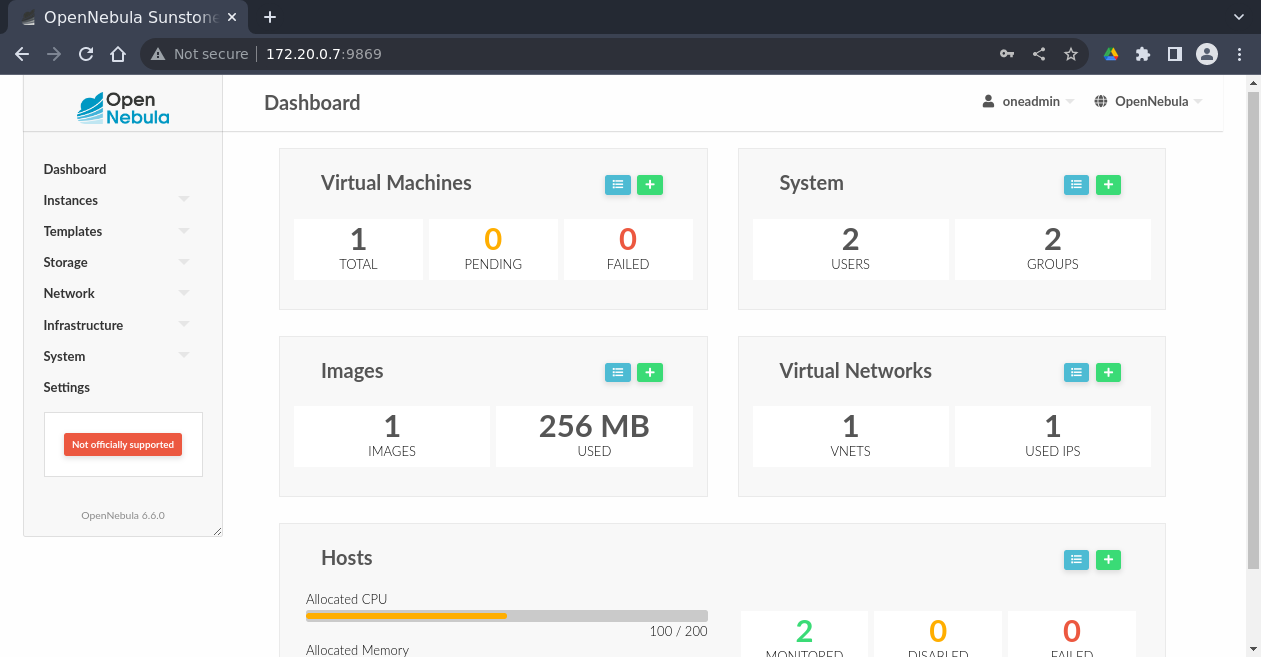
You can use the Suntone web interface by pointing your browser to the front-end IP and port 9869 (http://172.20.0.7:9869). After login using the oneadmin account and the password included in the inventory file, you will see the main dashboard: