
UNIVERSITY OF WEST ATTICA
SCHOOL OF ENGINEERING
DEPARTMENT OF COMPUTER ENGINEERING AND INFORMATICS
University of West Attica · Department of Computer Engineering and Informatics
Software Engineering
Vasileios Evangelos Athanasiou
Student ID: 19390005
Supervision
Supervisor: Georgios Prezerakos, Professor
Athens, August 2023
This guide will help you set up and run the Preze Cinemas Desktop application on your local machine.
- Java Development Kit (JDK 11 or later)
- NetBeans IDE (or any Java IDE supporting Swing & JDBC)
- MySQL Server (≥ 8.0 recommended)
- Download: https://dev.mysql.com/downloads/mysql/
- MySQL Workbench (optional, for database inspection)
- Git (optional, for cloning the repository)
- Command-line terminal
- Text editor for configuration file edits
git clone https://github.com/Preze-Cinemas-Desktop/Code.git
cd Code
The project folder structure:
assign/
CinemaApplication/
README.md
CinemaApplication/ contains:
src/→ Java source files for GUI and business logicbuild/→ compiled .class filesnbproject/→ NetBeans project filesbuild.xml→ build scriptmanifest.mf→ JAR packaging file
The application requires two databases: cinema and bank.
- Log in to MySQL:
mysql -u root -p- Create databases:
CREATE DATABASE cinema;
CREATE DATABASE bank;If .sql scripts are provided in the repository (e.g., CinemaApplication/database/), import them:
mysql -u root -p cinema < cinema_schema.sql
mysql -u root -p bank < bank_schema.sql
If no scripts are provided, manually create tables according to the project documentation:
- Cinema Database Tables:
movies,screenings,seats,reservations,customers - Bank Database Tables:
accounts,transactions,balances
Open the main configuration file (or CinemaApplication.java/BankSystem.java) and check the JDBC connection strings:
String urlCinema = "jdbc:mysql://localhost:3306/cinema";
String urlBank = "jdbc:mysql://localhost:3306/bank";
String user = "root";
String password = "your_mysql_password";
Update the username and password to match your MySQL setup.
- Launch NetBeans IDE.
- Click File → Open Project.
- Navigate to
CinemaApplication/and select the folder. - NetBeans should detect the project as a Java application.
- Wait until the IDE fully loads the project and resolves dependencies.
- Right-click the project → Clean and Build.
- Check for compilation errors in the Output window.
- The executable
.classfiles will be generated inbuild/.
Right-click the main class CinemaApplication.java → Run File.
Or run from command line:
cd CinemaApplication/build/classes
java cinemaapplication.CinemaApplication- Login or Register: Start by creating a new user or logging in.
- Choose Movie: Select a movie and screening time.
- Select Tickets: Pick the number and type of tickets.
- Check Availability: Ensure tickets are available.
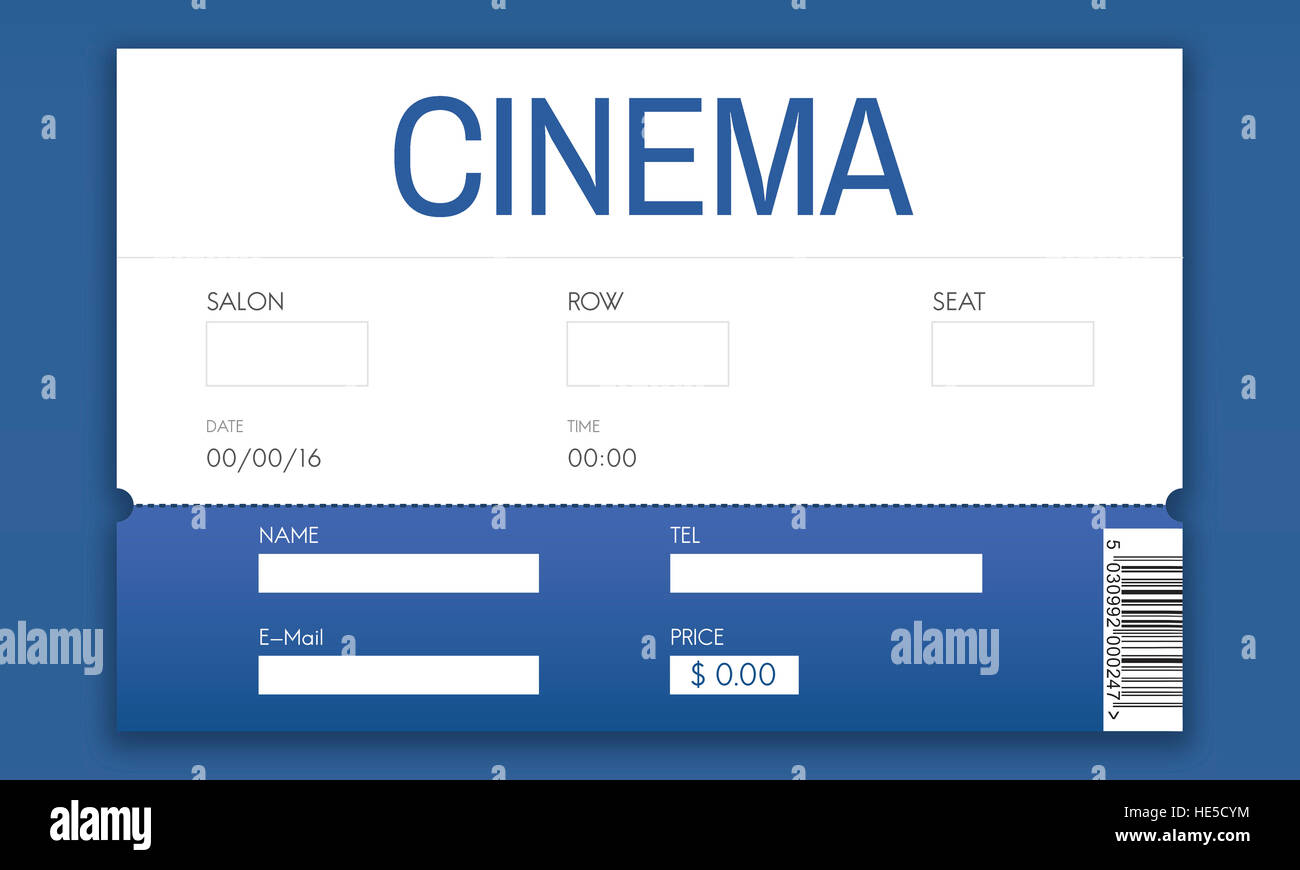
- Payment: Simulated via
BankSystem. - Download Receipts/Tickets: Save outputs as
.txt.
- JDBC Driver Not Found: Ensure
mysql-connector-java.jaris in the classpath. - Database Connection Error: Verify credentials and MySQL service status.
- GUI Issues: Use NetBeans’ “Clean and Build” to resolve corrupted Swing layouts.
- Payment Validation Errors: Ensure bank database contains sufficient account balances.