Tutorial Ceiling Fan Light
This tutorial will cover setting up this multi-function Ceiling Fan / Light.
- Setting up icons
- Setting up lights that play well with both Global Illumination
- Setting up server item/object based on an existing server item
- Using WorldObject.AnimationState to trigger custom animations
- Setting up custom interactions and interaction tooltips
(Thank to Phlo for donating the model for this tutorial!)
Start a new Unity project and install Eco ModKit Installation
I usually copy and modify the Template scene by:
- opening Assets/EcoModKit/TemplateScene
- created a new folder Assets/Tutorial
- File->Save Scene As -> Assets/Tutorial/Tutorial.unity
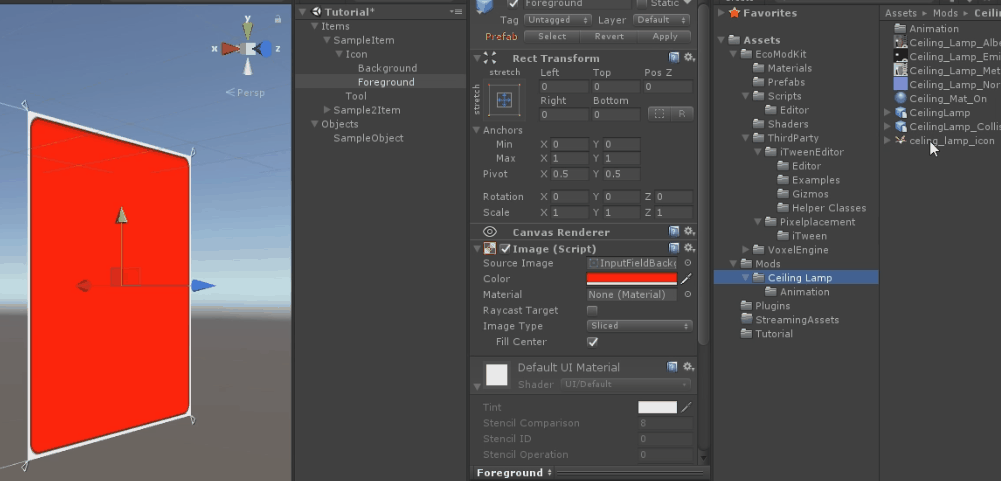
- Create an icon in an image editing program (either draw one or take a screenshot of your model once it's done)
- Select the icon file in unity and in the inspector tab change "Texture Type" to "Sprite (2D and UI)" then hit Apply at the bottom of the inspector tab.
- Select the Items transform in the Hierarchy tab and enable it by checking the box top-left in the Inspector tab
- If you can't see anything in the scene view Double click on Items in the Hierarchy tab to focus More Scene Navigation Help
- Assign the Icon and fix the color tint:
- Renamed SampleItem to CeilingFanItem and deleted SampleItem2
- Select the Objects transform in the Hierarchy tab and enable it by checking the box top-left in the Inspector tab
- If you can't see anything in the scene view Double click on Objects in the Hierarchy tab to focus More Scene Navigation Help
- I renamed SampleObject to CeilingFanObject then dragged the model to set it as a child (Note I misspelled CeilingFanObject here and had to go back and fix it later. Don't do that, spelling matters 😅)
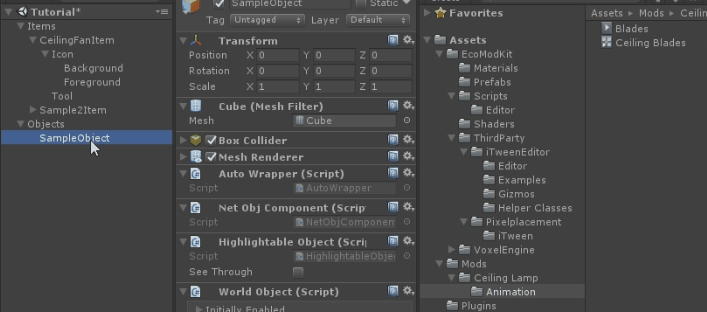
- The SampleObject Cube is already aligned to game voxels, so we want the base to align with the top
- In this example We're not using the renderer on the root CeilingFanObject so I removed it along with the Cube collider.
- Select the materials used by the object and ensure the Shader is set to "Curved/Standard"
- Lets go ahead and run the first test at this point
- Do a Menu File -> Save Project to ensure misc things like material changes get saved.
- Then Menu ModKit -> Build Current Bundle
- Browse to your server folder then create a new folder under Mods, I used Mods/Tutorial and saved as tutorial.unity3d
- The CeilingFan seems pretty similar to an ElectricWallLamp so I copied Mods/AutoGen/WorldObject/ElectricWallLamp.cs to Mods/Tutorial/CeilingFan.cs
- Then did a search/replace of "ElectricWallLamp" with "CeilingFan" and "Electric Wall Lamp" with "Ceiling Fan"
- Start the server and connect to it
- Within the ServerUI go to the ModKit tab and set LiveUpdateUnityFiles to true (so we don't have to restart the server if we reexport the bundle)
- Also make sure you're set as an Admin the Users tab
- Connect and give yourself a CeilingFan and power source with
- /give CeilingFan
- /give WindTurbine (if you don't have a power source & place nearby)
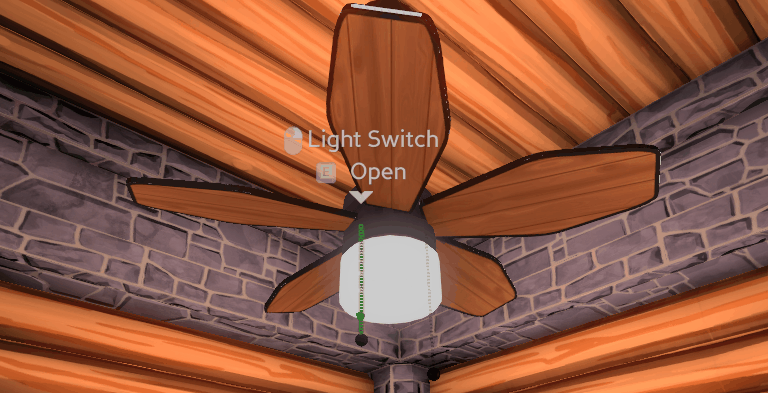
- Place the Ceiling Fan, it should appear but not do anything yet
- To make things interesting, lets have 2 switches for the fan.
- Delete the line
[RequireComponent(typeof(OnOffComponent))]one switch is boring! - Here is the modified CeilingFanObject code with comments included where something changed
    public partial class CeilingFanObject : WorldObject
    {
        // Added FanOn and LightOn so we have 2 switches which will get saved thanks to the Serialized attribute
        [Serialized] public bool FanOn = true;
        [Serialized] public bool LightOn = true;
        public override string FriendlyName { get { return "Celing Fan"; } }

        protected override void Initialize()
        {
            this.GetComponent<MinimapComponent>().Initialize("Lights");
            this.InitPowerConsumption();
            this.GetComponent<PowerGridComponent>().Initialize(10, new ElectricPower());
            this.GetComponent<HousingComponent>().Set(CeilingFanItem.HousingVal);
        }

        // Added this function that changes the power consumed based on if the light & fan are enabled
        public void InitPowerConsumption()
        {
            float power = 0f;
            if (FanOn)
                power += 50f;
            if (LightOn)
                power += 50f;

            this.GetComponent<PowerConsumptionComponent>().Initialize(power);
        }

        // We will be sending the server "Fan" and "Light" when their switches are right clicked
        // Also update the power consumed when switches are toggled
        public override InteractResult OnActRight(InteractionContext context)
        {
            if (context.Parameters != null && context.Parameters.ContainsKey("Fan"))
            {
                FanOn = !FanOn;
                this.InitPowerConsumption();
                return InteractResult.Success;
            }

            if (context.Parameters != null && context.Parameters.ContainsKey("Light"))
            {
                LightOn = !LightOn;
                this.InitPowerConsumption();
                return InteractResult.Success;
            }
            return InteractResult.NoOp;
        }

        // Finally we send the Fan & Light states to clients using Animated States
        // Operating indicates that room/power requirements are fulfilled
        public override void Tick()
        {
            base.Tick();
            SetAnimatedState("Fan", this.Operating && FanOn);
            SetAnimatedState("Light", this.Operating && LightOn);
        }
    }