Basic setup and knowledge for using the bot
- Python version >= 3.8.0
- Python-pip versoin >= 21.3.0
- And a few python external modules: (use the latest version)
- discord (might change this in the feature since this is maintainer no longer maintains this package)
- packaging
- requests
- colorama
- inputimeout
- simplejson
Note you can use python3 -m pip install requirements.txt. The requirements.txt file is right under the main branch.
To setup the most basic (without any configuration) you will need a discord user ID and a discord bot token. Basic setup will guide you to a point where the bot will start responding to the privileged users' commands in discord chat.
Without any configuration you won't be able to use commands such as kaboom and webhook spam, but you still can use the nuke command. You can configure the configuration any time after you finished the basic setup.
If you are using the .exe version for windows users you can double click on the .exe file to run, and now skip to Entering authentication to continue the setup process.
git clone --depth 1 https://github.com/TKperson/Nuking-Discord-Server-Bot-Nuke-Bot.gitcd Nuking-Discord-Server-Bot-Nuke-Botpython3 -m pip install -r requirements.txtpython3 c-realV2.py

- If you have successfully booted up for the first time the bot you will greet you with "Enter token. >>>". In here, you will have to enter a discord bot token. If you don't have a bot token or you don't know what a bot token is read this.
Note: support for selfbot token is deprecated. We no longer supports selfbot in this code; however the selfbot features are not removed, but it will have bugs or not usable at all.
Important: You need to enable bot privileged intents in your bot's application

-
After entering the token, you need to enter your a discord user ID that will be used to command the bot. (How to get discord user ID)
-
And now you finished the basic setup. You will see something like this:
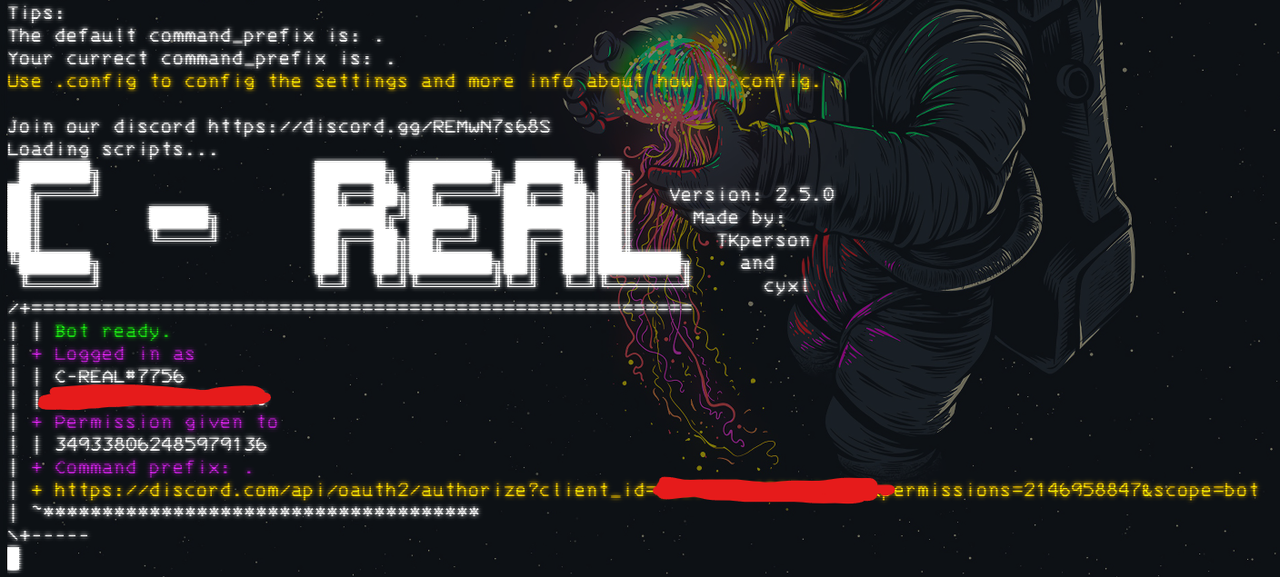
All you have to do is to invite the bot into your testing server to try out the commands. To invite the bot to your testing server you need to copy the invite link to a browser's URL bar. The invite code should look like this in your console:

- Upon inviting the bot to your testing server, you can try the
.helpcommand in the server to see all the available commands
Discord user IDs are needed for the bot to identify the owner(s) of the bot, so the bot knows whether if a discord user has the access to use the bot commands. Privileged users can give privileges to anyone to use the bot during runtime by using .config permissions add <user ID> or give everyone access: .gap (Give all permissions to everyone)
There are 2 ways that you can check for permissions.
- Use
.config permissions list - Open the configuration file (usually the configuration file is called "default.json")
There are 2 ways that you can modify the permissions
- use
.config permissions <add|remove> <UserID|line number>. You can use.config permissions listto check line numbers- Example:
.config permissions add 349338062485979136 - Example:
.config permissions remove 2
- Example:
- Open up the configuration file and edit the "permissions". Note: the permissions value has to be a String
Example:
{
    // ...

    "permissions": [
        "349338062485979136", // this a discord ID
        "713936815022932079" // this is another discord ID
    ],

    // ...
}