- Migrations are used to modify the shape of an existing database.
- Changing the shape of the database can include adding or deleting columns, changing the name of the column, or changing the data type of a column.
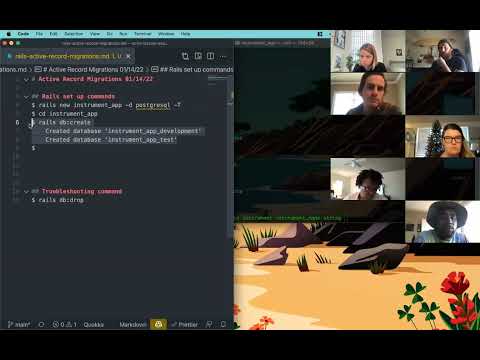
- Using a Rails generate command to modify the database
- migrations
- $ rails generate migration action_name_here
- $ rails db:migrate
add_column :table_name, :column_name, :datatypechange_column :table_name, :column_name, :datatyperename_column :table, :old_column, :new_columnremove_column :table_name, :column_name
- Did you create your database?
- Did you migrate?
- Errors? Always look at the first error in the list.
A migration is a file that is generated through a rails command that will allow you to make changes to the database. This can include (but not limited to) editing a column's name or data type, adding a new column or removing a column.
When working with full-stack projects, the columns or data types required in a database table may need to change to accommodate new specifications. This requires changing the shape of your database.
The schema file cannot be directly edited as it is just a representation of the current state of your database.
How do we edit the database? With a migration!
We are able to edit the database by running a Rails generate command to create a migration. The command will require proper naming conventions that communicate the intent of your changes.
- Migration names are PascalCased or snake_cased
- Migration names start with an action that describes the purpose of the migration (i.e. create, add, remove, etc)
- The migration name ends with the name of the table (add_item_to_list)
An example of this using snake_case:
$ rails generate migration add_item_to_list
Alternatively, we can use PascalCase:
$ rails generate migration AddItemToList
Running this command in the terminal will generate a new file in the migration directory. Editing this file and adding the changes we want within the def change method will create a new version of the database and update the schema file accordingly.
In the exercise below, we'll be creating a new Rails application, but we will do it a bit differently. In the model we create we will leave out all of the columns that we would normally include in the beginning thus requiring us to create a migration file to add them.
First, we'll need to set up a brand new Rails app which we will call migrations_practice.
In our terminal, we will type the following commands:
$ rails new migrations_practice -d postgresql -T
$ cd migrations_practice
$ rails db:create
$ rails generate model List
$ rails server
We specifically do not assign any columns to this database. We will add those later, via a migration!
For now, lets check to see if the server is running correctly by navigating in our browser to:
http://localhost:3000
or
127.0.0.1:3000
Now that we have our application up and running, we will need to add the item and description columns to the List table. For this example, we'll use snake_case for our naming convention.
$ rails generate migration add_columns_to_list
A new file is added to the migrate directory with the timestamp appended to the front of the snake_case naming we gave it. Rails uses this timestamp to determine which migration should be run and in what order. When we open the file up, we will find the starter code for the migration already built out for us.
db/migrate
class AddColumnsToList < ActiveRecord::Migration[6.0]
  def change
  end
end
The changes we want to make will need to be added within the scope of the def change method.
Now that the migration file is created and we've opened it up, we will need to add the Active Record migration statements.
Since we want to add the item column, we will tell it by using the add_column statement. The syntax will look like this:
add_column :lists, :item, :stringFirst we add our change definition, our table, our column name and our data type, all separated by commas and preceded by a colon starting with the table.
Lets break this down to better understand whats going on here:
- add_column
- This part is our change definition that tells Rails we want to add a new column to the table.
- :lists
- This part tells Rails what table we are adding it to.
- :item
- This part tells Rails what the name of our new column will be.
- :string
- This part tells Rails what our data type for the new column will be.
Note: add_column is not the only change definition we can use in our migration files. There are many Active Record statements available that will accomplish any changes we might want. To find out more, refer to the Rails documentation on Migrations.
Since we are adding more than one column into our table, we can add another using the same syntax but we will change the column name to description.
Our file should now look like this:
class AddColumnsToList < ActiveRecord::Migration[6.0]
  def change
    add_column :lists, :item, :string
    add_column :lists, :description, :string
  end
end
After we save the file, we are ready to tell Rails to make the changes by running the migrate command in terminal.
$ rails db:migrate
The database and schema file are now updated!
- Create a new Rails application called 'favorite_movies'.
- Create the database
- Generate a Movie model with a title attribute and a category attribute
- Add five entries to the database via the Rails console
- Create a migration to add a new column to the database called movie_length
- Update the values of the five existing attributes to include a movie_length value
- Generate a migration to rename the column 'category' to 'genre'