Thermostat
In this lesson, we will be creating an app that reads temperature data from a server and displays the data in real-time to simulate a thermostat. We will allow the user to manually manipulate the data with the use of buttons as well.
First, we set the AlignHorizontal property of the screen to be 'Center' so that everything will be centered (this step is optional).

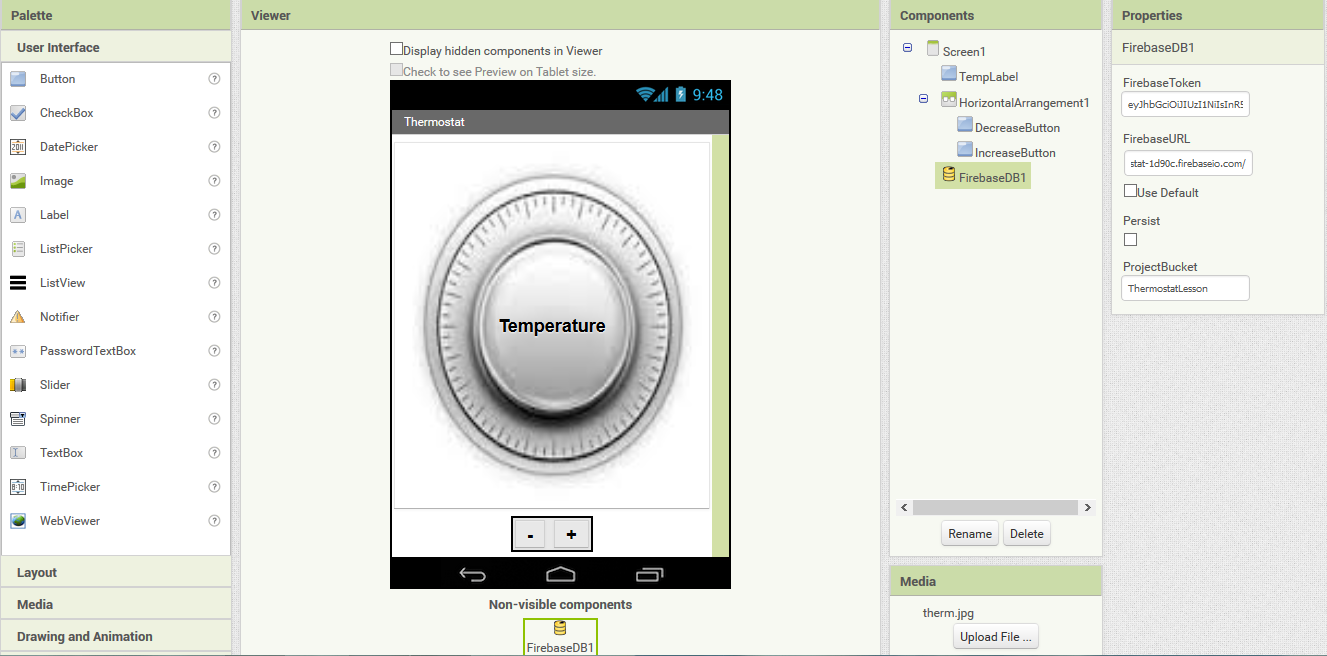
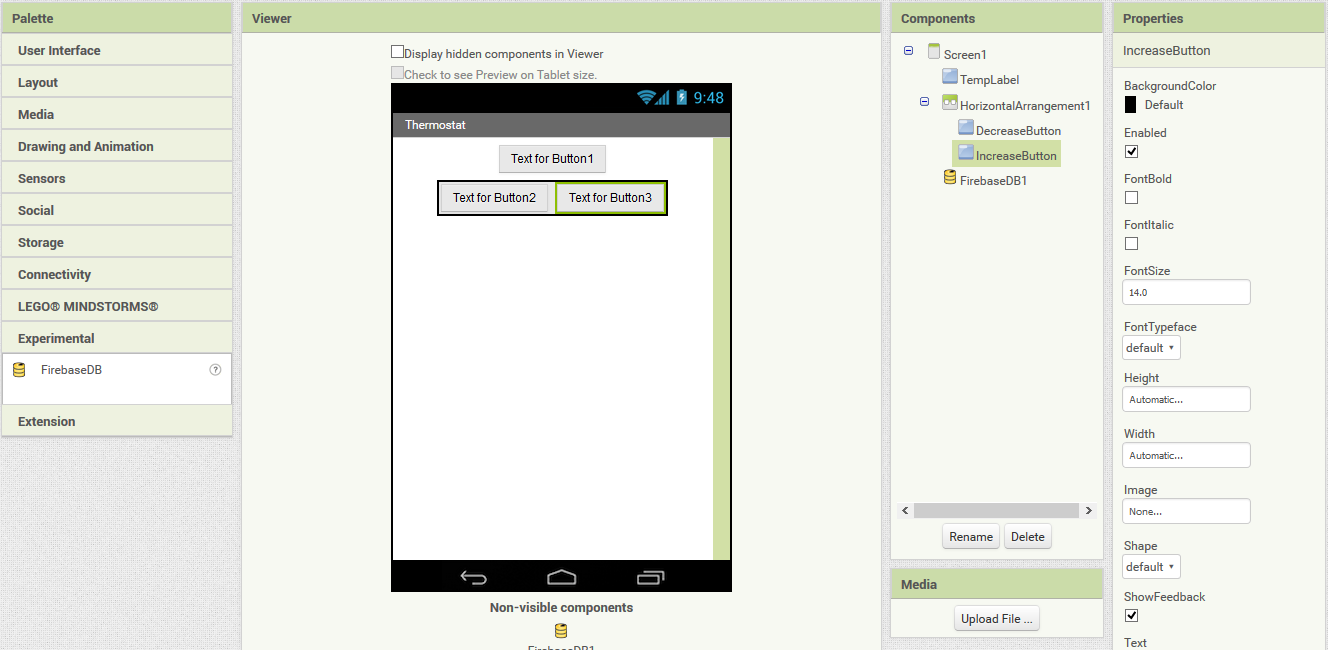
Next, we insert a button, followed by a HorizontalArrangement (which can be found under the 'Layout' section of the 'Palette' panel). Then we'll add 2 more buttons inside of that horizontal arrangement. Finally, we'll add a FirebaseDB component (found under the 'Experimental' section of the 'Palette' panel) by dragging it into the screen.

Now we rename the buttons so that we won't get confused about their purpose later on. Rename Button1 to 'TempLabel', Button2 to 'DecreaseButton', and Button3 to 'IncreaseButton'. To rename the components, simply click on the component and then click the 'Rename' button.
Now it's time to configure the properties of the components so that the display is more user-friendly. The properties of each component can be found under the 'Properties' panel after clicking on a component. First we'll start by changing the Height and Width properties of the TempLabel button to both be 'Fill parent'. Then let's uncheck the Enabled box (this will be explained later), set the FontSize to 20, and check the FontBold box. Next we'll change the Text property of the TempLabel to say "Temperature".
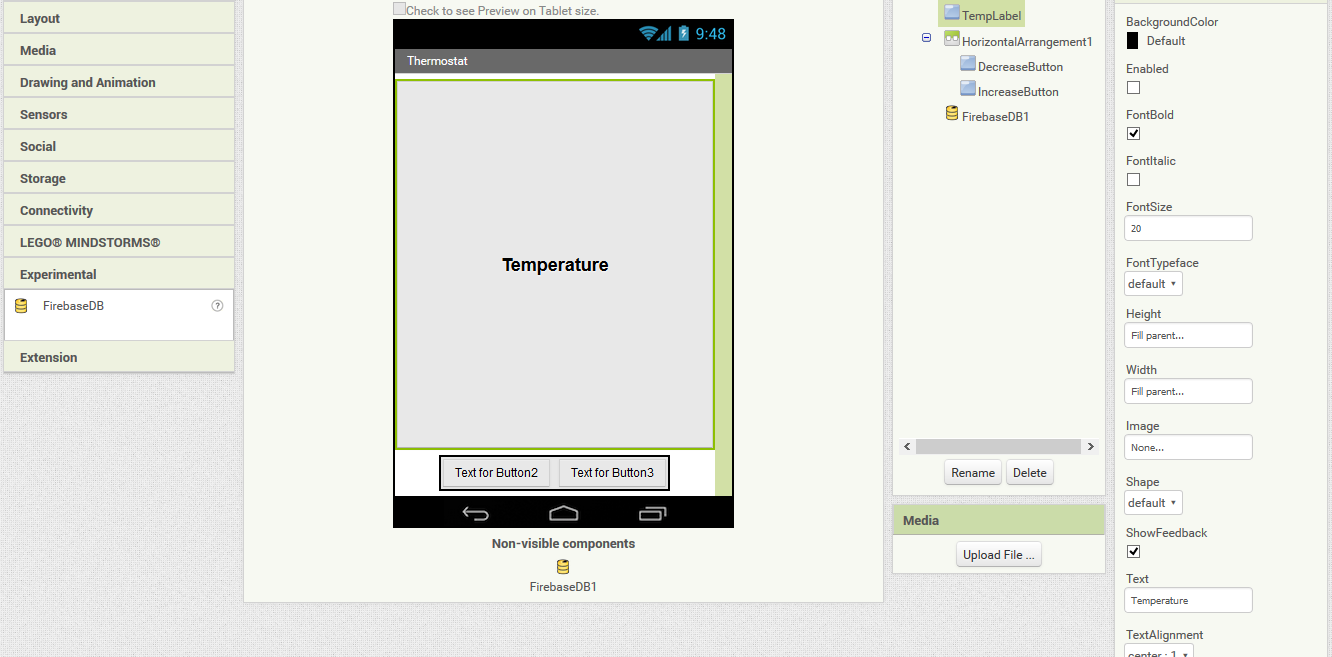
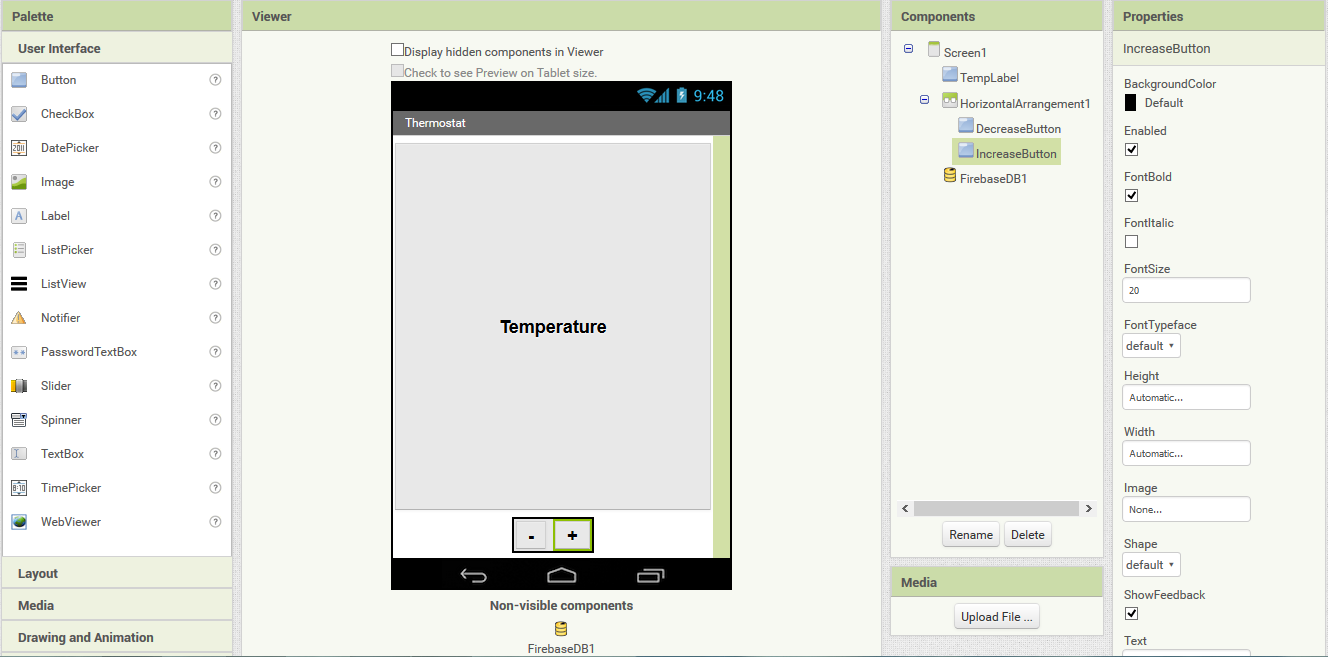
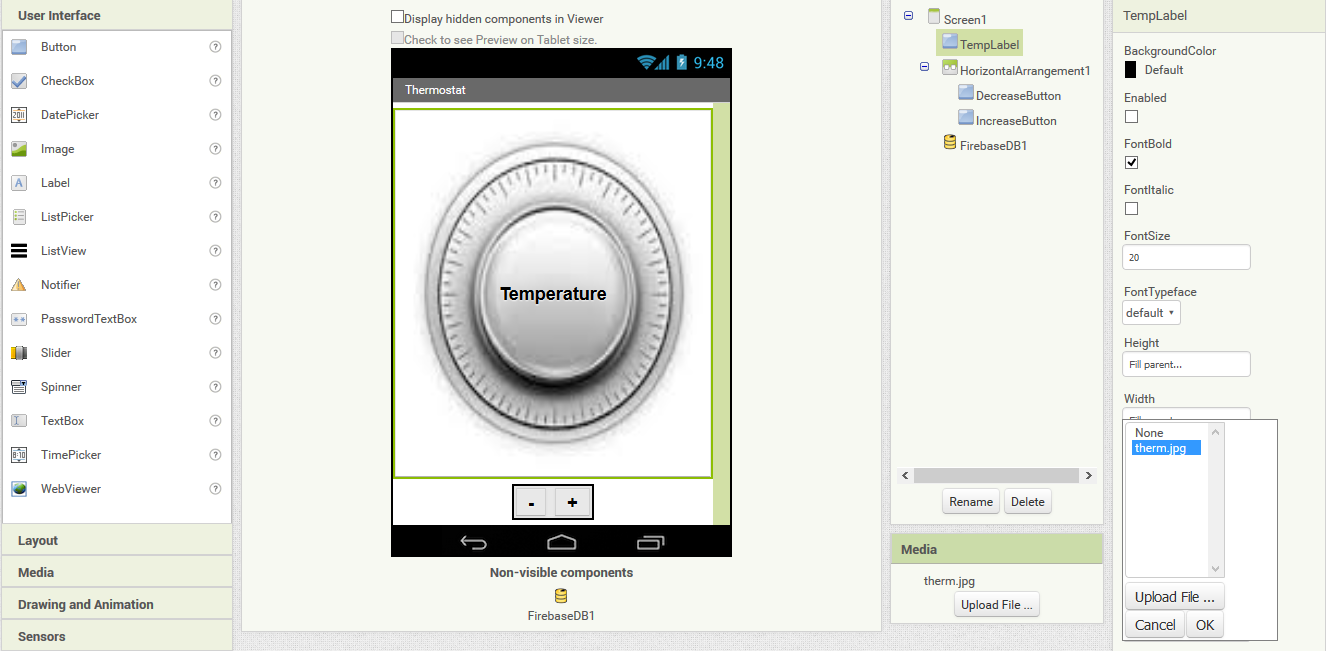
For both the DecreaseButton and IncreaseButton, set the FontSize to 20, set the font to be bold, but leave the Enabled box checked. Change the Text property of the DecreaseButton to be "-" (minus sign) and the Text property of the IncreaseButton to be "+" (plus sign). Optionally, you can resize the HorizontalArrangement as well as the DecreaseButton and IncreaseButton. After doing all of this, your screen should look like this:
Next, we will set a background image for the TempLabel button. The reason that we do this is because App Inventor doesn't have good support for layering text over images. A workaround is to have a disabled button that has text and a background image. We already set the Text to be 'Temperature', so lets now set the background image. First we need to upload an image file into the App Inventor. To do this, click the "Upload File ..." button under the Media tab on the bottom right. Select an image file from your computer for the image file and click OK upload it. Now click on the TempLabel and click the Image property. From here, select the image file and click OK.
Finally, we need to setup the Firebase database so that we can send data to the server and sync data back from it. To do this, click on the FirebaseDB component and change the FirebaseURL property to be the URL of the Firebase database. For our lesson, the database URL will be: https://thermostat-1d90c.firebaseio.com/