Getting Started (For Modders)
Note that this guide is for Windows users. If you're using OS X or Linux most of the tutorial will be applicable but specific file locations, etc... may be different.
Slay The Spire is written in Java. So you'll need some prior experience using the Java Programming Language or be willing to learn. This tutorial will use two tools you'll need to download:
- The Eclipse IDE: link
- The JD-GUI Java Decompiler: link - click the download tab and then grab the
.jarversion which will look something likejd-gui-1.4.0.jarWe will be using Eclipse as our development environment for creating the mod and we will use JD-GUI as a way to read a decompiled version of the game's source code.
Decompiling the game will allow you to (essentially) look at the game's source code. This isn't necessary for modding if you only use BaseMod's subscription system. However, it is a very useful tool for
- Figuring out how different classes in the game work
- Figuring out where BaseMod's hooks are and when they are called
- Doing any modding beyond what BaseMod currently provides
Follow these steps to decompile the game:
- Launch JD-GUI with
jd-gui.exeand then when it prompts you to find a jar to decompile go ahead and navigate to your Slay The Spire folder and selectdesktop-1.0.jar. If it does not automatically prompt you go to File -> Open File...
- This will open a view in which you can look at the decompiled source code.
- Click File -> Save All Sources and save everything as
desktop-1.0.jar.src.zipwherever you are going to be doing your modding. The output will be azipfile which you will then have to unzip to access all of the source code (note that it is not actual source code - just reconstructed source code by the decompiler).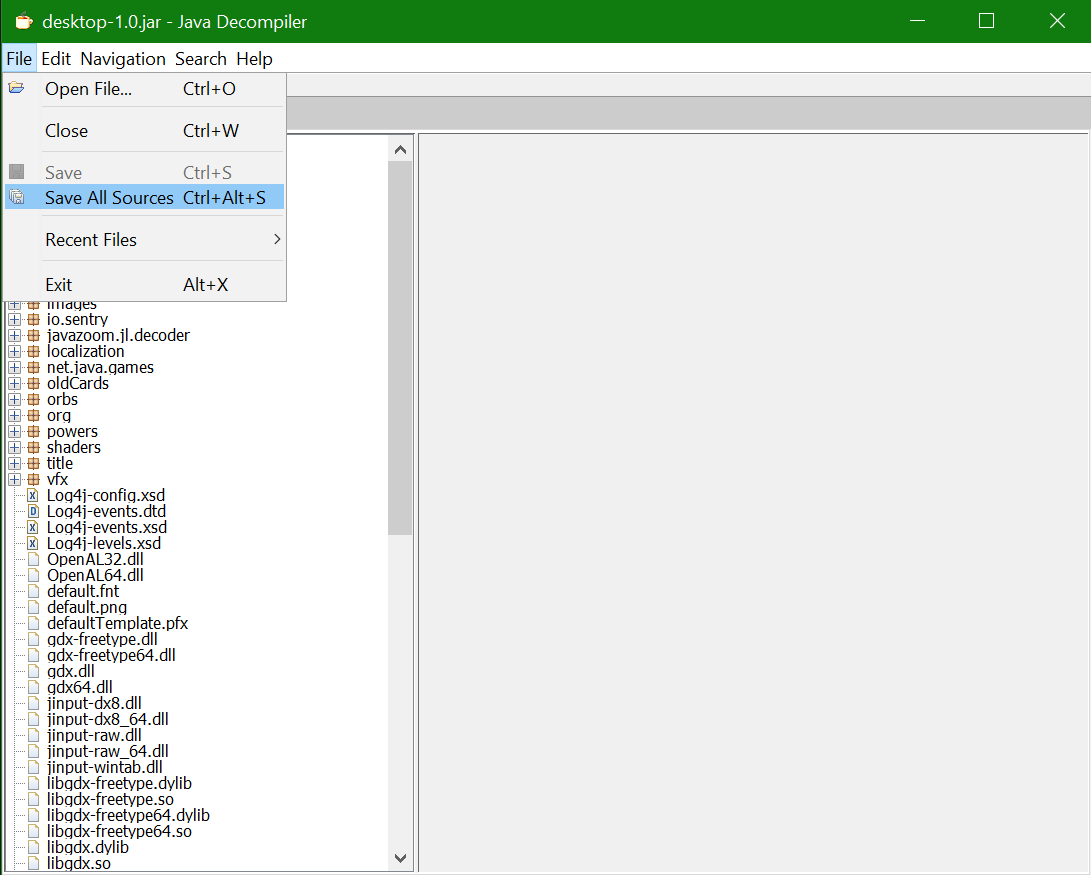
In order to do modding for Slay The Spire you're absolutely going to need ModTheSpire link. It's also recommended that you download BaseMod to have access to an easier modding API link.
For this tutorial we are going to be using a folder called my_mods in your Documents folder. This folder (the my_mods folder will be where you can place all your mods). For this example mod we will create an example_mod folder inside my_mods to contain all the code for this mod. 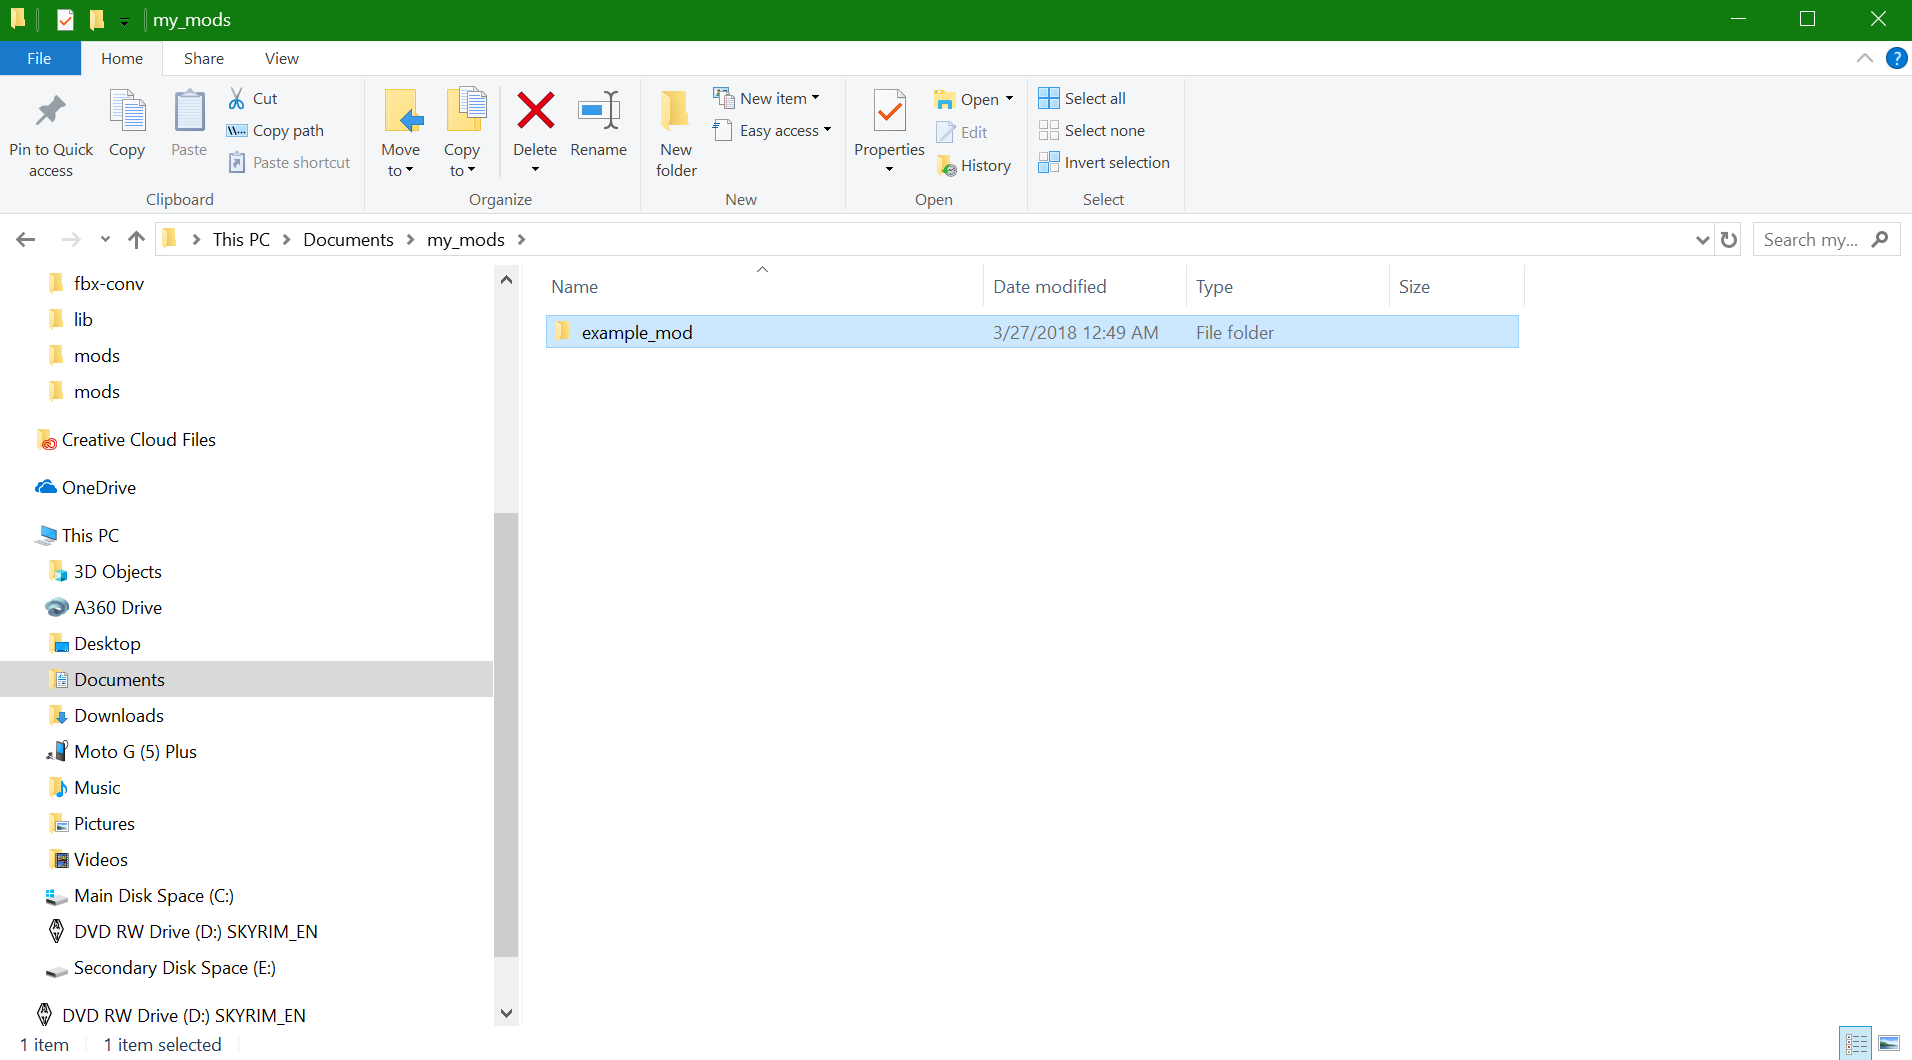
Now inside the my_mods folder let's go ahead and create another folder called lib (lib is short for libraries). This folder is where we'll place the dependencies for your mod. Go ahead and move the ModTheSpire.jar and BaseMod.jar that you downloaded in the last step into your lib folder. 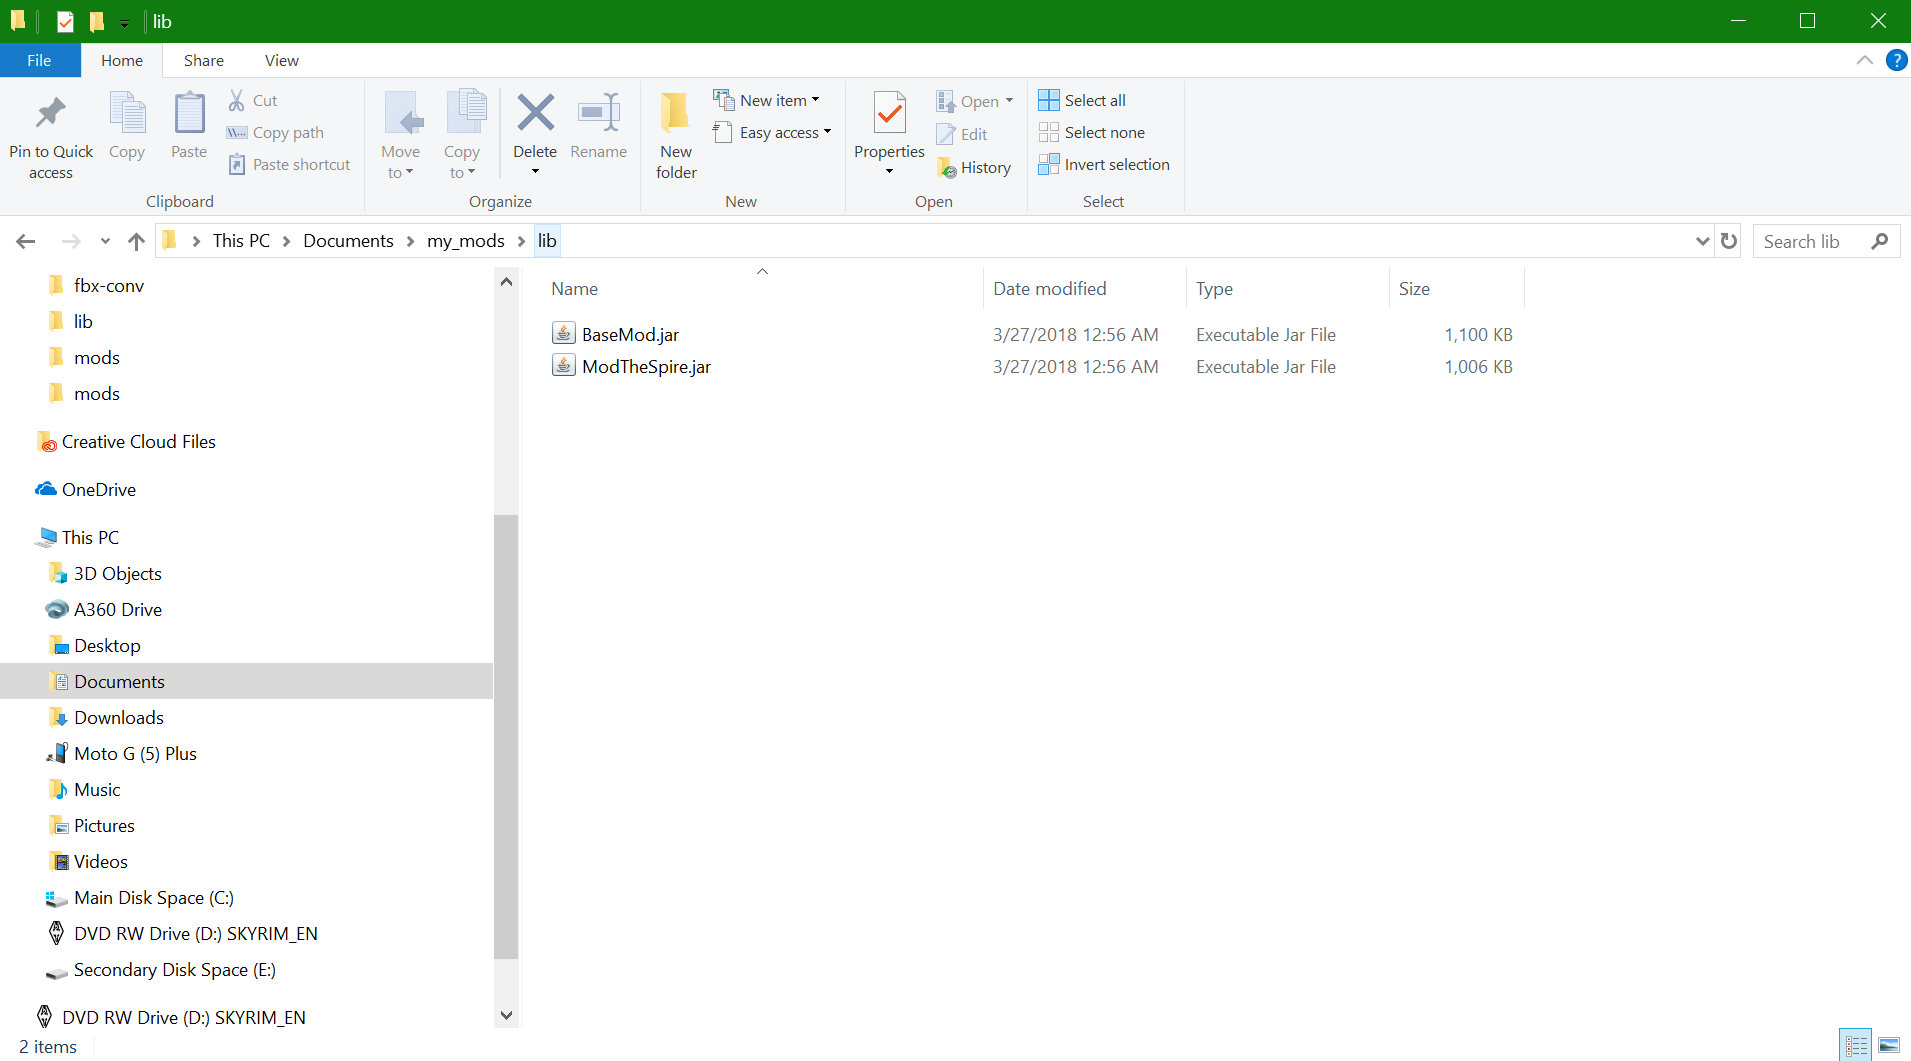
If this is your first time using Eclipse it will prompt you to select a Workspace location when you open it up. For the Workspace DO NOT use the default workspace. Instead we're going to use your my_mods folder as the workspace. If you did end up using the default workspace or have used Eclipse before we're going to switch workspaces over to my_mods. The black bars in the image are just covering up some personal information. 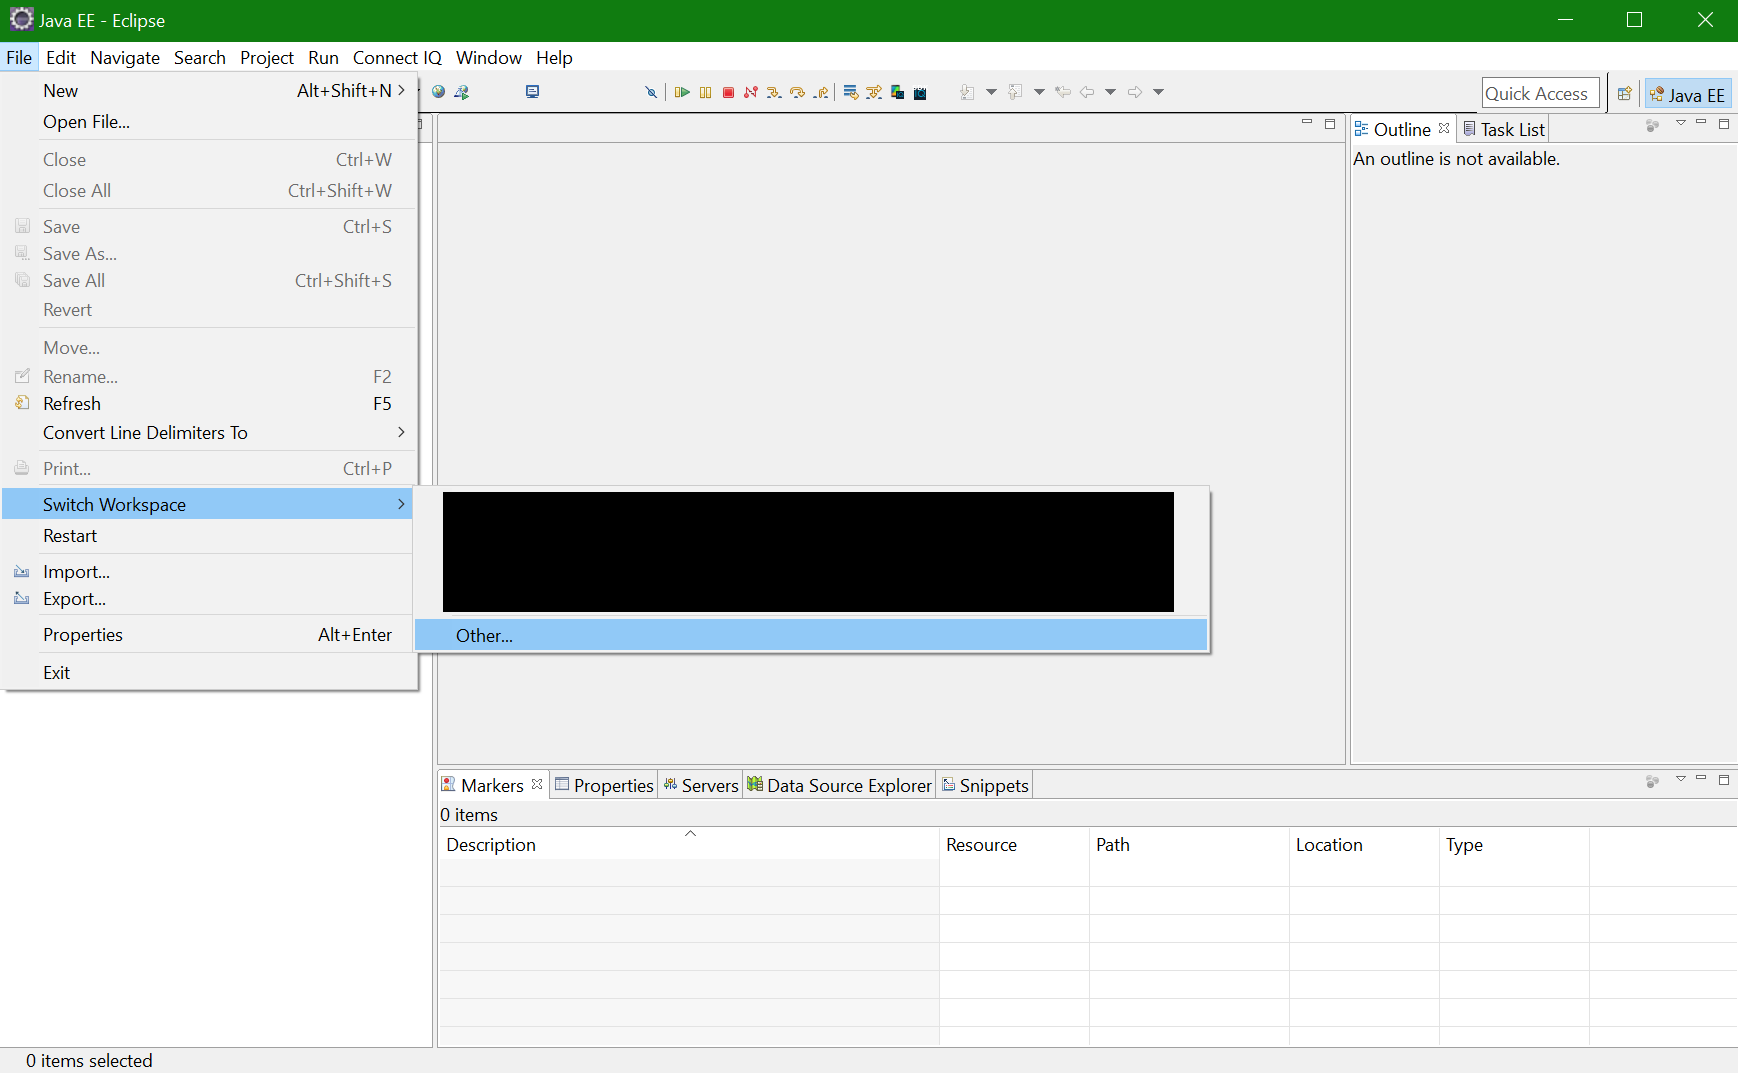

Now we can go ahead an create our mod using what Eclipse calls a project. So we will go to File -> New -> Java Project.  This will popup a modal. In the spot for the name of the project enter
 example_mod and then click Finish.  . This will create a new project for your mod! However we're not done yet because we have to configure its dependencies. Remember how earlier we put
 ModTheSpire.jar and BaseMod.jar in the lib folder? Well now we have to tell Eclipse that we actually put the dependencies there since it won't automatically know.
Your mod actually has one more dependency that we didn't download earlier (because if we could have downloaded it earlier it would be piracy). This is because we now need desktop-1.0.jar as a dependency. So copy it over from your Slay The Spire directory into lib so that your lib folder now looks like this.  .
.
To tell Eclipse about these dependencies we're going to need to go into the settings for your example_mod. To do this right click on example_mod and go down to Properties.  .
.
From here we're going to go to Java Build Path -> Libraries.  .
.
Now use Add External JARs... to add ModTheSpire.jar, BaseMod.jar, and desktop-1.0.jar. Click okay once you've added all of them. It should look like this:  .
.
Slay The Spire mods for the most part use Maven for building. Maven requires your mod's folder structure to be set up in a specific way. Specifically all of your source code will need to be in the src/main/java folder. To make this happen go back to the settings for your mod. .
From here we're going to go to Java Build Path -> Source and then highlight the example_mod/src folder and click Remove to remove it. Then use Add Folder to add src/main/java as a source folder. Click okay once you've done this. It should like like: 
Congratulations! If you've made it this far you've finished setting up your development environment and should be ready to actually start developing your mod. Before continuing we're going to go over some of the fundamentals of how ModTheSpire and BaseMod work so you can use them to make your mod. ModTheSpire is the modloader for Slay The Spire and allows you to directly make changes to the game's code. This process is a bit tedious and subject to changes every time Slay The Spire is patched but may be necessary for some particularly complex features that mods try to add. BaseMod provides a more convenient API so mods for the most part can avoid directly changing the game's code. As such you are likely to use BaseMod and ModTheSpire in combination for modding projects. BaseMod's API is focused around the idea of firing events and having mods subscribe to/listen for those events. For example if you want to make a mod that heals the player 5 HP every time a card is exhausted you would use BaseMod to subscribe to the PostExhaust event and then you could would be able to listen for that event using an event handler. In this example we will be creating a simple mod that shows how to use BaseMod's subscription system. In the future there may be tutorials showing how to use the Custom Character system and GUI but for now if you wish to use those systems take a look at the documentation here on the wiki and other mods that already use them.
To make a mod that works with BaseMod you're going to want to start out with some boilerplate code.
package example_mod;

import com.evacipated.cardcrawl.modthespire.lib.SpireInitializer;

@SpireInitializer
public class ExampleMod {

    public ExampleMod() {
        // TODO: make an awesome mod!
    }

    public static void initialize() {
        new ExampleMod();
    }

}
Note: If Eclipse can't find @SpireInitializer you may have to go through the Dependencies step again since Eclipse seems to reset it when you changes source folders.
So what the above code is doing is telling ModTheSpire that we have a class called ExampleMod that has a method called initialize that we would like to have called once mods are loaded but before the game starts up. Inside that initialize method we create an instance of our mod and inside that instance is where we're going to be telling BaseMod about the different events we want to listen for.
For this example we're going to be counting the number of times a card is exhausted in each battle and then report that value to the log. We will also be tracking the total number of cards exhausted in each act and reporting that after each battle too. Basically this mod could figure out that the player exhausted 2 cards in the 1st battle, then 3 cards in the 2nd battle which is 5 cards overall, etc.. To do this we will need to use three events that BaseMod provides: PostExhaust, PostBattle, PostDungeonInitialize
We will be using those hooks as follows. In PostDungeonInitialize we will set the number of cards exhausted this act to 0. In PostBattle we will print the total number of cards exhausted and the number of cards exhausted this battle. In PostExhaust we will count the number of cards exhausted.
To setup our mod to subscribe to these events we need our ExampleMod class to implement the corresponding interfaces: PostExhaustSubscriber, PostBattleSubscriber, PostDungeonInitializeSubscriber. Then we tell BaseMod that we want to listen for those events by using BaseMod.subscribe(this).
package example_mod;

import com.evacipated.cardcrawl.modthespire.lib.SpireInitializer;
import com.megacrit.cardcrawl.cards.AbstractCard;
import com.megacrit.cardcrawl.rooms.AbstractRoom;

import basemod.BaseMod;
import basemod.interfaces.PostBattleSubscriber;
import basemod.interfaces.PostDungeonInitializeSubscriber;
import basemod.interfaces.PostExhaustSubscriber;

@SpireInitializer
public class ExampleMod implements PostExhaustSubscriber,
	PostBattleSubscriber, PostDungeonInitializeSubscriber {

	public ExampleMod() {
		BaseMod.subscribe(this);
	}

	public static void initialize() {
		new ExampleMod();
	}

	@Override
	public void receivePostExhaust(AbstractCard c) {

	}

	@Override
	public void receivePostBattle(AbstractRoom r) {

	}

	@Override
	public void receivePostDungeonInitialize() {

	}

}package example_mod;
import com.evacipated.cardcrawl.modthespire.lib.SpireInitializer;
import com.megacrit.cardcrawl.cards.AbstractCard;
import com.megacrit.cardcrawl.rooms.AbstractRoom;
import basemod.BaseMod;
import basemod.interfaces.PostBattleSubscriber;
import basemod.interfaces.PostDungeonInitializeSubscriber;
import basemod.interfaces.PostExhaustSubscriber;
@SpireInitializer
public class ExampleMod implements PostExhaustSubscriber,
PostBattleSubscriber, PostDungeonInitializeSubscriber {
private int count, totalCount;
private void resetCounts() {
totalCount = count = 0;
}
public ExampleMod() {
BaseMod.subscribe(this);
resetCounts();
}
public static void initialize() {
new ExampleMod();
}
@Override
public void receivePostExhaust(AbstractCard c) {
count++;
totalCount++;
}
@Override
public void receivePostBattle(AbstractRoom r) {
System.out.println(count + " cards were exhausted this battle, " +
totalCount + " cards have been exhausted so far this act.");
count = 0;
}
@Override
public void receivePostDungeonInitialize() {
resetCounts();
}
}