Getting started
Get up and running with XrmDefinitelyTyped in a few minutes by following this guide.
- TypeScript 2.0 - 2.3.3 installed
- TypeScript is set up to compile
.tsfiles in your project
Setup:
- Install the package via NuGet
- Edit the
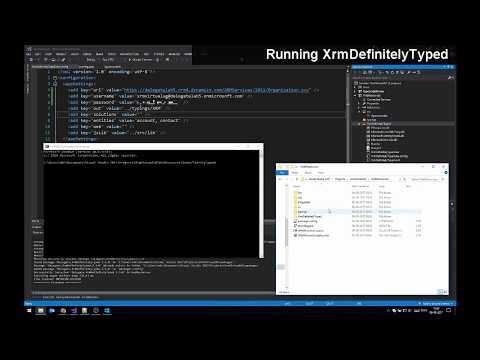
appSettingsin the configuration file (XrmDefinitelyTyped.exe.config) to fit your Dynamics CRM environment and needs (see [arguments available to XDT](Tool usage)).
Usage:
- Run
XrmDefinitelyTyped.exe*. This will generate the desired declaration files at the specified location (or in the current folder if none specified) - Make sure your
tsconfig.jsonfile includes the generated typings in the TypeScript context - Create a TypeScript file, or convert your old .js files to .ts
- Making form logic? Cast the
Xrm.Pageobject to the form you are coding towards - Start coding!
*: Since .exe files can not be run directly from Visual Studio (out-of-the-box at least), script files are included in the package to enable you to run it from the IDE (Powershell: Run.ps1, or F#: Run.fsx).
Either make a new variable (i.e. Page), and set it to Xrm.Page casted to the desired form type:
namespace DG.Contact {
    const Page = <Form.contact.Main.Information>Xrm.Page;
    export function onLoad() {
        // Code here..
        Page.getAttribute("firstname");
    }
}
Or declare the Xrm object to be the form your want it to match:
namespace DG.Contact {
    declare var Xrm: Xrm<Form.contact.Main.Information>;
    export function onLoad() {
        // Code here..
        Xrm.Page.getAttribute("firstname");
    }
}