10. Deploying to Kubernetes (AKS and local) using Helm Charts
It is possible to deploy eShopOnContainers on a AKS using Helm instead of custom scripts (that will be deprecated soon).
You can create the AKS cluster by using two ways:
-
A. Use Azure CLI: Follow a procedure suing Azure CLI like here, but make sure you enable RBAC with
--enable-rbacand enable application routing with--enable-addons http_application_routinginaz aks createcommand. -
B. Use Azure's portal
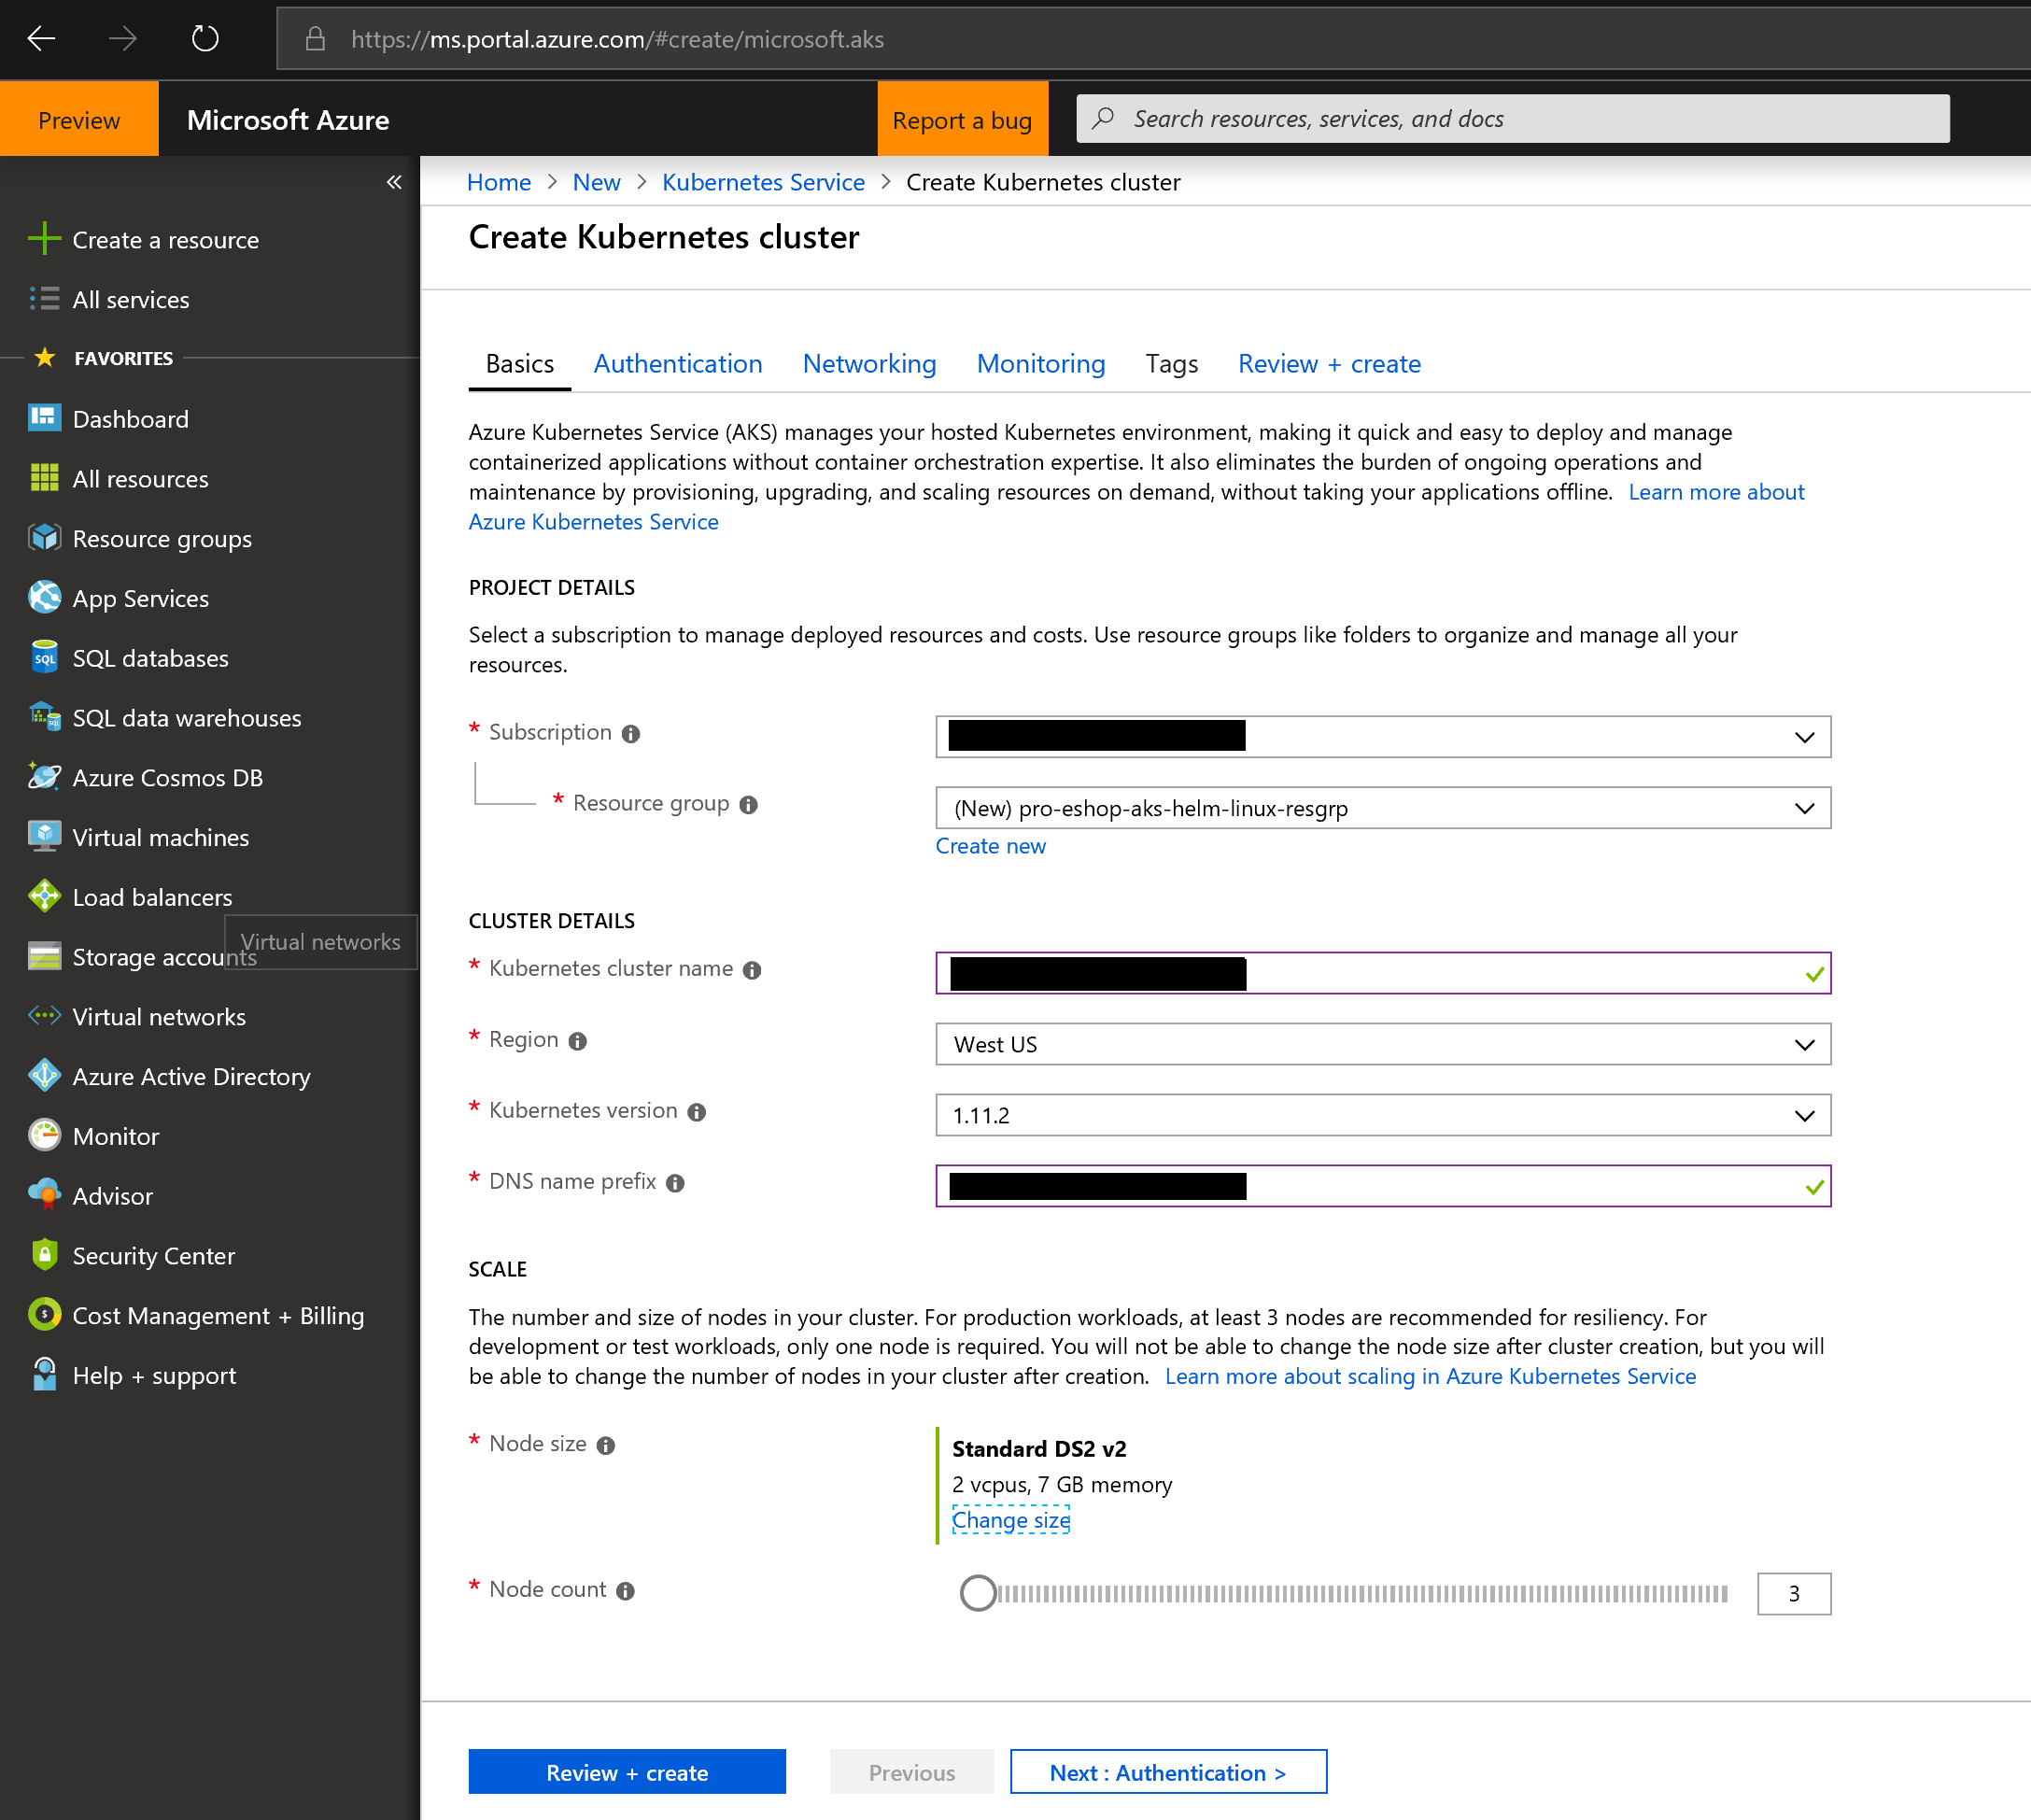
The following steps are using the Azure portal to create the AKS cluster:
- Start the process by providing the general data, like in the following screenshot:
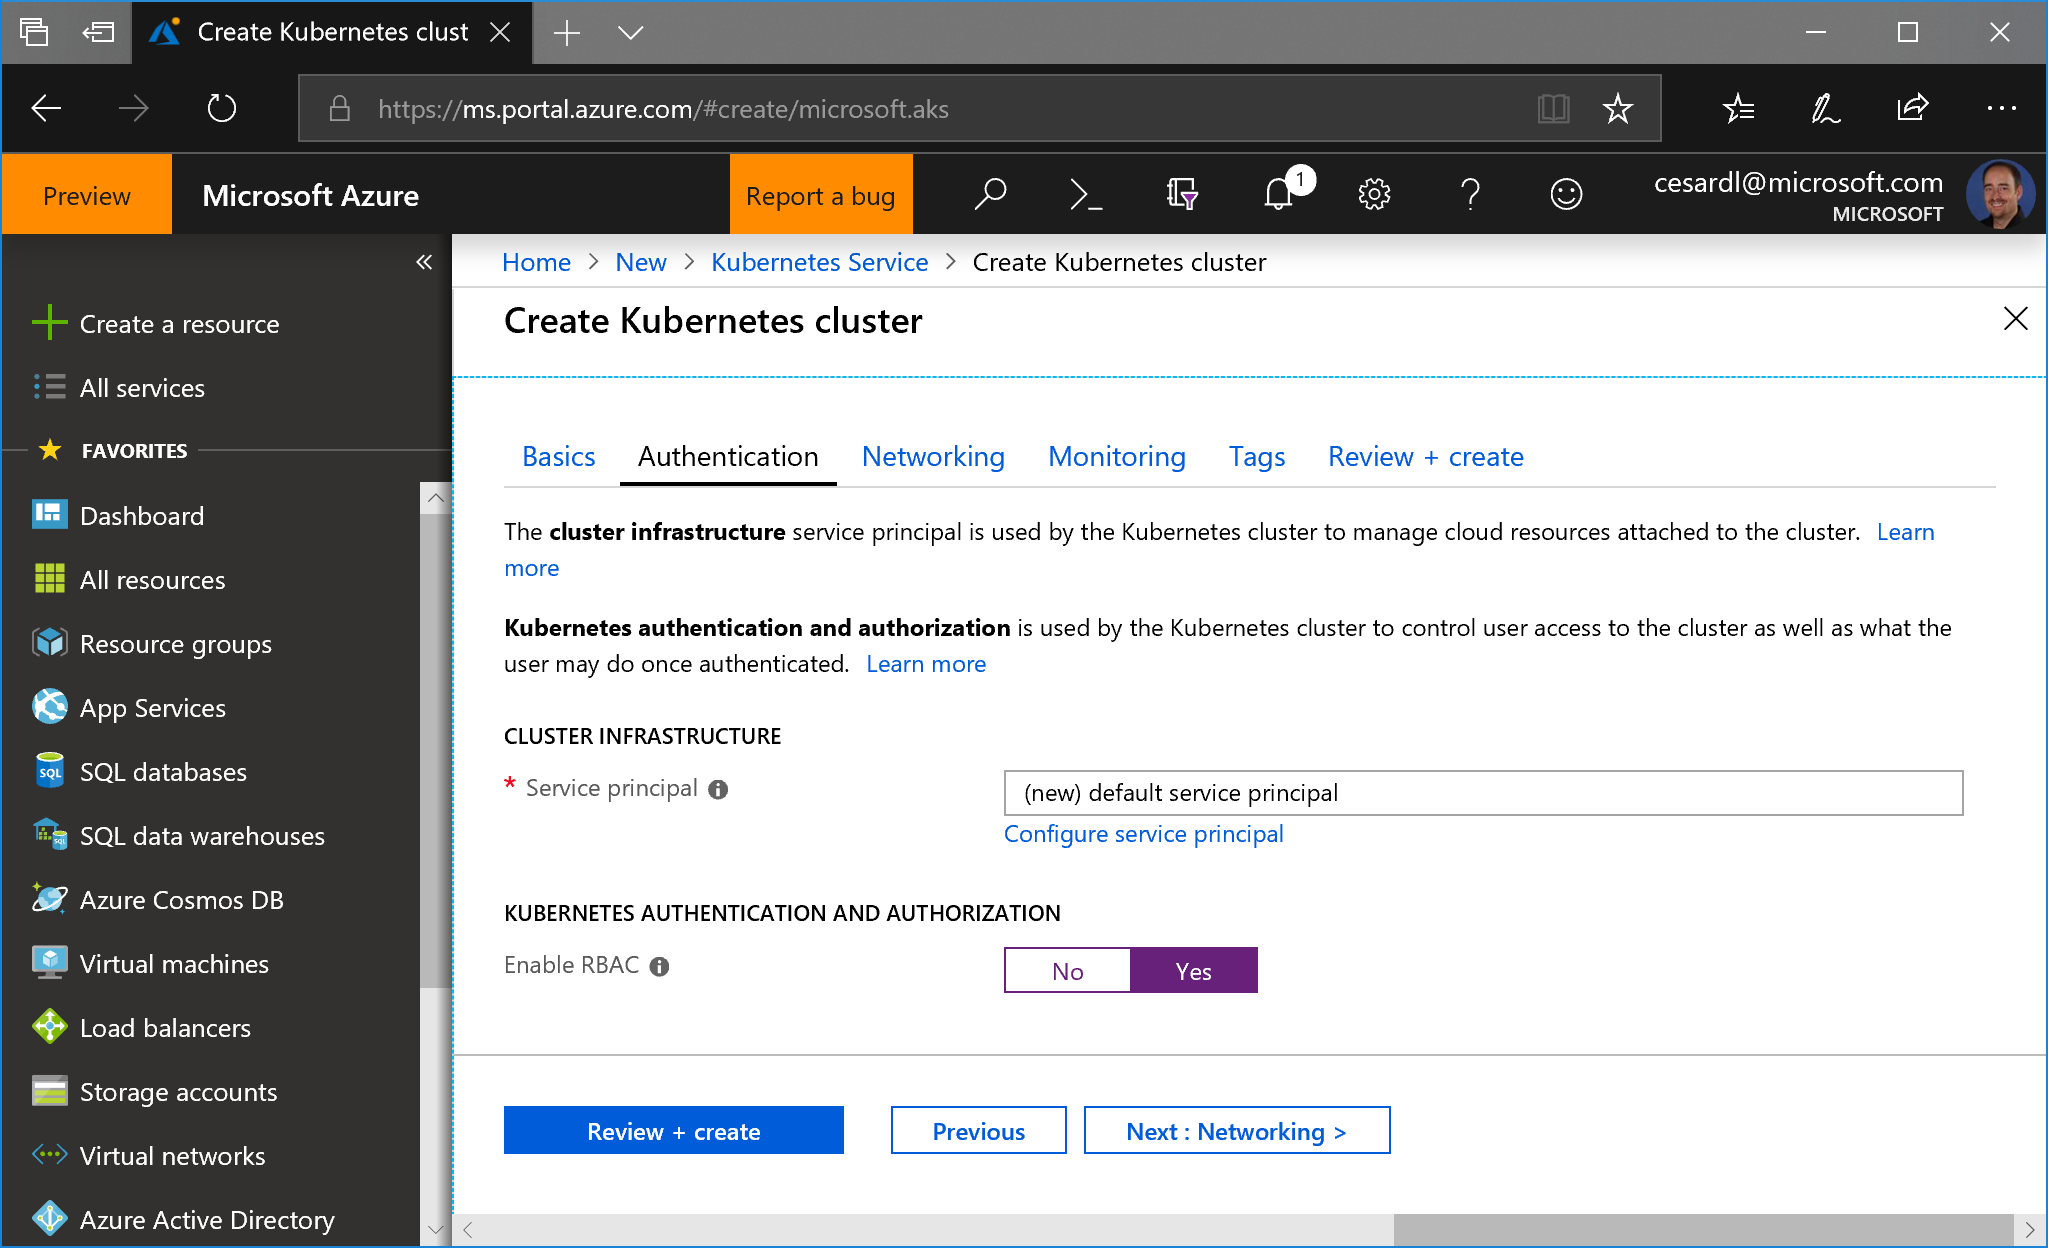
- Then, very important, in the next step, enable RBAC:
-
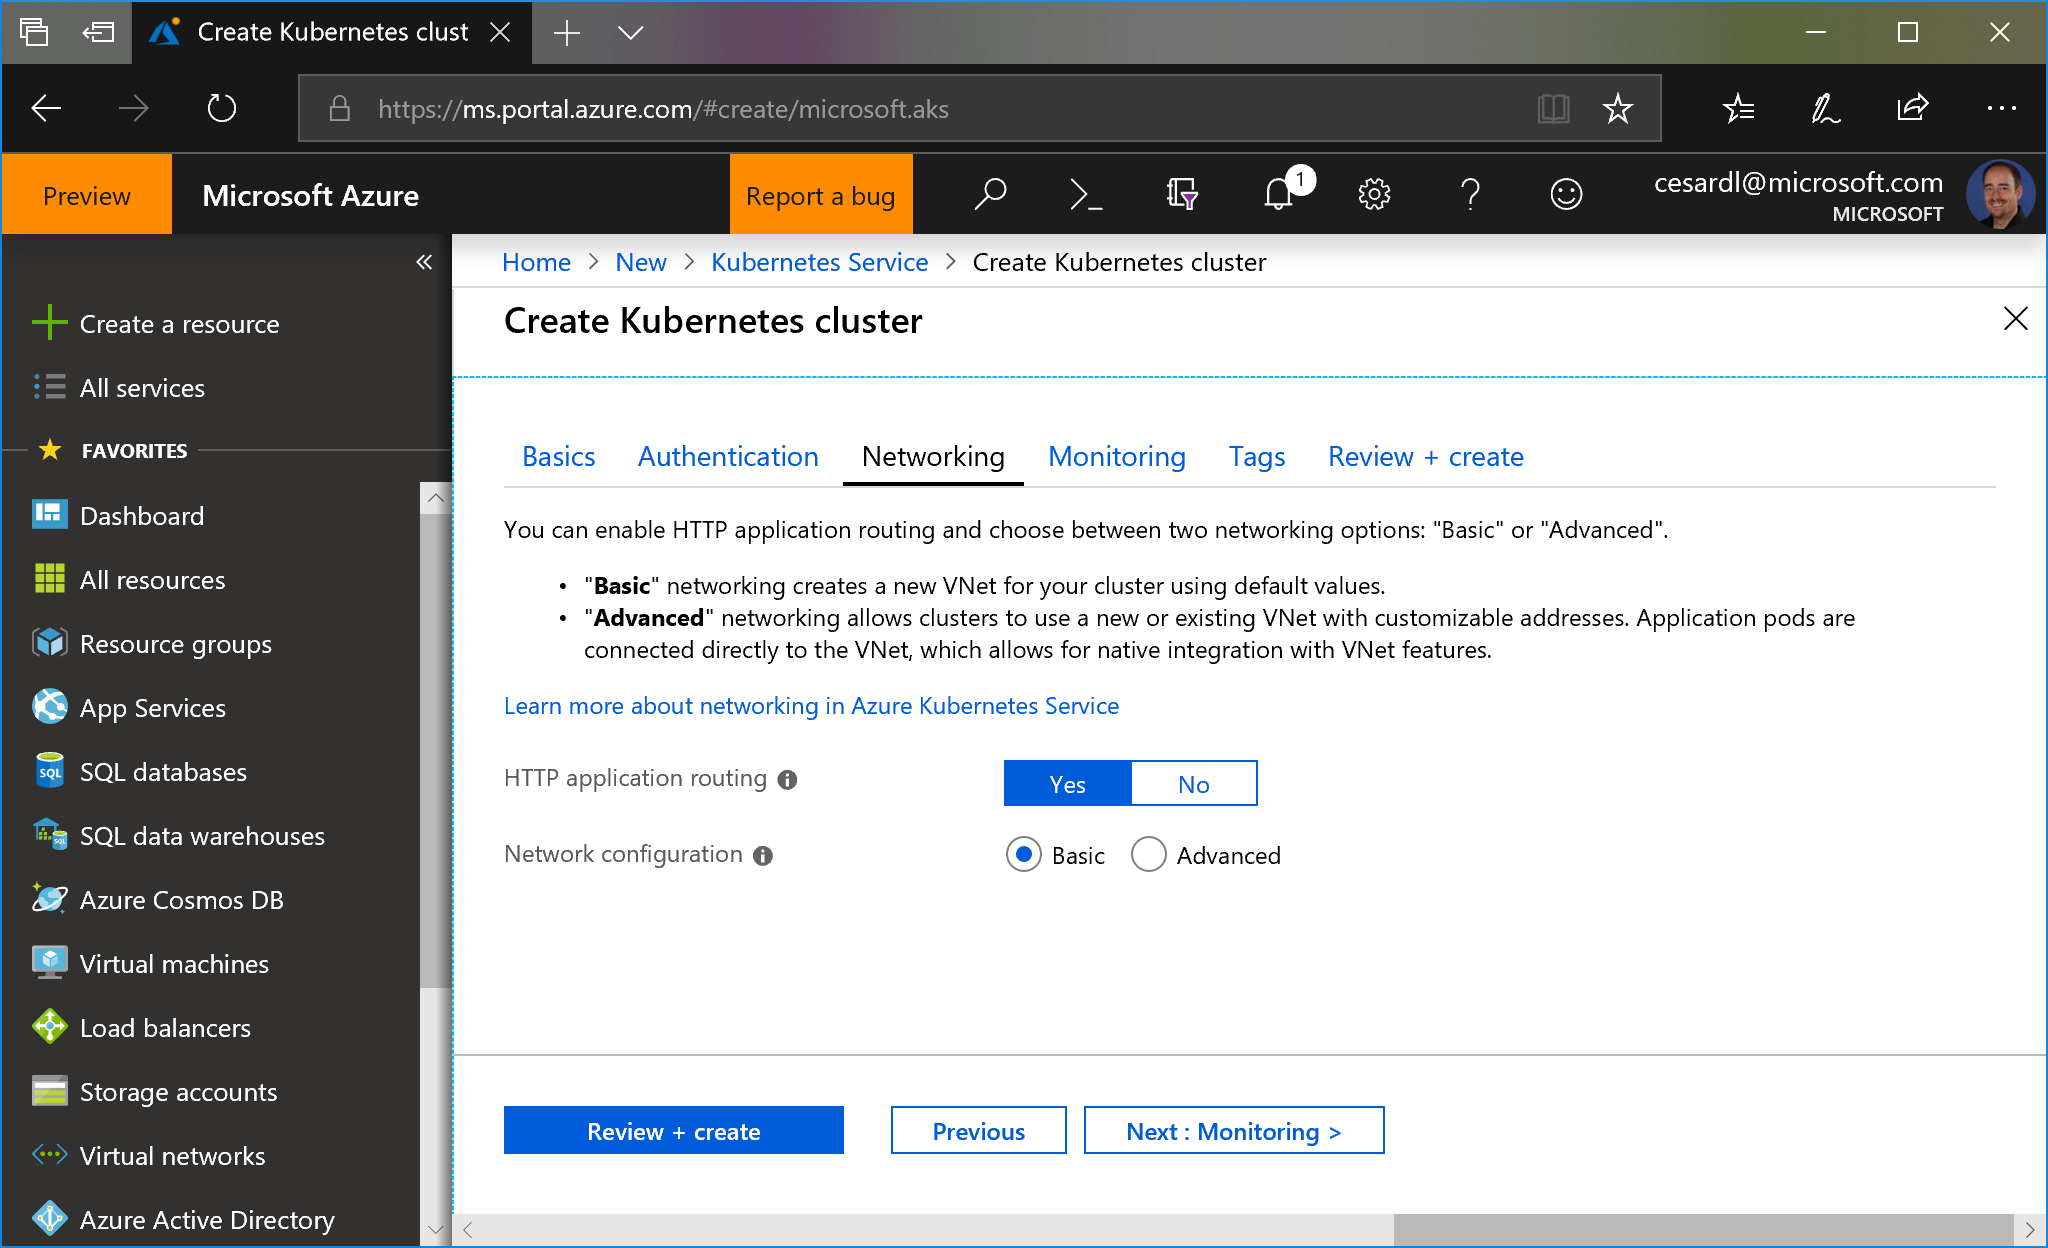
Enable http routing. Make sure to check the checkbox "Http application routing" on "Networking" settings. For more info, read the documentation
You can use basic network settings since for a test you don't need integration into any existing VNET.
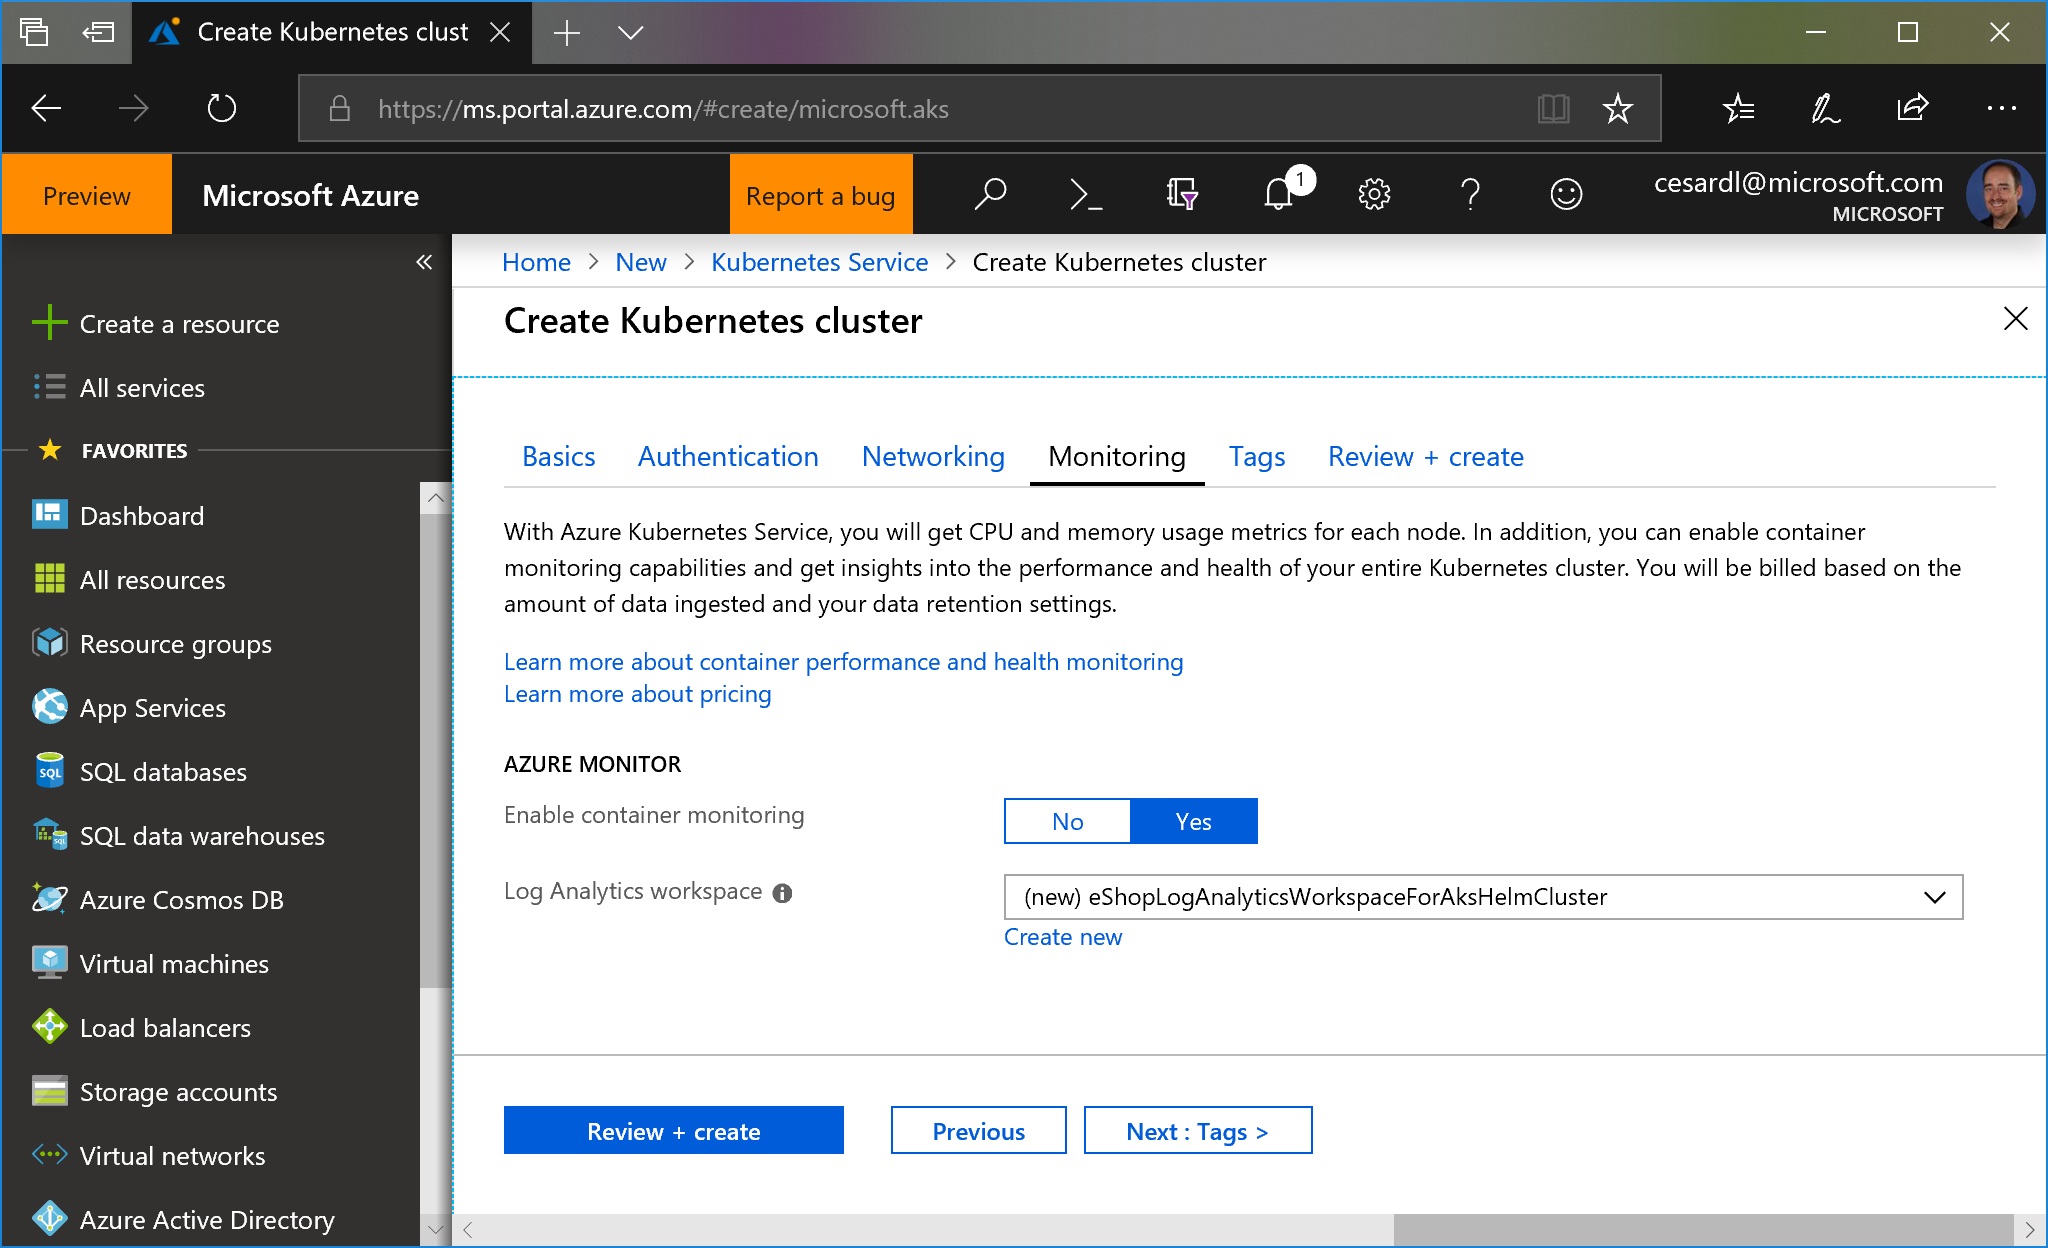
- You can also enable monitoring:
- Finally, create the cluster. It'll take a few minutes for it to be ready.
In order NOT to get errors in the Kubernetes dashboard, you'll need to set the following service-account steps.
Here you can see the errors you might see:
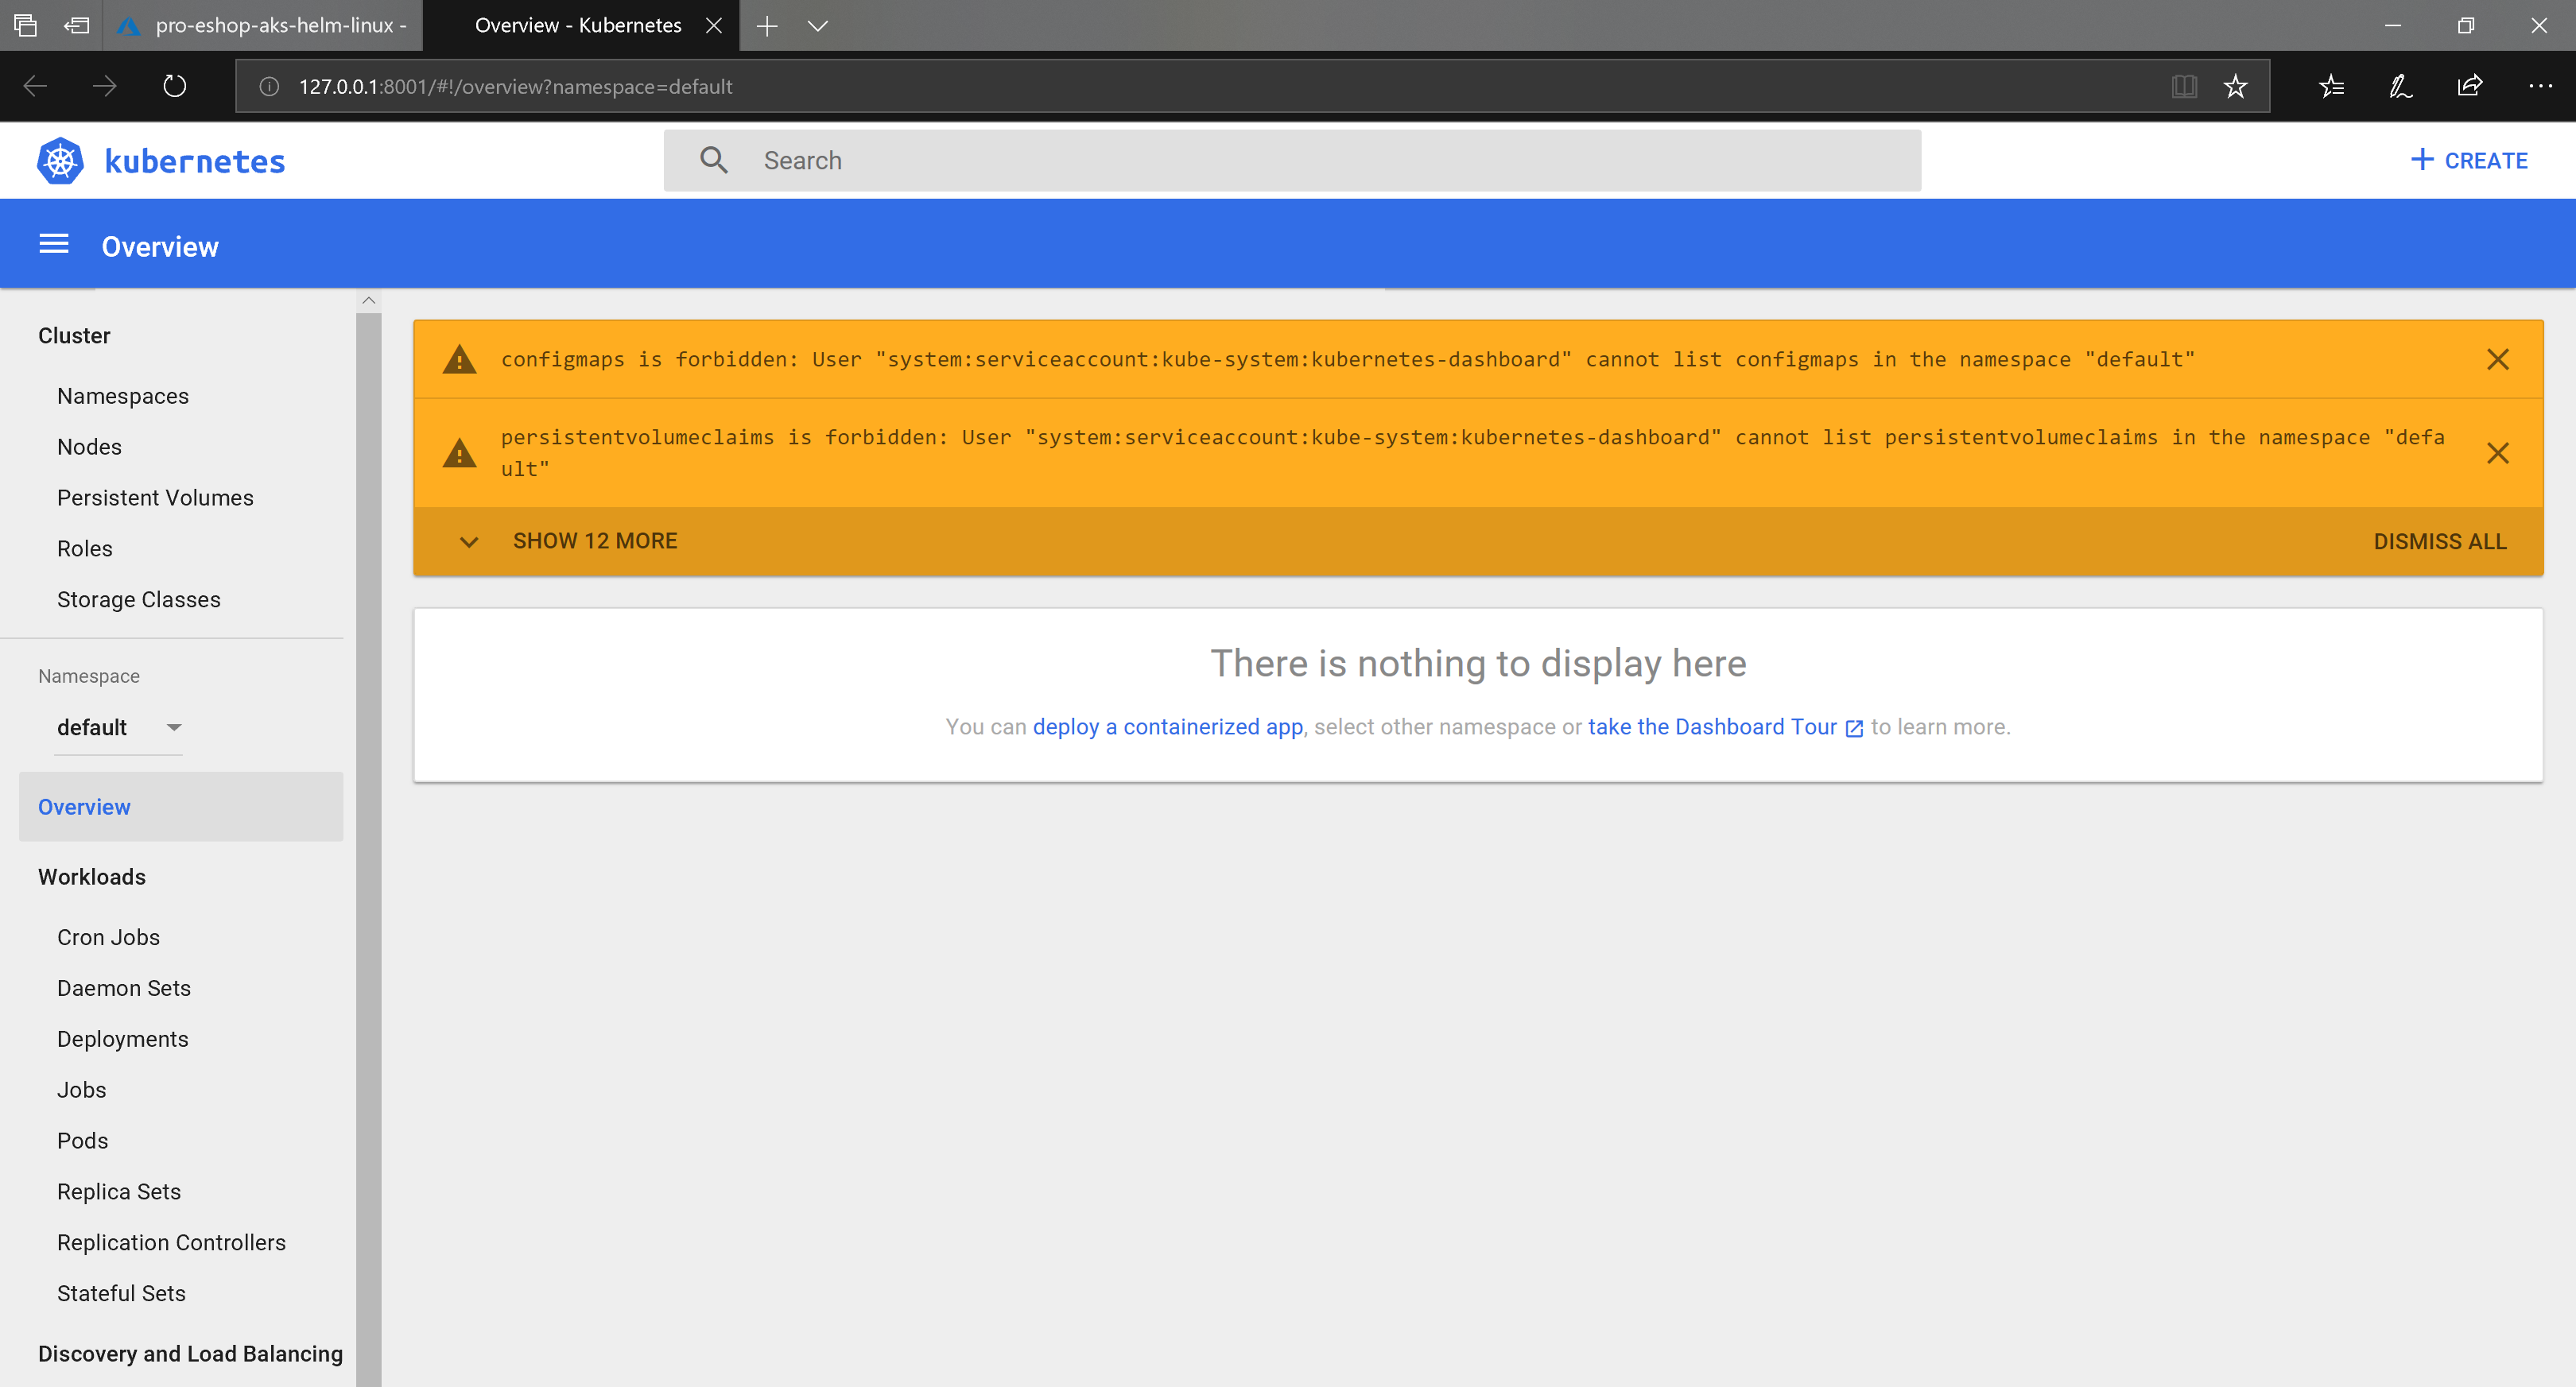
- Because the cluster is using RBAC, you need to grant needed rights to the Service Account
kubernetes-dashboardwith this kubectl command:
kubectl create clusterrolebinding kubernetes-dashboard -n kube-system --clusterrole=cluster-admin --serviceaccount=kube-system:kubernetes-dashboard

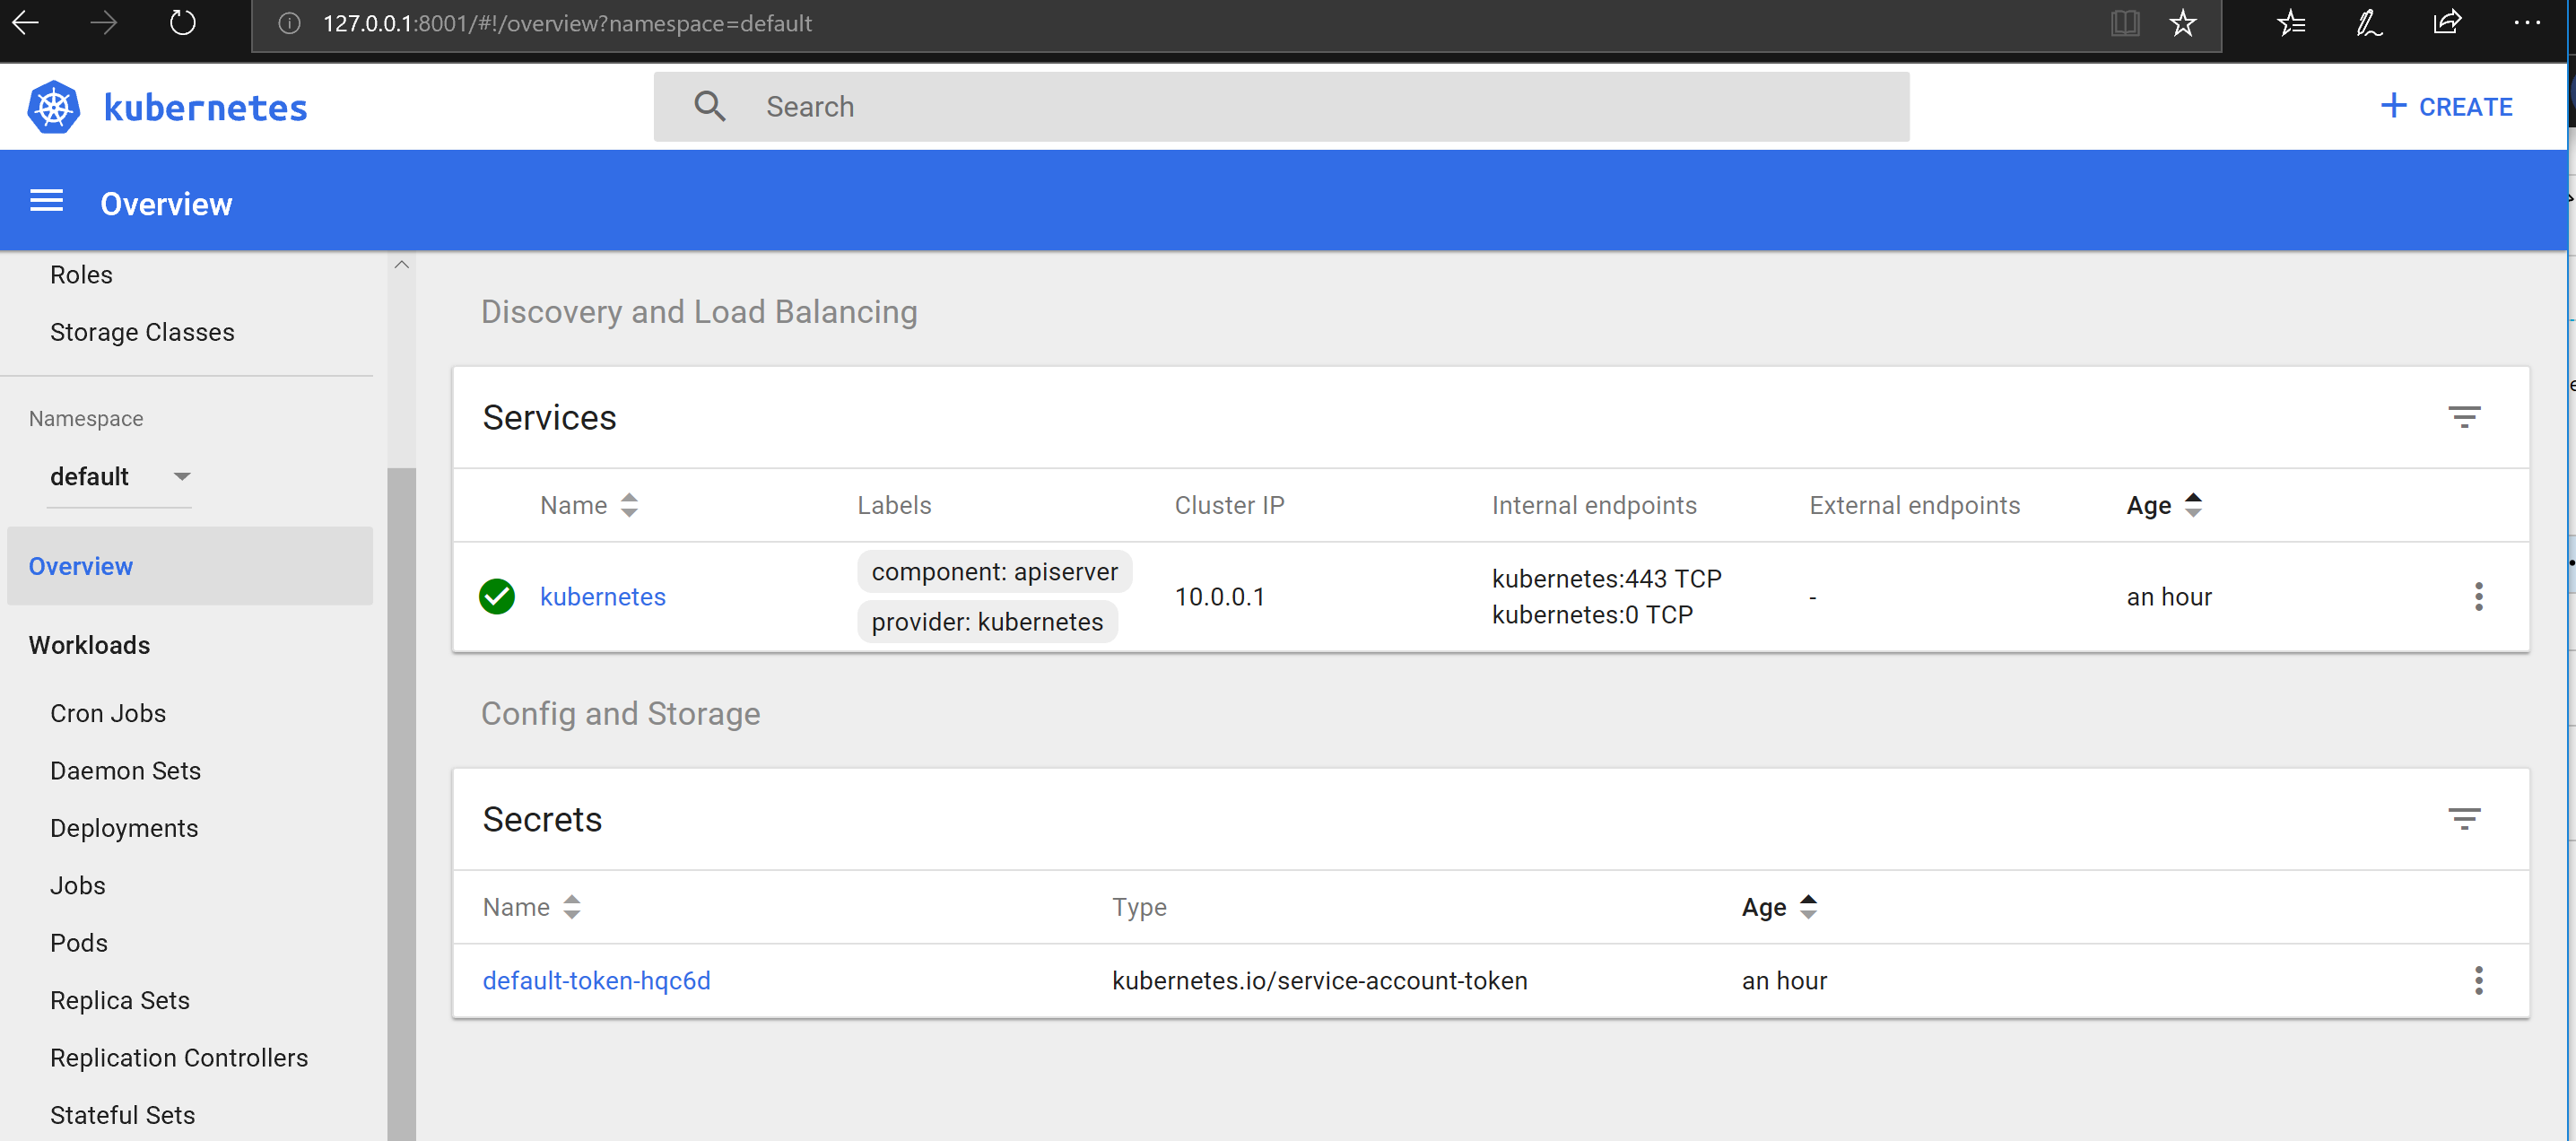
Now, just run the Azure CLI command to browse the Kubernetes Dashboard:
az aks browse --resource-group pro-eshop-aks-helm-linux-resgrp --name pro-eshop-aks-helm-linux
In addition to having an AKS cluster created in Azure and having kubectl and Azure CLI installed in your local machine and configured to use your Azure subscription, you also need the following pre-requisites:
You need to have helm installed on your machine, and Tiller must be installed on the AKS. Follow these instructions on how to 'Install applications with Helm in Azure Kubernetes Service (AKS)' to setup Helm and Tiller for AKS.
Note: If your ASK cluster is not RBAC-enabled (default option in portal) you may receive following error when running a helm command:
Error: Get http://localhost:8080/api/v1/namespaces/kube-system/configmaps?labelSelector=OWNER%!D(MISSING)TILLER: dial tcp [::1]:8080: connect: connection refused
If so, type:
kubectl --namespace=kube-system edit deployment/tiller-deploy
Your default text editor will popup with the YAML definition of the tiller deploy. Search for:
automountServiceAccountToken: false
And change it to:
automountServiceAccountToken: true
Save the file and close the editor. This should reapply the deployment in the cluster. Now Helm commands should work.
All steps need to be performed on /k8s/helm folder. The easiest way is to use the deploy-all.ps1 script from a Powershell window:
.\deploy-all.ps1 -externalDns aks -aksName eshoptest -aksRg eshoptest -imageTag dev
This will install all the eShopOnContainers public images with tag dev on the AKS named eshoptest in the resource group eshoptest. By default all infrastructure (sql, mongo, rabbit and redis) is installed also in the cluster.
Once the script is run, you should see following output when using kubectl get deployment:
NAME                             DESIRED   CURRENT   UP-TO-DATE   AVAILABLE   AGE
eshop-apigwmm                    1         1         1            1           4d
eshop-apigwms                    1         1         1            1           4d
eshop-apigwwm                    1         1         1            1           4d
eshop-apigwws                    1         1         1            1           4d
eshop-basket-api                 1         1         1            1           4d
eshop-basket-data                1         1         1            1           4d
eshop-catalog-api                1         1         1            1           4d
eshop-identity-api               1         1         1            1           4d
eshop-keystore-data              1         1         1            1           4d
eshop-locations-api              1         1         1            1           4d
eshop-marketing-api              1         1         1            1           4d
eshop-mobileshoppingagg          1         1         1            1           4d
eshop-nosql-data                 1         1         1            1           4d
eshop-ordering-api               1         1         1            1           4d
eshop-ordering-backgroundtasks   1         1         1            1           4d
eshop-ordering-signalrhub        1         1         1            1           4d
eshop-payment-api                1         1         1            1           4d
eshop-rabbitmq                   1         1         1            1           4d
eshop-sql-data                   1         1         1            1           4d
eshop-webmvc                     1         1         1            1           4d
eshop-webshoppingagg             1         1         1            1           4d
eshop-webspa                     1         1         1            1           4d
eshop-webstatus                  1         1         1            1           4d
Every public service is exposed through its own ingress resource, as you can see if using kubectl get ing:
eshop-apigwmm        eshop.<your-guid>.<region>.aksapp.io   <public-ip>   80        4d
eshop-apigwms        eshop.<your-guid>.<region>.aksapp.io   <public-ip>   80        4d
eshop-apigwwm        eshop.<your-guid>.<region>.aksapp.io   <public-ip>   80        4d
eshop-apigwws        eshop.<your-guid>.<region>.aksapp.io   <public-ip>   80        4d
eshop-identity-api   eshop.<your-guid>.<region>.aksapp.io   <public-ip>   80        4d
eshop-webmvc         eshop.<your-guid>.<region>.aksapp.io   <public-ip>   80        4d
eshop-webspa         eshop.<your-guid>.<region>.aksapp.io   <public-ip>   80        4d
eshop-webstatus      eshop.<your-guid>.<region>.aksapp.io   <public-ip>   80        4d
Ingresses are automatically configured to use the public DNS of the AKS provided by the "https routing" addon.
One step more is needed: we need to configure the nginx ingress controller that AKS has to allow more large headers. This is because the headers sent by identity server exceed the size configured by default. Fortunately this is very easy to do. Just type (from the /k8s/helm folder):
kubectl apply -f aks-httpaddon-cfg.yaml
Then you can restart the pod that runs the nginx controller. Its name is addon-http-application-routing-nginx-ingress-controller-<something> and runs on kube-system namespace. So run a kubectl get pods -n kube-system find it and delete with kubectl delete pod <pod-name> -n kube-system.
Note: If running in a bash shell you can type:
kubectl delete pod $(kubectl get pod -l app=addon-http-application-routing-nginx-ingress -n kube-system -o jsonpath="{.items[0].metadata.name}) -n kube-system
You can view the MVC client at http://[dns]/webmvc and the SPA at the http://[dns]/
To use your own images instead of the public ones, you have to pass following additional parameters to the deploy-all.ps1 script:
-
registry: Login server for the Docker registry -
dockerUser: User login for the Docker registry -
dockerPassword: User password for the Docker registry
This will deploy a secret on the cluster to connect to the specified server, and all image names deployed will be prepended with registry/ value.
The -externalDns parameter controls the DNS bounded to ingresses. You can pass a custom DNS (like my.server.com), or the aks value to autodiscover the AKS DNS. For autodiscover to work you also need to pass which AKS is, using the -aksName and -aksRg parameters.
Autodiscovering works using Azure CLI under the hood, so ensure that Azure CLI is logged and pointing to the right subscription.
If you don't pass any external DNS at all, ingresses are'nt bound to any DNS, and you have to use public IP to access the resources.
If you want to use external resources, use -deployInfrastructure $false to not deploy infrastructure containers. However you still have to manually update the scripts to provide your own configuration (see next section).
The file inf.yaml contains the description of the infrastructure used. File is docummented so take a look on it to understand all of its entries. If using external resources you need to edit this file according to your needs. You'll need to edit:
-
inf.sql.hostwith the host name of the SQL Server -
inf.sql.commonentries to provide your SQL user, password.Pidis not used when using external resources (it is used to set specific product id for the SQL Server container). -
inf.sql.catalog,inf.sql.ordering,inf.sql.identity: To provide the database names for catalog, ordering and identity services -
mongo.host: With the host name of the Mongo DB -
mongo.locations,mongo.marketingwith the database names for locations and marketing services -
redis.basket.constrwith the connection string to Redis for Basket Service. Note thatredis.basket.svcis not used when using external services -
redis.keystore.constrwith the connection string to Redis for Keystore Service. Note thatredis.keystore.svcis not used when using external services -
eventbus.constrwith the connection string to Azure Service Bus andeventbus.useAzuretotrueto use Azure service bus. Note thateventbus.svcis not used when using external services
Using Azure storage for catalog (and marketing) photos is not directly supported, but you can accomplish it by editing the file k8s/helm/catalog-api/templates/configmap.yaml. Search for lines:
catalog__PicBaseUrl: http://{{ $webshoppingapigw }}/api/v1/c/catalog/items/[0]/pic/
And replace it for:
catalog__PicBaseUrl: http://<url-of-the-storage>/
In the same way, to use Azure storage for the marketing service, have to edit the file k8s/helm/marketing-api/templates/configmap.yaml and replacing the line:
marketing__PicBaseUrl: http://{{ $webshoppingapigw }}/api/v1/c/catalog/items/[0]/pic/
by:
marketing__PicBaseUrl: http://<url-of-the-storage>/
Using Helm Charts to deploy eShopOnContainers to a local Kubernetes in Windows with 'Docker for Windows'
In addition to having Docker for Windows/Mac with Kubernetes enabled and having kubectl ayou also need the following pre-requisites:
You need to have helm installed on your machine, and Tiller must be installed on the local Docker Kubernetes cluster. Once you have Helm downloaded and installed on your machine you must:
- Create the tiller service account, by running
kubectl apply -f helm-rbac.yamlfrom/k8sfolder - Install tiller and configure it to use the tiller service account by typing
helm init --service-account tiller
Docker local Kubernetes cluster do not have any ingress controller installed by default, so you need to install one. Any intress controller should work, but we have created the scripts for installing the NGINX ingress controller. To install it, just type (from /k8s folder):
.\deploy-ingress.ps1.\deploy-ingress-dockerlocal.ps1
All steps need to be performed on /k8s/helm folder. The easiest way is to use the deploy-all.ps1 script from a Powershell window:
.\deploy-all.ps1 -imageTag dev -useLocalk8s $true
The parameter useLocalk8s to $true, forces the script to use localhost as the DNS for all Helm charts and also creates the ingress with the correct ingress class.
This will install all the eShopOnContainers public images with tag dev on the Docker local Kubernetes cluster. By default all infrastructure (sql, mongo, rabbit and redis) is installed also in the cluster.
Once the script is run, you should see following output when using kubectl get deployment:
NAME                             DESIRED   CURRENT   UP-TO-DATE   AVAILABLE   AGE
eshop-apigwmm                    1         1         1            1           2h
eshop-apigwms                    1         1         1            1           2h
eshop-apigwwm                    1         1         1            1           2h
eshop-apigwws                    1         1         1            1           2h
eshop-basket-api                 1         1         1            1           2h
eshop-basket-data                1         1         1            1           2h
eshop-catalog-api                1         1         1            1           2h
eshop-identity-api               1         1         1            1           2h
eshop-keystore-data              1         1         1            1           2h
eshop-locations-api              1         1         1            1           2h
eshop-marketing-api              1         1         1            1           2h
eshop-mobileshoppingagg          1         1         1            1           2h
eshop-nosql-data                 1         1         1            1           2h
eshop-ordering-api               1         1         1            1           2h
eshop-ordering-backgroundtasks   1         1         1            1           2h
eshop-ordering-signalrhub        1         1         1            1           2h
eshop-payment-api                1         1         1            1           2h
eshop-rabbitmq                   1         1         1            1           2h
eshop-sql-data                   1         1         1            1           2h
eshop-webmvc                     1         1         1            1           2h
eshop-webshoppingagg             1         1         1            1           2h
eshop-webspa                     1         1         1            1           2h
eshop-webstatus                  1         1         1            1           2h
Every public service is exposed through its own ingress resource, as you can see if using kubectl get ing:
NAME                 HOSTS       ADDRESS     PORTS     AGE
eshop-apigwmm        localhost   localhost   80        2h
eshop-apigwms        localhost   localhost   80        2h
eshop-apigwwm        localhost   localhost   80        2h
eshop-apigwws        localhost   localhost   80        2h
eshop-identity-api   localhost   localhost   80        2h
eshop-webmvc         localhost   localhost   80        2h
eshop-webspa         localhost   localhost   80        2h
eshop-webstatus      localhost   localhost   80        2h
Note that intgresses are bound to DNS localhost and the host is also "localhost". So, you can access the webspa by typing http://localhost and the MVC by typing http://localhost/webmvc
As this is the Docker local K8s cluster, you can see also the containers running on your machine. If you type docker ps you'll see all them:
CONTAINER ID        IMAGE                            COMMAND                  CREATED             STATUS              PORTS               NAMES
fec1e3499416        a3f21ec4bd11                     "/entrypoint.sh /ngi…"   9 minutes ago       Up 9 minutes                            k8s_nginx-ingress-controller_nginx-ingress-controller-f88c75bc6-5xs2n_ingress-nginx_f1cc7094-e68f-11e8-b4b6-00155d016146_0
76485867f032        eshop/payment.api                "dotnet Payment.API.…"   2 hours ago         Up 2 hours                              k8s_payment-api_eshop-payment-api-75d5f9bdf6-6zx2v_default_4a3cdab4-e67f-11e8-b4b6-00155d016146_1
c2c4640ed610        eshop/marketing.api              "dotnet Marketing.AP…"   2 hours ago         Up 2 hours                              k8s_marketing-api_eshop-marketing-api-6b8c5989fd-jpxqv_default_45780626-e67f-11e8-b4b6-00155d016146_1
85301d538574        eshop/ordering.signalrhub        "dotnet Ordering.Sig…"   2 hours ago         Up 2 hours                              k8s_ordering-signalrhub_eshop-ordering-signalrhub-58cf5ff6-cnlm8_default_4932c344-e67f-11e8-b4b6-00155d016146_1
7a408a98000e        eshop/ordering.backgroundtasks   "dotnet Ordering.Bac…"   2 hours ago         Up 2 hours                              k8s_ordering-backgroundtasks_eshop-ordering-backgroundtasks-cc8f6d4d8-ztfk7_default_47f9cf10-e67f-11e8-b4b6-00155d016146_1
12c64b3a13e0        eshop/basket.api                 "dotnet Basket.API.d…"   2 hours ago         Up 2 hours                              k8s_basket-api_eshop-basket-api-658546684d-6hlvd_default_4262d022-e67f-11e8-b4b6-00155d016146_1
133fccfeeff3        eshop/webstatus                  "dotnet WebStatus.dll"   2 hours ago         Up 2 hours                              k8s_webstatus_eshop-webstatus-7f46479dc4-bqnq7_default_4dc13eb2-e67f-11e8-b4b6-00155d016146_0
00c6e4c52135        eshop/webspa                     "dotnet WebSPA.dll"      2 hours ago         Up 2 hours                              k8s_webspa_eshop-webspa-64cb8df9cb-dcbwg_default_4cd47376-e67f-11e8-b4b6-00155d016146_0
d4507f1f6b1a        eshop/webshoppingagg             "dotnet Web.Shopping…"   2 hours ago         Up 2 hours                              k8s_webshoppingagg_eshop-webshoppingagg-cc94fc86-sxd2v_default_4be6cdb9-e67f-11e8-b4b6-00155d016146_0
9178e26703da        eshop/webmvc                     "dotnet WebMVC.dll"      2 hours ago         Up 2 hours                              k8s_webmvc_eshop-webmvc-985779684-4br5z_default_4addd4d6-e67f-11e8-b4b6-00155d016146_0
1088c281c710        eshop/ordering.api               "dotnet Ordering.API…"   2 hours ago         Up 2 hours                              k8s_ordering-api_eshop-ordering-api-fb8c548cb-k68x9_default_4740958a-e67f-11e8-b4b6-00155d016146_0
12424156d5c9        eshop/mobileshoppingagg          "dotnet Mobile.Shopp…"   2 hours ago         Up 2 hours                              k8s_mobileshoppingagg_eshop-mobileshoppingagg-b54645d7b-rlrgh_default_46c00017-e67f-11e8-b4b6-00155d016146_0
65463ffd437d        eshop/locations.api              "dotnet Locations.AP…"   2 hours ago         Up 2 hours                              k8s_locations-api_eshop-locations-api-577fc94696-dfhq8_default_44929c4b-e67f-11e8-b4b6-00155d016146_0
5b3431873763        eshop/identity.api               "dotnet Identity.API…"   2 hours ago         Up 2 hours                              k8s_identity-api_eshop-identity-api-85d9b79f4-s5ks7_default_43d6eb7c-e67f-11e8-b4b6-00155d016146_0
7c8e77252459        eshop/catalog.api                "dotnet Catalog.API.…"   2 hours ago         Up 2 hours                              k8s_catalog-api_eshop-catalog-api-59fd444fb-ztvhz_default_4356705a-e67f-11e8-b4b6-00155d016146_0
94d95d0d3653        eshop/ocelotapigw                "dotnet OcelotApiGw.…"   2 hours ago         Up 2 hours                              k8s_apigwws_eshop-apigwws-65474b979d-n99jw_default_41395473-e67f-11e8-b4b6-00155d016146_0
bc4bbce71d5f        eshop/ocelotapigw                "dotnet OcelotApiGw.…"   2 hours ago         Up 2 hours                              k8s_apigwwm_eshop-apigwwm-857c549dd8-8w5gv_default_4098d770-e67f-11e8-b4b6-00155d016146_0
840aabcceaa9        eshop/ocelotapigw                "dotnet OcelotApiGw.…"   2 hours ago         Up 2 hours                              k8s_apigwms_eshop-apigwms-5b94dfb54b-dnmr9_default_401fc611-e67f-11e8-b4b6-00155d016146_0
aabed7646f5b        eshop/ocelotapigw                "dotnet OcelotApiGw.…"   2 hours ago         Up 2 hours                              k8s_apigwmm_eshop-apigwmm-85f96cbdb4-dhfwr_default_3ed7967a-e67f-11e8-b4b6-00155d016146_0
49c5700def5a        f06a5773f01e                     "docker-entrypoint.s…"   2 hours ago         Up 2 hours                              k8s_basket-data_eshop-basket-data-66fbc788cc-csnlw_default_3e0c45fe-e67f-11e8-b4b6-00155d016146_0
a5db4c521807        f06a5773f01e                     "docker-entrypoint.s…"   2 hours ago         Up 2 hours                              k8s_keystore-data_eshop-keystore-data-5c9c85cb99-8k56s_default_3ce1a273-e67f-11e8-b4b6-00155d016146_0
aae88fd2d810        d69a5113ceae                     "docker-entrypoint.s…"   2 hours ago         Up 2 hours                              k8s_rabbitmq_eshop-rabbitmq-6b68647bc4-gr565_default_3c37ee6a-e67f-11e8-b4b6-00155d016146_0
65d49ca9589d        bbed8d0e01c1                     "docker-entrypoint.s…"   2 hours ago         Up 2 hours                              k8s_nosql-data_eshop-nosql-data-579c9d89f8-mtt95_default_3b9c1f89-e67f-11e8-b4b6-00155d016146_0
090e0dde2ec4        bbe2822dfe38                     "/opt/mssql/bin/sqls…"   2 hours ago         Up 2 hours                              k8s_sql-data_eshop-sql-data-5c4fdcccf4-bscdb_default_3afd29b8-e67f-11e8-b4b6-00155d016146_0
Login from the webmvc results in following error: HttpRequestException: Response status code does not indicate success: 404 (Not Found).
The reason is because MVC needs to access the Identity Server from both outside the container (browser) and inside the container (C# code). Thus, the configuration uses always the external url of the Identity Server, which in this case is just http://localhost/identity-api. But this external url is incorrect when used from C# code, and the web mvc can't access the identity api. This is the only case when this issue happens (and is the reason why we use 10.0.75.1 for local address in web mvc in local development mode)
Solving this requires some manual steps:
From the /k8s folder run kubectl apply -f .\nginx-ingress\local-dockerk8s\mvc-fix.yaml. This will create two additional ingresses (for MVC and Identity API) to any valid DNS that points to your machine. This enable the use of 10.75.0.1 IP.
Update the configmap of Web MVC by typing (line breaks are mandatory):
kubectl patch cm cfg-eshop-webmvc --type strategic --patch @'
data:
  urls__IdentityUrl: http://10.0.75.1/identity
  urls__mvc: http://10.0.75.1/webmvc
'@
Update the configmap of Identity API by typing (line breaks are mandatory):
kubectl patch cm cfg-eshop-identity-api --type strategic --patch @'
data:
  mvc_e: http://10.0.75.1/webmvc
'@
Restart the SQL Server pod to ensure the database is recreated again:
kubectl delete pod --selector app=sql-data
Wait until SQL Server pod is ready to accept connections and then restart all other pods:
kubectl delete pod --selector="app!=sql-data"
Note: Pods are deleted to ensure the databases are recreated again, as identity api stores its client names and urls in the database.
Now, you can access the MVC app using: http://10.0.75.1/webmvc. All other services (like SPA) must be accessed using http://localhost