- You must have a github account
- You must have an active azure subscription
Please follow the below steps to successfully deploy a Synapse workspace and its artifacts on your Azure subscription
-
Fork microsoft/AzureSynapseEndToEndDemo project to your local github account. Make sure to check "Copy the main branch only".

-
Once you fork the AzureSynapseEndToEndDemo project to your github account, please click on Deploy to Azure button to start the deployment

-
Deploy to Azure button takes you to the https://ms.portal.azure.com/#create/Microsoft.Template webpage. Please provide subscription, resource group, region, storage account name, storage container name, workspace name, dedicated sql pool name, spark pool name, spark pool node size, sql administration username/password, sku (dedicated sql pool Data Warehouse Units), and github username parameter values.
❗👉It's incredibly important that you write down all the values in the above step. Many will need to be supplied later as parameters.
Note: The github username should be the target github account where you forked the project. Example: If https://github.com/JohnDoe/AzureSynapseEndToEndDemo is the github project url, then "JohnDoe" is github account name.
-
Click on the Review + Create button to trigger deployment validation. If deployment validation is successful, the single click deployment will deploy a Synapse Workspace, Dedicated SQL Pool, and Spark Pool. This deployment also enables git configuration so all the required artifacts for the end-to-end demo are committed to your user github project. This completes the Azure Synapse end-to-end code deployment step.
Note: If deployment is incomplete, please look at the resource group activity log and find the latest deployment errors for more information

First you will need to fill in a parameter before you can complete the exercises. We need to provide the linked service to your storage account with the storage account name you chose during deployment.
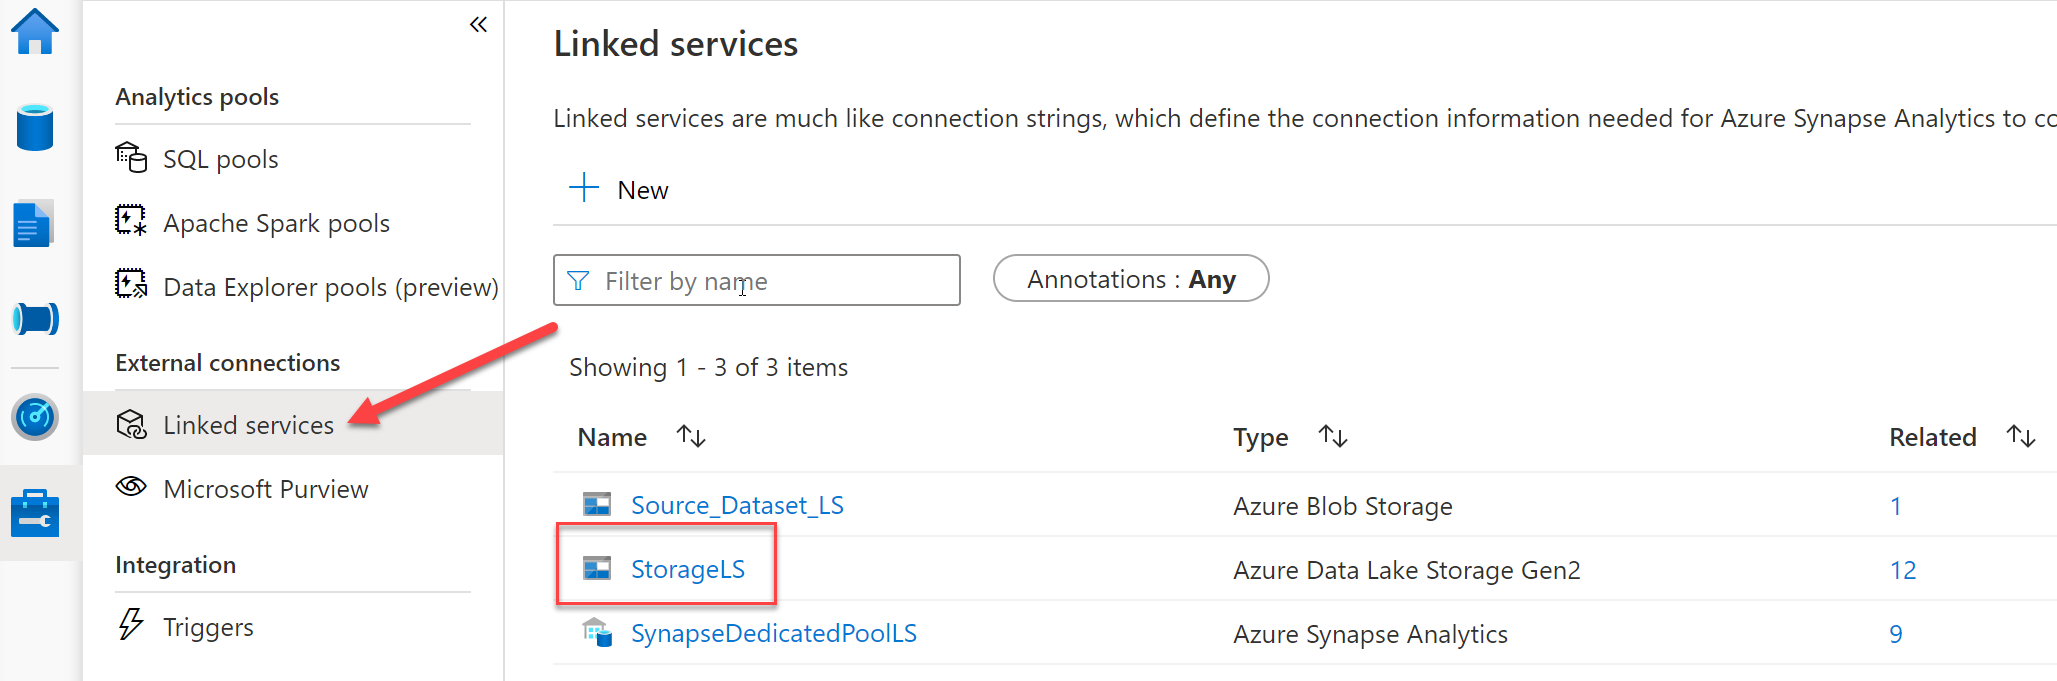
Once you click on the linked service name it will open a panel where we can make changes and provide the correct parameter for our storage account.

Now that the parameter is complete you'll need to copy the demo data from our Microsoft repository to your data lake. The data used in these exercises is synthetic health care data generated from Synthea using their Data Generator and is all open source. Alternatively, you could generate the data yourself and copy it to your lake. To begin the copy you need to open the Data Prep Pipeline.

Once you have the pipeline open, you can execute it by clicking debug. When you click debug a flyout panel will open on the right side asking for two runtime parameters. First is the name of the storage account you chose during deployment and the second has the default value of '1tb'. You have a choice between two data source sizes and can choose either '1tb' or '30tb'. If you stick with the '1tb' default you can always go back later, run the pipeline again choosing '30tb' and copy that to your data lake as well.

