This repository was archived by the owner on Jan 30, 2024. It is now read-only.
-
Notifications
You must be signed in to change notification settings - Fork 5
Expand file tree
/
Copy pathREADME.bk
More file actions
50 lines (36 loc) · 2.34 KB
/
README.bk
File metadata and controls
50 lines (36 loc) · 2.34 KB
1
2
3
4
5
6
7
8
9
10
11
12
13
14
15
16
17
18
19
20
21
22
23
24
25
26
27
28
29
30
31
32
33
34
35
36
37
38
39
40
41
42
43
44
45
46
47
48
49
50
> [!WARNING]
> We no longer actively maintain this plugin and recommend using our [Scene Editor](https://www.own3d.pro/dashboard/).
# OWN3D Pro OBS Plugin
[](https://discord.gg/NyejWgn)
> **We are compatible with OBS 28**: Just download the latest version of the OWN3D Pro installer from our OWN3D Pro Dashboard.
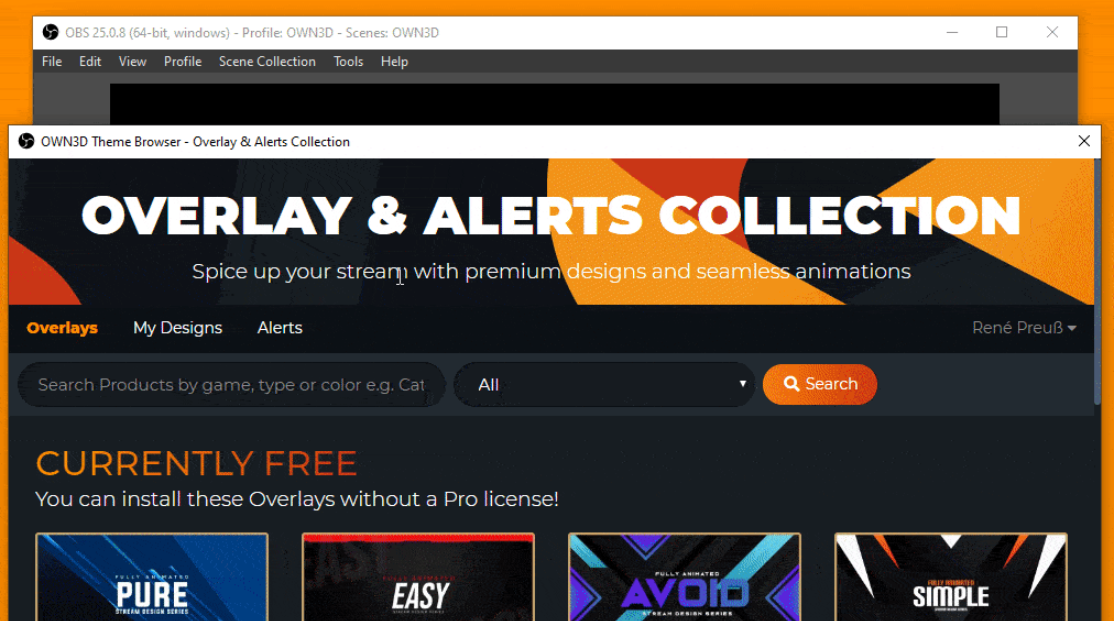
With [OWN3D Pro](https://own3d.pro/) it’s easy to change Overlays and Alerts within a couple of seconds. The only thing you have to do is to choose your desired design and click install. Ready set go! [Join now for FREE!](https://own3d.pro/dashboard)
This application currently only supports 64-bit Windows.
## Installation on Windows
We offer a signed installer, published by StreamTV Media GmbH, for 64-bit Windows. You can download and install the latest version via [own3d.pro](https://own3d.pro/) (or here via [direct-link](https://own3d.pro/download-plugin)).
## Join the OWN3D Devs & Testers Discord
Official support is currently only available on our website. But we also offer a Discord Server for people who want to give us some feedback about our products.
[](https://discord.gg/NyejWgn)
## Compiling
### Requirements
* CMake 3.16 or newer
* Visual Studio 2019 (Community works fine)*
* An internet connection
* Optional: LLVM for clang-format integration
* Optional: Windows 10 SDK for 'signtool.exe'
* Optional: InnoSetup for the installer
### Steps to build for release
1. Open CMake (GUI).
2. Set Source directory to this directory.
3. Set Build directory to `<this directory>/build/flux`.
4. Click Configure.
5. Change OBS_DOWNLOAD to have a checkbox.
6. Change CMAKE_INSTALL_PREFIX to `<this directory>/build/install`.
6. Click Generate.
7. Click Open Project, which opens Visual Studio.
8. Change the build type to RelWithDebInfo.
9. Right click on 'INSTALL' and click 'Build'.
10. Your completed build is now available in `<this directory>/build/install`, all further steps are optional.
11. Go to `<this directory>/build/flux`.
12. Right click on `installer.iss` and select 'Compile'.
13. Once InnoSetup is done, an installer file is available in the same directory.