Installation
- Download and install Perl
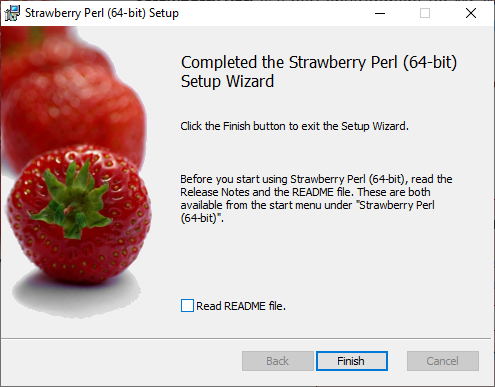
UncheckRead README file.and clickFinish.
- Download and install MiKTeX
Follow the installation steps.
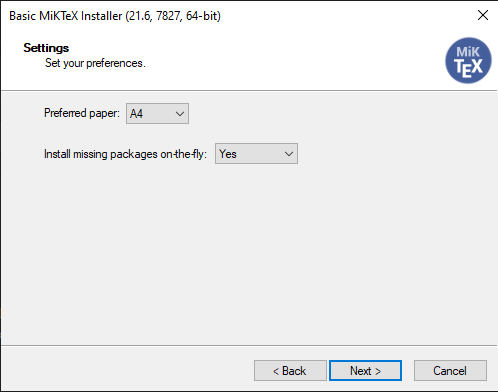
SelectYesforInstall missing packages on-the-fly.
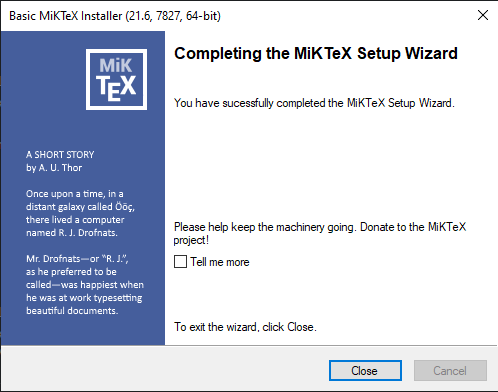
UncheckTell me moreand clickClose.
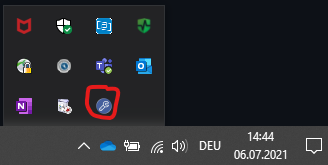
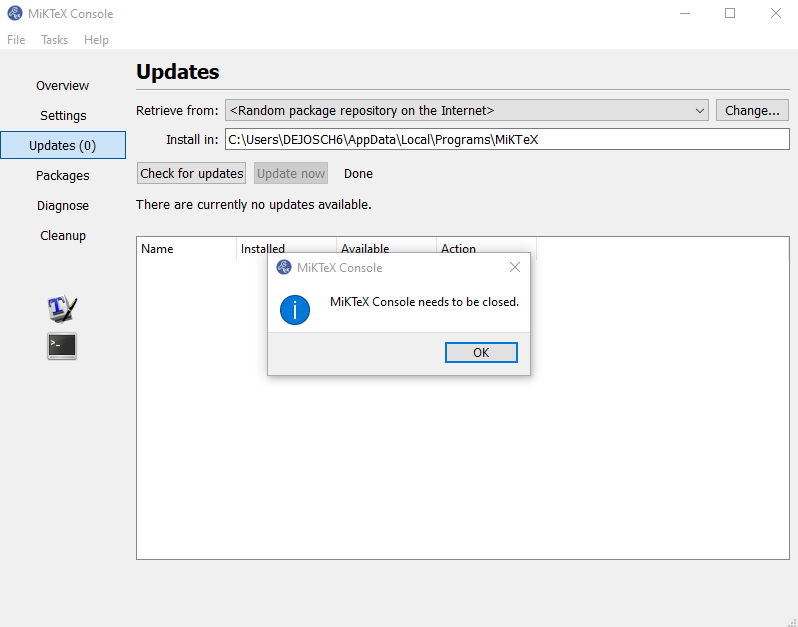
Double-click the MiKTeX icon in the toolbar.
Open theUpdatetab and click onUpdate now.

ClickOKand MiKTeX will be closed.
- Download and install Visual Studio Code.
- Open VSCode and install extensions.
Open theExtensionstab.
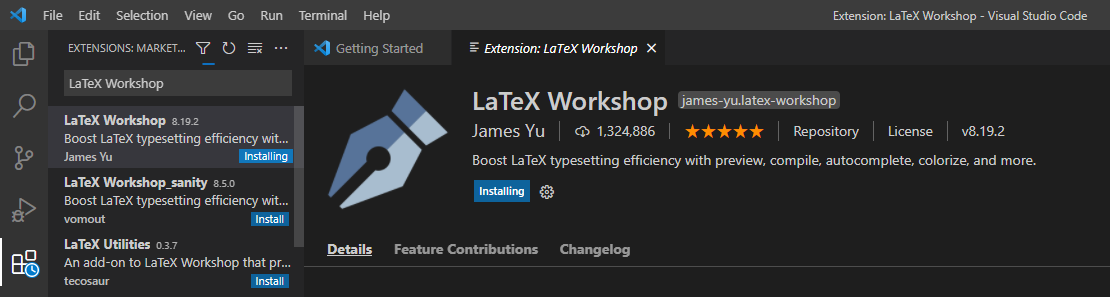
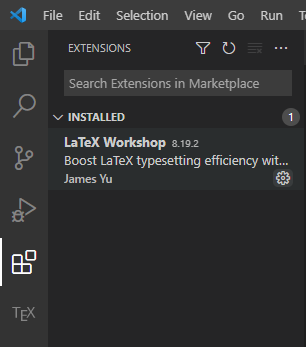
Search forLaTeX Workshopand clickInstallon the package as shown in the screenshot below.
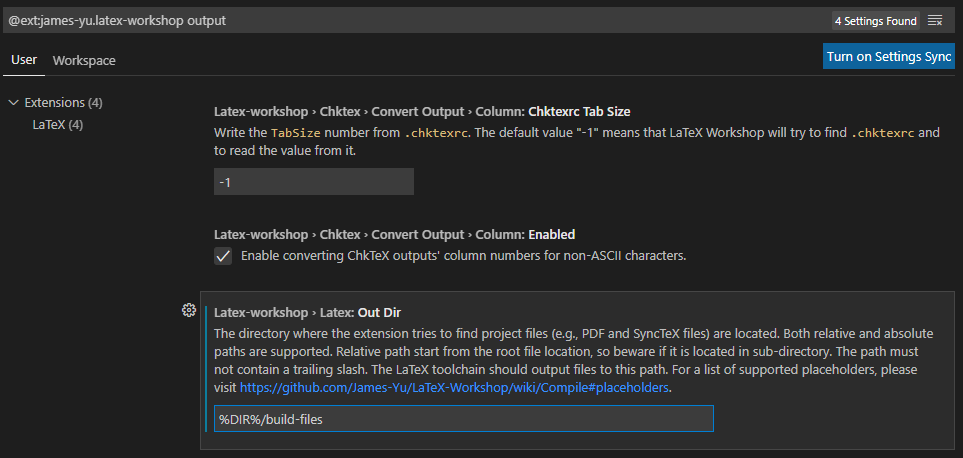
- Open the
Extensionstab and click on theSettings-gear-wheel to open the settings.
- Add
outputin the searchbar and add%DIR%/build-filesinOut Dir-Settings.
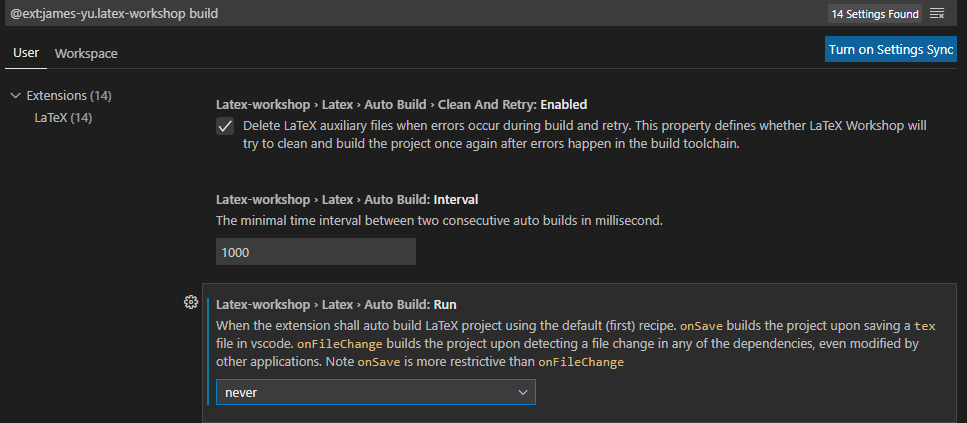
- Add
buildin the searchbar and selectneverinAuto Build: Run-Settings.
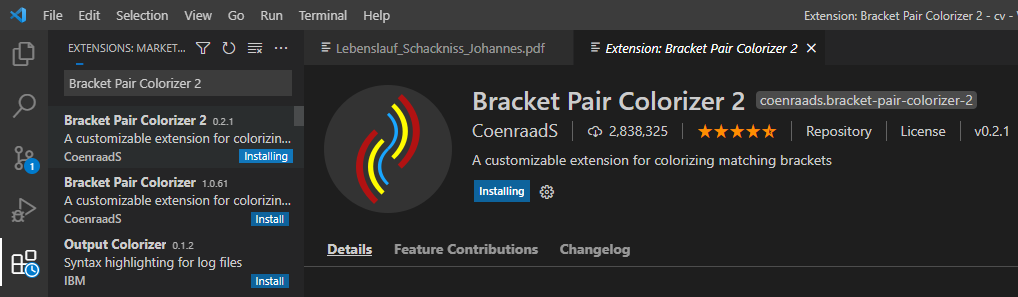
- Bracket Pair Colorizer 2
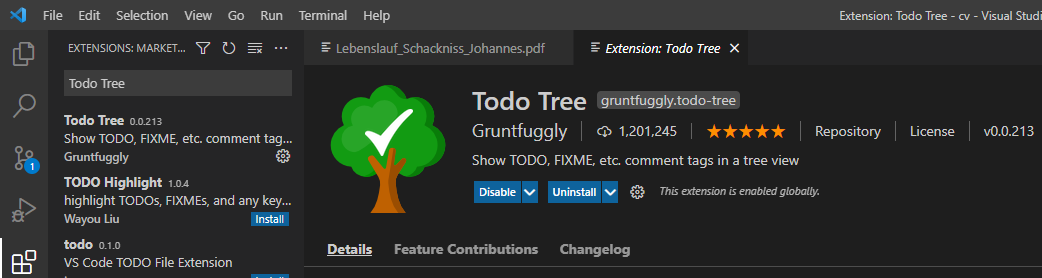
- Todo Tree
Setup for Latex
Open extension settings and search for
Todo Tree: Regex: Regex:
and insert
((//|#|<!--|;|/\*|^|%|\\)\s*($TAGS)\{*|^\s*- \[ \])
Search for
Todo Tree: General: Tags:
and click Add Item. Add todo to show todo's from the todonotes-package (LaTeX).
3. WIP (Spell checker).
-
Download and install Perl
-
Download and install MiKTeX
-
Download and install Atom
-
Open Atom
-
Press 'ctrl + ,' to open settings
-
Open the install tab
-
Install the following packages by writing the names in the search bar
required:
- latex - (required, ability to compile latex)
optional (but highly recommended):
- language-latex (syntax highlighting, makes the tex file much easier to read)
- latex-autocomplete (helps you to create figures, items, etc.)
- autocomplete-latex (helps you to create figures, items, etc.)
- pdf-view - (shows the compiled pdf file in the editor)

- Ouput Directory: saves the meta files in the defined directory, this helps to keep your root directory clean
- Move Result to Source Directory: saves the pdf file in the same folder as the producing tex document
- Build on Save: starts a build when the file is safed ('ctrl + s' or by clicking 'File>Save..')
- Open Result after Successful Build: opens the pdf in the 'pdf-view' after the build finished
To edit the settings:
- Open packages tab in the settings window
- Search for the package latex and open the package settings

- Grammars: the file types that will be spell checked
- Use Locales: if locals should be used for the spell check
- Locales: what locals should be used for the spell check (example: en-US, de-DE)
To edit the settings:
- Open packages tab in the settings window
- Search for the package 'spell-check' and open the package settings
- Add 'text.tex.latex' and the end of the field 'Grammars'
- Enable 'Use Locals'
- Add desired language to 'Locales' (for german add: 'de-DE')
To add support for more languages in 'Locales', check here in the 'Changing the dictionary' section