This repository is meant as a common place to store and maintain infrastructure for The Shop at SCD, including tutorials and walkthroughs of projects and techniques that guests and staff have done. Note that these are not training for Shop machines, these are just meant as a reference and a place to kickstart knowledge. You, as part of The Shop's community, are welcome to contribute! If you want to find out how, keep reading.
Before creating a tutorial, you'll want to create a GitHub account in order to be able to contribute. You can do that here. Once you have your account set up, go to this repository, then find the Fork button.
Forking a repository will create your own copy of it as it was when you fork it, and allows you to edit and change things within your fork without changing the main project. Then, when you have what you want to contribute done, you can submit a pull request for review by the repository's owners, who will then either accept it and merge it into the main branch, or will reject it and tell you what needs to change. You can then access your fork by going to your profile in the upper right and finding Your Repositories, then navigating to your fork of scd-shop. From here you can navigate through, create and upload files, and more.
Under Add Files you will find two options for adding files to your branch: Upload files, and create new file. Upload files will let you upload any files under 25Mb to the current folder you are navigated to. Create new file will let you create a file in any subfolder of the current location, including creating new subfolders from that location. You can do this by entering Folder Name/File Name.fileextension in the Name your file... text box as shown below.


While you are working on your fork, there may be changes to the main branch. In order to get these to register on your fork, you can use the Update Branch option under Sync Fork as shown below to update your fork to reflect those changes.

There may be issues if you edit a file that was also edited, as those edits may conflict, and you'll have to choose how those conflicts resolve on your branch.
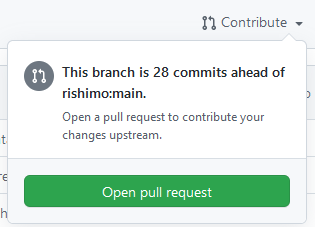
When you're ready to put the things you've been working on into the main branch, you can go to Contribute -> Open a pull request to submit your changes for review.
When creating a new directory, it's recommended to create a README.md file to go along with it. This file will display below the contents of that directory automatically after opening it as seen below.
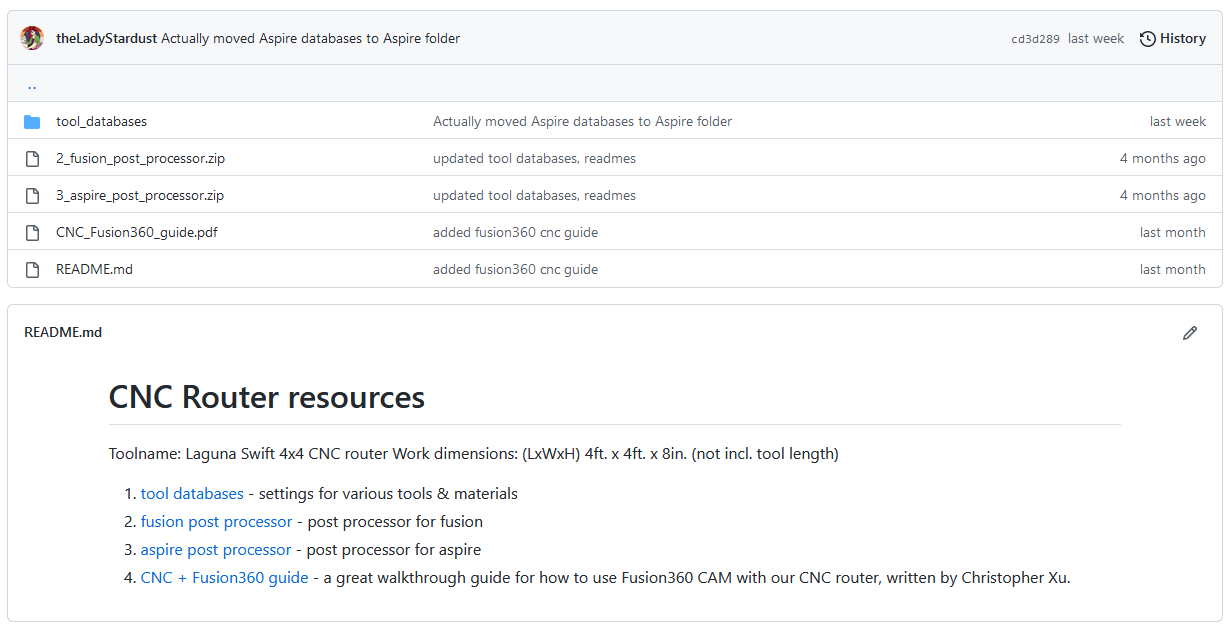
READMEs generally should include information about the contents of the folder, external resources, or otherwise just relevant information.
Markdown files, with file extension .md, are a way to format and display text files in a clean and easy-to-read way. Some basics will be covered here, but for more documentation, check out the Markdown website and GitHub's Intro to Markdown. To make a Markdown file, just create a file as discussed above with the file extension .md. Markdown files can easily be opened and displayed in GitHub, and if you want a peek at how someone did something, you can view their raw file to get the Markdown code.
Tutorials can be nebulous and hard to start, and harder to do well. These guidelines should help set forth some expectations and hopefully get you started in the right direction.
- Follow Shop Rules: Tutorials should operate strictly within the lines of rules set forth by Shop staff. Rules are there to protect you and equipment, and not following them can endanger either.
- Be Professional: These tutorials will be public, and what you put in them reflects both on you, and on The Shop as a whole. Additionally, professional language is generally clear language.
- Credit Outside Resources: Don't be afraid to use outside resources! If you know a video on something that is relevant, don't be afraid to link it. But, don't plagiarize and state that others' work is your own.
- Set Expectations: Near the beginning, clearly state what the goal of this tutorial is, by what means that goal will be accomplished, and what the reader should start with, both in terms of skills/knowledge, and in software, materials or other resources in order to complete the tutorial.
- Start to Finish: The tutorial should cover every step along the way between the stated start resources and goal.
- Don't Assume Knowledge: Not everyone has the same knowledge base as you. Either state skills needed, or explain them as you go.
If you need further guidance, check out the other tutorials in this repository, like the Laser Walkthrough.