在 kubesphere 上搭建 cube studio
注意:机器最低规格为:8C16G ;kubectl 版本要1.24 ;之前安装过 KS 要提前清理下环境。
-
下载 KubeKey
export KKZONE=cn
curl -sfL https://get-kk.kubesphere.io | VERSION=v2.2.1 sh -
-
如果机器上之前安装过 KubeSphere 或者 KubeSphere 版本太高 , 先卸载 KubeSphere,k8s 版本太高有问题,会导致部分 CRD 不能安装
./kk delete cluster-
清理 kubeconfig,不然会导致其他 node 节点 无法使用 kubectl
rm -rf /root/.kube/config
-
安装 1.20 版本的 k8s
./kk create cluster --with-kubernetes v1.20.10 --with-kubesphere v3.3.0
详细安装步骤可以参考 KubeSphere 官方文档
-
下载 cube-studio 源码
git clone https://github.com/tencentmusic/cube-studio.git
-
安装
将k8s集群的 kubeconfig 文件复制到 install/kubernetes/config 文件中,然后执行如下命令,其中xx.xx.xx.xx为机器内网的ip
cp $HOME/.kube/config install/kubernetes/config

# 在k8s worker机器上执行
sh start.sh xx.xx.xx.xx
Kubectl 版本太低可能会导致部署 CRD 会报错,导致 istio-system 下面的 svc 创建不成功
customresourcedefinition.apiextensions.k8s.io/applications.app.k8s.io condition met
error: json: cannot unmarshal object into Go struct field Kustomization.patchesStrategicMerge of type patch.StrategicMerge
error: rawResources failed to read Resources: Load from path ../../base failed: '../../base' must be a file (got d='/home/zjlab/zyg/cube-studio-master/install/kubernetes/kubeflow/train-operator/manifests/base')
Kubesphere 的 kubectl 默认在 /usr/local/bin/kubectl 目录下面,cube-studio 的 kubectl 默认在 /usr/bin 下面
cp /usr/bin/kubectl /usr/local/bin/- 标签未打成功
查看node标签
kubectl get nodes --show-labels发现如果没有 mysql=true 标签,重新执行打标签命令
kubectl label node $node train=true cpu=true notebook=true service=true org=public istio=true knative=true kubeflow=true kubeflow-dashboard=true mysql=true redis=true monitoring=true logging=true --overwrite- 手动拉取 busybox
如果 mysql 报错:
Warning Failed 34s kubelet Failed to pull image "busybox": rpc error: code = Unknown desc = Error response from daemon: Head "https://registry-1.docker.io/v2/library/busybox/manifests/latest": unauthorized: incorrect username or password需要 docker login ,然后docker pull busybox 手动拉取
- PV 雨 PVC 未绑定
kubectl get pv infra-mysql-pv 查看PV状态,如果未绑定添加 storageClassName: local等字段
kubectl edit pv infra-mysql-pv
claimRef:
    apiVersion: v1
    kind: PersistentVolumeClaim
    name: infra-mysql-pvc
    namespace: infra
storageClassName: local- 重启 mysql
kubectl edit deploy -n infra mysql 设置 replicas=0
然后清理 /data/k8s/infra/mysql 残余数据
最后 replicas=1 坐等 infra 命名空间下面的 pod 都 running
- notebook 无法运行,需要清空 kubeconfig
kubectl edit configmap kubernetes-config -n infra
kubectl edit configmap kubernetes-config -n pipelinekubectl edit configmap kubernetes-config -n katib
-
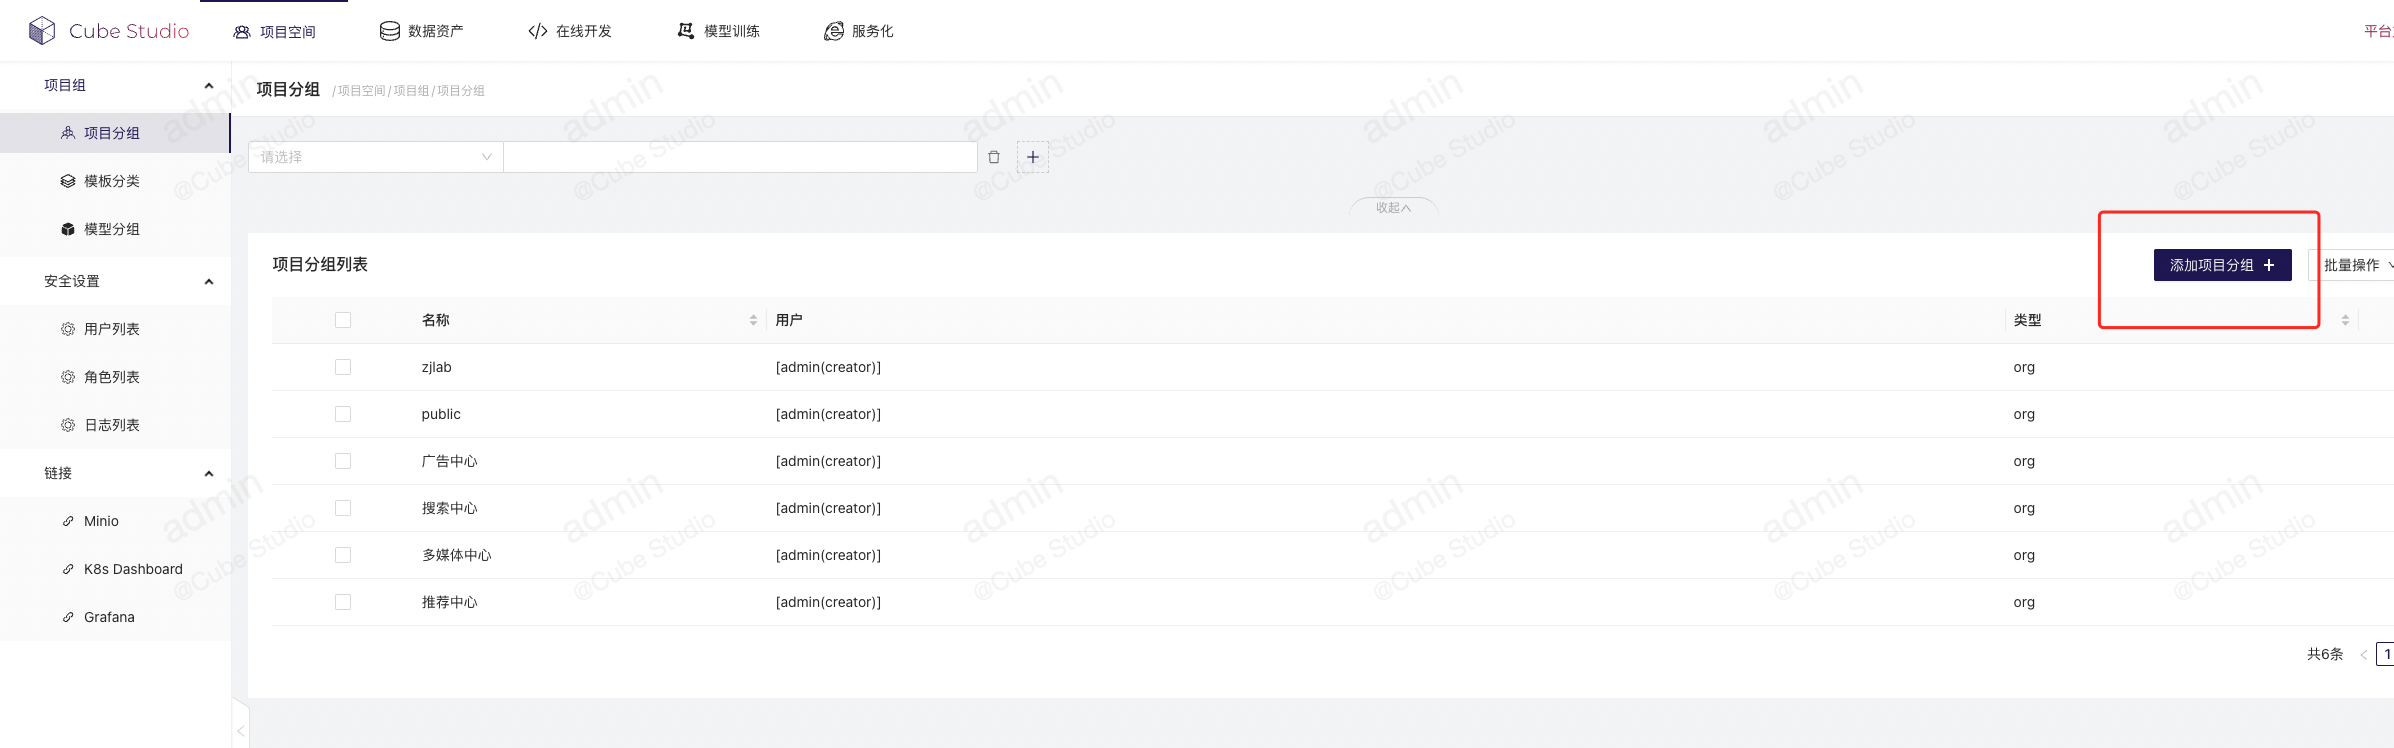
添加项目分组,不要把用户都放在 public 项目组里面,会有问题。
-
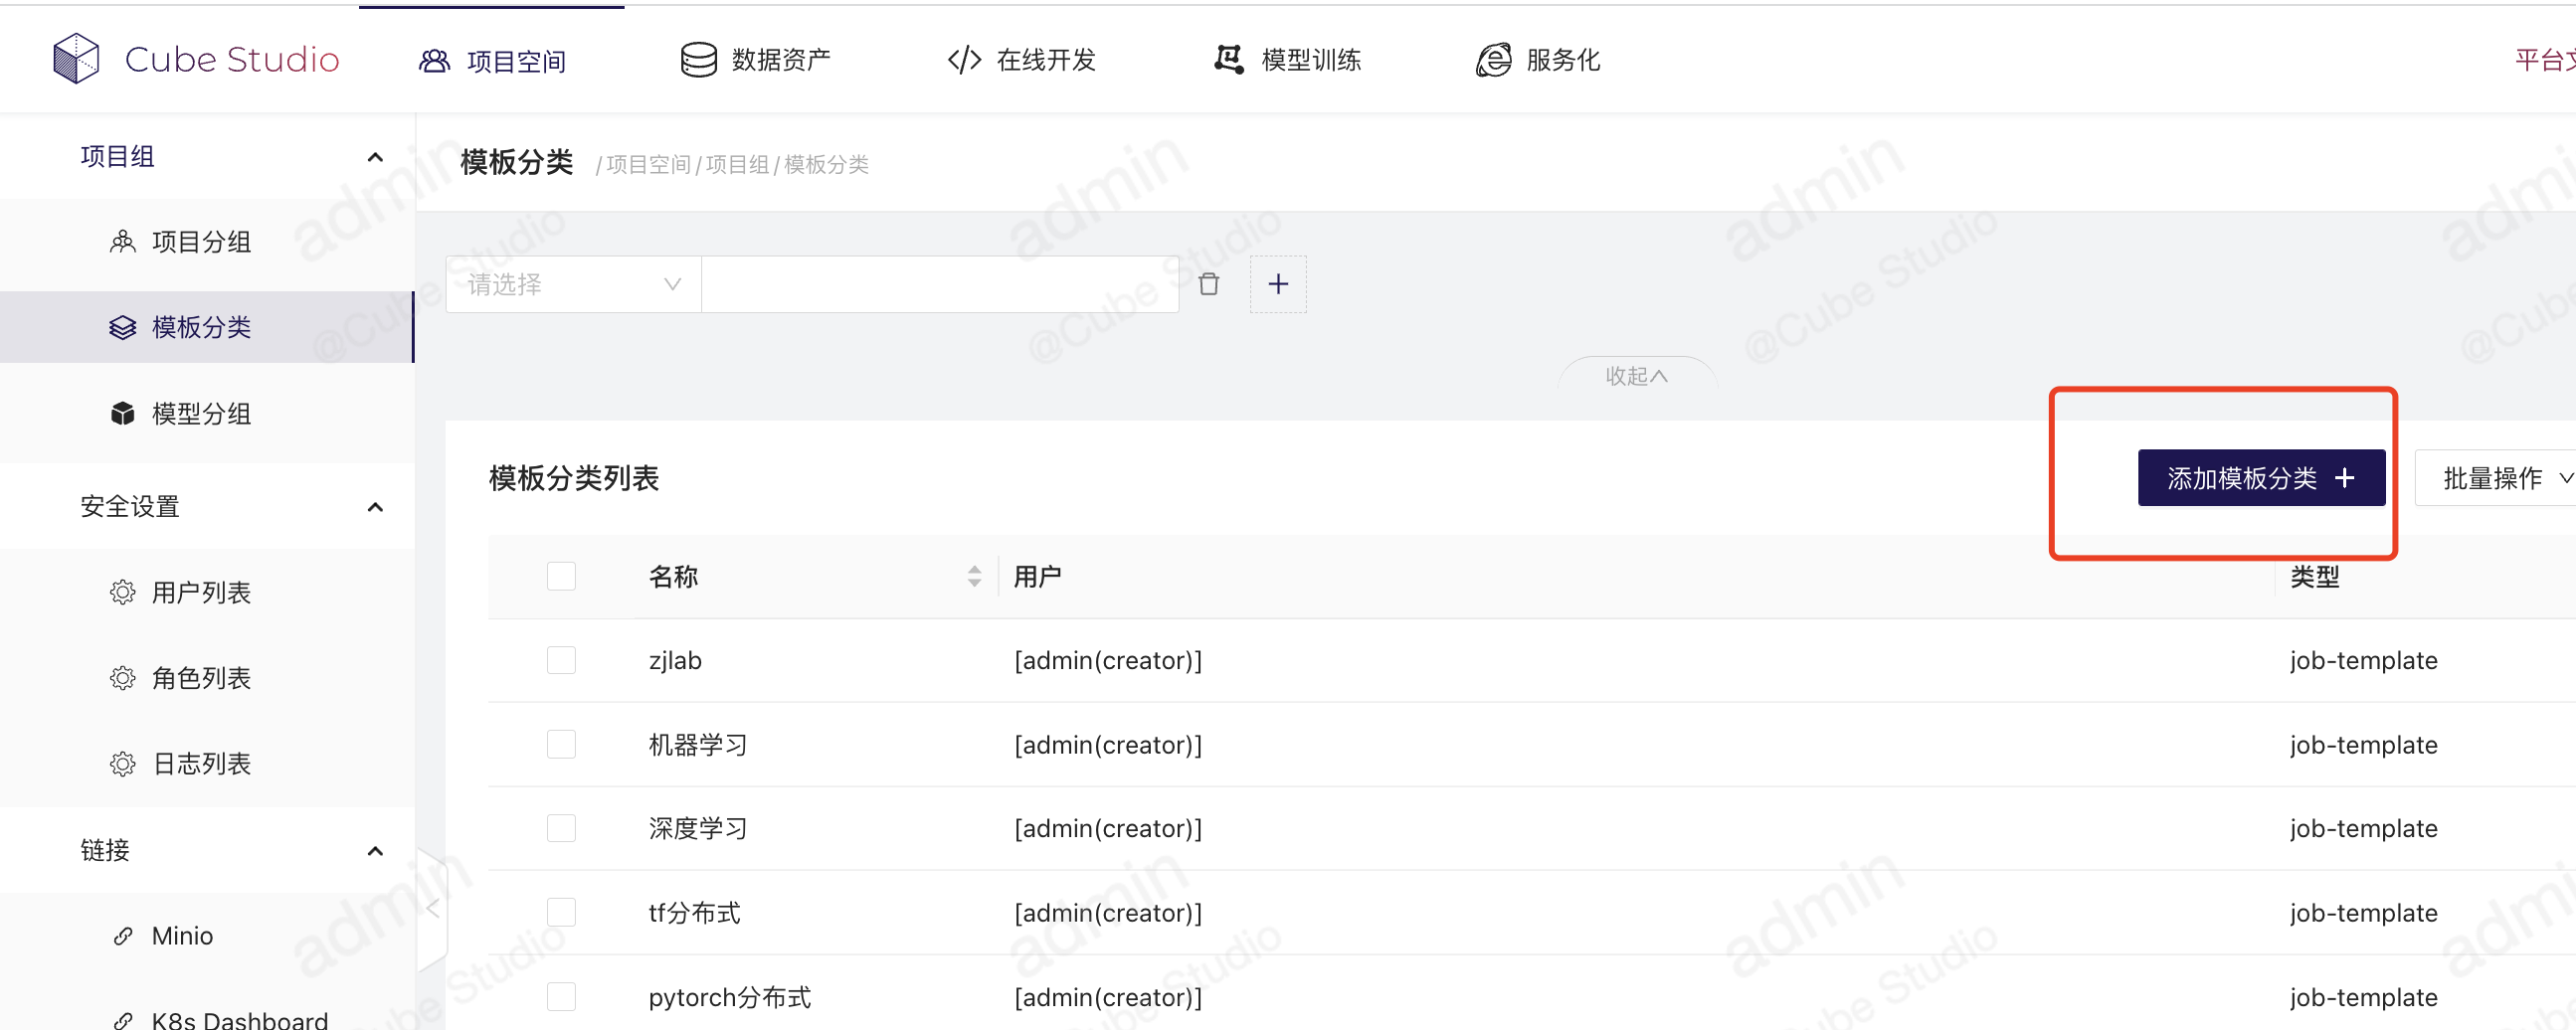
添加模版分类
-
添加仓库
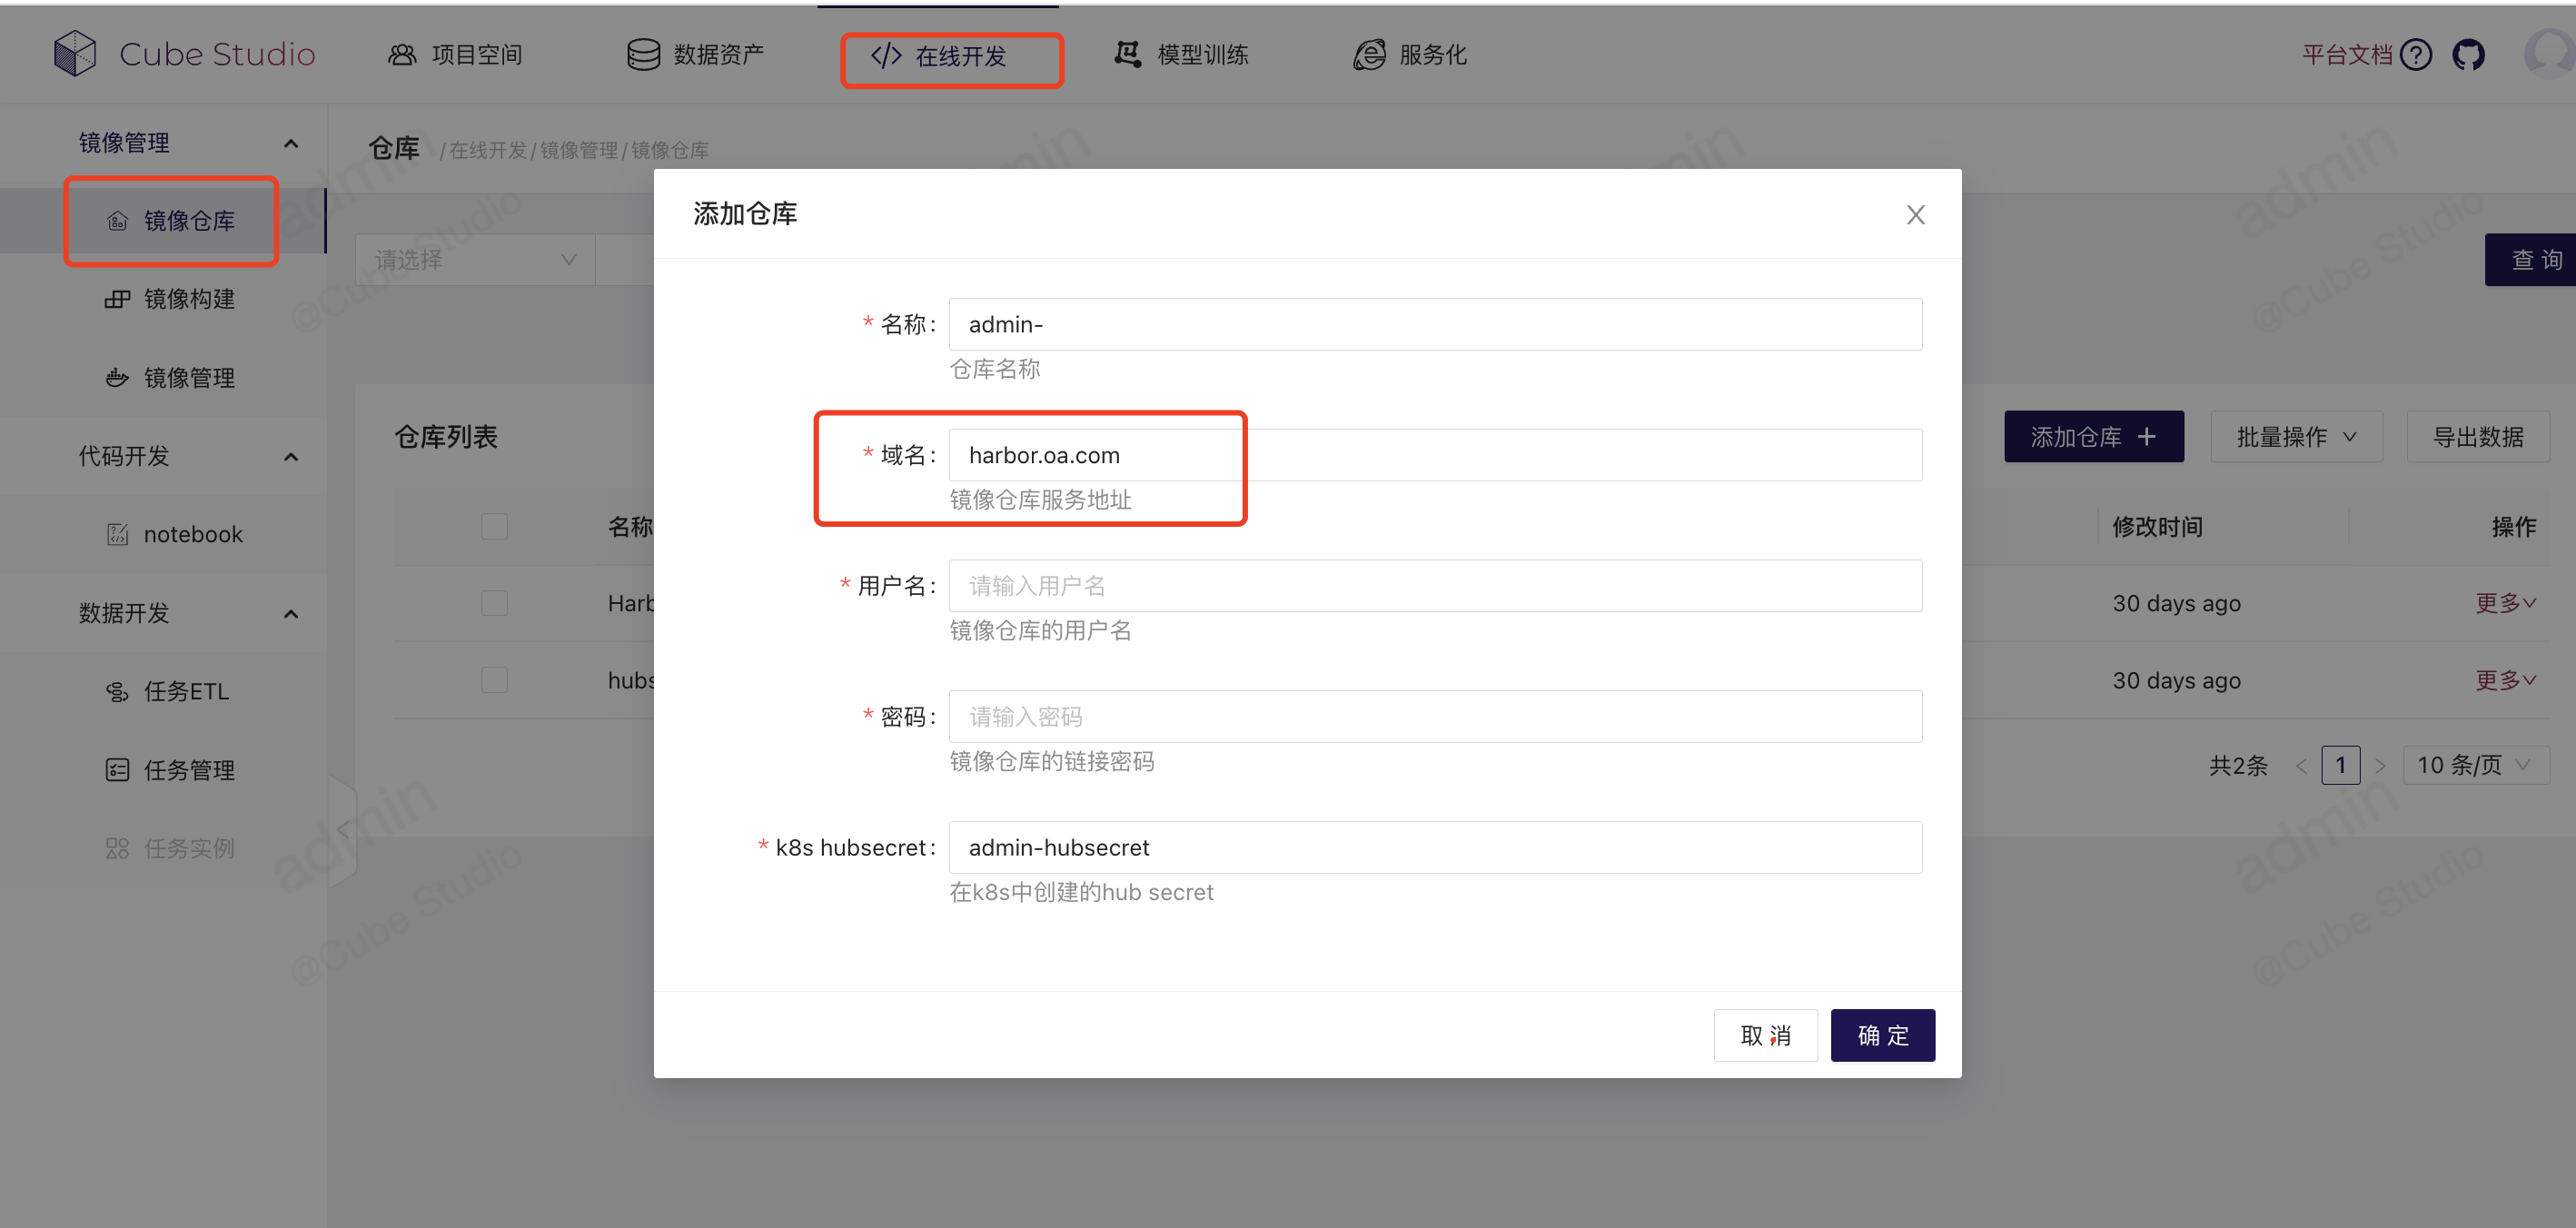
如果是拉取 docker hub 上面的镜像的话,训练---仓库---hubsecret,修改你的 dockerhub 的用户名和密码
如果是拉取 Harbor 镜像,新建一个仓库,填写 Harbor 服务器域名或者 IP 和用户名密码
-
镜像管理,创建你的 任务 镜像
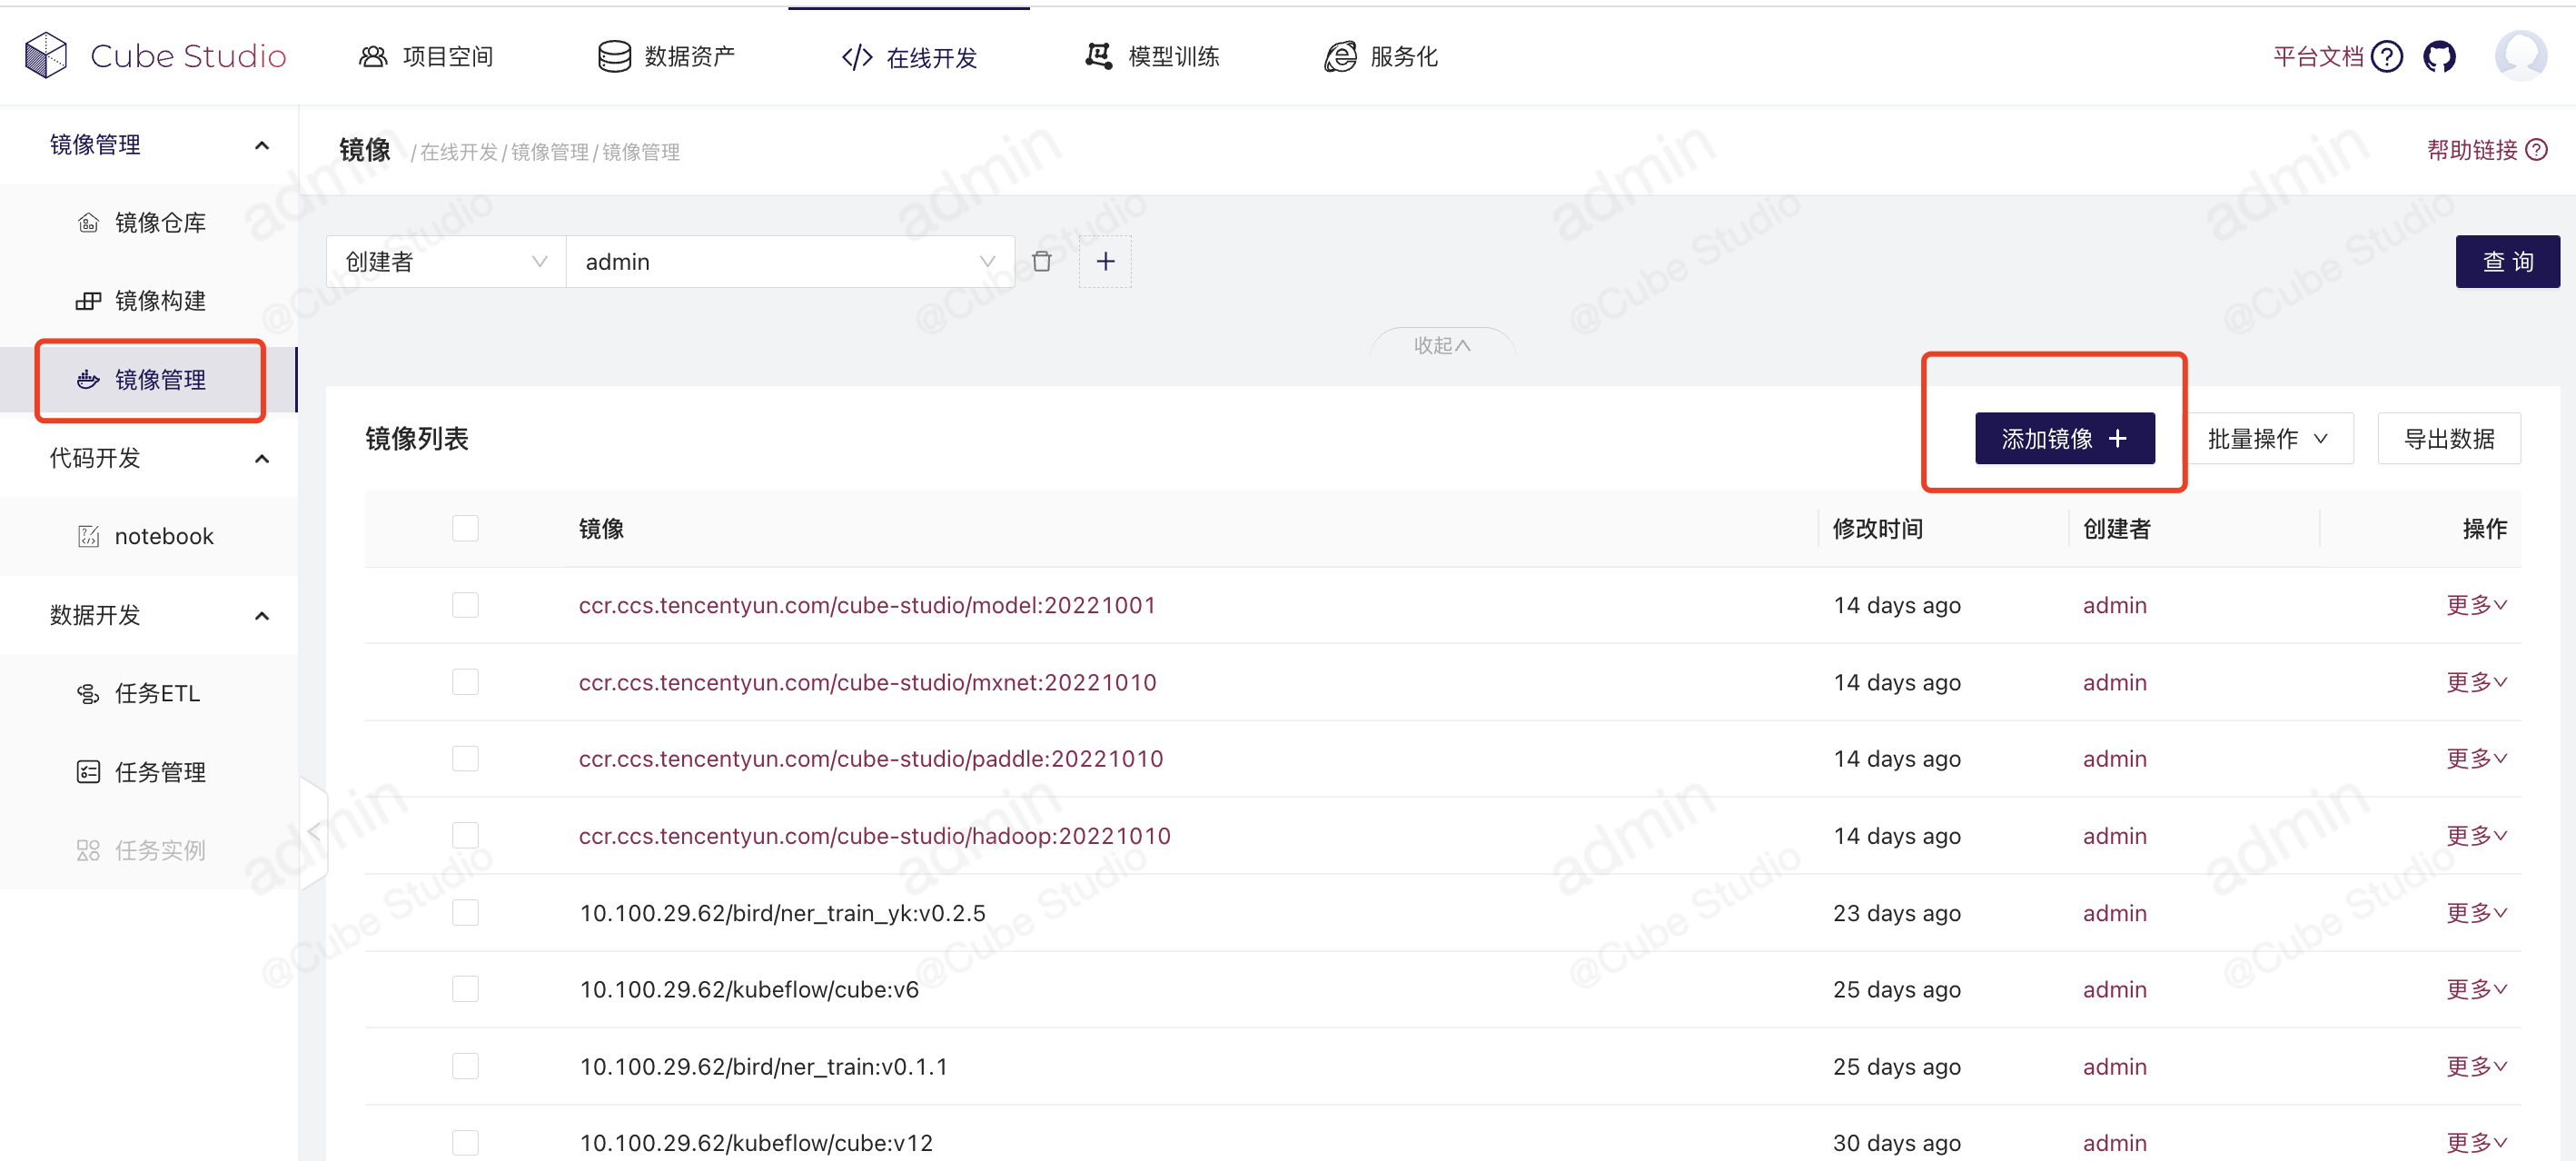
设置镜像的仓库,完全名称并带上版本号。
你的镜像可以在开发环境上打好,然后上传到 Harbor 上。
-
添加 任务模版
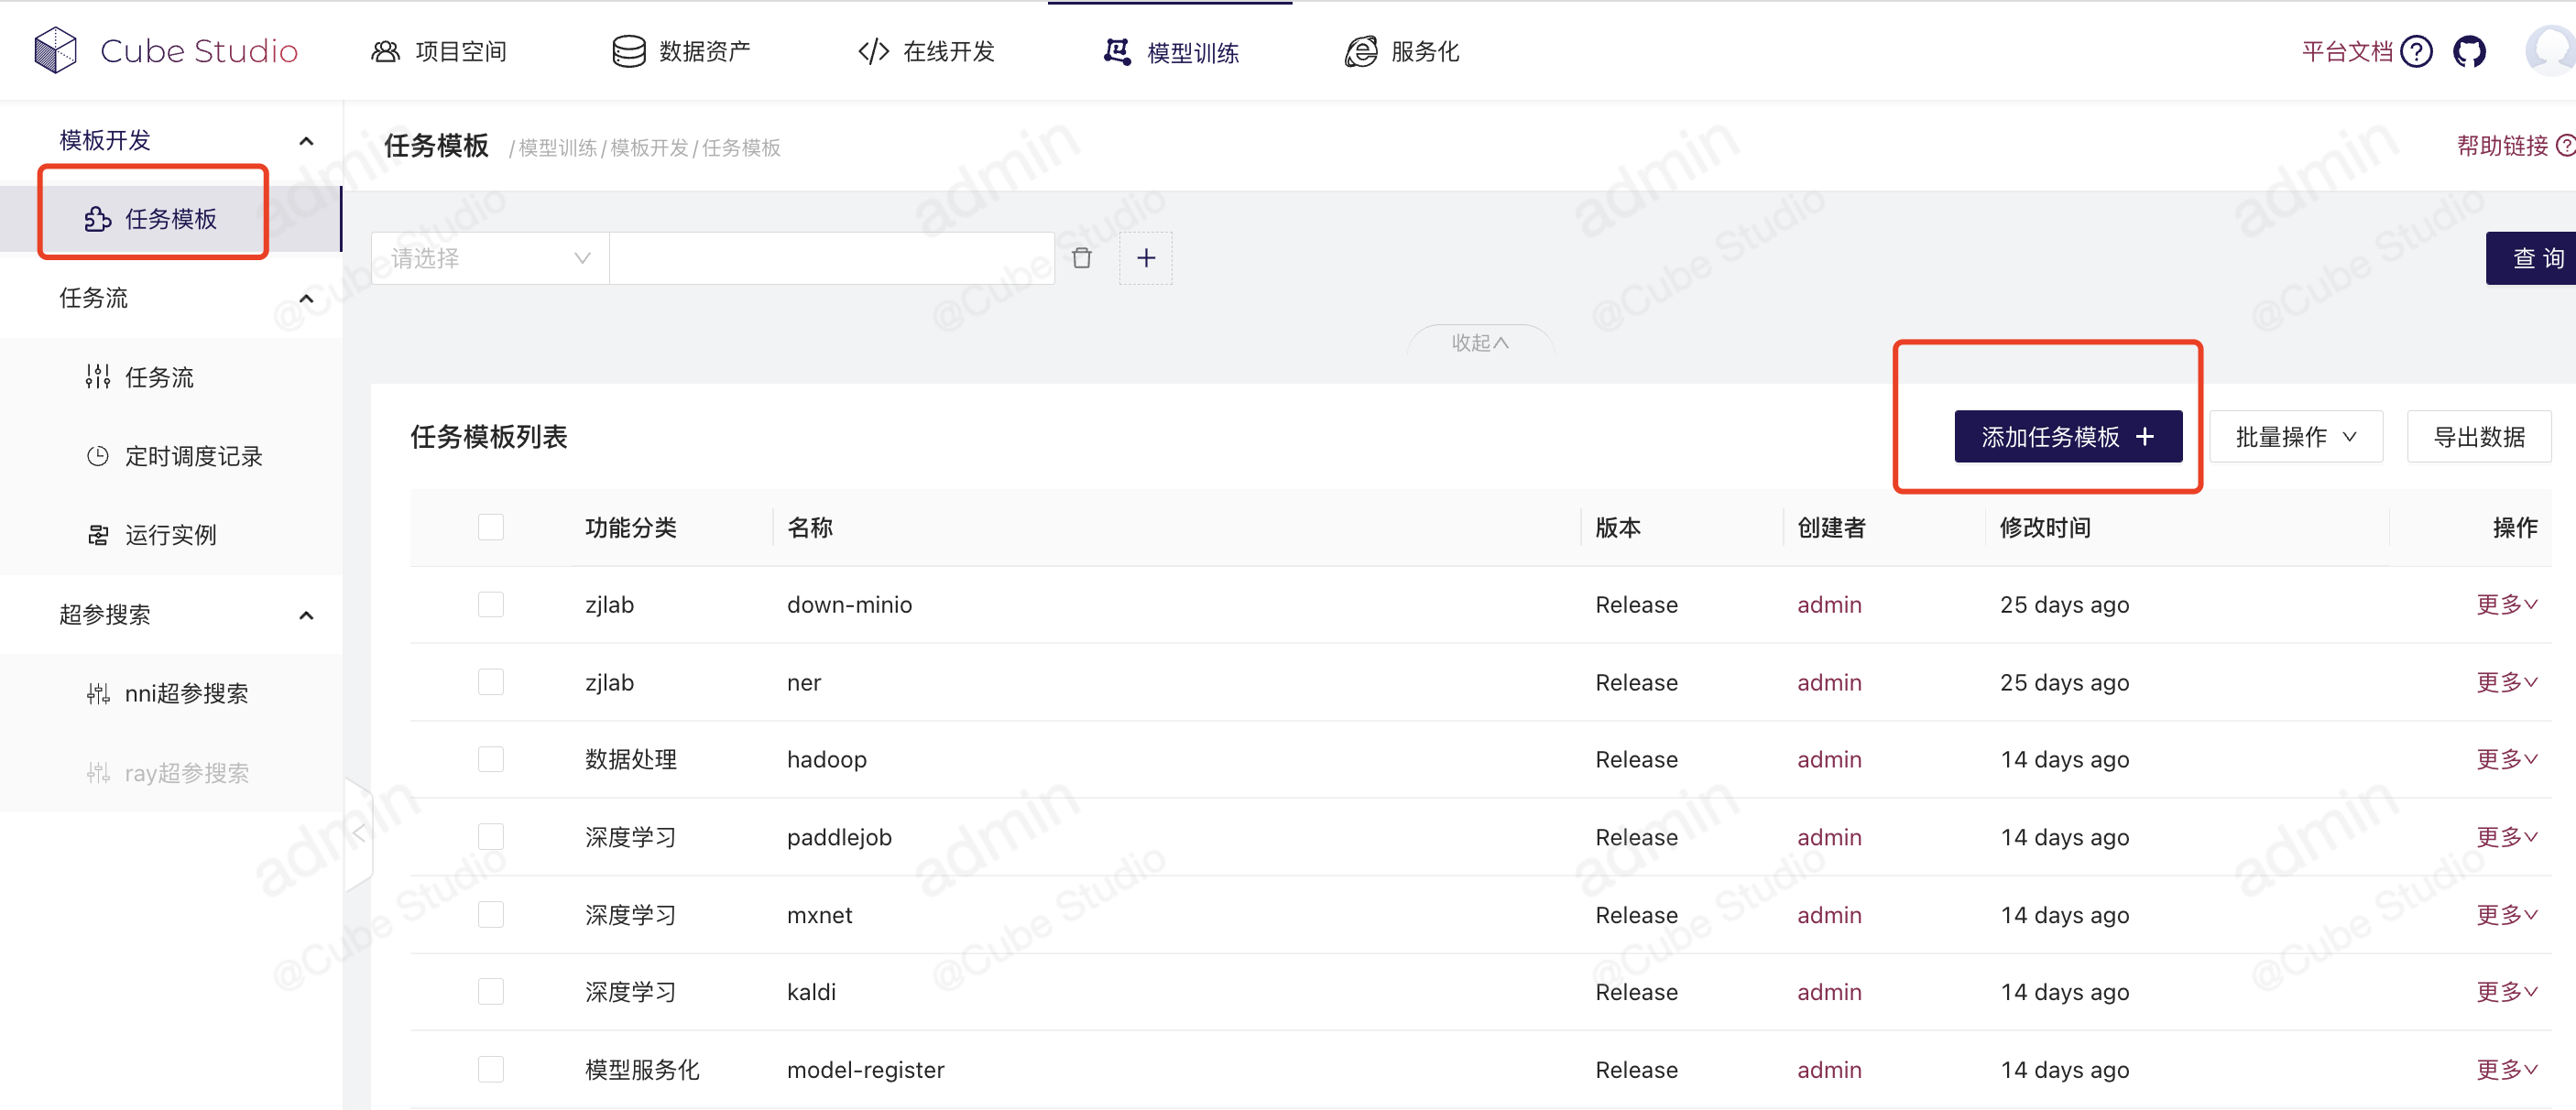
填写镜像,任务名称,启动命令
-
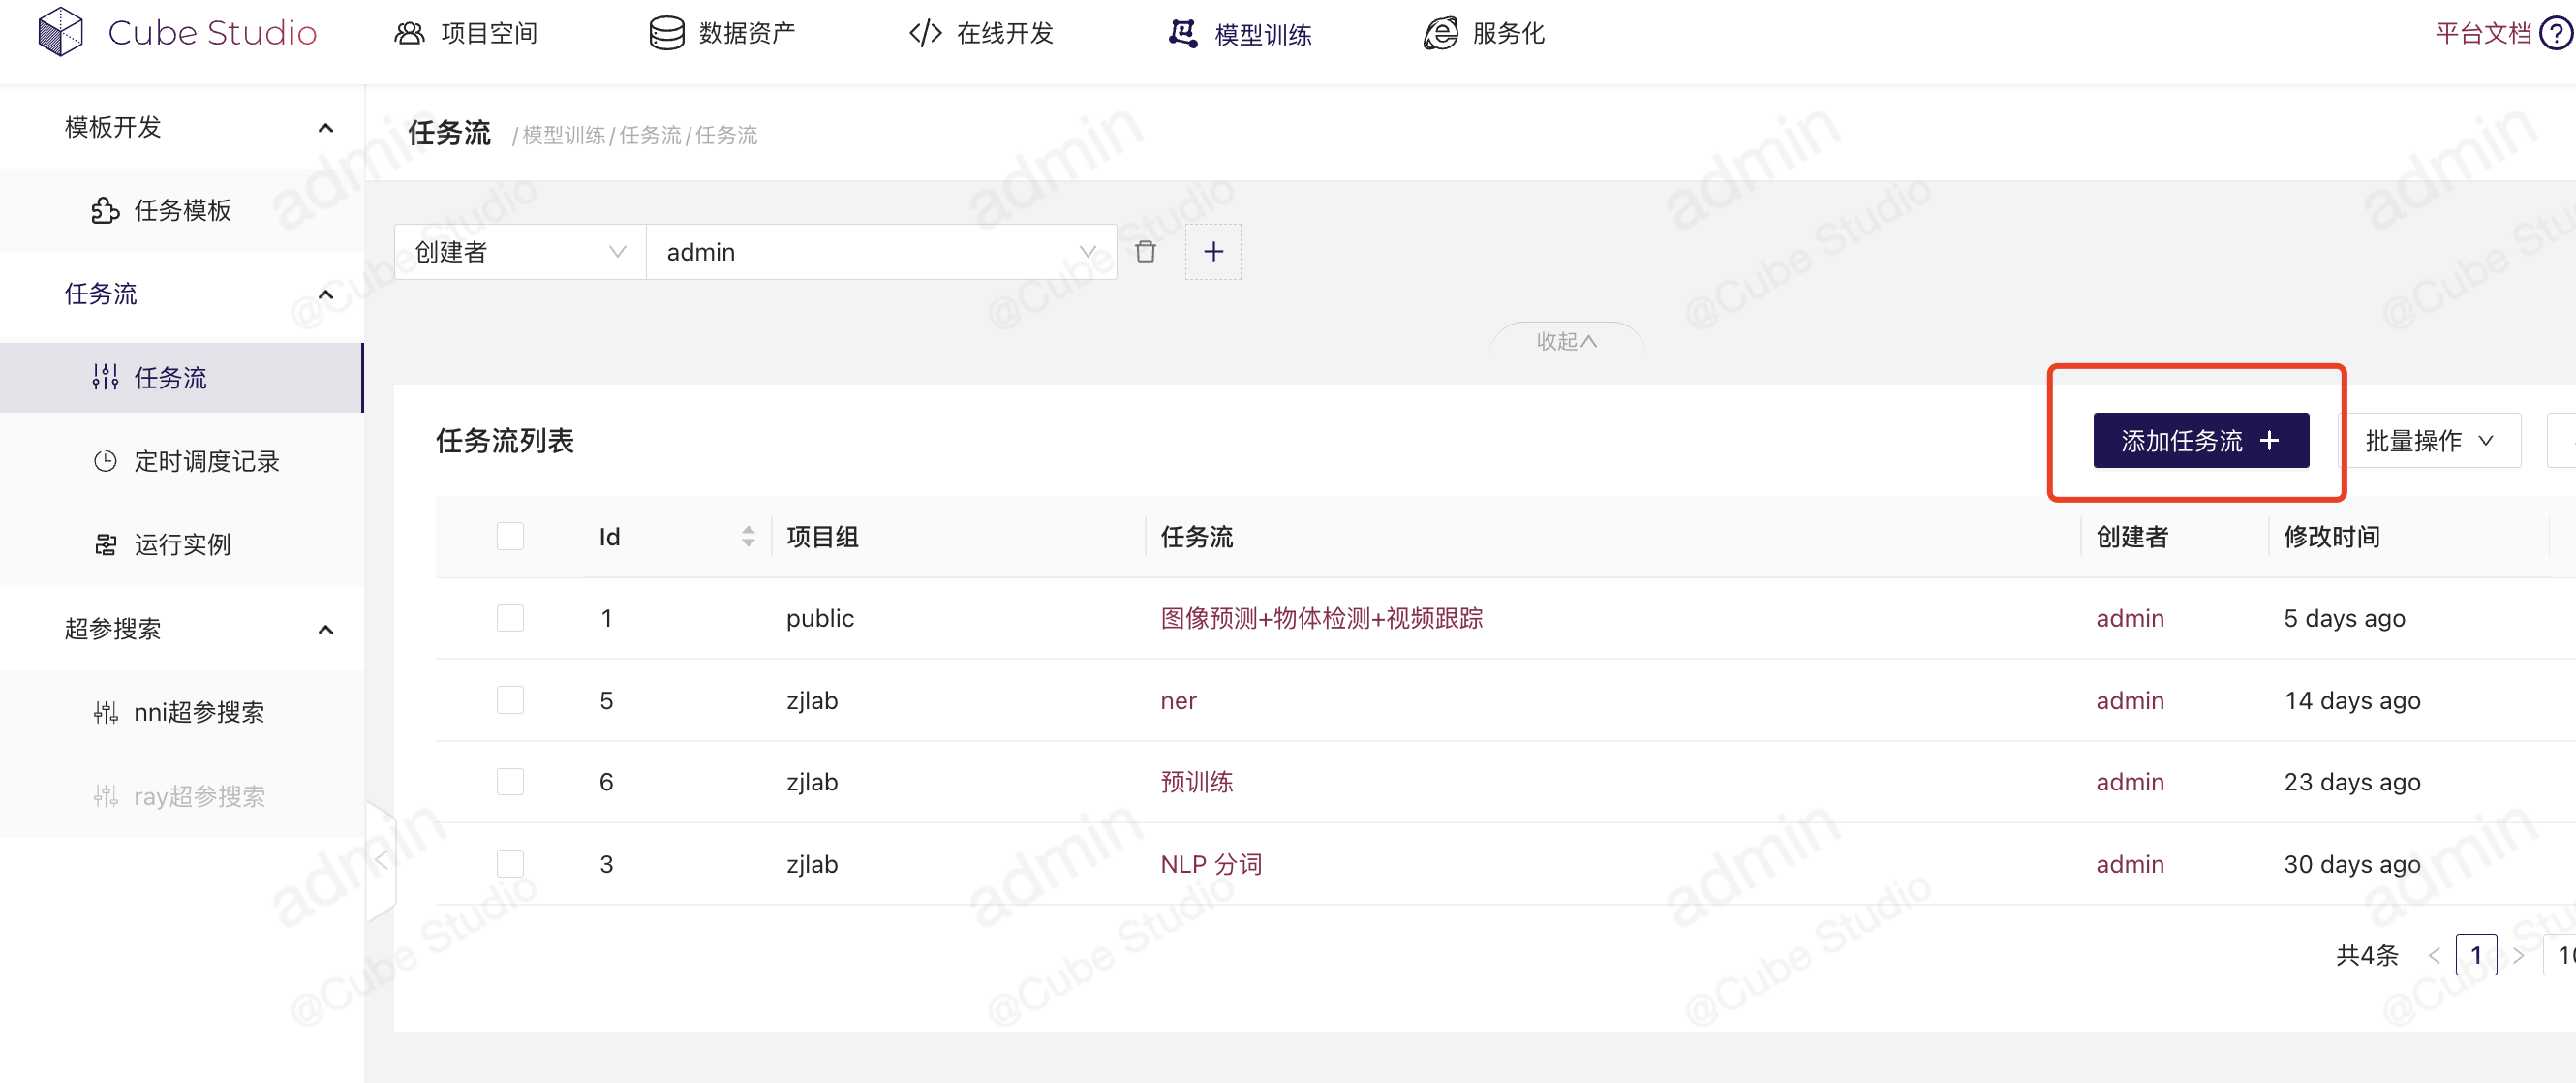
创建任务流
-
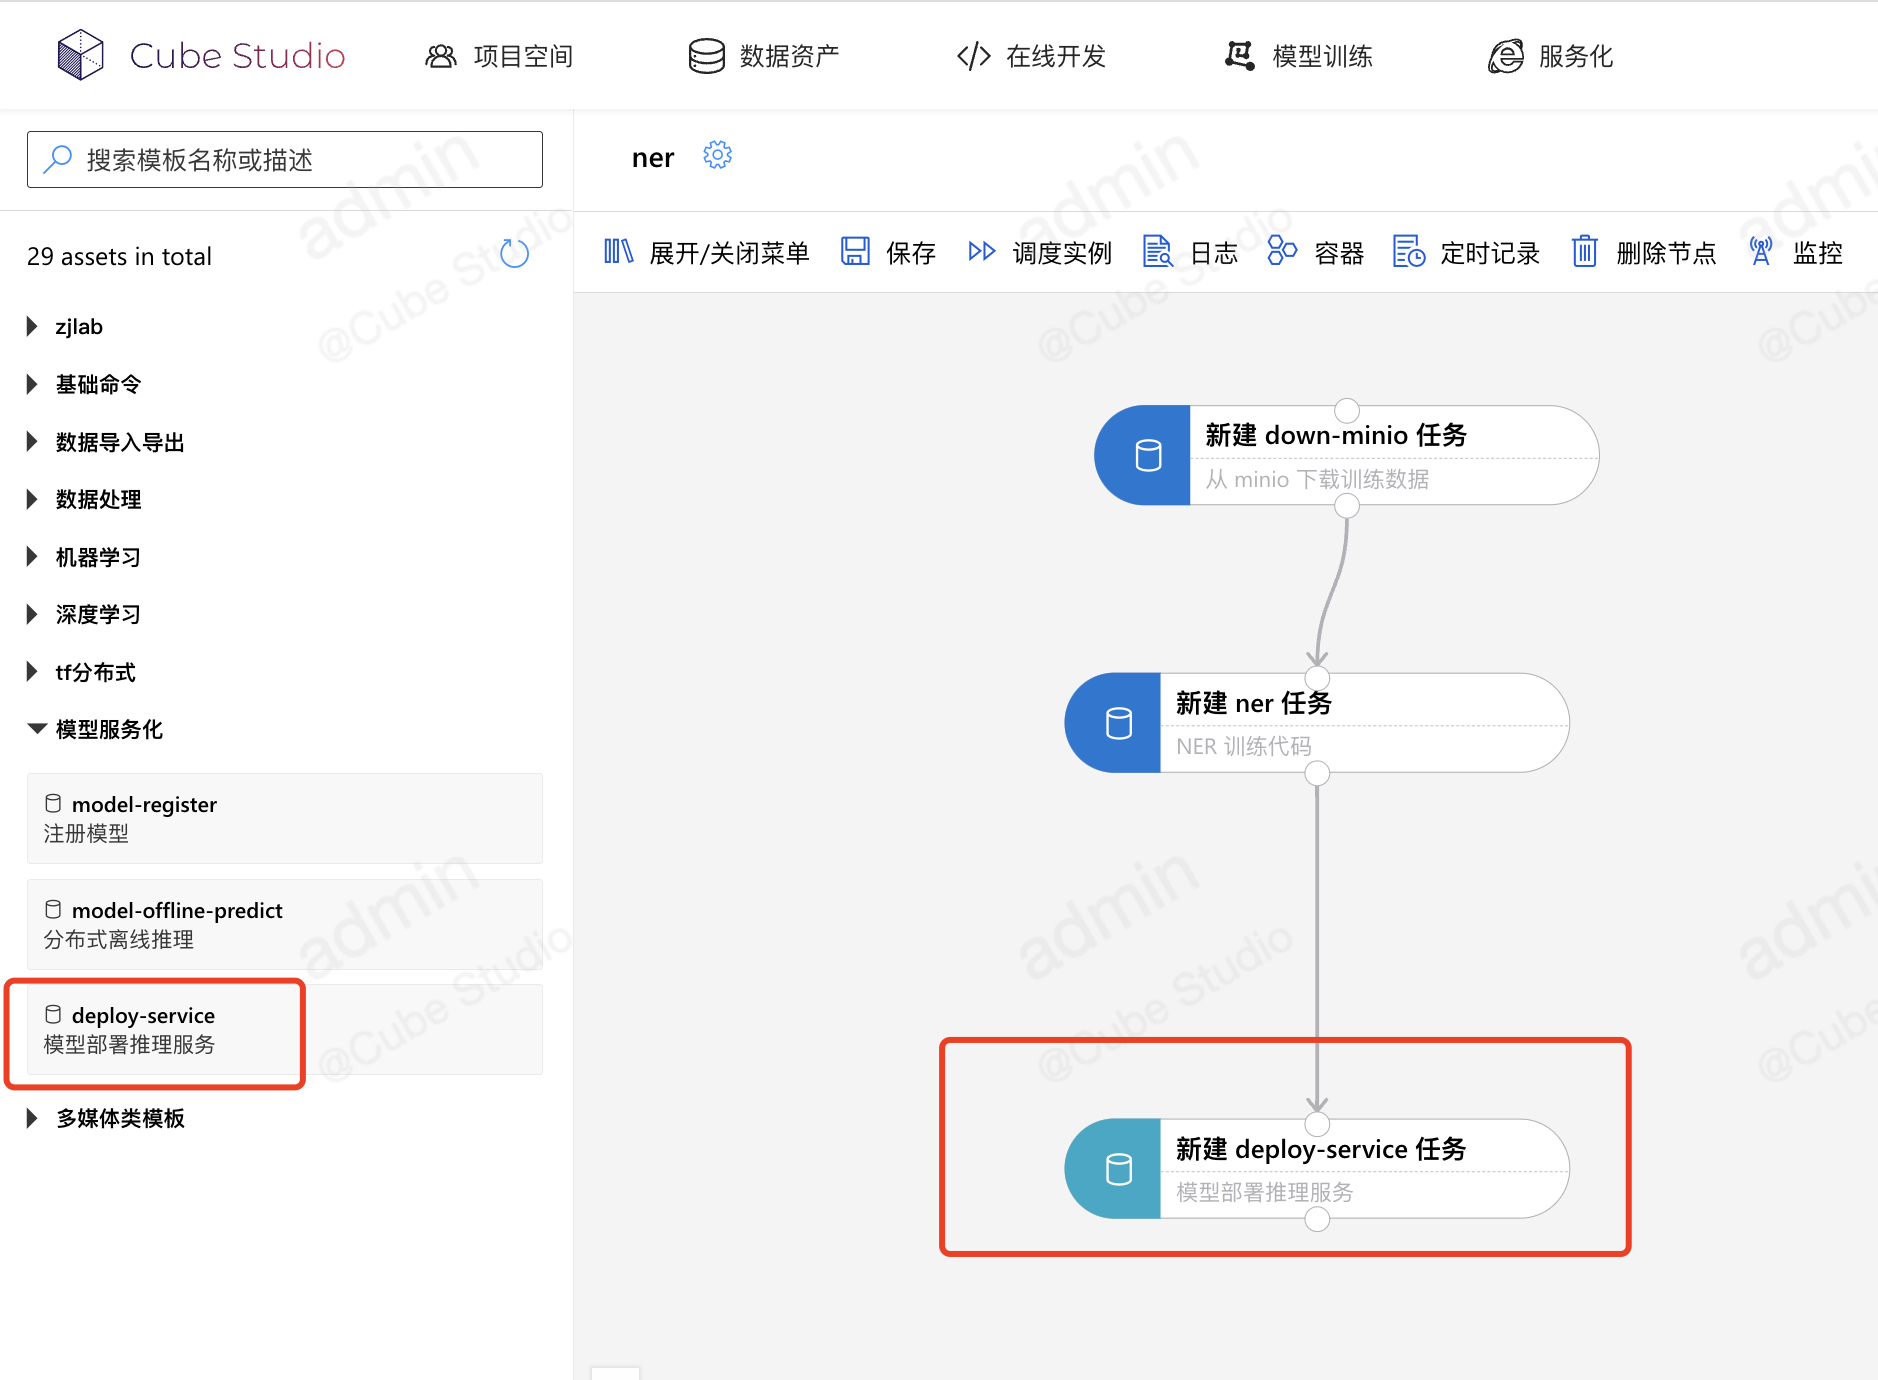
部署服务上线
- 提前构建一个 web app 的镜像,可以对外暴露 http rest 接口
- 使用 官方的 模型服务化-deploy-service 模版
-
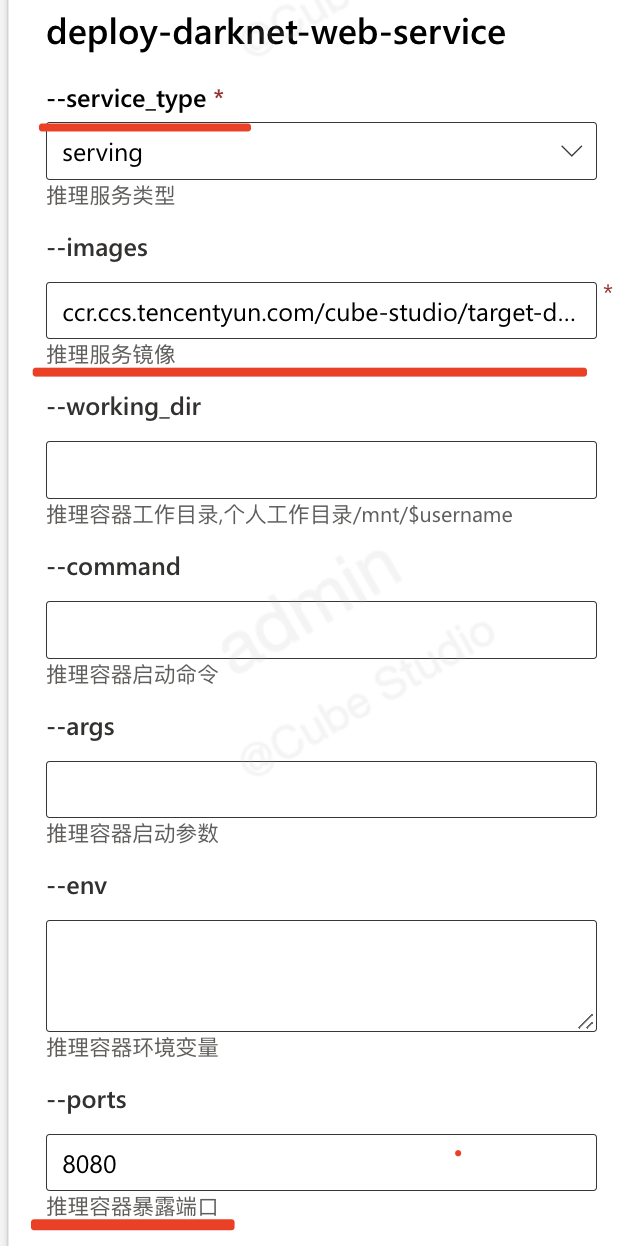
填写 服务类型为 serving ,镜像和暴露的端口号。
-
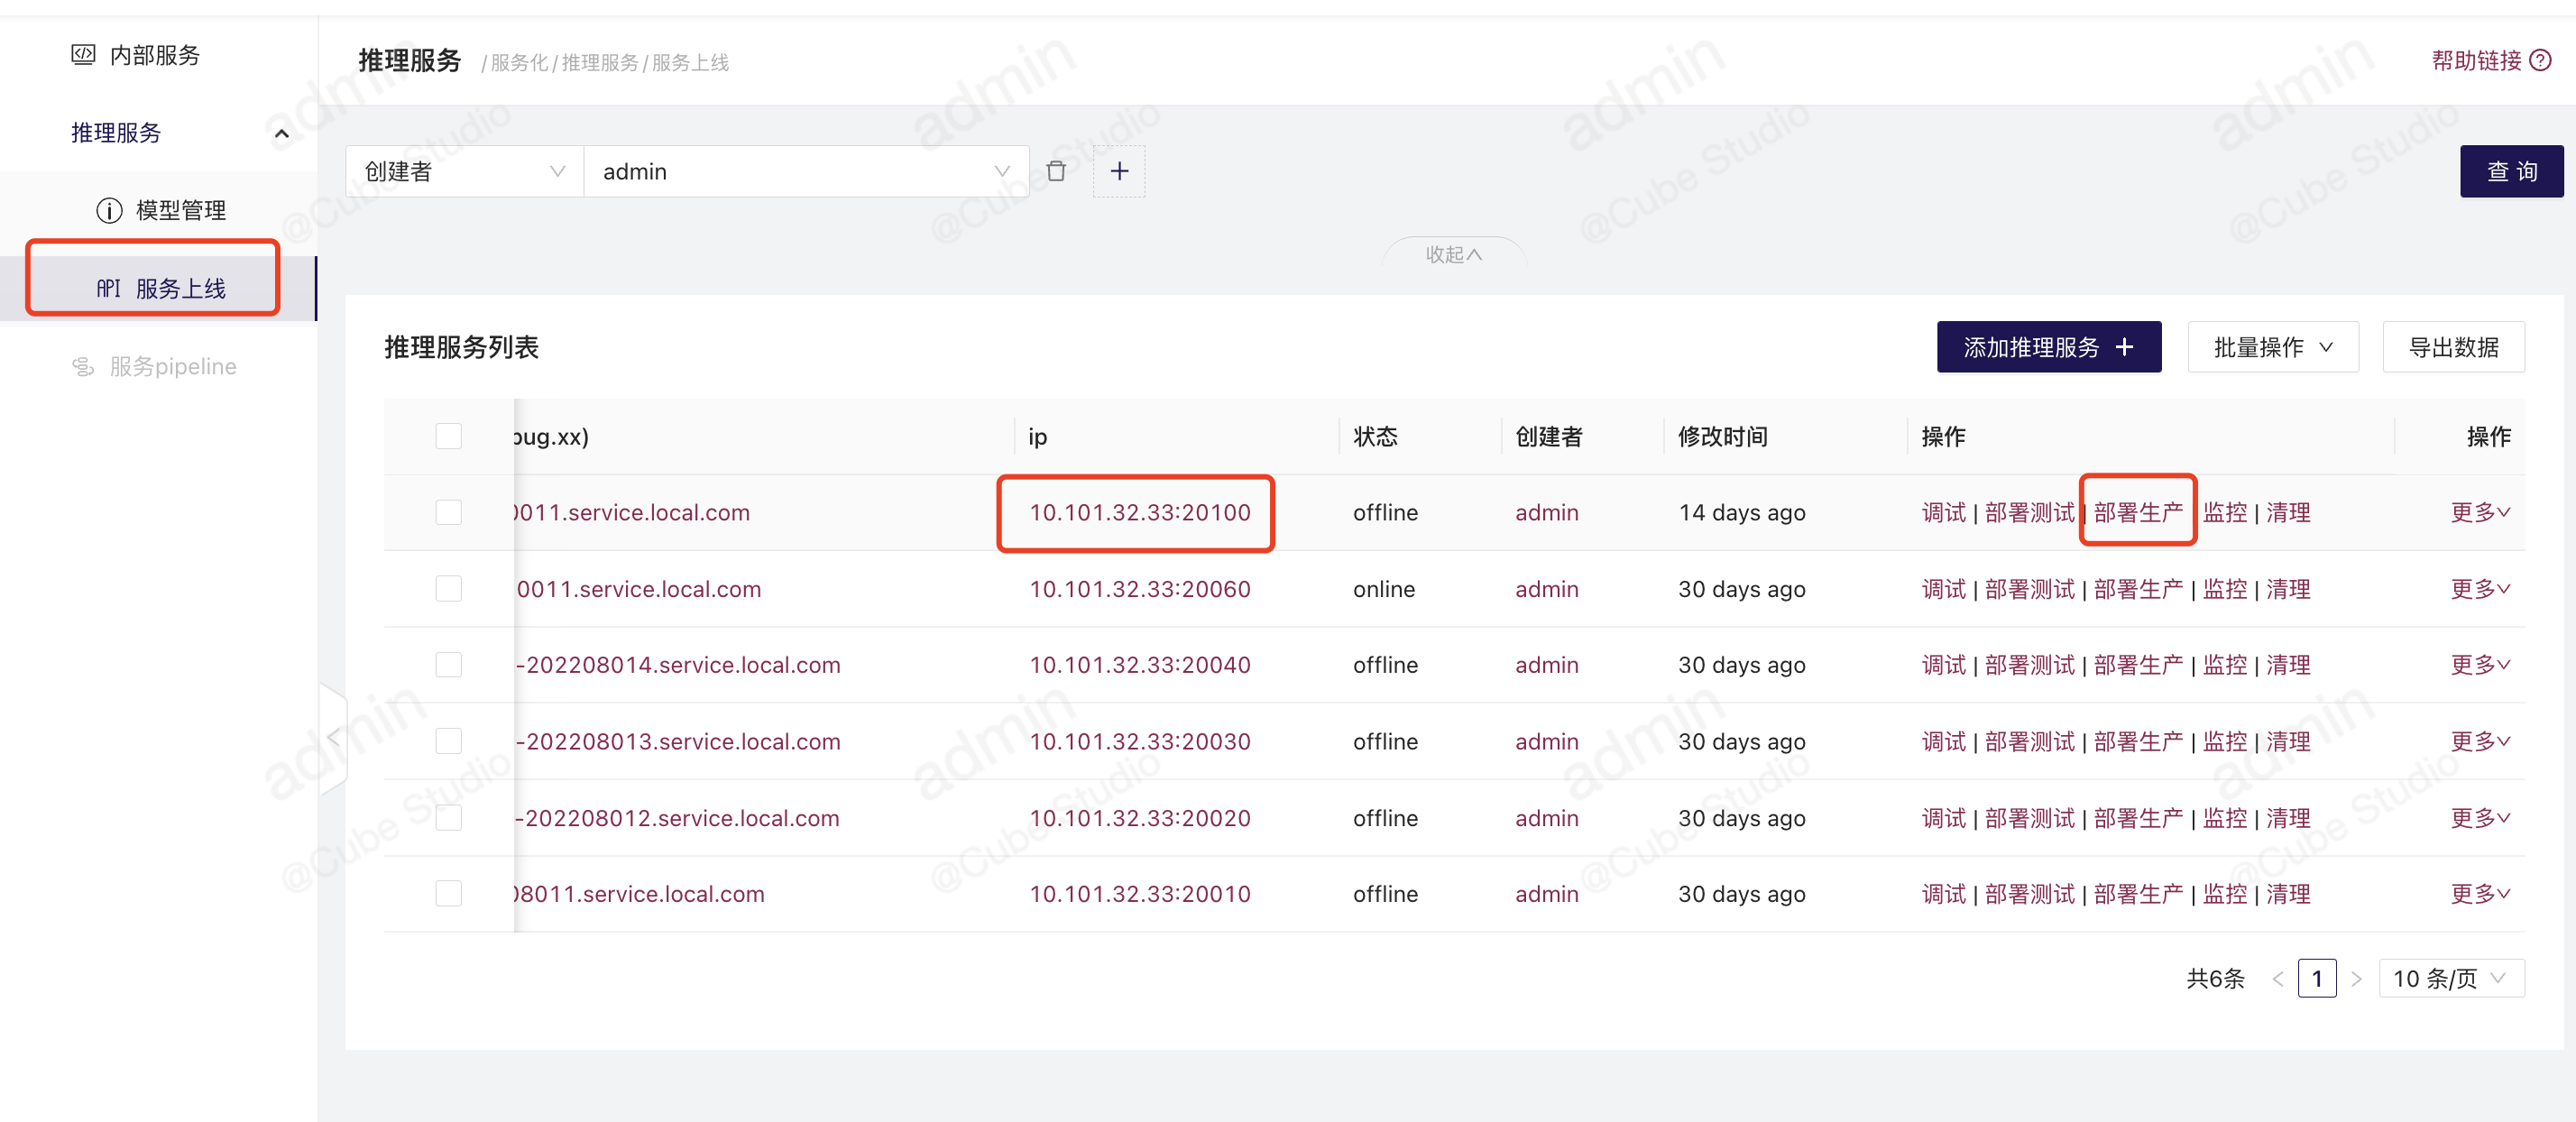
运行任务流,部署生产,部署生产,平台会生成一个
EXTERNAL-IP对外暴露服务,即可通过 IP 栏地址进行访问服务。
-
打标签
kubectl label node worker-1 gpu=true gpu-type=V100 --overwrite
How to install and use VMware Harbor private registry with Kubernetes
Pull an Image from a Private Registry
在 部署好的 Harbor 中添加 HTTPS 证书配置
x509: cannot validate certificate for 10.30.0.163 because it doesn't contain any IP SANs
最后 Docker login $harborIP,就可以 docker pull 拉取服务。
