A technology stack is a set of tools or frameworks that is known to work nicely together to produce properly functional software products. Examples are:
- LAMP (Linux, Apache, MySQL, PHP or Python, or Perl)
- LEMP (Linux, Nginx, MySQL, PHP or Python, or Perl)
- MERN (MongoDB, ExpressJS, ReactJS, NodeJS)
- MEAN (MongoDB, ExpressJS, AngularJS, NodeJS
Install Apache using Ubuntu’s package manager ‘apt’:
- #update a list of packages in package manager
sudo apt update
- #run apache2 package installation
sudo apt install apache2
- To verify that apache2 is running as a Service in our OS, use following command
sudo systemctl status apache2
- You should find a printout on your console like the one below:
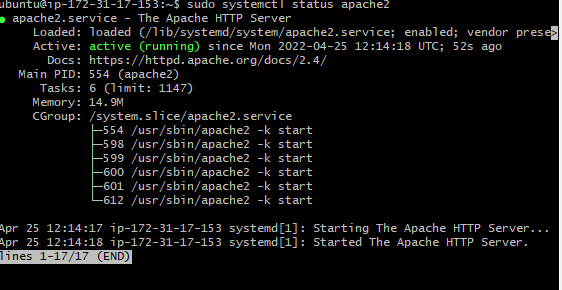
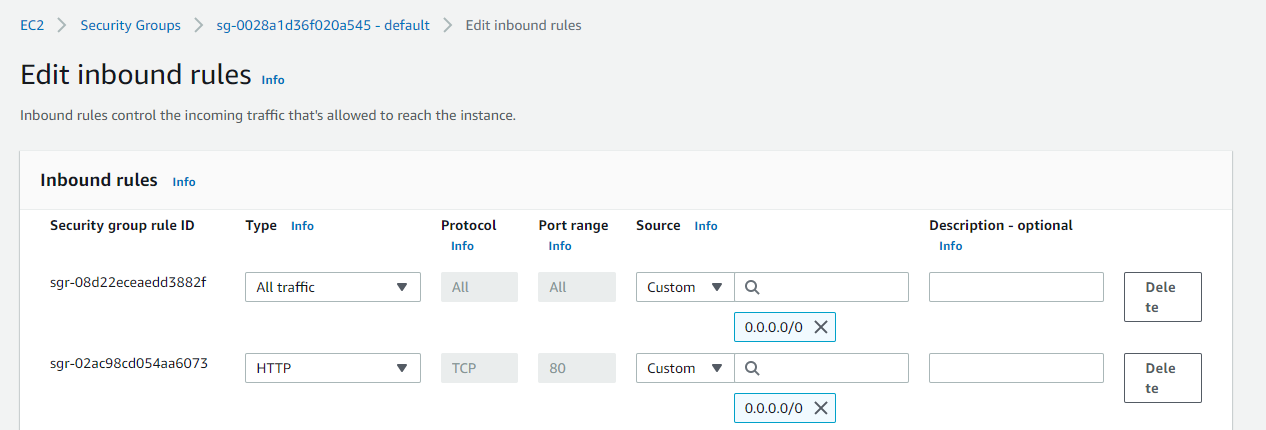
- To publicly access your webserver on your browser add new security rule to open TCP port 80 like so:
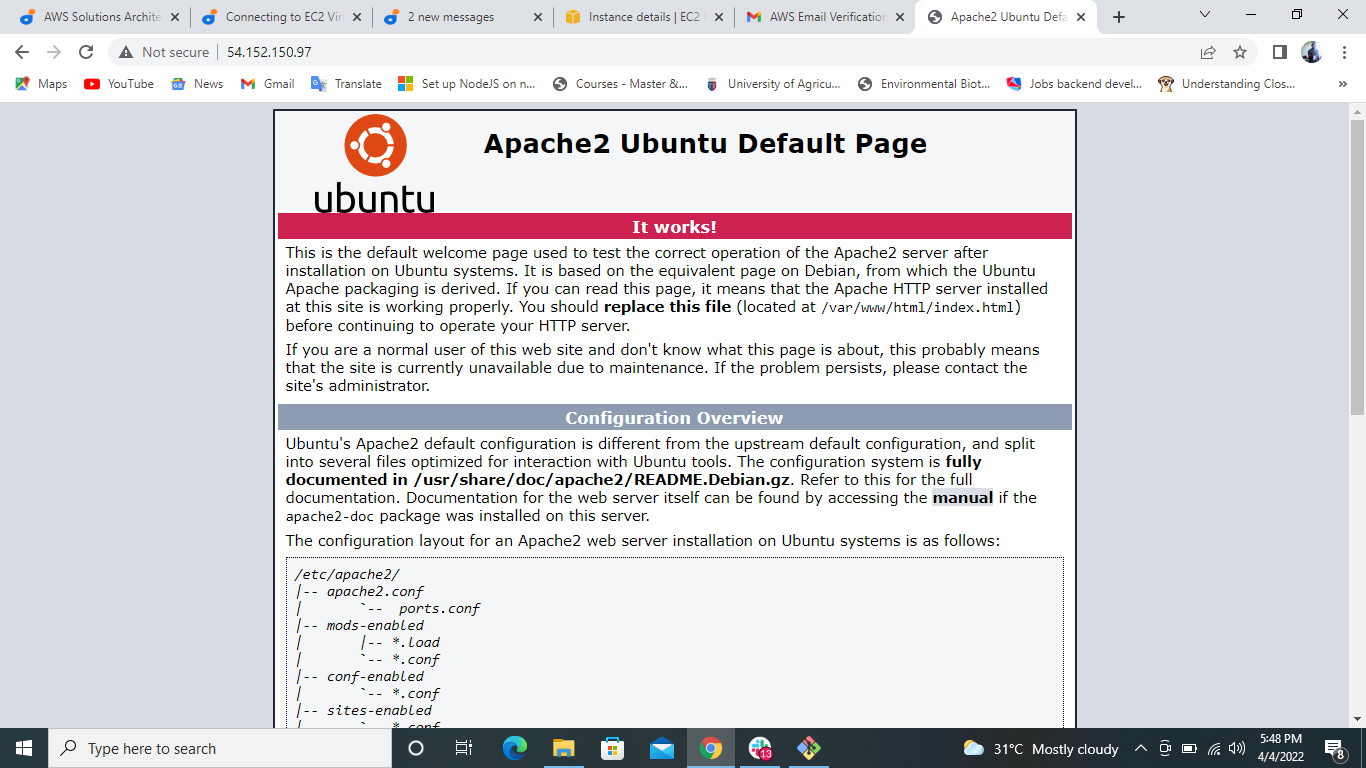
- Access your webserver using the url below:
http://<Public-IP-Address>:80
- You find a picture like this below:
- Install MYSQL
sudo apt install mysql-server
- Run preinstalled mysql script to lock down database access. It will prompt to Configure Password validation. Enter Y to accept or any other character to object. Enter Y subsequently when prompted to complete the process.
sudo mysql_secure_installation
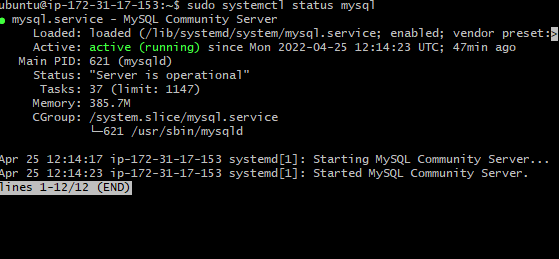
- Confirm mysql is running by running the command below:
sudo systemctl status mysql
You should find screenshot below on your console:
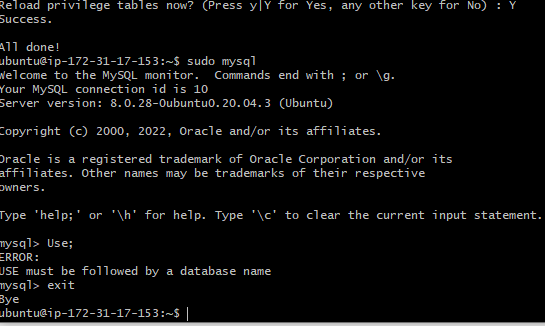
- Confirm you can connect to mysql by running the command below:
sudo mysql
you should find the picture below on your console:
- Exit from mysql by running the command below:
exit
PHP is the component of our setup that will process code to display dynamic content to the end user. In addition to the php package, you’ll need php-mysql, a PHP module that allows PHP to communicate with MySQL-based databases. You’ll also need libapache2-mod-php to enable Apache to handle PHP files.
- To install these 3 packages at once, run:
sudo apt install php libapache2-mod-php php-mysql
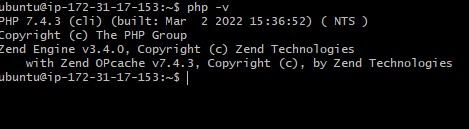
- confirm the version of PHP by running the command below:
php -v
- You should find something like this below:
Apache webserver serves content placed in its document root located at path: /var/www/html. This is fine when Apache is required to serve one website. However when Apache is required to serve multiple websites, a Virtual Host is configured. Virtual Host servers as a container for each website. You require one for each website to be served.
-
Create a directory for projectlamp in /var/www/ directory by running the command below:
sudo mkdir /var/www/projectlamp -
Set ownership of projectlamp directory to the logged-in user using the command below:
sudo chown -R $USER:$USER /var/www/projectlamp -
Then, create and open a new configuration file in Apache’s sites-available directory using your preferred command-line editor.
sudo vi /etc/apache2/sites-available/projectlamp.conf -
This will create a new blank file. Paste in the following bare-bones configuration by hitting on i on the keyboard to enter the insert mode, and paste the text:
<VirtualHost *:80> ServerName projectlamp ServerAlias www.projectlamp ServerAdmin webmaster@localhost DocumentRoot /var/www/projectlamp ErrorLog ${APACHE_LOG_DIR}/error.log CustomLog ${APACHE_LOG_DIR}/access.log combined </VirtualHost> -
To save and close the file, simply follow the steps below:
- Hit the esc button on the keyboard
- Type :
- Type wq. w for write and q for quit
- Hit ENTER to save the file
-
You can use the ls command to show the new file in the sites-available directory
sudo ls /etc/apache2/sites-available -
You will see something like this;
000-default.conf default-ssl.conf projectlamp.conf -
With this VirtualHost configuration, we’re telling Apache to serve projectlamp using /var/www/projectlampl as its web root directory. If you would like to test Apache without a domain name, you can remove or comment out the options ServerName and ServerAlias by adding a # character in the beginning of each option’s lines. Adding the # character there will tell the program to skip processing the instructions on those lines.
-
You can now use a2ensite command to enable the new virtual host:
sudo a2ensite projectlamp -
You might want to disable the default website that comes installed with Apache. This is required if you’re not using a custom domain name, because in this case Apache’s default configuration would overwrite your virtual host. To disable Apache’s default website use a2dissite command , type:
sudo a2dissite 000-default -
To make sure your configuration file doesn’t contain syntax errors, run:
sudo apache2ctl configtest -
Finally, reload Apache so these changes take effect:
sudo systemctl reload apache2 -
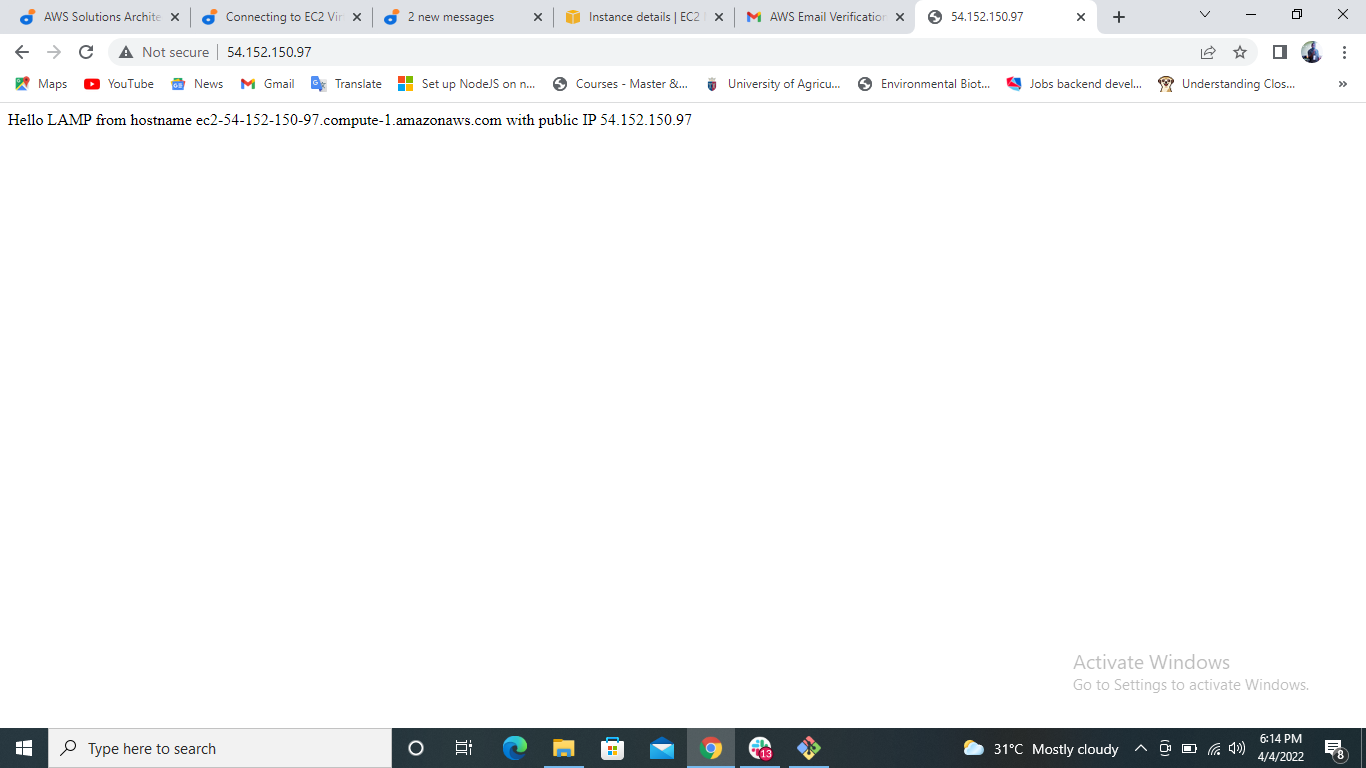
Your new website is now active, but the web root /var/www/projectlamp is still empty. Create an index.html file in that location so that we can test that the virtual host works as expected:
sudo echo 'Hello LAMP from hostname' $(curl -s http://169.254.169.254/latest/meta-data/public-hostname) 'with public IP' $(curl -s http://169.254.169.254/latest/meta-data/public-ipv4) > /var/www/projectlamp/index.html
-
Now go to your browser and try to open your website URL using IP address:
http://<Public-IP-Address>:80 -
You should find something like this below:
With the default DirectoryIndex settings on Apache, a file named index.html will always take precedence over an index.php file. This is useful for setting up maintenance pages in PHP applications, by creating a temporary index.html file containing an informative message to visitors. Because this page will take precedence over the index.php page, it will then become the landing page for the application. Once maintenance is over, the index.html is renamed or removed from the document root, bringing back the regular application page
-
In case you want to change this behavior, you’ll need to edit the /etc/apache2/mods-enabled/dir.conf file and change the order in which the index.php file is listed within the DirectoryIndex directive:
sudo vim /etc/apache2/mods-enabled/dir.conf
<IfModule mod_dir.c> #Change this: #DirectoryIndex index.html index.cgi index.pl index.php index.xhtml index.htm #To this: DirectoryIndex index.php index.html index.cgi index.pl index.xhtml index.htm </IfModule>
- After saving and closing the file, you will need to reload Apache so the changes take effect:
sudo systemctl reload apache2
-
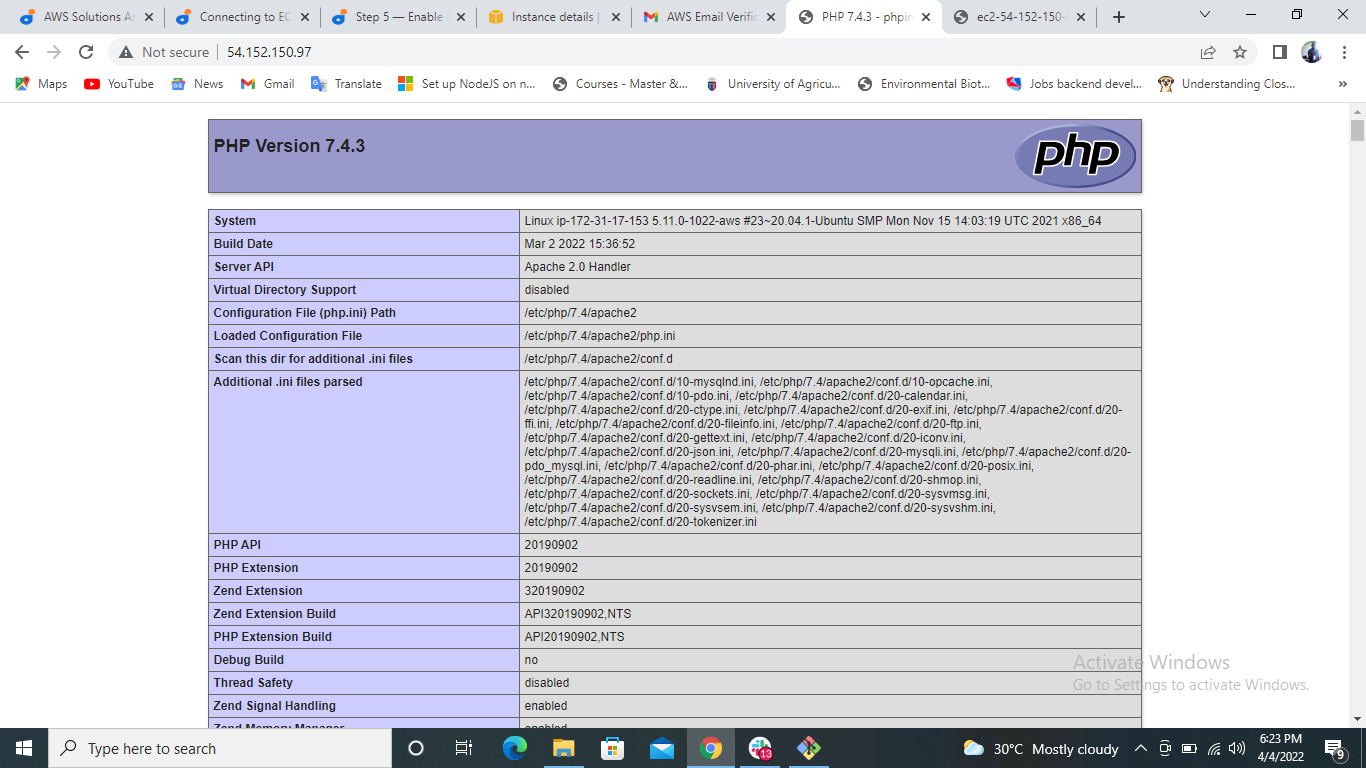
Create a new file named index.php inside your custom web root folder:
vim /var/www/projectlamp/index.php -
Paste and save the text below:
<?php phpinfo(); -
You should see something like this below:
-
The above contains sensitive information about your environment. To remove it run the command below:
sudo rm /var/www/projectlamp/index.php