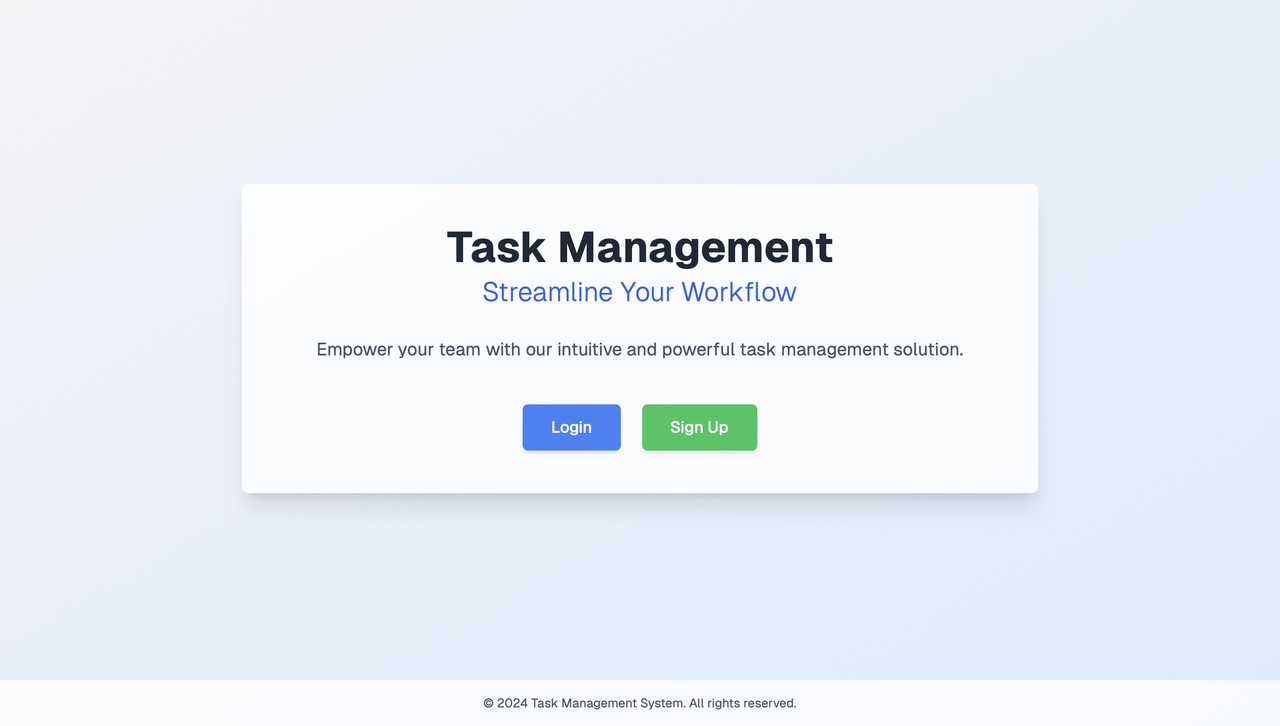
TaskManagementApp is a comprehensive task management platform designed to streamline project management activities, from task creation to tracking and assignment. Built with the T3 stack, this application integrates a modern frontend built with Next.js and Tailwind CSS, a serverless backend powered by SST on AWS, and a robust database using Supabase.
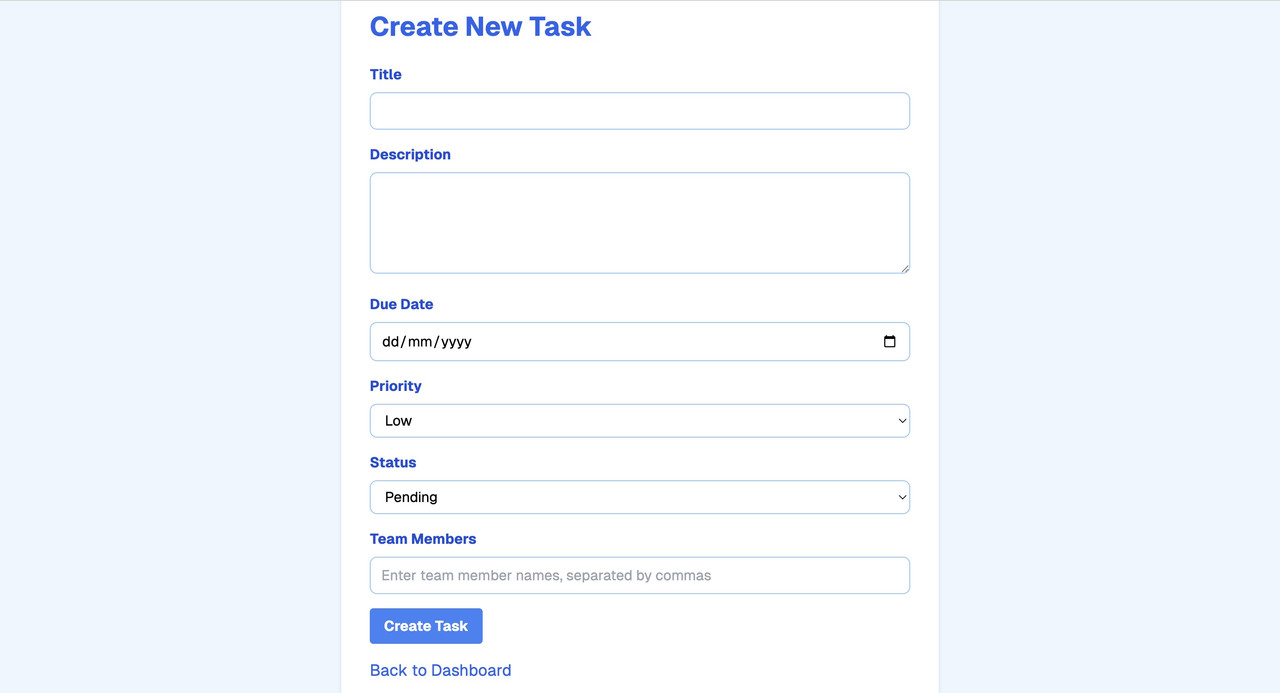
- Task Creation: Easily create tasks with detailed descriptions.
- Assignment: Assign tasks to team members, set deadlines, and prioritize with tags.
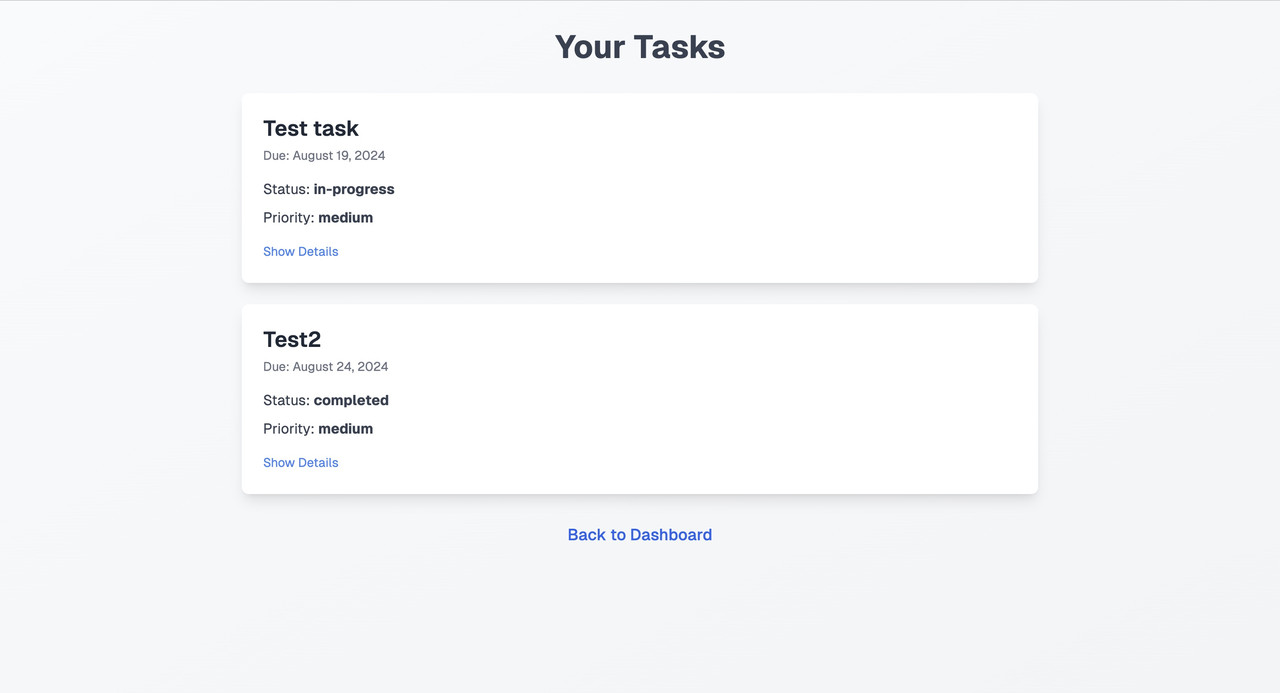
- Tracking: Monitor task progress and ensure timely completion.
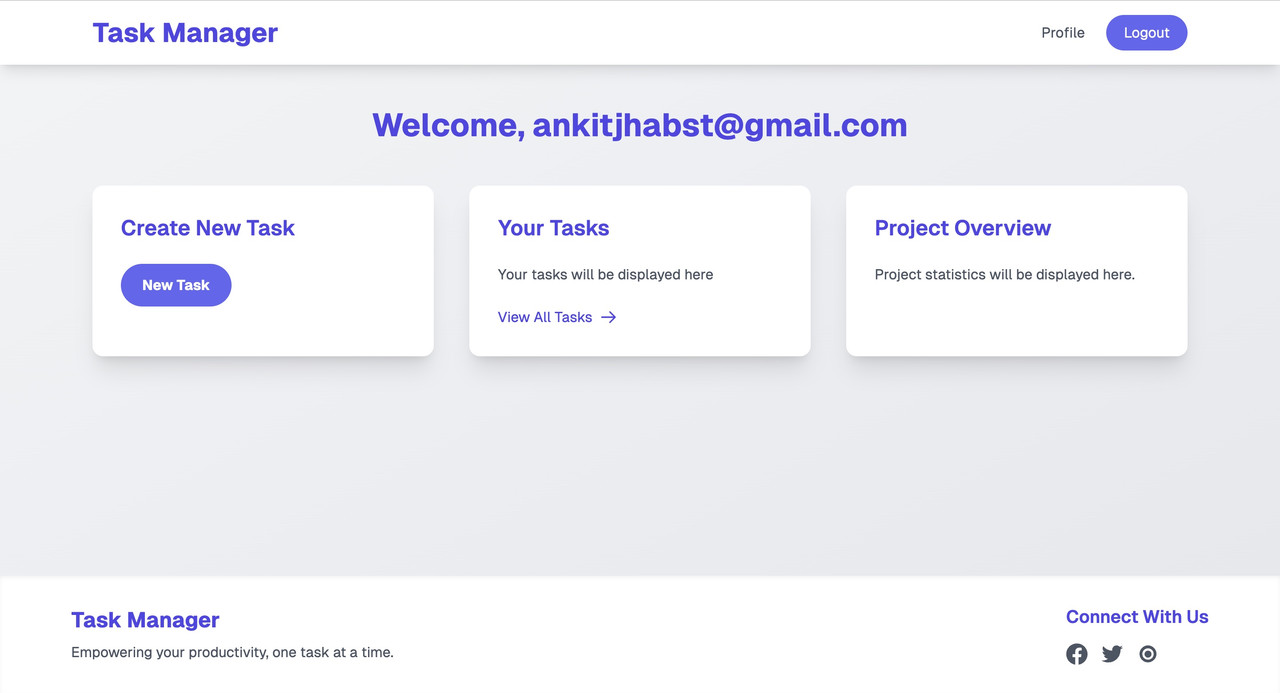
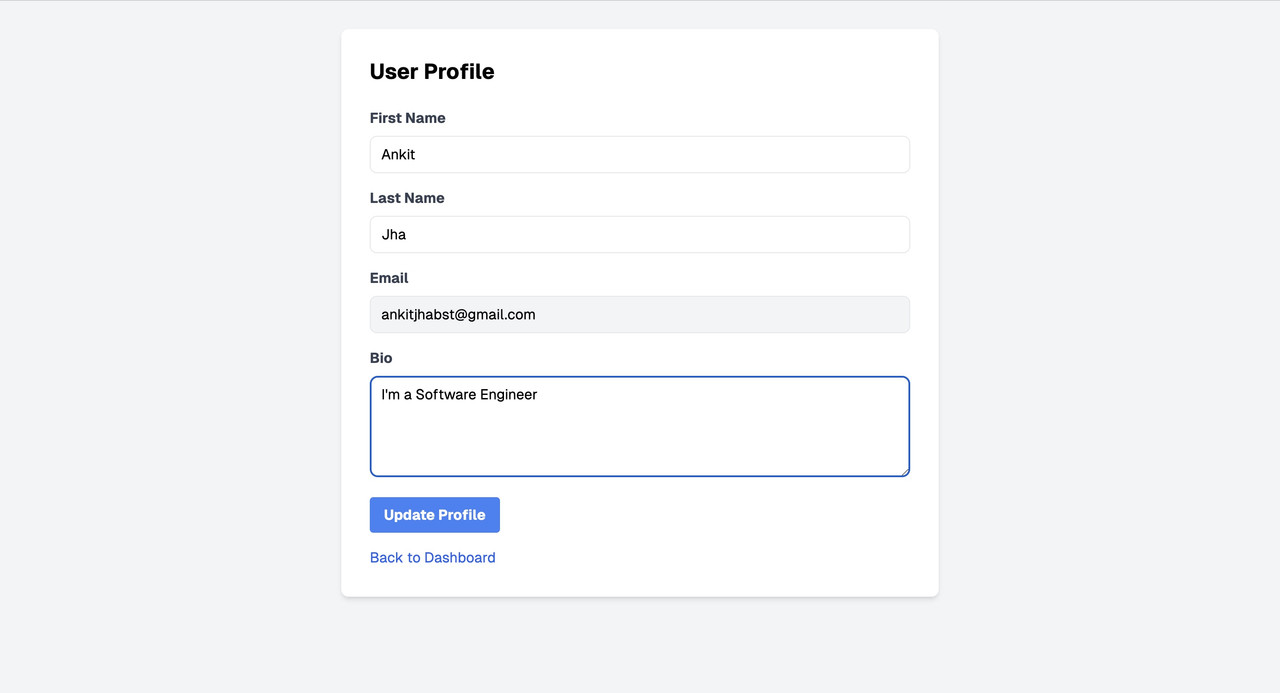
- User Profile: Allows team members to manage their personal information and preferences.
- Project Settings: Customize project-specific settings to suit team needs.
- Frontend: Next.js, Tailwind CSS
- Backend: SST (Serverless Stack) on AWS
- Database: Supabase with Prisma ORM
- Authentication: Supabase Authentication
- Testing: Cypress for Unit testing
- Node.js (v14 or later) installed on your local machine.
- npm (Node Package Manager) or Yarn.
-
Clone the repository:
git clone https://github.com/Ankitjha2202/task_management_tool.git
-
Navigate to the project directory:
cd task_management_tool
-
Create a
.envfile in the root directory. -
Add your Supabase, AWS, and Prisma database credentials to the
.envfile:NEXT_PUBLIC_SUPABASE_URL=https://your-supabase-url.supabase.co NEXT_PUBLIC_SUPABASE_ANON_KEY=your-anon-key AWS_ACCESS_KEY_ID=your-access-key-id AWS_SECRET_ACCESS_KEY=your-secret-access-key DATABASE_URL=postgresql://user:password@localhost:5432/mydatabase
- Install the necessary dependencies:
or, if using Yarn:
npm install
yarn install
-
Initialize Prisma:
npx prisma init
-
Migrate the Database: Run the migration to set up the database schema:
npx prisma migrate dev --name init
-
Generate Prisma Client: Generate the Prisma client to interact with the database:
npx prisma generate
-
Start the development server:
npm run dev
or, if using Yarn:
yarn dev
-
Access the application: Open
http://localhost:3000in your browser.
The application is deployed using AWS and SST. You can access the live version of the application at https://d1mz4vajeg025u.cloudfront.net/.
Cypress is used for end-to-end testing in this project. In addition to testing the main user interface, I have also added tests for utility functions found in the appUtils folder.
The appUtils folder contains important utility functions like showSuccess and showError. These functions are used to display success and error messages throughout the application. Here’s how you can run the tests:
- Install Cypress as a development dependency:
or, if using Yarn:
npm install cypress --save-dev
yarn add cypress --dev
-
Open Cypress Test Runner:
npx cypress open
-
Run all tests: The Test Runner will display all available tests, including those for the
appUtilsfunctions. Click on any test to run it.