-
Confirm that you have Python installed. You can check this by running:
python --version
or
python3 --version
or (for Windows - Replace Python312 (Python version 3.12) with the Python version you want to use)
'/C/Python312/python.exe' --version- If Python is not installed (i.e., you do not see any version number), then refer to instructions_for_python_installation.md for a guide on installing multiple python versions for the labs.
-
Create and activate a virtual environment to keep your project dependencies isolated from the system Python packages.
Part A
-
A virtual environment is like a sandbox for Python projects.
- It is a self-contained folder that has:
- Its own Python interpreter (a copy of the Python executable).
- Its own set of installed packages (separate from the global system).
- This means that each project can have the exact tools and package versions it needs, without interfering with other projects or the system Python.
- It is a self-contained folder that has:
-
Importance of using a virtual environment:
- Dependency Isolation
- Each project has its own packages. Reduces cases of “project A broke because project B upgraded NumPy.”
- Reproducibility
- You can "freeze" your environment into a
requirements.txtfile. Others (or your future self) can recreate the same environment later.
- You can "freeze" your environment into a
- Cleaner System
- Keeps your global Python installation uncluttered. This avoids admin headaches (especially on shared machines or servers).
- Dependency Isolation
-
When you run
python -m venv .venv, Python copies the interpreter into.venv/ -
It sets up special
bin/(Linux/macOS) orScripts/(Windows) folders with activation scripts. -
When you activate the virtual environment (next step), your shell temporarily changes its PATH so that:
pythonpoints to.venv/bin/python(or.venv\Scripts\python.exe).- pip installs packages into
.venv/lib/...instead of the global site-packages.
-
In the root of your project folder, run the following command to create the virtual environment. This will use the global python version.
python -m venv .venv
-
If you want to use a specific python version to create your virtual environment, then use the python interpreter located in the correct path.
- Example of creating a virtual environment that will use Python Version 3.12 in Windows:
/C/Python312/python.exe -m venv .venv
- Example of creating a virtual environment that will use Python Version 3.14 in Windows:
/C/Python314/python.exe -m venv .venv
- Example of creating a virtual environment that will use Python Version 3.12.10 in Linux:
mkdir ~/Documents/project_folder
cd ~/Documents/project_folder
pyenv local 3.12.10
python --version
python -m venv .venv
- Example of creating a virtual environment that will use Python Version 3.14.3 in Linux:
mkdir ~/Documents/project_folder
cd ~/Documents/project_folder
pyenv local 3.14.3
python --version
python -m venv .venv
Part B
-
To activate the virtual environment, use the following commands:
-
For Windows (via Git Bash) - NOTE: Git Bash is the preferred terminal for all the labs (for those using a Windows OS):
source .venv/Scripts/activate -
For Windows (via PowerShell):
.venv\Scripts\Activate
or
.venv\Scripts\Activate.ps1
-
For Windows (via CMD):
.venv\Scripts\activate.bat
-
For macOS/Linux:
source .venv/bin/activate -
Confirm that the virtual environment is active by executing the following. It should show the name of the virtual environment (e.g.,
.venv) as part of the output.which python
Part C
-
-
When you create and activate a virtual environment (.venv) in your terminal, you are telling your terminal to use that Python interpreter for the current session. PyCharm, however, does not automatically "see" what you did in the terminal. It keeps its own record of interpreters in its project settings.
-
That is why PyCharm may still ask you to configure one. To PyCharm, a .venv folder is just another directory until you explicitly say, “this is the interpreter I want to use.”
-
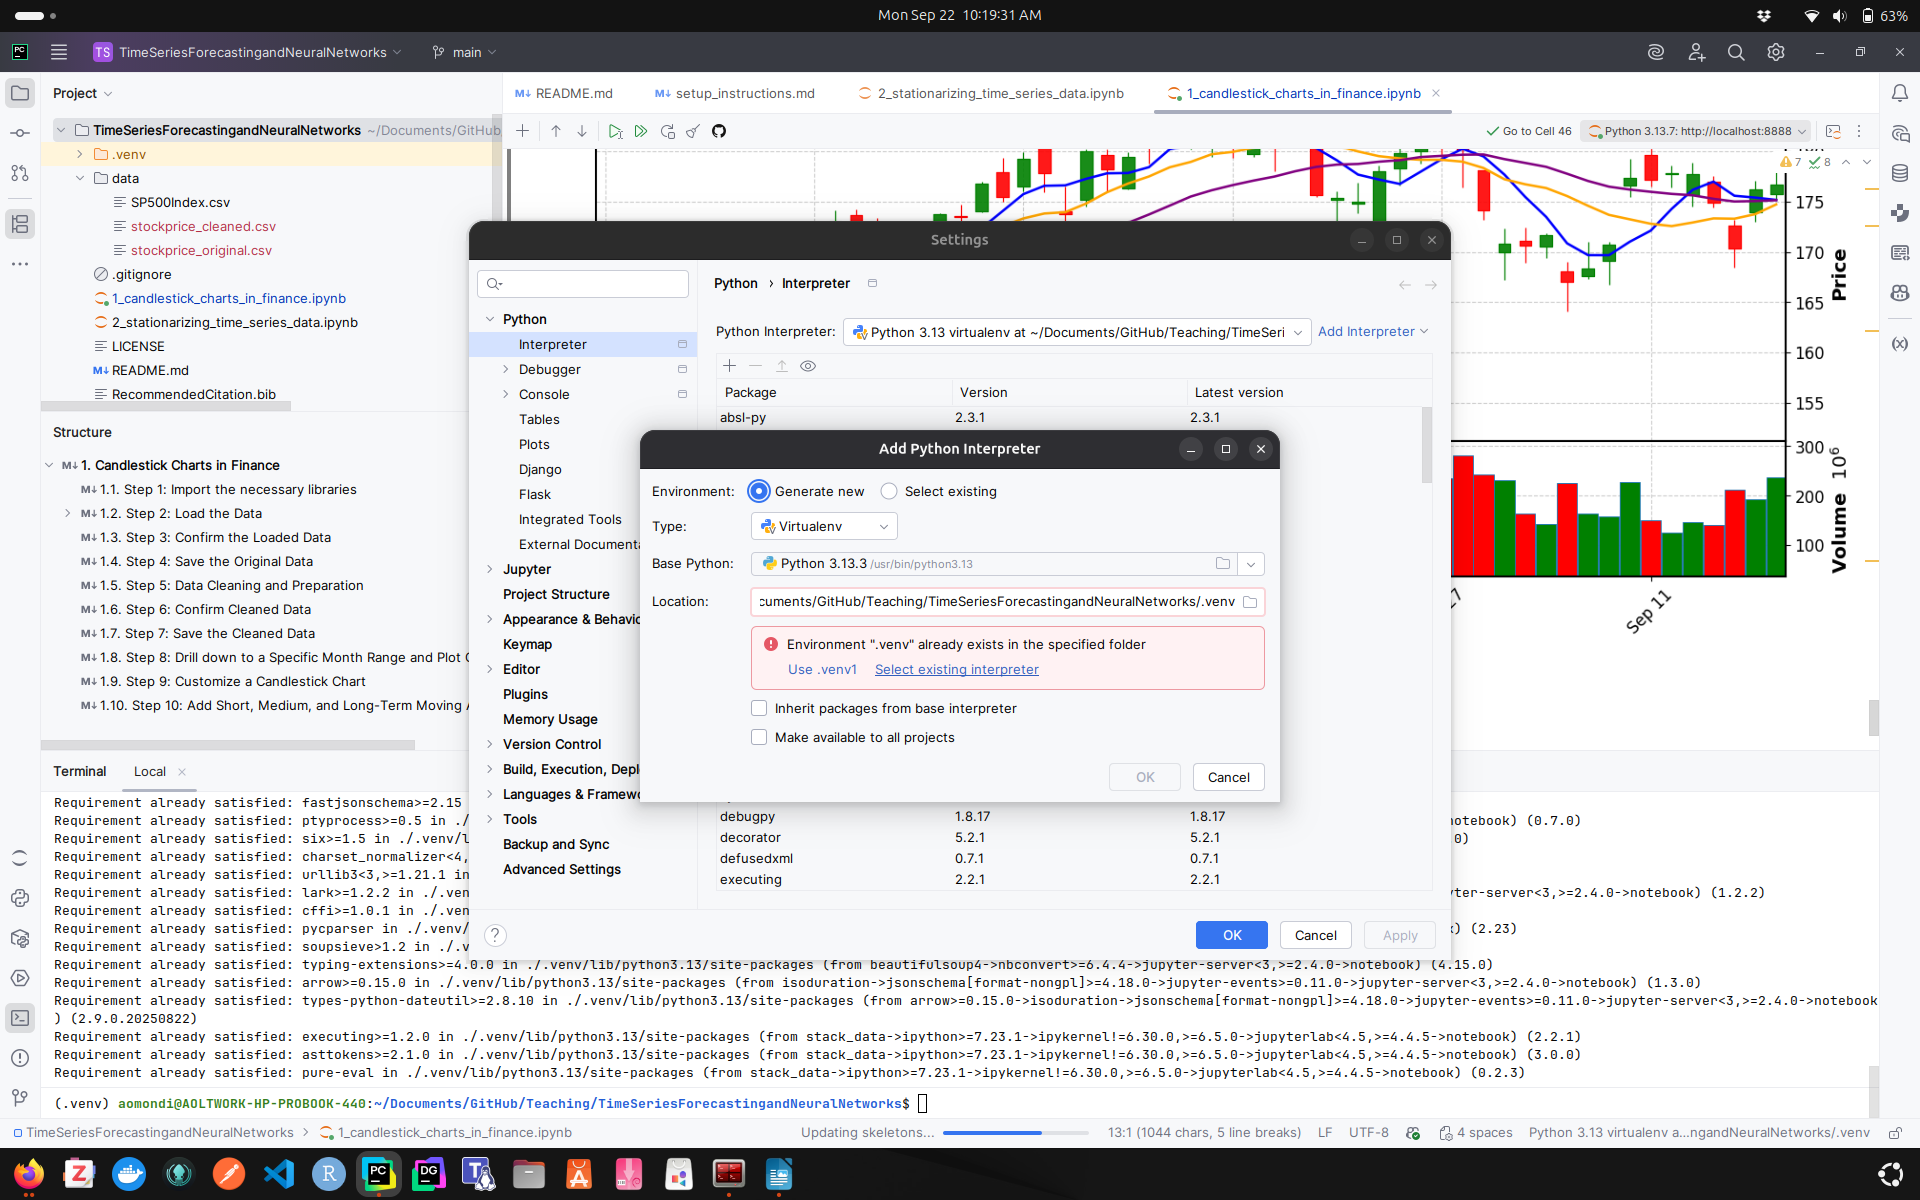
Do the following to set the Python Interpret if you are using PyCharm as your IDE:
- Go to File > Settings > Python > Interpreter.
- Click Add Interpreter → Add Local Interpreter → Select Existing
- Select Python as the Type
- For the Python path: Browse to your
.venv/bin/python(on Linux/Mac) or.venv\Scripts\python.exe(on Windows). - Select it and apply.
-
-
Activate the virtual environment through your chosen IDE.
A. If using PyCharm
- Go to File > Settings > Python > Add Interpreter.
- Then select "Add Local Interpreter"
- Since the virtual environment was already created, you will see the message ".venv already exists in the specified folder".
- Therefore, choose "Select Existing Environment".
- In the next window, specify the path that points to the ".venv" folder inside your project directory.
B. If using VS Code
- Go to Settings > Command Palette.
- Type "Python: Select Interpreter" and select it.
- Choose the interpreter that points to your
.venvfolder.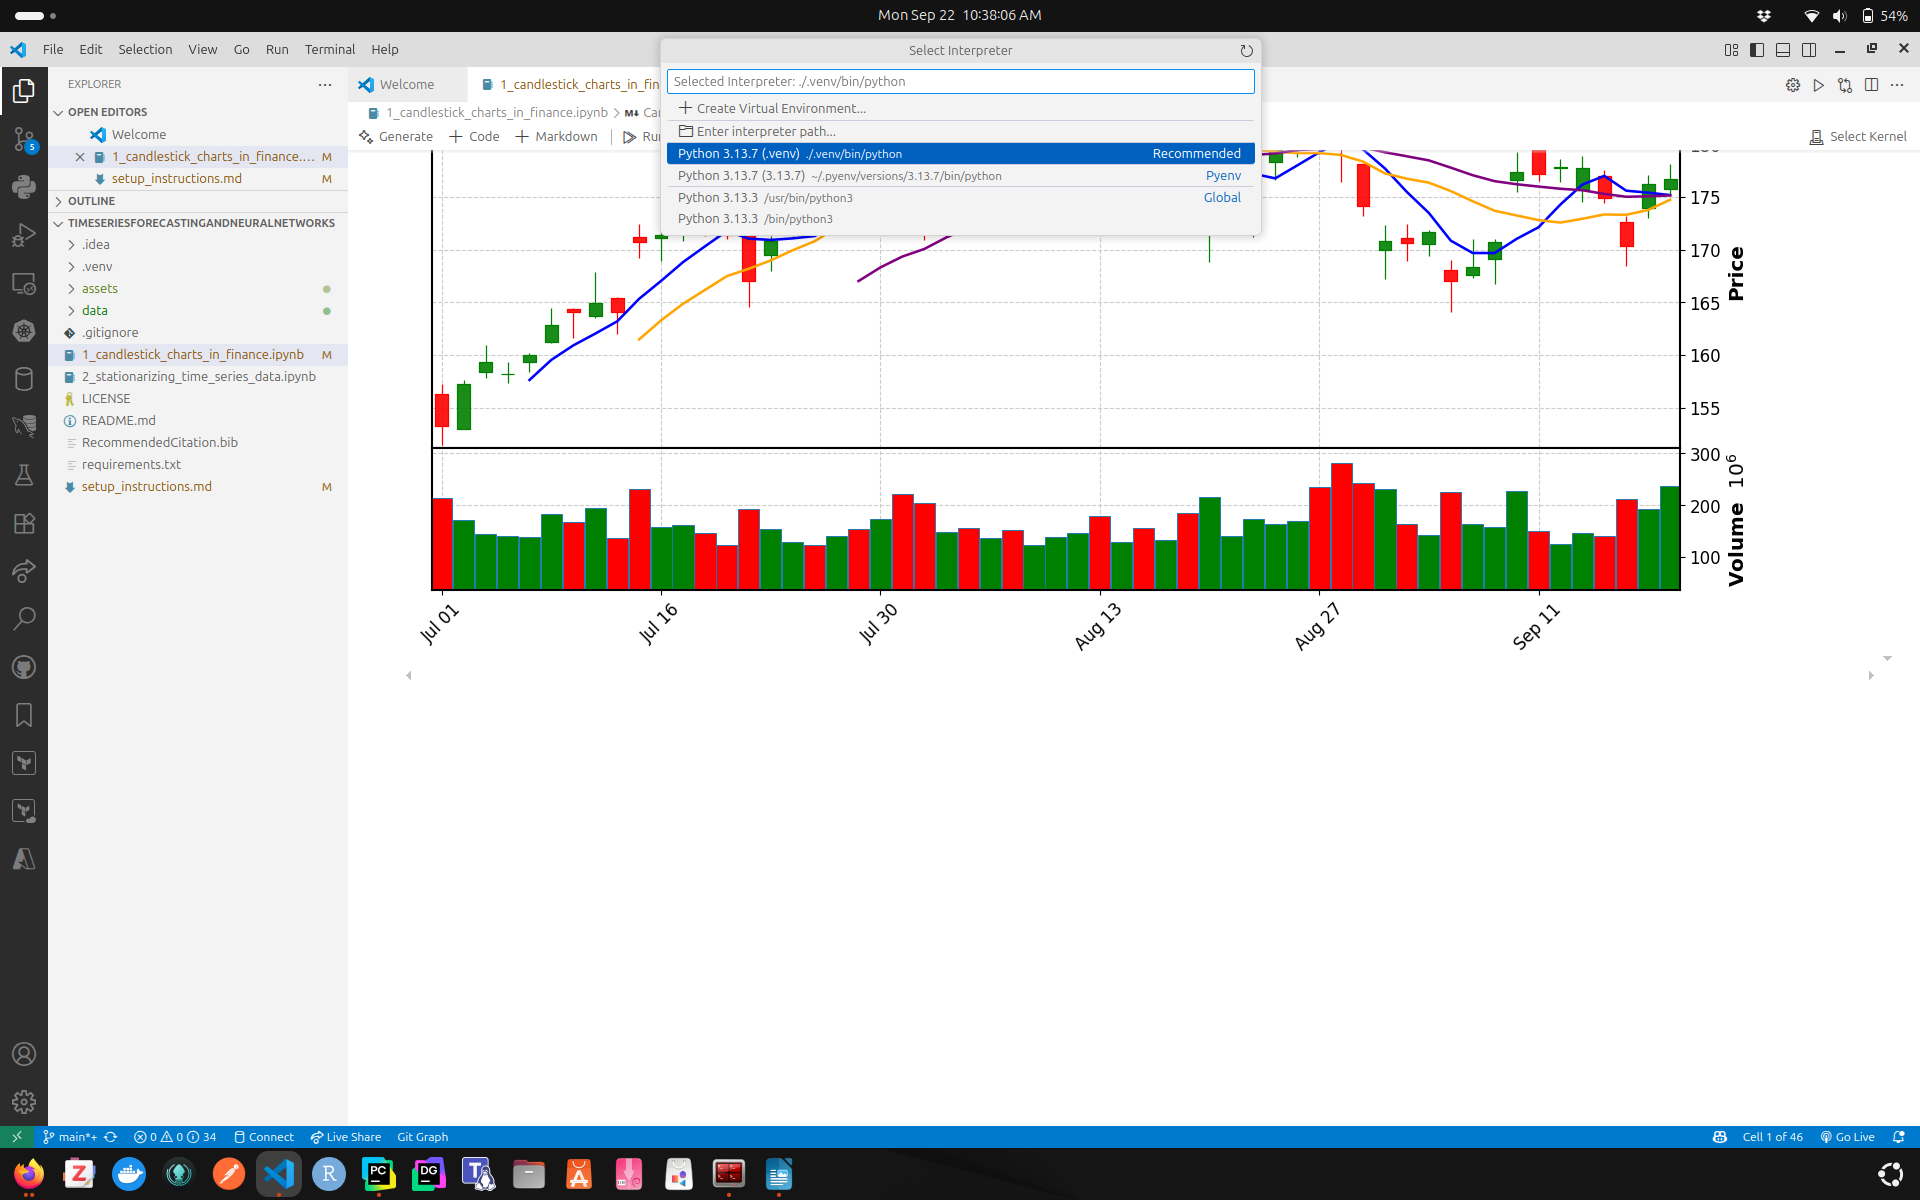
-
Set the correct environment by creating a
.envfile in the root of the repository. Add the values of the variables listed in .env.example as discussed in class: -
Install the required packages depending on the environment:
-
base.txt: Defines the fundamental packages that the code in the repository needs to be installed for it to run. It is: Environment-agnostic, developer-curated, stable, and minimal.
-
dev.txt: Defines what a developer needs to work productively and safely. It can include linters, formatters, test frameworks, and interactive tools. It should not include platform-specific constraints or deployment-only dependencies.
-
colab.txt: It is platform-specific for Google Colab. It specifies the adjustments required when you are running the notebook in Colab, e.g., packages that are not included in Colab by default, and compatibility pins to avoid breaking Colab.
-
prod.txt: Defines what must be installed in a production environment. It includes runtime frameworks (TensorFlow).
-
Governing Rule: If the application code imports it to run, it belongs in base.txt. If only a developer uses it to think, test, or explore, it belongs in dev.txt.
-
Run one of the following depending on your environment once the virtual environment is active (Note: you should be using a "development" environment to do the lab):
-
Production environment:
pip install -r requirements/prod.txt
-
Staging environment:
pip install -r requirements/dev.txt -c requirements/constraints.txt
-
Testing environment:
pip install -r requirements/dev.txt -c requirements/constraints.txt
-
Colab environment:
pip install -r requirements/colab.txt
-
Development environment:
pip install -r requirements/dev.txt -c requirements/constraints.txt
-
-
-
You can confirm the installed packages using:
pip list
- The
requirements.txtfile is used for listing dependencies (packages and the libraries they contain) required to run the lab or application.
Analogy:
-
📦 Packages → like the grocery bags you bring home from the store.
- Example: You pip install
numpy→ you just bought a bag labeled NumPy.
- Example: You pip install
-
📚Libraries → like the ingredients inside those bags.
- Example: Inside the NumPy package, you will find various mathematical tools (arrays, linear algebra functions, random number generators, etc.).
-
When you create a
requirements.txtfile, you are making a "shopping list" of packages — the bags you must bring from the store. -
And when you write Python code, you are "cooking using the ingredients (libraries) inside the shopping bags (packages)".
Option 1: Using pipreqs
-
pip install pipreqsinstalls the tool that scans your project code and generates arequirements.txtfilepip install pipreqs
-
pipreqs .looks at your imports in the source code and generates a list of basic requirements that it assumes are the most important. -
Advantage:
- It is useful for creating a minimal
requirements.txtfile that only includes the libraries that are actually used in the code.
- It is useful for creating a minimal
-
Disadvantages:
- Ignores transitive dependencies
- Ignores runtime-only imports
- Ignores optional and dynamic imports
- Does not guarantee reproducibility
pipreqs . --savepath ./requirements/dev.inferred.txt --encoding=utf8 --force --ignore .venv,__pycache__,roughworkOption 2: Using pip freeze
-
If you want the exact versions of the libraries, you can use
pip freeze > requirements.txtafter installing the libraries in the virtual environment. This will create arequirements.txtfile with the exact versions of the libraries installed in the virtual environment. -
Advantage:
- It captures all installed packages in the virtual environment, including their versions.
pip freeze > ./requirements/dev.lock.txt- Install MSYS2 (for Windows) if not already installed.
- Download link: https://github.com/msys2/msys2-installer/releases
- Navigate to the project's root folder using the MSYS2 terminal.
tree -I ".venv|.idea|__pycache__|roughwork|lab_submission_ANSWERS"