
This repository contains an example Unreal Engine 4 project that creates a character controller using a Ready Player Me avatar. This is to serve as a reference for anybody that wants to integrate our 3D avatars into their Unreal Engine project.
The ThirdPersonExampleMap is loaded on startup by default and can be found in the projects Content > ReadyPlayerMe > Maps folder as below.

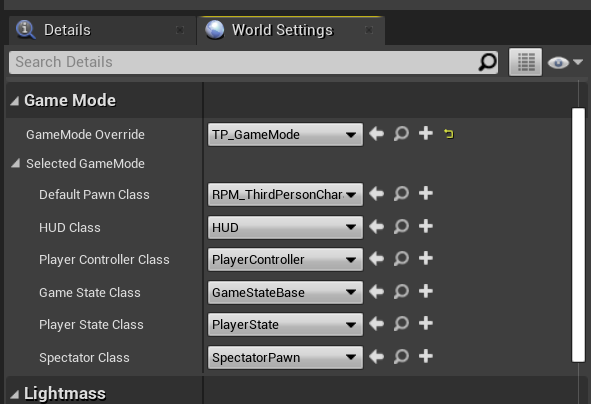
There is no custom code or actors in this map however if you open up the World Settings you will notice we set a GameMode Override to use our TP_GameMode asset. This game mode is used to set the Default Pawn Class to be our RPM_ThirdPersonCharacter.
You can find our character blueprint named RPM_ThirdPersonCharacter in the projects Content > ReadyPlayerMe > Blueprints folder.
This character was created simply by duplicating the example Unreal Third Person Character blueprint (that uses mannequin skeleton and mesh), then we reassigned the skeletal mesh and the animation blueprint as well as added a ReadyPlayerMeActorComponent to handle the loading of our ReadyPlayerMe avatars at runtime.
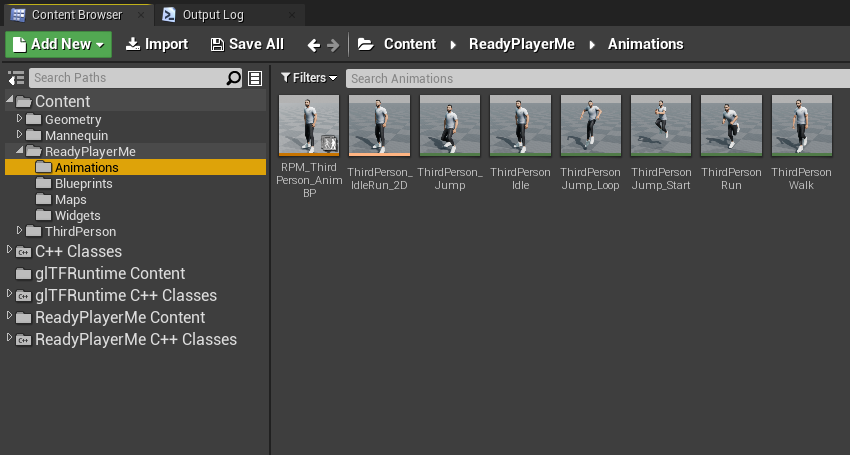
If you look in the folder Content > ReadyPlayerMe > Animations you will find all the animations, blendspaces and animation blueprints used in our example.
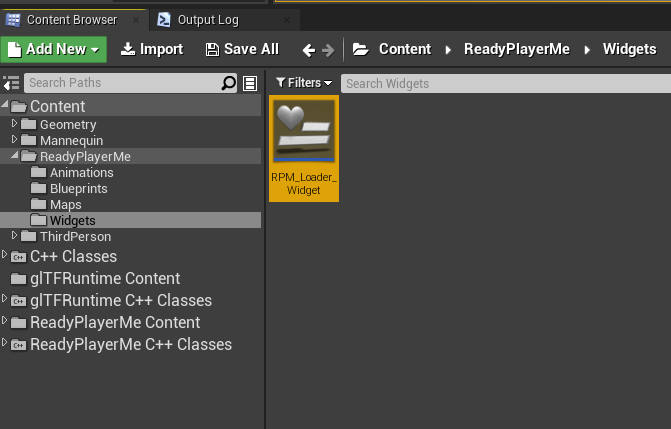
The Avatar Loader UI Widget get be found in Content > ReadyPlayerMe > Widgets.
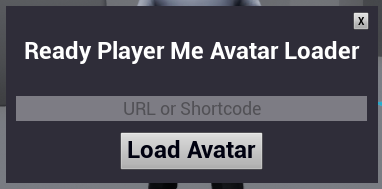
When you run the application and press Q the UI panel should display as below.
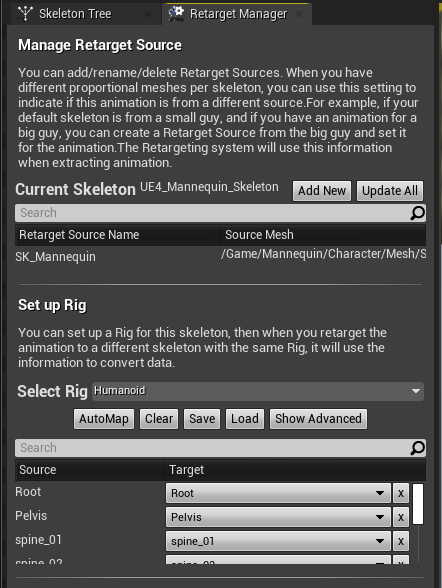
While our avatars use a skeleton rig based on the Mixamo skeleton, it is possible to retarget animations using the Mannequin skeleton so that they work with our Ready Player Me Avatars. For this example we did exactly that, to retarget animations from the Mannequn skeleton we first had to setup the bonemapping. To do this you need to open up the UE4_Mannequin_Skeleton asset located at Content > Mannequin > Character > Mesh.
From there you need to open up the Retarget Manager panel and under the Set up rig menu, set Select Rig = Humanoid. Then click the AutoMap button and it will assign all the bones to the bonemap. Save your changes and navigate back to the content browser to find the animation, or animation blueprint you want to retarget. If you retarget an Animation Blueprint it will retarget and create a copy of every animation and blendspaces that is used in the blueprint as well as create a new Animation Blueprint.
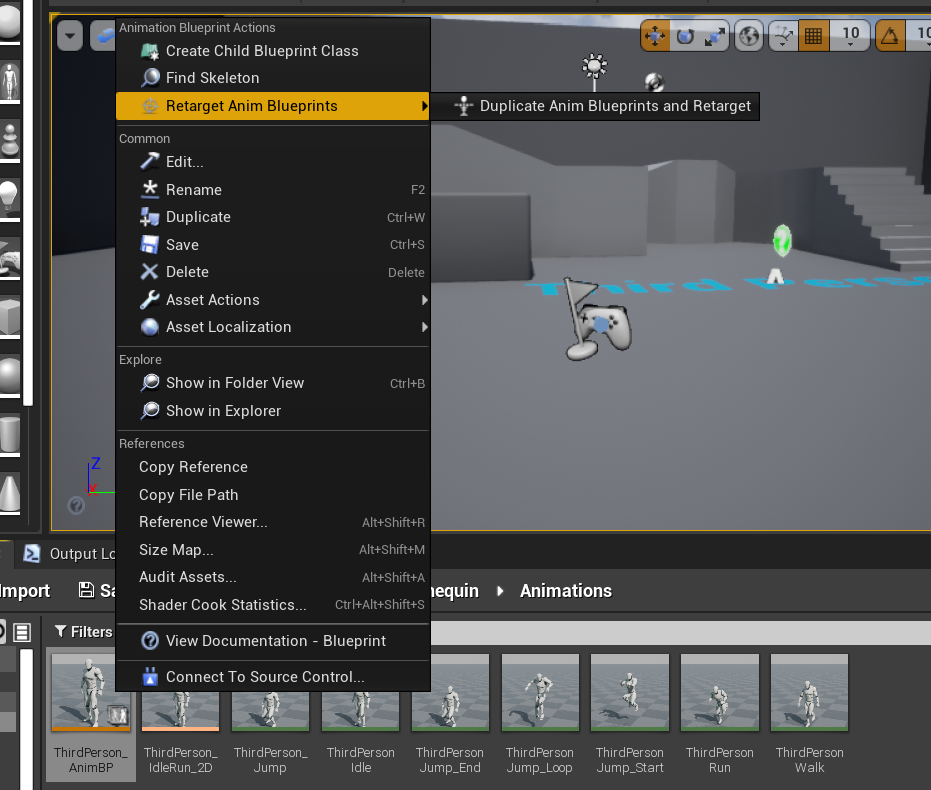
In our case we will use the ThirdPerson_AnimBP located at Content > Mannequin > Animations as an example. Simply right click and select Retarget Anim Blueprints > Duplicate Anim Blueprints and Retarget.
This will bring up the Select Skeleton window, in here simply select the RPM_Mixamo_Skeleton asset and click retarget.
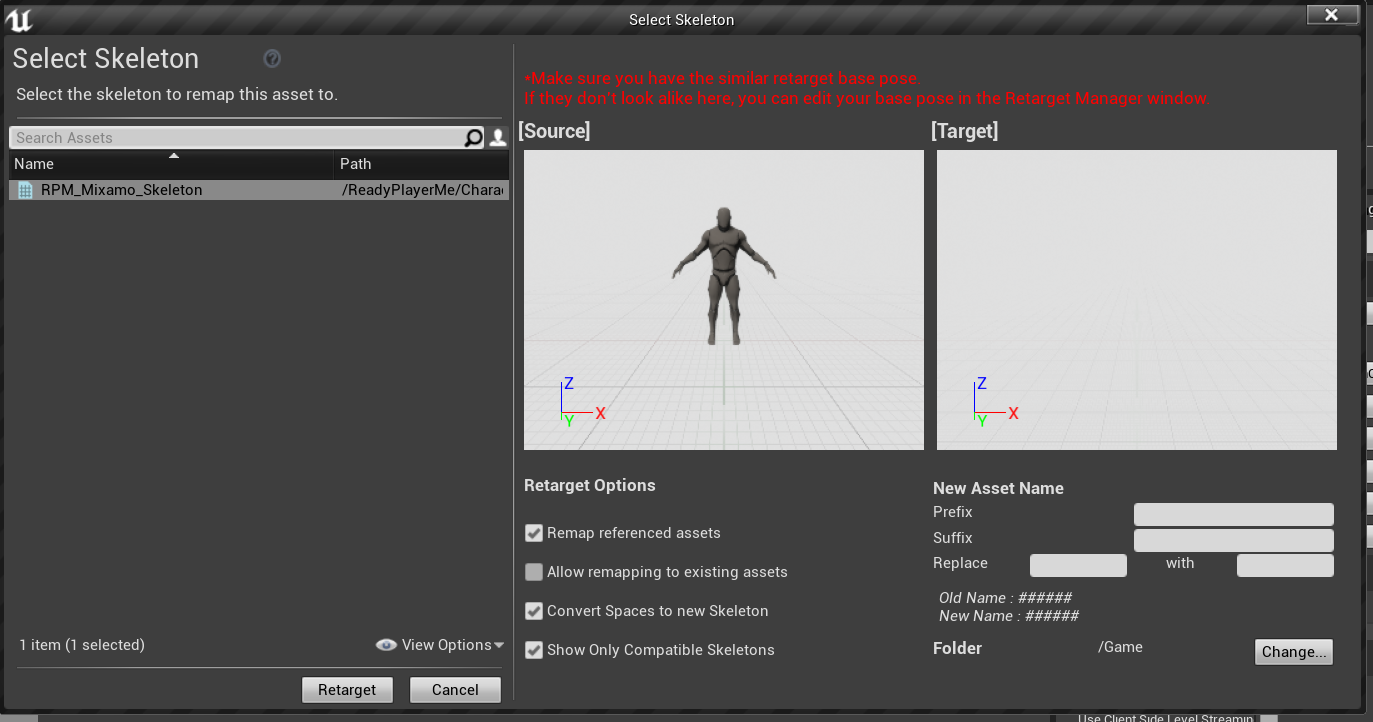
Once the process is complete you should end up with animations and/or animation blueprints that work with our Ready Player Me avatar.
- Ready Player Me Unreal SDK
- glTFRuntime (Third party plugin)
Ready Player Me Unreal SDK
glTFRuntime