A comprehensive, cloud-native platform for web automation testing, built with Streamlit and Selenium. This portal allows you to upload, create, and execute Selenium IDE (.side) test files directly from a web interface, with results and screenshots saved to a MongoDB database.
The entire platform is designed for scalability and maintainability, running serverlessly on Streamlit Cloud.

- Cloud-Native: Deployable on Streamlit Cloud with zero server management.
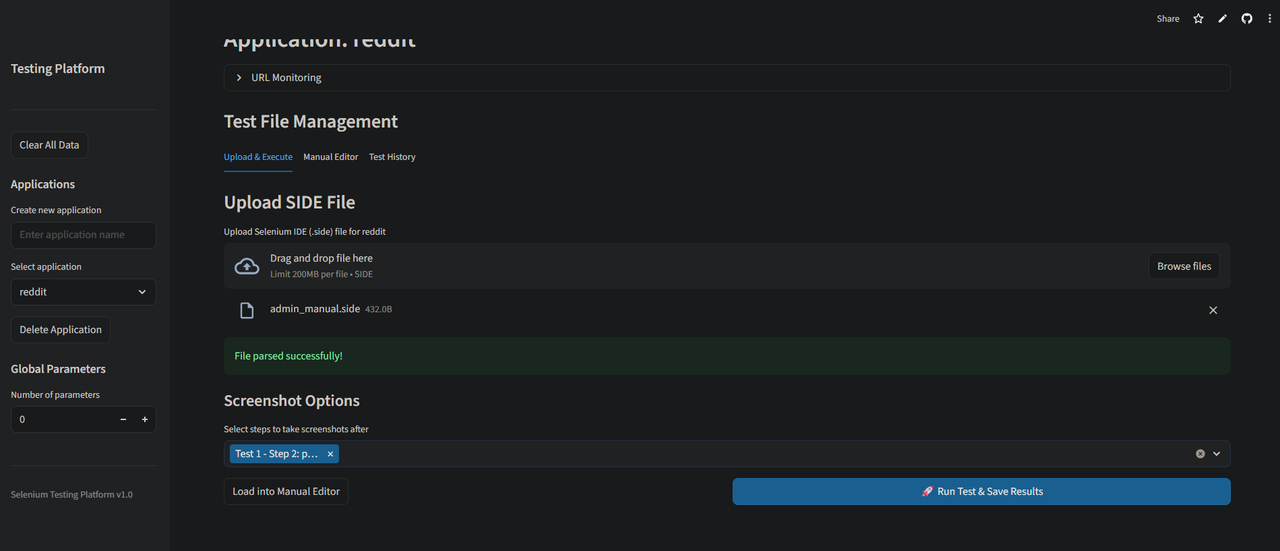
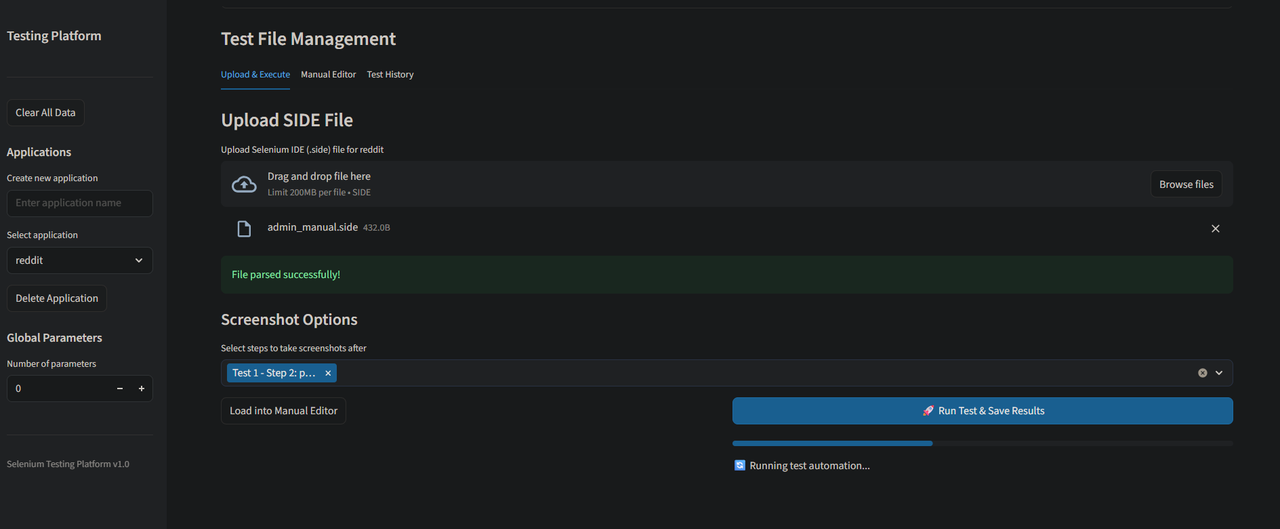
- SIDE File Execution: Upload and run Selenium IDE
.sidefiles directly. - Manual Test Editor: Create and edit test cases and steps from the UI.
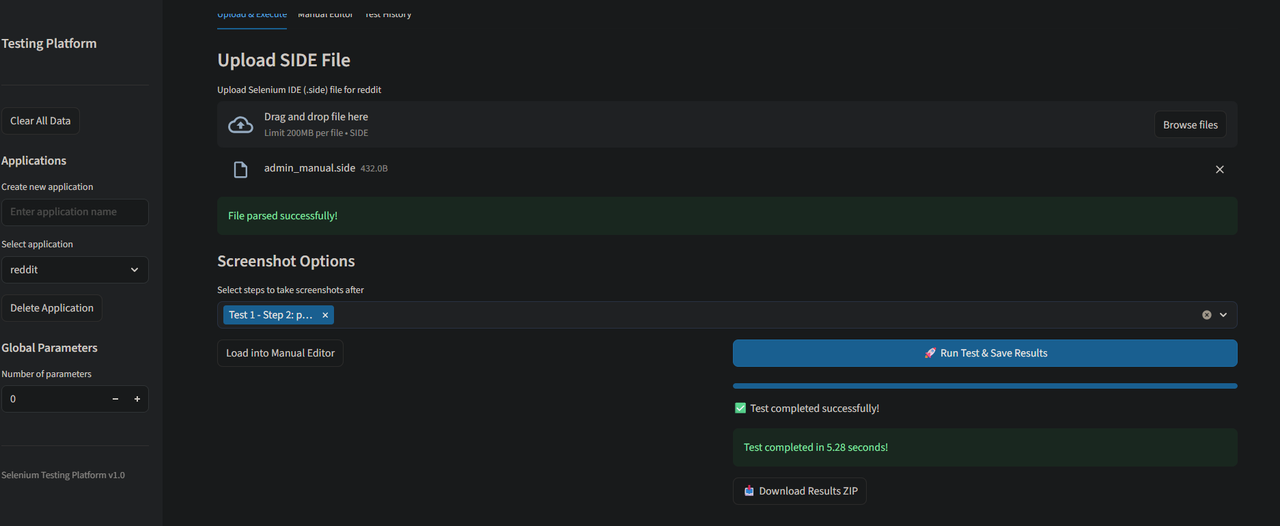
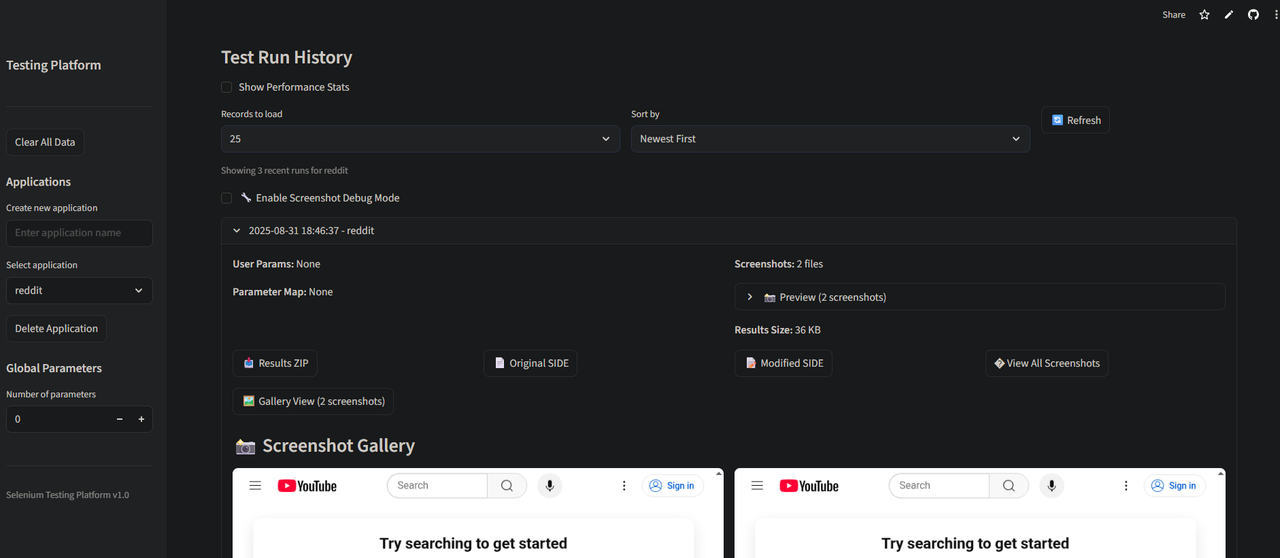
- Database Integration: All test runs, results, and screenshots are saved to MongoDB Atlas.
- Screenshot Viewer: View all captured screenshots directly in the history tab.
- URL Monitoring: Ping application URLs to check their status and latency.
- Dynamic Parameterization: Map global or run-specific parameters to your tests.
- Clean, Responsive UI: Built with Streamlit for a great user experience on any device.
- Frontend: Streamlit
- Backend & Automation: Python, Selenium
- Database: MongoDB Atlas
- Deployment: Streamlit Cloud, GitHub
To run the Testing Portal on your local machine, follow these steps:
Prerequisites:
- Python 3.9+
- Google Chrome or Firefox installed
- MongoDB Atlas account (or a local MongoDB instance)
1. Clone the Repository:
git clone https://github.com/Tusharvoid/Testing-Portal.git
cd Testing-Portal
2. Create a Virtual Environment:
python -m venv venv
source venv/bin/activate  # On Windows, use `venv\Scripts\activate`
3. Install Dependencies:
The project uses two files for dependencies: requirements.txt for Python packages and packages.txt for system-level packages (used by Streamlit Cloud). For local setup, you only need to install the Python packages.
pip install -r requirements.txt4. Configure Secrets: Create a secrets file for your database connection string.
# Create the directory if it doesn't exist
mkdir -p .streamlit

# Create the secrets file and add your MongoDB URI
echo '[mongo]\nuri = "your_mongodb_atlas_connection_string"' > .streamlit/secrets.toml
Replace "your_mongodb_atlas_connection_string" with your actual MongoDB connection string.
5. Run the Application:
streamlit run web_app.pyThe application should now be running on http://localhost:8501.
This repository is optimized for one-click deployment on Streamlit Cloud.
- Fork this repository to your GitHub account.
- Go to share.streamlit.io and click "New app".
- Select the forked repository and the
mainbranch. - In the "Advanced settings" section, go to the "Secrets" tab and add your MongoDB connection string:
[mongo]
uri = "your_mongodb_atlas_connection_string"
- Click "Deploy!". Streamlit Cloud will automatically install all Python and system dependencies from
requirements.txtandpackages.txt.
The repository is organized with a clean structure for easy maintenance and deployment.
Testing-Portal/
├── .streamlit/
│   ├── config.toml        # Streamlit configuration
│   └── secrets.toml       # Local secrets (ignored by git)
├── web_app.py             # Main Streamlit application UI
├── main.py                # Selenium test execution engine
├── db_manager.py          # Database operations (MongoDB)
├── streamlit_packages.py  # Cloud package installer helper
├── requirements.txt       # Python dependencies
├── packages.txt           # System-level dependencies for Streamlit Cloud
├── .gitignore             # Git ignore rules
└── README.md              # This file