Starting a new project
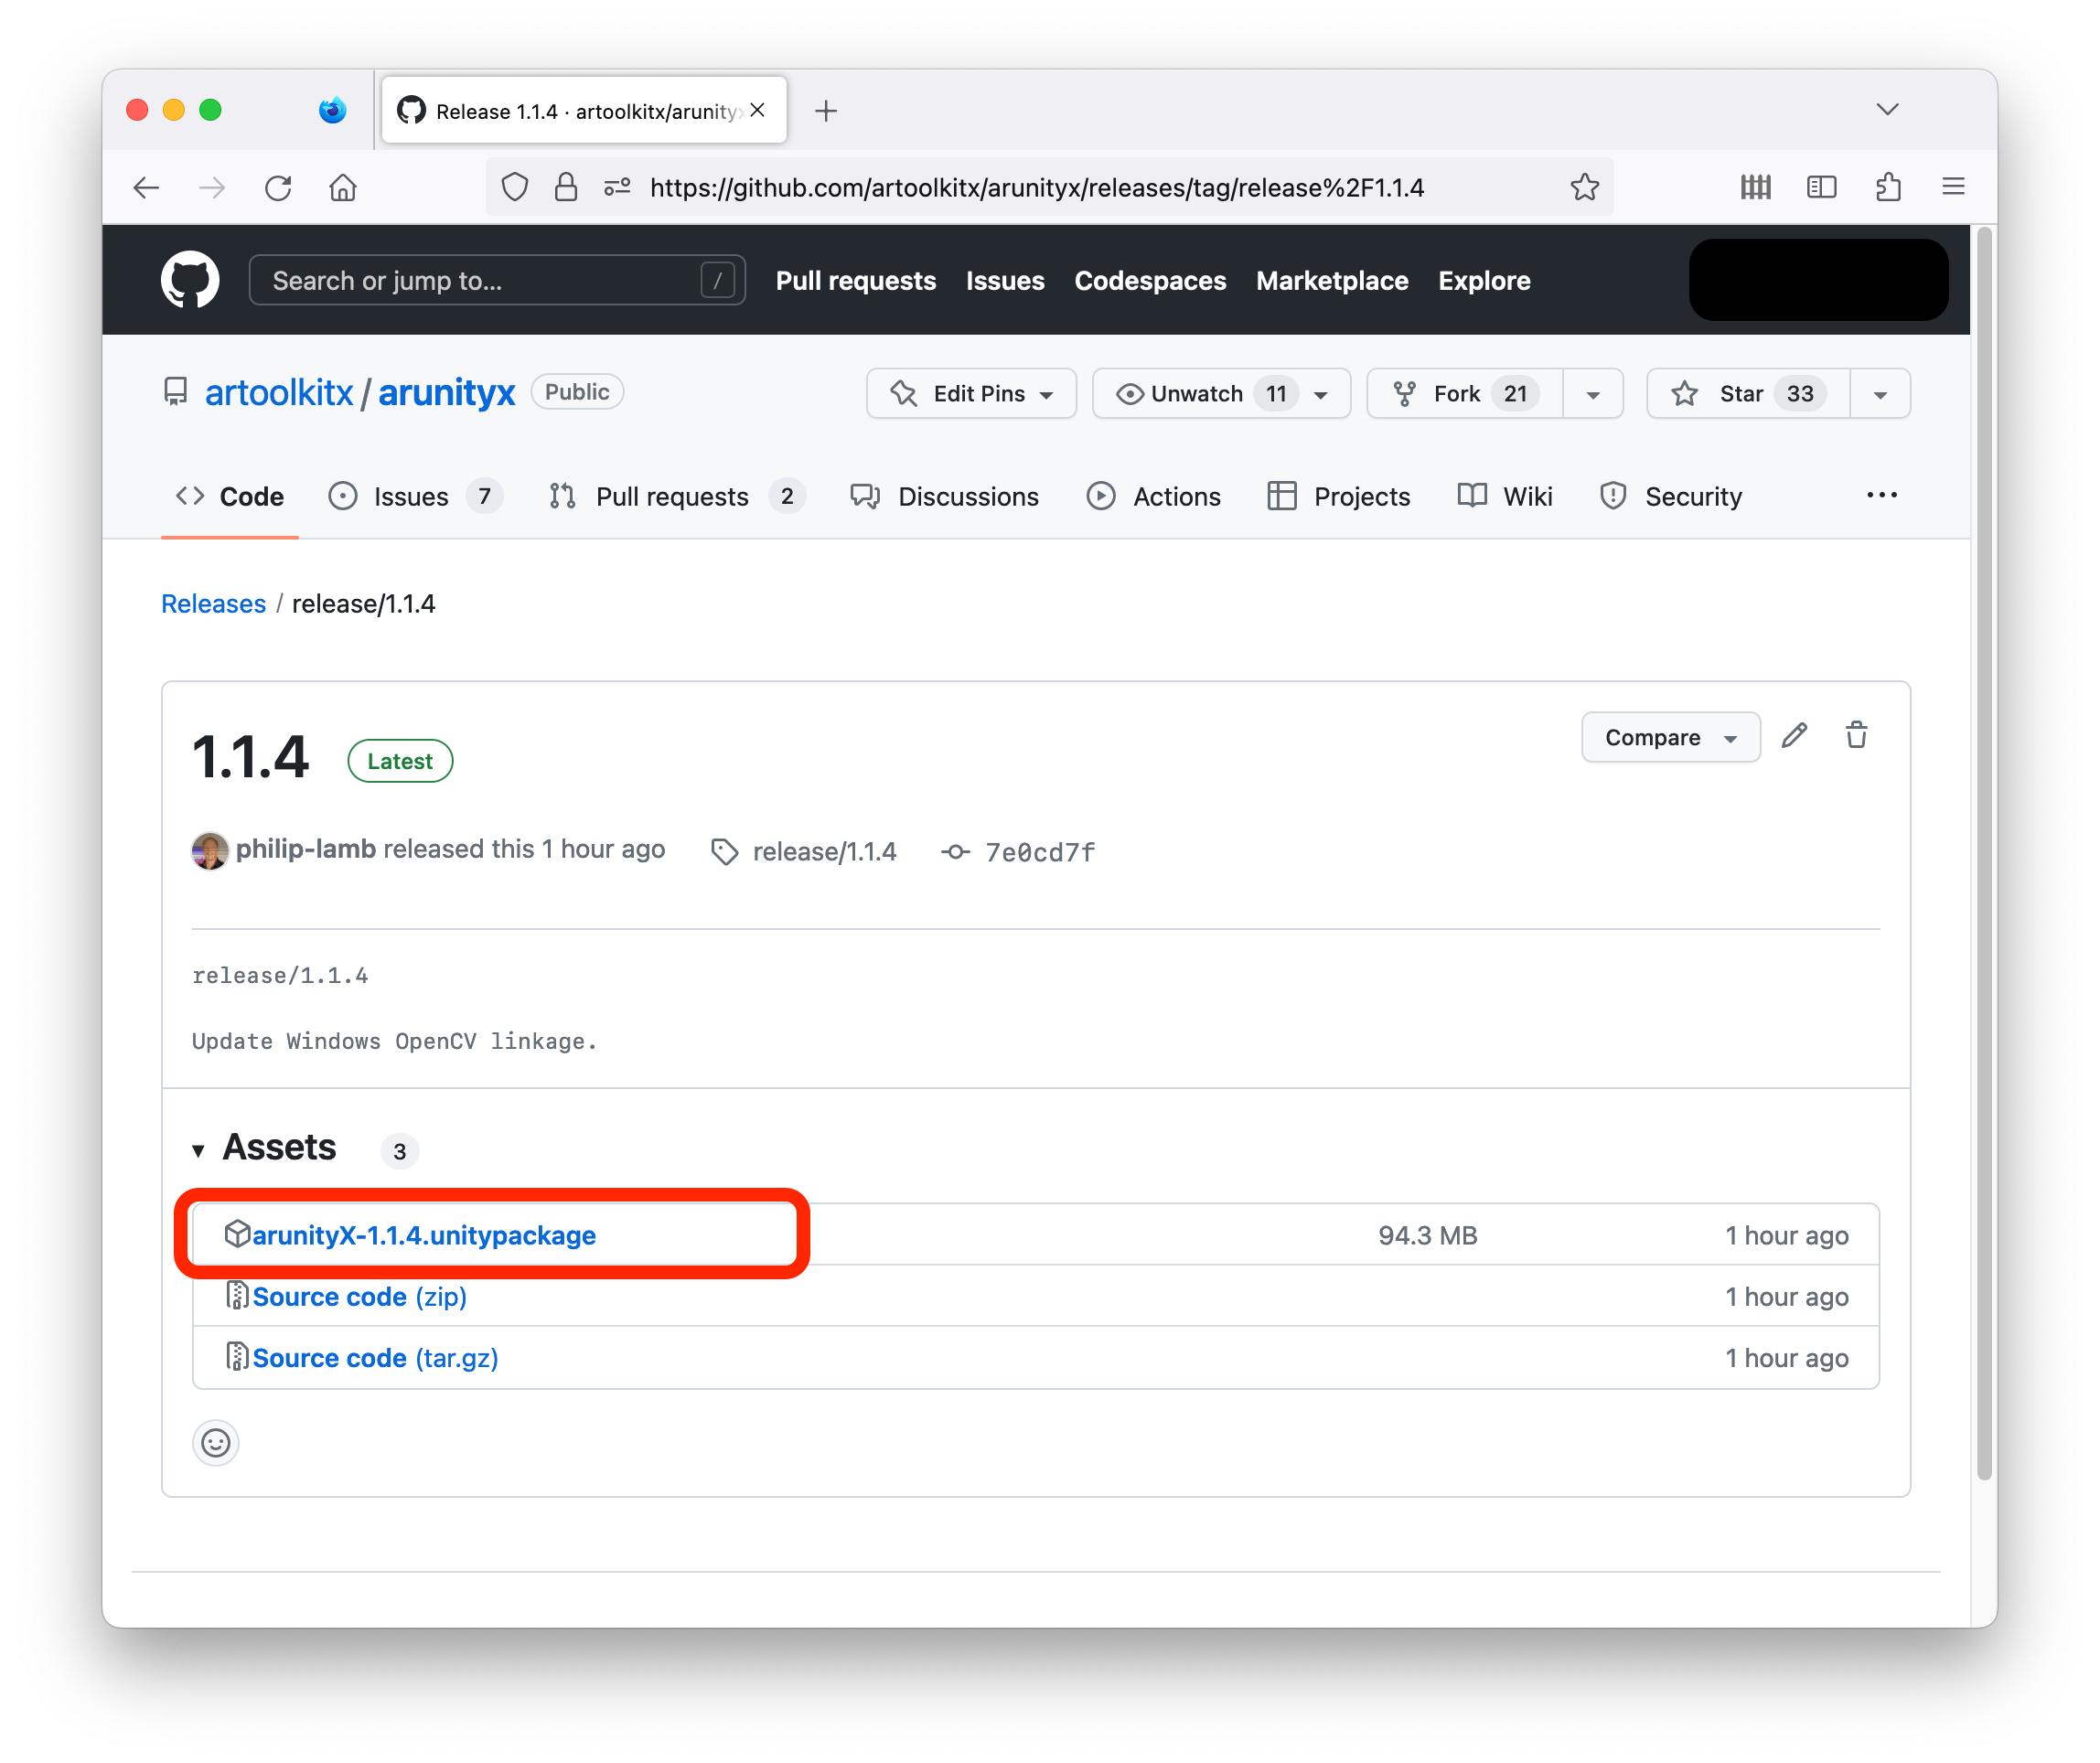
- Download the latest arunityX package release from GitHub at https://github.com/artoolkitx/arunityx/releases/latest.
 2. If starting with a new Unity project, the "3D" template is most appropriate.
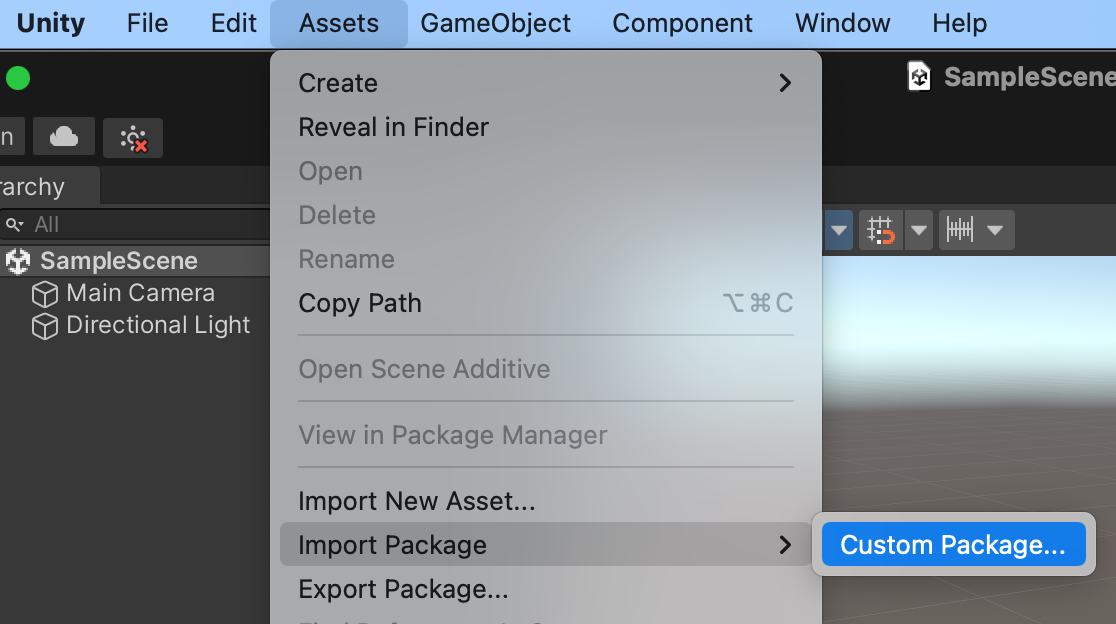
 3. From Unity, choose Unity's "import custom package" menu item:
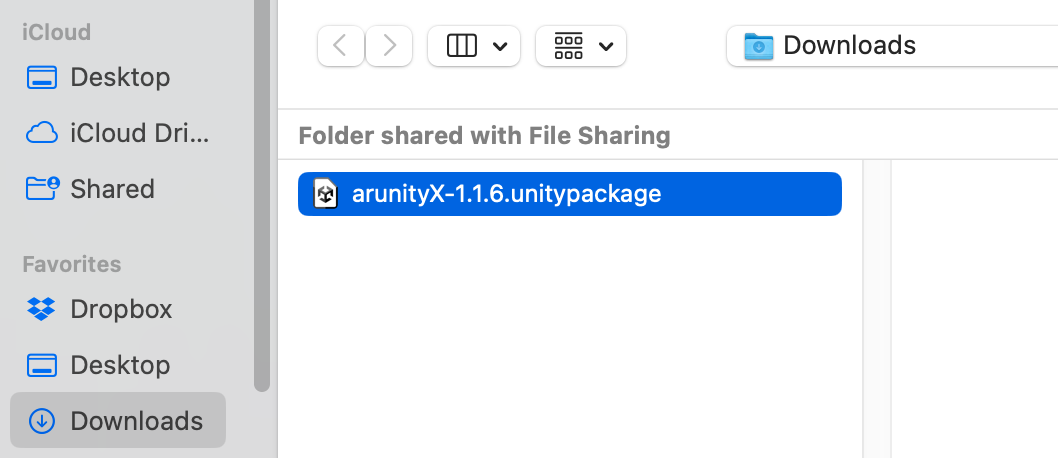
 4. Navigate to wherever you downloaded the package:
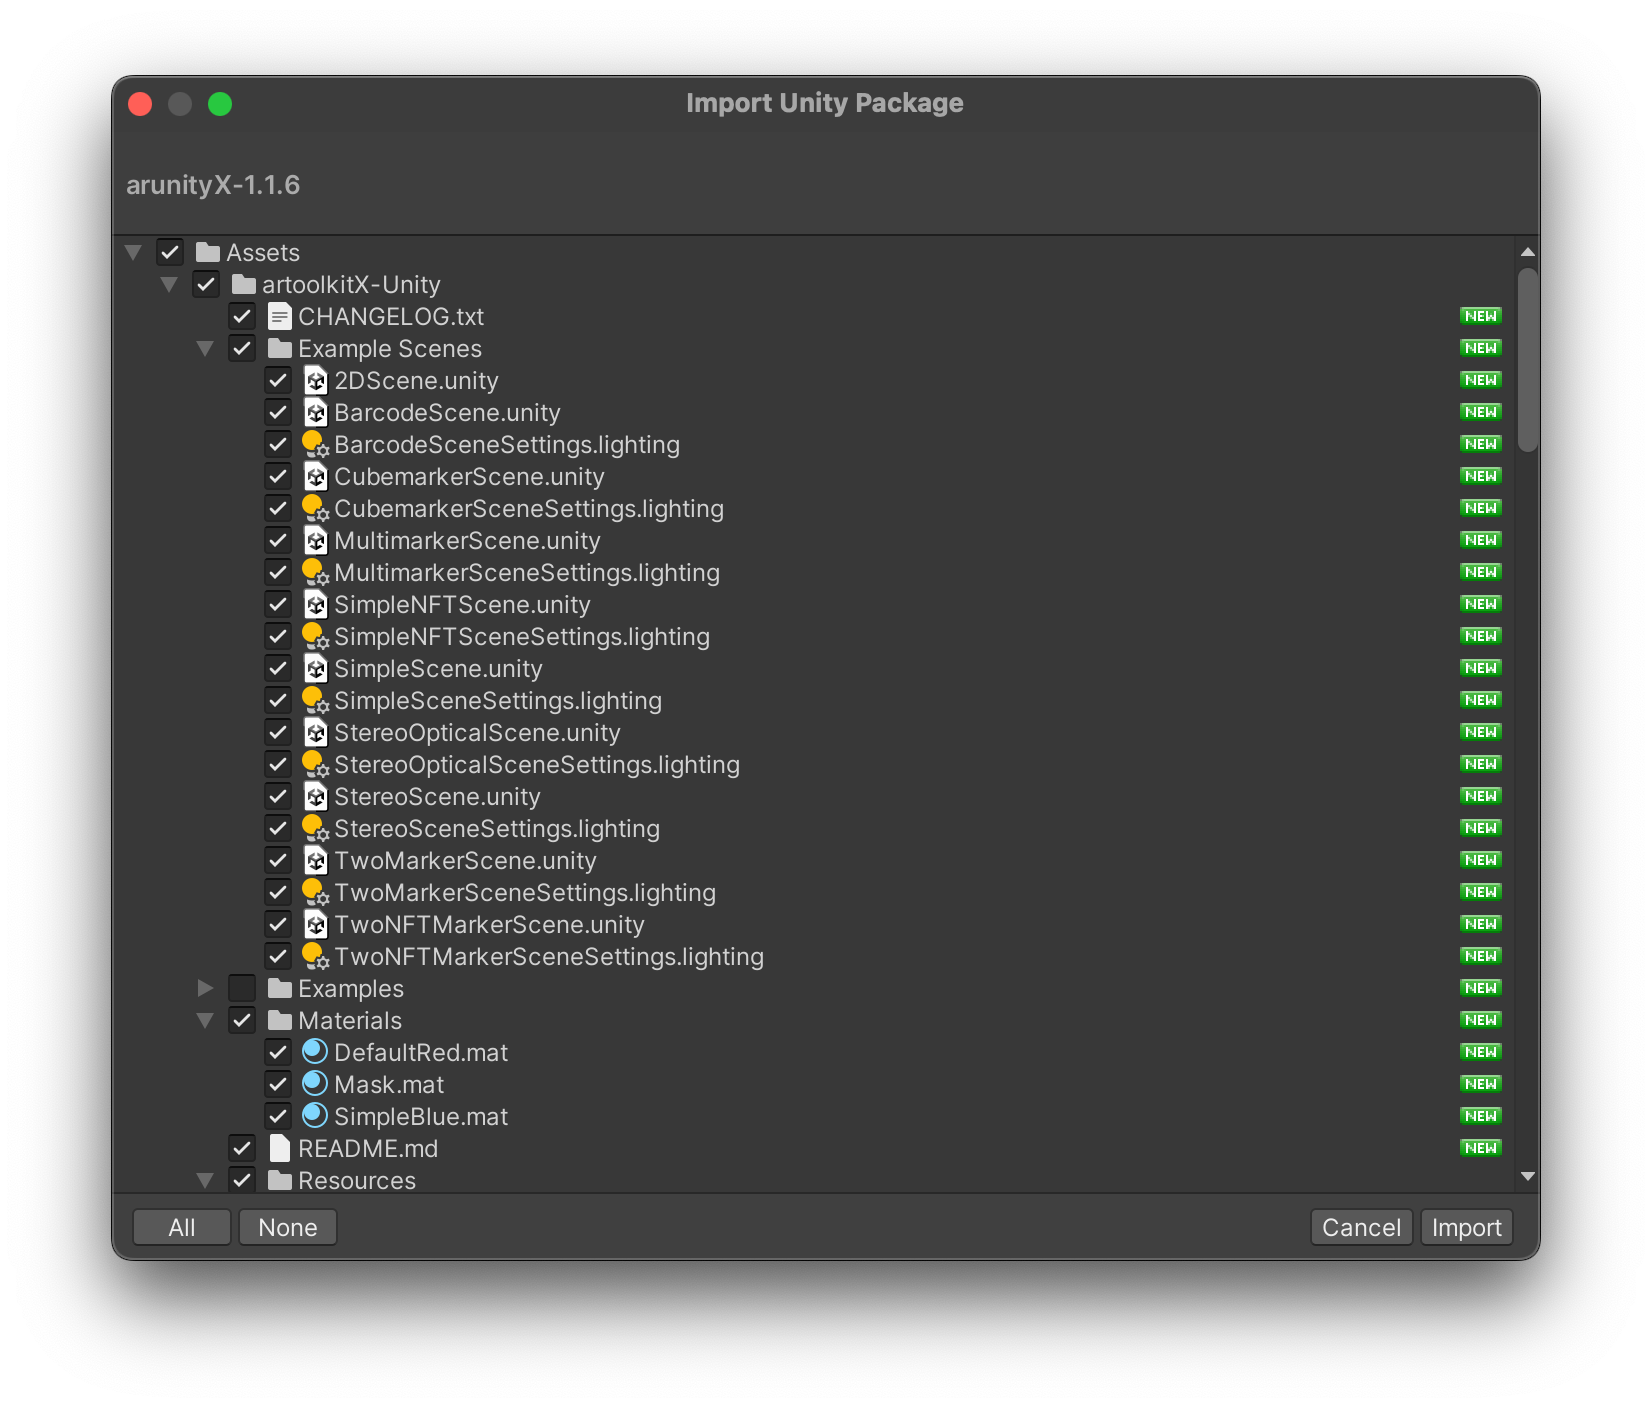
 5. Choose which parts of the package to import in Unity's dialog, then click "import.
- There are a handful of essential components you should add into your scene. The key component that results in loading of the ARX plugin is
ARController. Generally, this is most conveniently added to an empty gameobject in your scene. Once added, Unity will also add anARVideoConfigobject. - Locate the root object of your scene which is the "origin" for the part of your scene which you wish to manipulate via artoolkit. Add an instance of the
AROrigincomponent to this object. - Add an instance of
ARCamerato the object containing the UnityCameraobject.
artoolkit supports two common modes of building an AR scene:
- GameObjects are considered "attached" to trackables, and moved around in the scene match the relative position of the trackables to the scene origin in the scene. This is the most common choice. In this choice, you will use
ARTrackedObjectcomponents in the scene. - As an alternative, the camera can be moved directly relative to a trackable in the scene. Sometimes, this is preferable if you have a single trackable. In this choice, you will use a single
ARTrackedCameracomponent in the scene.
In either case, you will need to define what real-world objects should be tracked; so-called "trackables". artoolkit offers a choice between 2D planar images, or square markers with a border. For square markers, the interior of the marker can be defined by a 2D barcode (of varying types) or simple images (with some restrictions).
To define the trackable at design time, simply add one or more ARTrackable components. Usually, these are best kept grouped on the same GameObject as the ARController. If you want to defined trackables at runtime in code, take a look at the source for ARTrackable.cs for the factory methods including ARTrackale.Add2D(), ARTrackale.AddSquareBarcode() and ARTrackale.AddSquarePattern().
When adding each ARTrackable, be sure to set it's "tag" value. This is a string which is used to link the ARTrackable to the ARTrackedObject or ARTrackedCamera in the scene.
If you want to move objects in the scene to match the trackable motion, next add an ARTrackedObject to the root of the object in the scene, and set its tag to the tag of the ARTrackable you want it to track. ARTrackedObject causes the object's transform to be updated at runtime.
If you prefer to move the camera relative to a single trackable, instead add an ARTrackedCamera to the main Camera object in your scene and set its tag to the tag of the ARTrackable you want it to be moved relative to. ARTrackedCamera causes the transform of the Camera's GameObject to be updated at runtime.
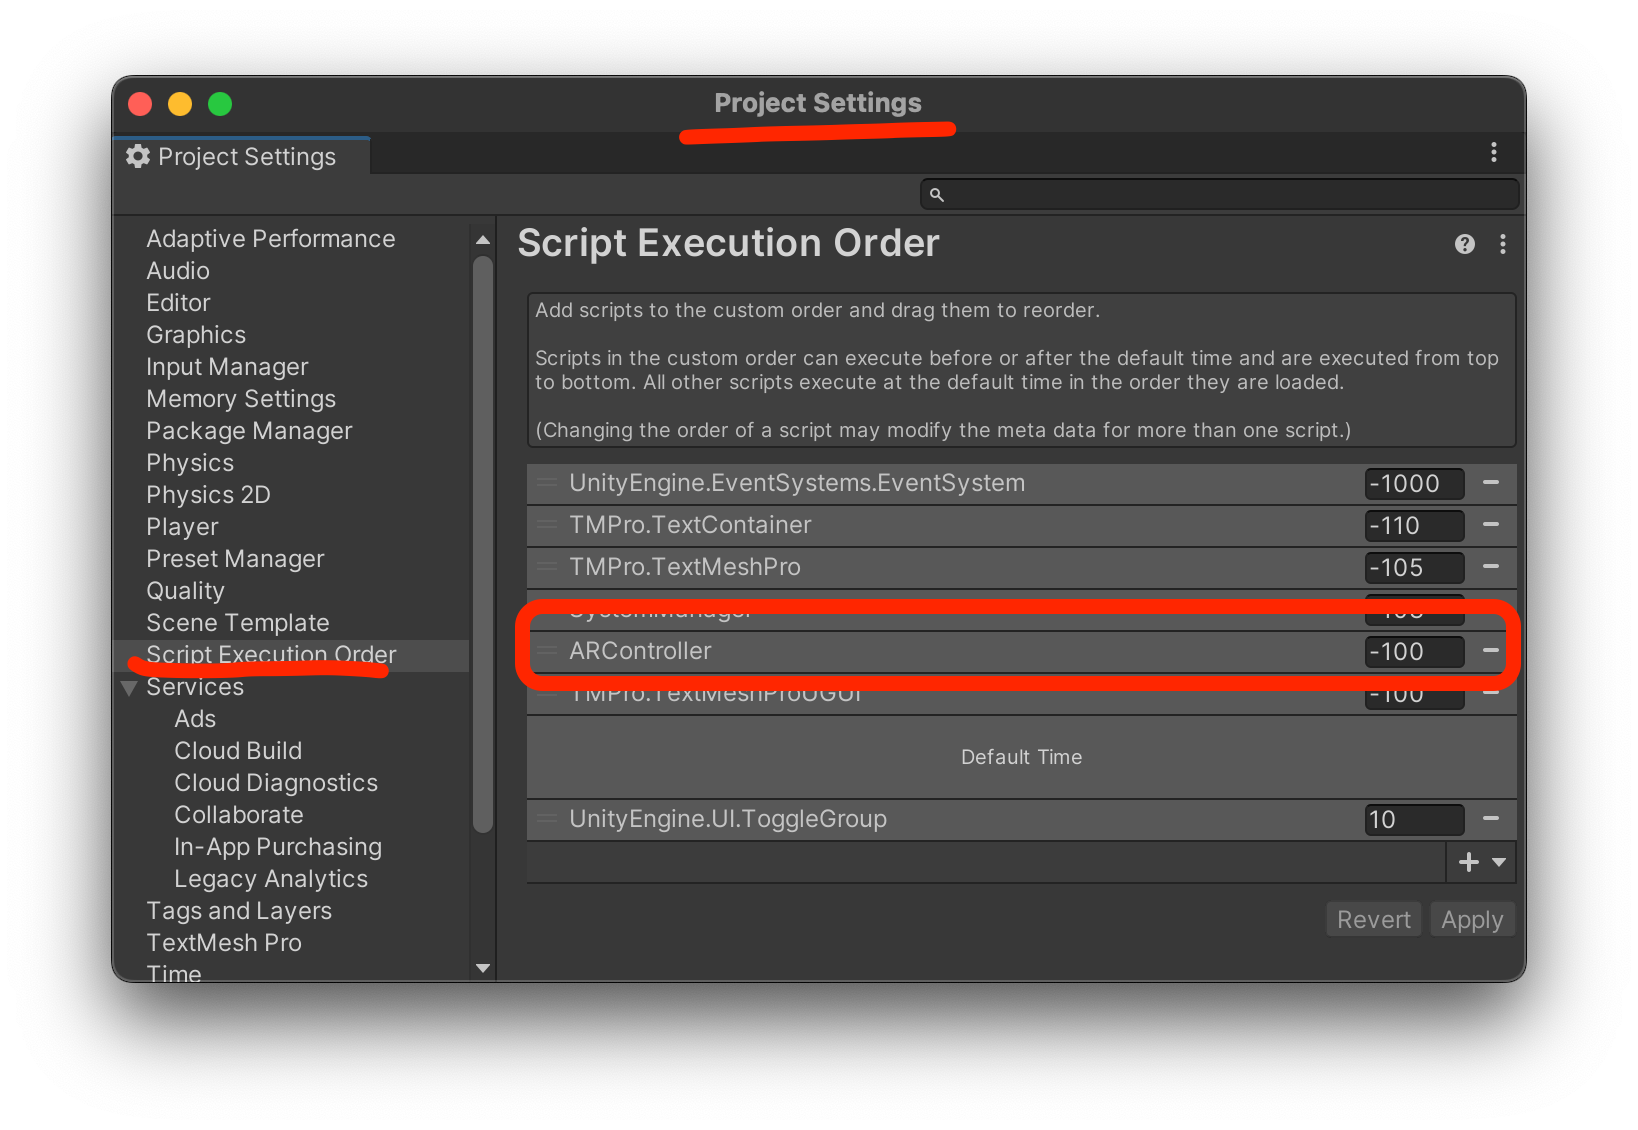
The following paragraph applies only to versions 1.1.10 and older. Script execution order is automatically set as of artoolkitX for Unity v1.1.11.
- Set script execution order/
One additional setting to ensure that
ARController'sUpdate()method runs beforeARTrackable's, is to explicitly set the script execution order ofARControllerto a value below 0. E.g.: