Tila Configuration
Tila setup is done through a web application management. Once deployed the war file in the application server, open the url http://application_server:port/tila/admin in your web browser to start the application cache management.
A remote map server is associated with a path within the application context. For example if we want to cache the Google Maps servers, we need to add a cache of type Google Maps and set the path to google . In this case, Tila will serve google maps tiles on http://tila.example.com:8080/tila/google url.
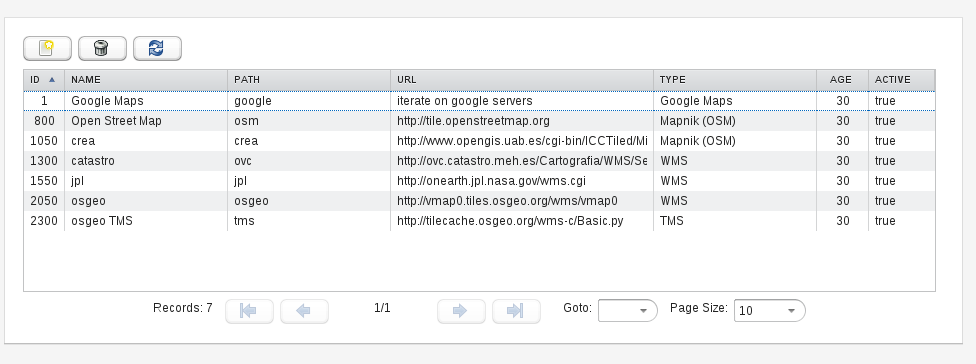
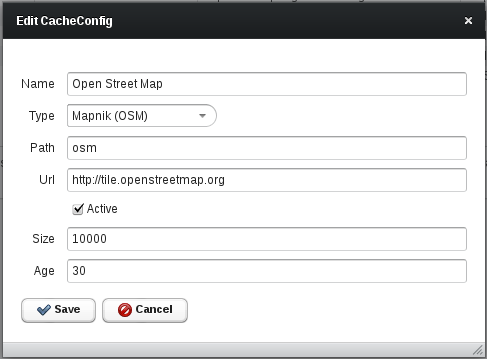
To setup a new cache, we have to specify the following parameters:
- Name: Name to identify the cache.
- Type: remote map service type.
- Path: path within of the application servlet context to associate with this cache.
- Url: Url of the remote map server. Some caches like Google don't need this parameter.
- Active: Enable / disable the cache without deleting it.
- Size: Maximun number of tiles to hold in memory. The disk caches have no quota. The greater the size is, better performance, but the use of the server's memory is higher. Most map tiles are 256x256 pixel images of a few Kbytes.
- Age: number of days from which the tiles are discarded and re-downloaded from the remote server.
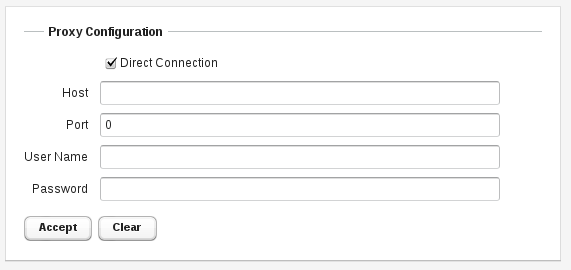
This form allows to configure a outbound internet proxy.
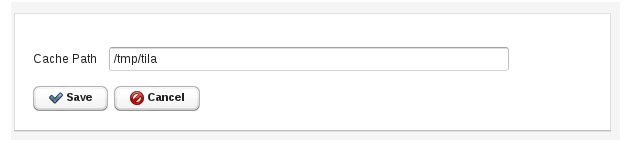
This form allows you to set system parameters. Currently there is only one parameter. The directory that will be used to save the disk caches. The user that runs the application server must have write permission on this directory. Each cache is stored in a separate subdirectory using the cache path as name.
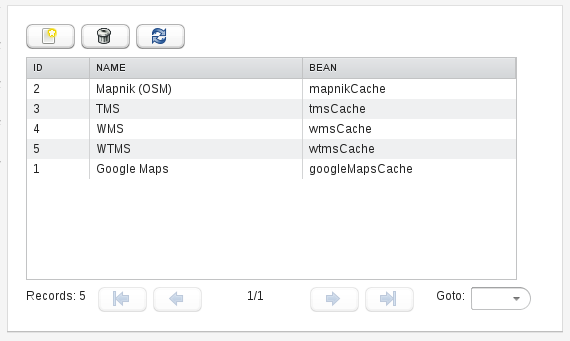
This form lets you to add new types to the Tila system cache. You should not modify this table unless you are developing a new type of cache. In that case, you must add a record for the new type in this table, indicating the name of the declared bean in the Spring application context (WEB-INF/applicationContext.xml).