
📘Introduction |📽Video Demo | 🏖TODO LIST | 🌈Architecture |💡Flow Chart|🌁Quick Start|👨🏻
- Upgrade to JDK17 & springboot3.0
- Client SDK
- Client use picocli instead of springboot.
- Support integration testing.
- Integrate OpenTelemetry .
- Support single node startup(Contains no components).
- Third-party components support replacement(Redis/Zookeeper, etc.).
- Support web client(websocket).
- Support docker container.
- Support kubernetes operation.
- Supports binary client(build with golang).
CIM(CROSS-IM) is an IM (instant messaging) system for developers; it also provides some components to help developers build their own scalable IM.
Using CIM, you can achieve the following requirements:
IMinstant messaging system.- Message push middleware for
APP. - Message middleware for
IOTmassive connection scenarios.
If you have any questions during use or development, you can contact the author.
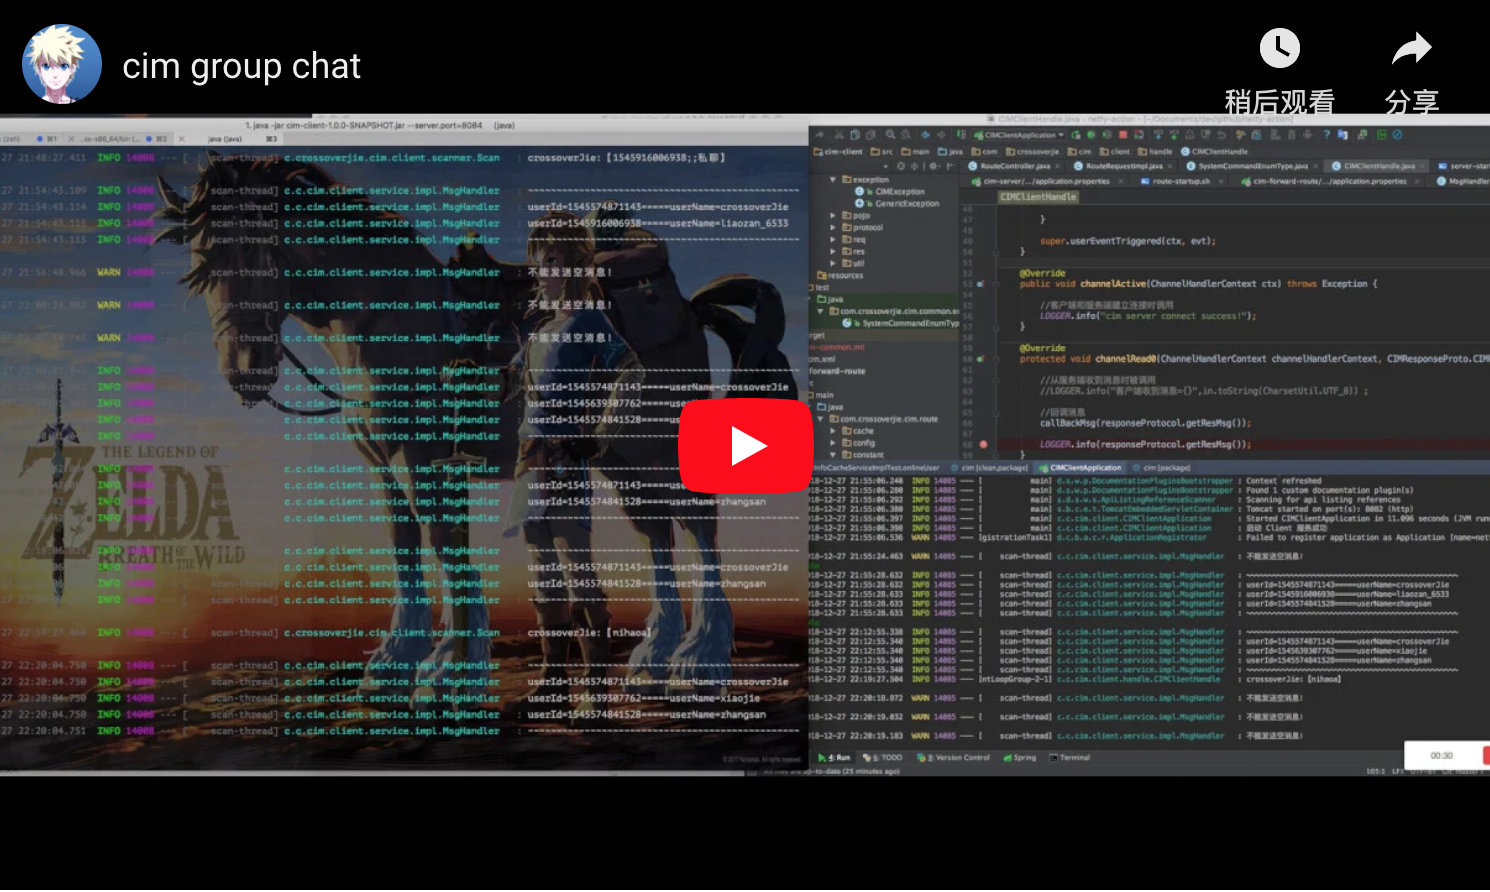
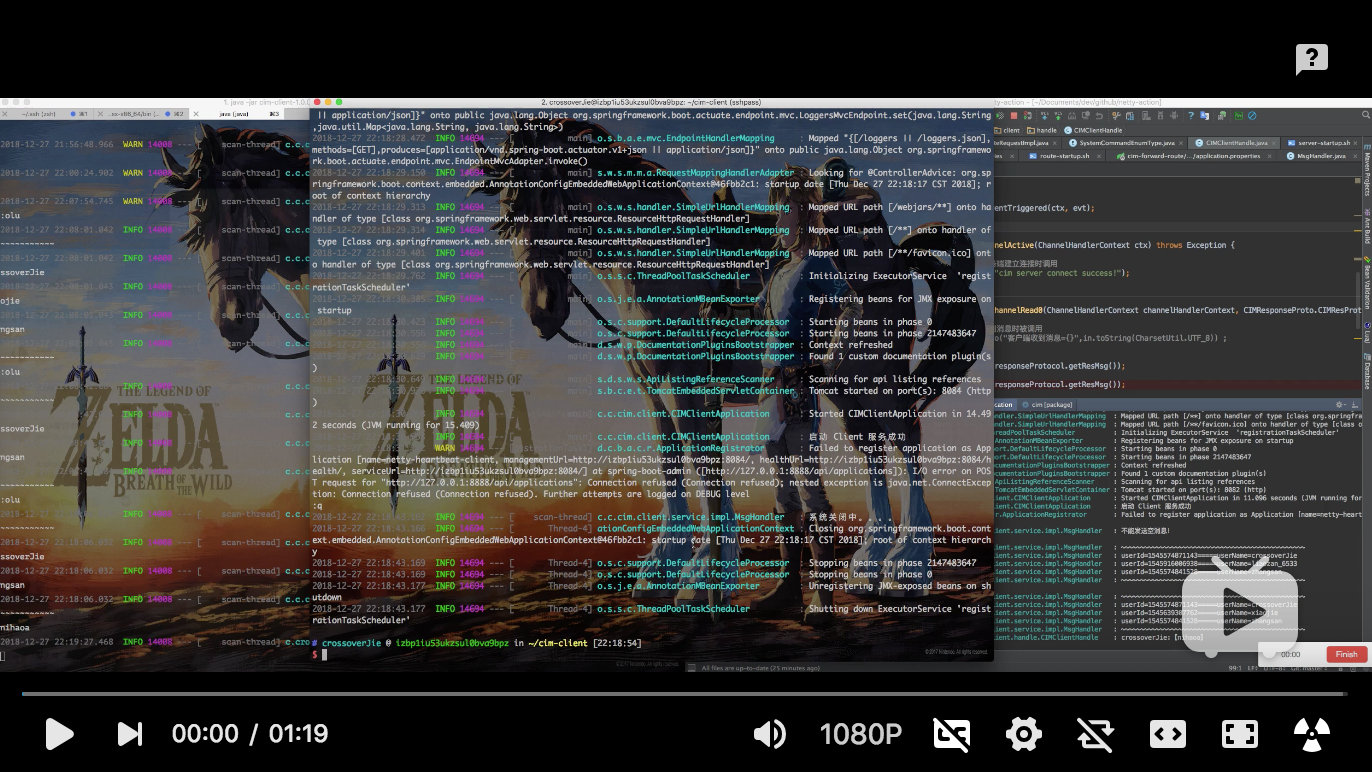
Click the links below to watch the video demo.
| YouTube | Bilibili |
|---|---|
| Group Chat Private Chat | Group Chat Private Chat |
 |
 |

- Group Chat
- Private Chat
- Built-in Commands
- Chat History Query
- AI Mode
- Efficient encoding/decoding with
Google Protocol Buffer - Flexible horizontal scaling based on actual needs
- Server-side automatic removal of offline clients
- Client automatic reconnection
- Delayed Messages
- SDK development package
- Group categorization
- Offline messages
- Message encryption

- Each component in
CIMis built usingSpringBoot- Client build with cim-client-sdk
- Use
Nettyto build the underlying communication. MetaStoreis used for registration and discovery ofIM-serverservices.
IM server is used to receive client connections, message forwarding, message push, etc. Support cluster deployment.
Route server; used to process message routing, message forwarding, user login, user offline, and some operation tools (get the number of online users, etc.).
IM client terminal, a command can be started and initiated to communicate with others (group chat, private chat).
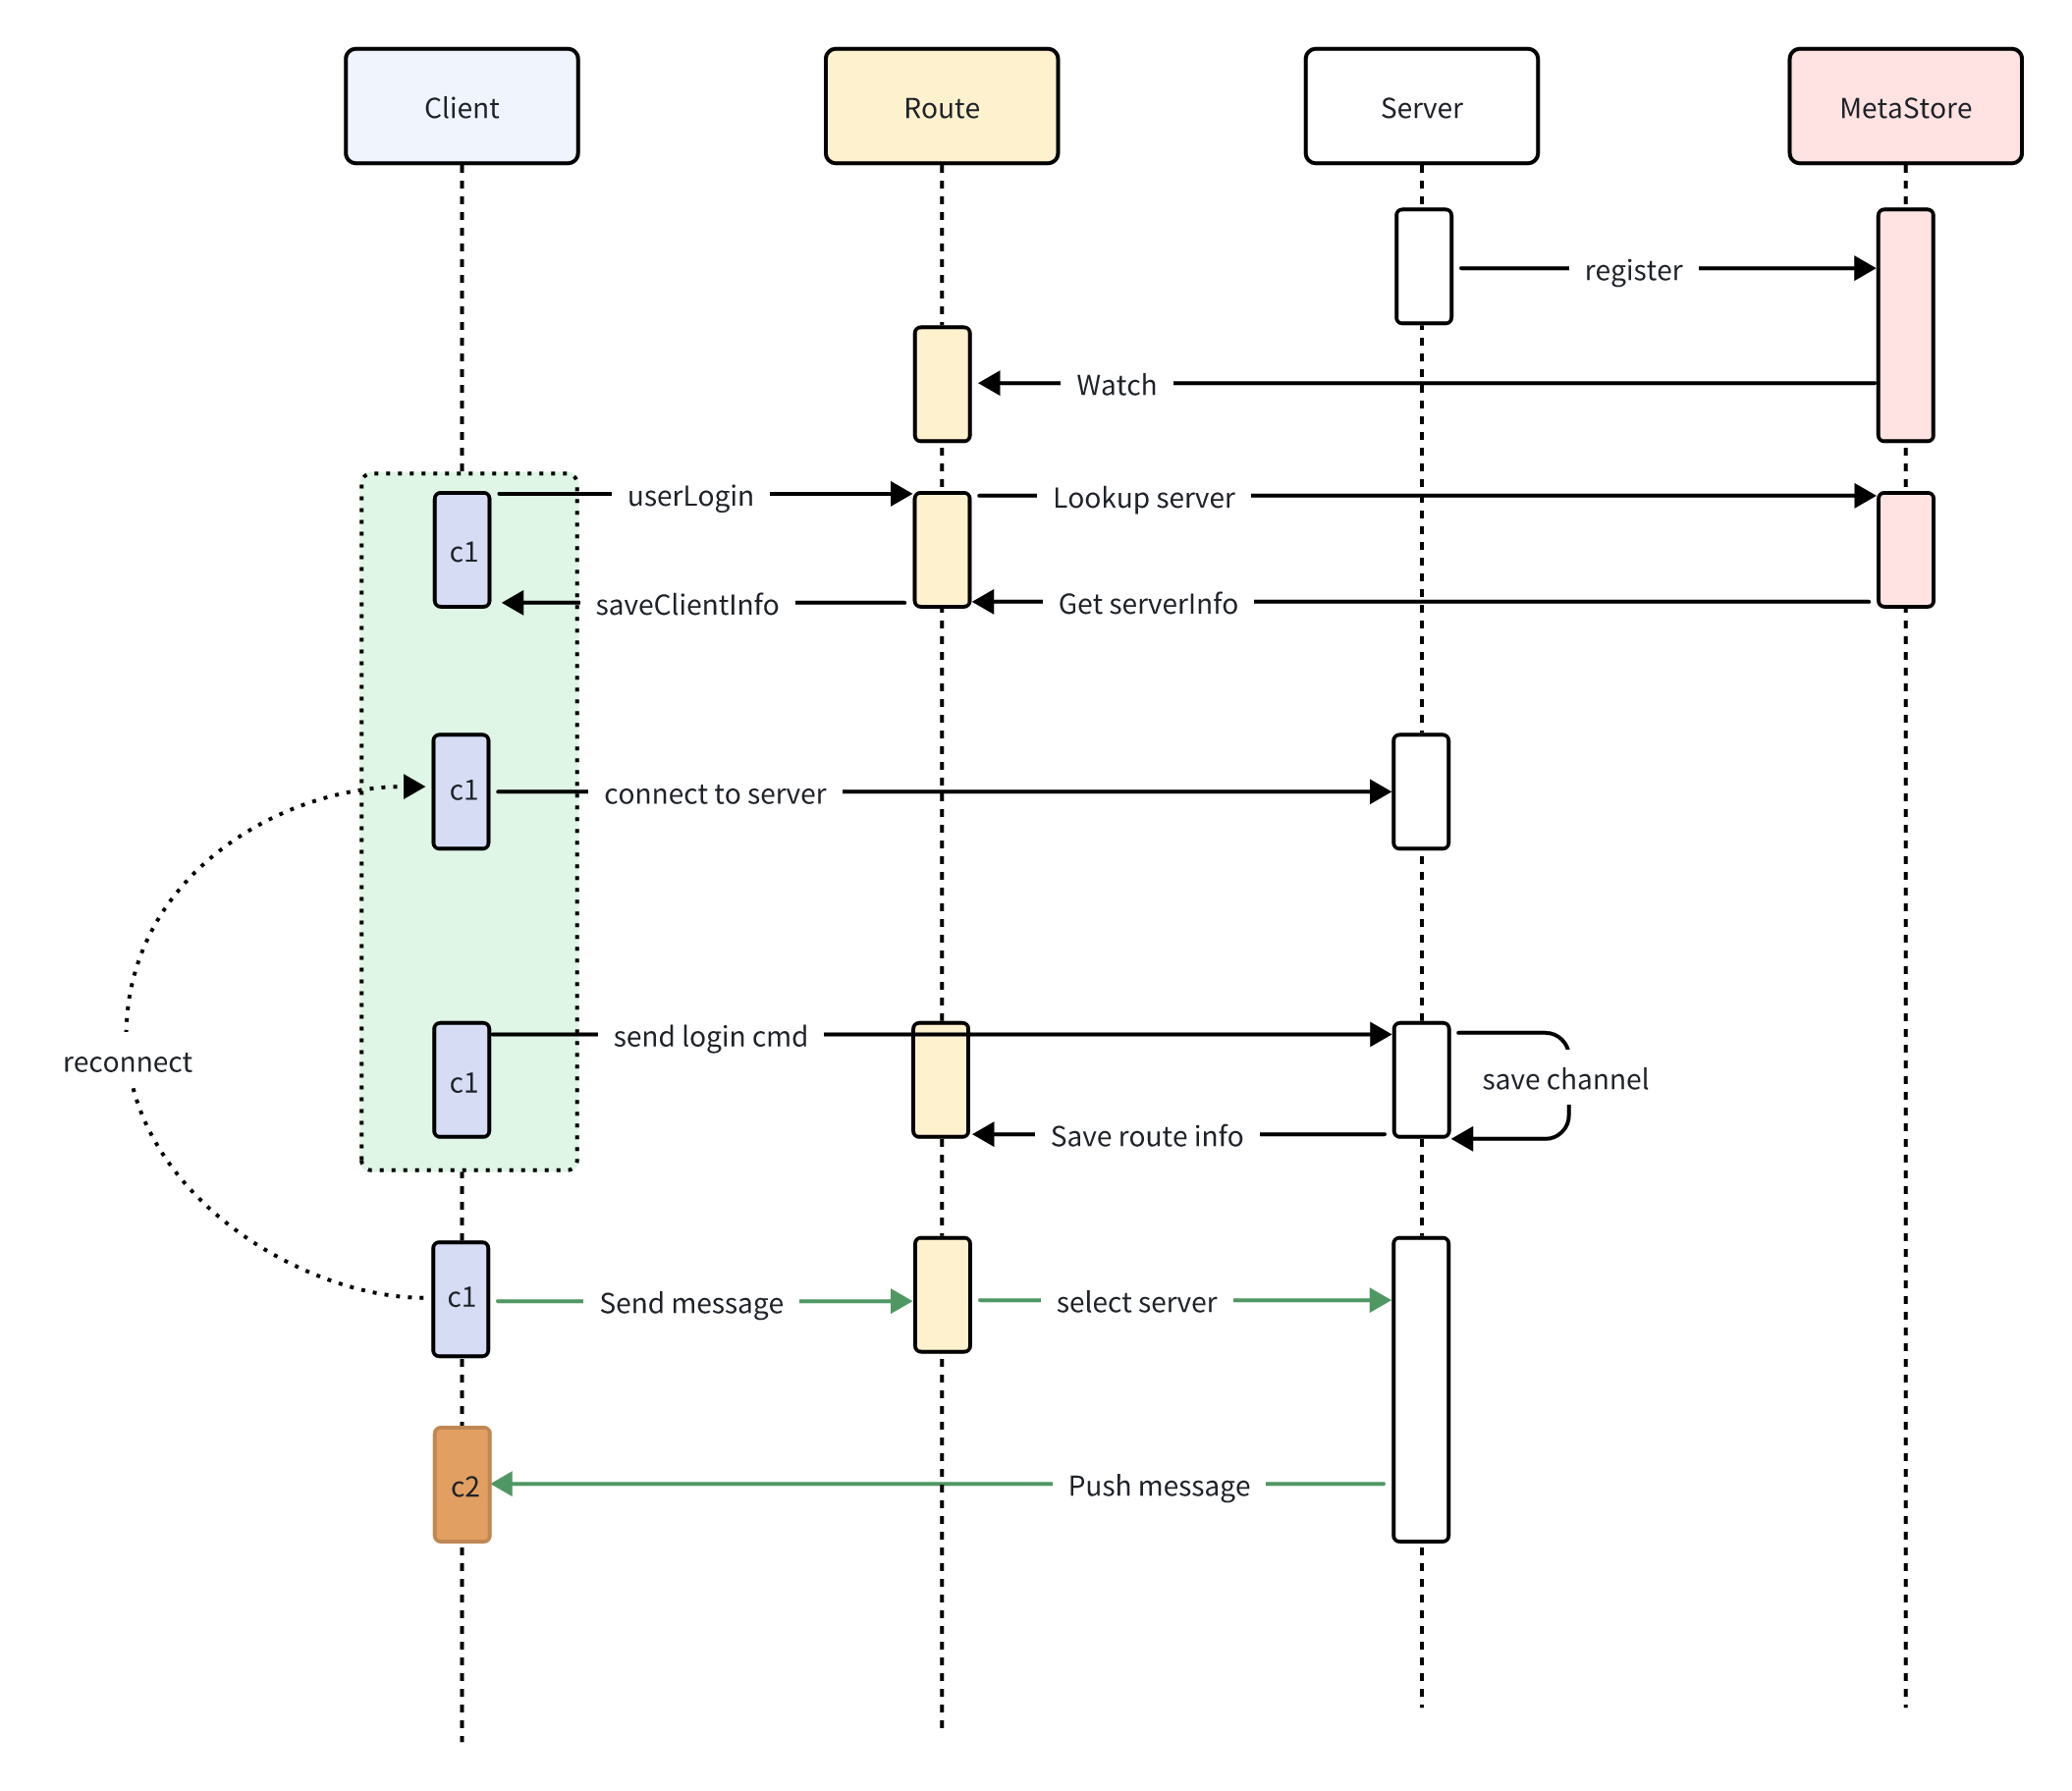
- Server register to
MetaStore - Route subscribe
MetaStore - Client login to Route
- Route get Server info from
MetaStore
- Route get Server info from
- Client open connection to Server
- Client1 send message to Route
- Route select Server and forward message to Server
- Server push message to Client2
The allin1 image comes with Zookeeper, Redis, cim-server, and cim-forward-route pre-installed, all managed by Supervisor for an out-of-the-box experience.
Supported platforms: linux/amd64, linux/arm64, linux/arm/v7
Port mapping:
| Port | Service | Description |
|---|---|---|
| 2181 | Zookeeper | Service registration & discovery |
| 6379 | Redis | Data caching |
| 8083 | Route Server | HTTP API routing service |
Pull the image and start the container:
docker pull ghcr.io/crossoverjie/allin1-ubuntu:latest
docker run -p 2181:2181 -p 6379:6379 -p 8083:8083 --rm --name cim-allin1 ghcr.io/crossoverjie/allin1-ubuntu:latest
After the container starts, refer to the Register Account and Start Client sections below to experience the full IM workflow.
To build the Docker image from source:
# Run from the project root directory
docker build -t cim-allin1:latest -f docker/allin1-ubuntu.Dockerfile .
docker run -p 2181:2181 -p 6379:6379 -p 8083:8083 --rm --name cim-allin1 cim-allin1:latestFirst, install Zookeeper and Redis and ensure the network is accessible.
docker run --rm --name zookeeper -d -p 2181:2181 zookeeper:3.9.2
docker run --rm --name redis -d -p 6379:6379 redis:7.4.0
git clone https://github.com/crossoverJie/cim.git
cd cim
mvn clean install -DskipTests=true
cd cim-server && cim-client && cim-forward-route
mvn clean package spring-boot:repackage -DskipTests=truecp /cim/cim-server/target/cim-server-1.0.0-SNAPSHOT.jar /xx/work/server0/
cd /xx/work/server0/
nohup java -jar /root/work/server0/cim-server-1.0.0-SNAPSHOT.jar --cim.server.port=9000 --app.zk.addr=<zk-address> > /root/work/server0/log.file 2>&1 &For cim-server cluster deployment, just ensure all instances point to the same Zookeeper address.
cp /cim/cim-server/cim-forward-route/target/cim-forward-route-1.0.0-SNAPSHOT.jar /xx/work/route0/
cd /xx/work/route0/
nohup java -jar  /root/work/route0/cim-forward-route-1.0.0-SNAPSHOT.jar --app.zk.addr=<zk-address> --spring.redis.host=<redis-address> --spring.redis.port=6379  > /root/work/route/log.file 2>&1 &
cim-forward-route is stateless and can be deployed on multiple nodes; use Nginx as a reverse proxy.
cp /cim/cim-client/target/cim-client-1.0.0-SNAPSHOT.jar /xx/work/route0/
cd /xx/work/route0/
java -jar cim-client-1.0.0-SNAPSHOT.jar --server.port=8084 --cim.user.id=<unique-client-id> --cim.user.userName=<username> --cim.route.url=http://<route-server>:8083/

As shown above, two clients can communicate with each other.
curl -X POST --header 'Content-Type: application/json' --header 'Accept: application/json' -d '{
  "reqNo": "1234567890",
  "timeStamp": 0,
  "userName": "zhangsan"
}' 'http://<route-server>:8083/registerAccount'
Get the userId from the response:
{
    "code":"9000",
    "message":"success",
    "reqNo":null,
    "dataBody":{
        "userId":1547028929407,
        "userName":"test"
    }
}# Start local client
cp /cim/cim-client/target/cim-client-1.0.0-SNAPSHOT.jar /xx/work/route0/
cd /xx/work/route0/
java -jar cim-client-1.0.0-SNAPSHOT.jar --server.port=8084 --cim.user.id=<userId-from-above> --cim.user.userName=<username> --cim.route.url=http://<route-server>:8083/| Command | Description |
|---|---|
:q! |
Quit the client |
:olu |
List all online users |
:all |
Show all available commands |
:q [keyword] |
Search chat history by keyword |
:ai |
Enable AI mode |
:qai |
Disable AI mode |
:pu |
Fuzzy search users |
:info |
Show client information |
:emoji [option] |
Browse emoji list [option: page number] |
:delay [msg] [delayTime] |
Send a delayed message |
: |
More commands are under development... |


Use the command :q keyword to search chat history related to you.
Client chat history is stored in
/opt/logs/cim/by default, so write permission is required for this directory. You can also customize the directory by adding--cim.msg.logger.path=/custom/pathto the startup command.

Use the command :ai to enable AI mode. After that, all messages will be responded to by AI.
Use :qai to exit AI mode.

Use the command :qu prefix to search user information by prefix.
This feature is primarily designed for searching users in input fields on mobile clients.


For group chat, simply type a message in the console and press Enter to send. All online clients will receive the message.
To send a private message, you need to know the recipient's userID.
Use the command :olu to list all online users.

Then use the format userId;;message content to send a private message.


Meanwhile, the other account will not receive the message.

Use the command :emoji 1 to list all available emojis. Use the emoji alias to send an emoji.


Send a message with a 10-second delay:
:delay delayMsg 10
We welcome contributions! Before submitting a PR, please ensure your code passes the Checkstyle check.
This project uses Checkstyle to enforce code style. The rules are defined in checkstyle/checkstyle.xml.
Run Checkstyle locally before committing:
mvn checkstyle:checkKey rules:
- Use spaces around
{,}, and operators - No trailing whitespace
- Files must end with a newline
- Remove unused imports
- Constants (
static final) must beUPPER_SNAKE_CASE - Use Java-style array declarations:
String[] args(notString args[])
Skip Checkstyle for quick builds:
mvn package -Dcheckstyle.skip=true