Quickstart
Using Firebase with Fuse can be a little daunting to set up at first as there appears to be a lot of moving parts. However it's not to bad once you have run through the process once so what we will do is take the included example and go through setting it up with your own firebase account.
We are going to set up the example app which will Authenticate on both iOS and Android using Google, Facebook and Email login providers
You can find the example in the AuthExample folder. It contains:
- AuthExample.unoproj - Our project file
- MainView.js - The JS for the app
- MainView.ux - The Super basic UI for our app
- AndroidImpl.uxl - A little bootstrapping to get some files into the correct place in the build
At this point it will not build, as we are missing a bunch of config files from firebase. We will have those soon :)
Firebase's client API allows only one user to be logged in at a time, so rather than have some kind of handle to the user that could expire we have a single static user that may or may not be authenticated.
Firebase's authentication api has a number of 'providers', we current support 3 of them: Google, Facebook & Email
Google and Facebook authentication involves using the facebook/google apis to authenticate the user, this then returns a token that is then used to authenticate against firebase. If you quit your app the token is maintain so that you will be automatically logged in when you next load the app.
Email authentication is provided by Firebase themselves and as such there is no 2 stage login or token. There is also no automatic reauthentication when returning to the app.
If you want an overview of the JS API see this wiki page
-
Make yourself a Firebase account
-
Go to the Firebase console
-
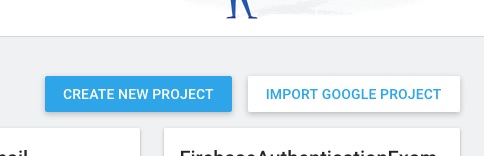
Create yourself a new project, name it
AuthExample
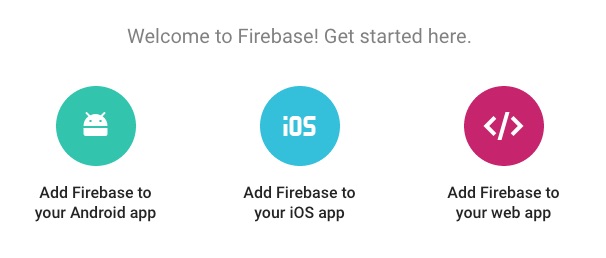
- Click 'Add Firebase to your Android app' button
-
Set the package name to
com.apps.authexample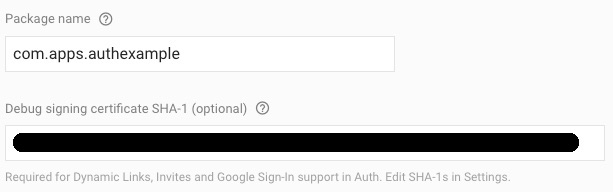
-
Set the 'Debug signing certificate SHA-1' to the debug sha1 you get from running:
- in osx:
keytool -exportcert -list -v -alias androiddebugkey -keystore ~/.android/debug.keystore - in windows:
keytool -exportcert -list -v -alias androiddebugkey -keystore %USERPROFILE%\.android\debug.keystore
- in osx:
-
Save the config file & copy to your project directory next to the
unoproj
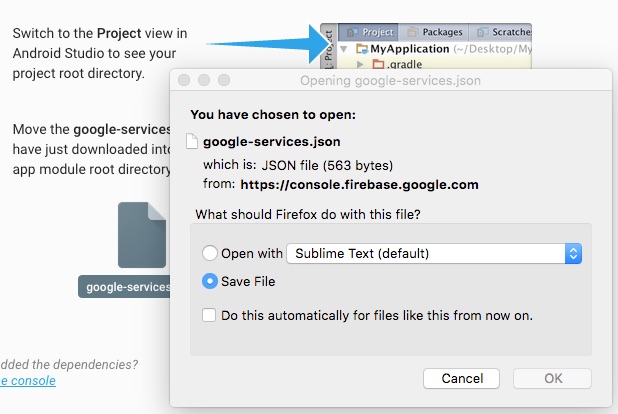
- don't worry about the 'Add to build.gradle' step, we do that for you
- Click the
Add Appbutton and then theAdd Firebase to your iOS appbutton - Set the 'iOS bundle ID' to
com.apps.authexample
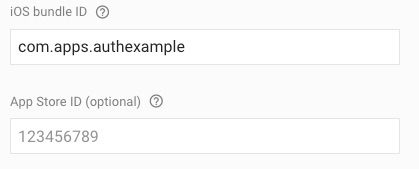
- unless you already have one then ignore the
App Store IDsection - save the config file & copy to your project directory next to the
unoproj
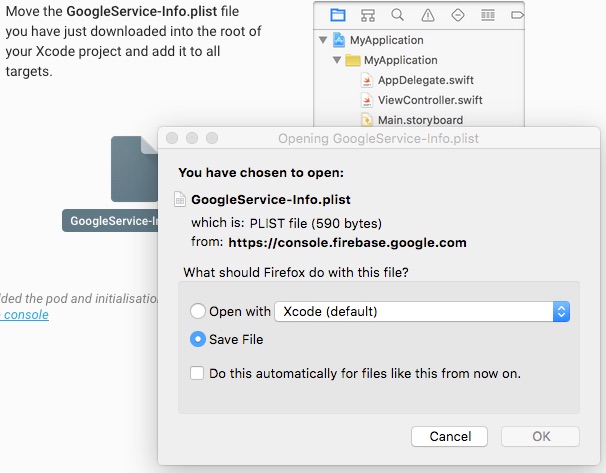
- add
"GoogleService-Info.plist:ObjCSource:iOS"to the"Includes"of yourunoprojfile - Dont worry about the
Install podandAdd initialization codesections, we handle this for you
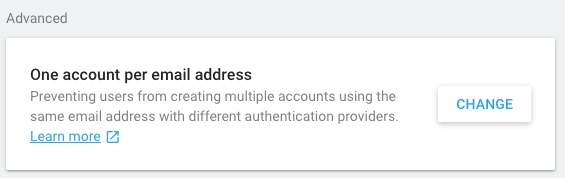
We are going to allow multiple accounts with the same email address for now. We do this to make testing easy for ourselves as we probably dont have 100 different emails hanging around for this kind of testing.
- Go to the
Authsection of the Firebase Console - Go to the
Sign-in methodtab - Click the
CHANGEbutton in theOne account per email addresssection - In the window that opened, click the radio button to
Allow creation of multiple accounts with the same email address
- Go to the
Authsection of the Firebase Console - Go to the
Sign-in methodtab - Click on the
Email/Passwordrow in theSign-in providerstable - In the window that opened move the
Enableswitch to the on position - Save
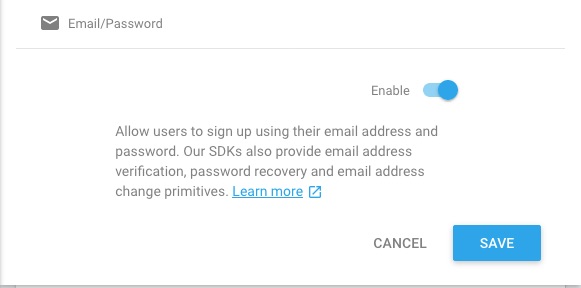
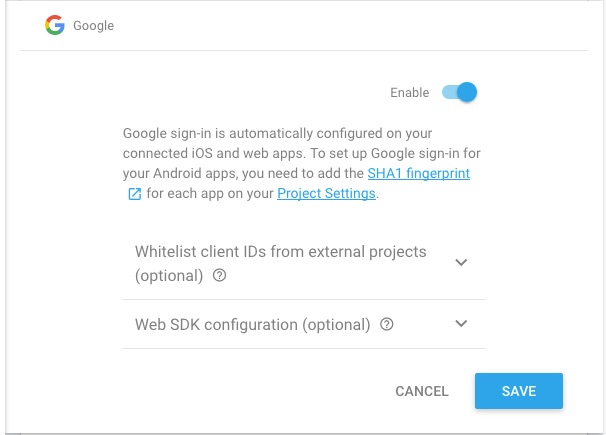
- Go to the
Authsection of the Firebase Console - Go to the
Sign-in methodtab - Click on the
Googlerow in theSign-in providerstable - In the window that opened move the
Enableswitch to the on position - Save
- Open your GoogleService-Info.plist file and copy the string paired to
REVERSED_CLIENT_ID - Paste this as your
iOS->PList->UriSchemesvalue in yourunoprojfile - Open your
google-services.jsonfile - Copy your
client->client_idvalue (the one withclient_type: 3 - Paste this as your
Google->RequestIDvalue in yourunoprojfile
- Go to https://developers.facebook.com/ and create a new app (you will of course need an account)
- Click iOS
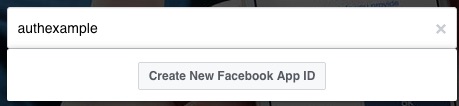
- Give your app a name (for sanity reasons we will use the lowercase version of your app name)
authexample - On the next page ignore
is this a test version of another appand fill in your contact email and category - Click
Create App ID
- You will now be taken to the quick start documentation, click the
Skip Quickstartbutton
- You should now be in the dashboard
- Copy the
App IDandApp Secretas we will need those soon
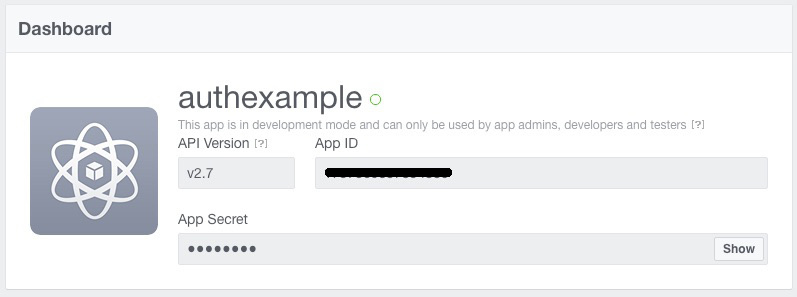
- Add the
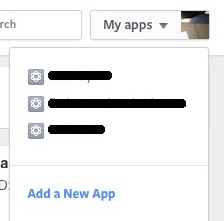
App IDto yourunoprojunder theFacebook->AppIDkey - Back in the facebook dashboard navigate to Settings->Basic and click on the
Add Platformbutton.
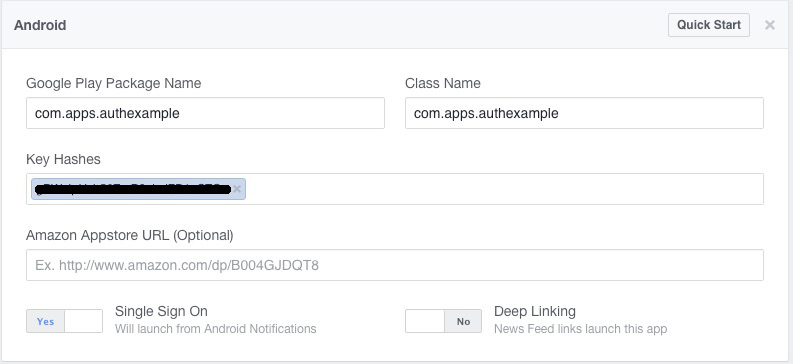
- Choose
Android - Enter
com.apps.authexamplename as both theClass Nameand theGoogle Play Package Name. It is not a validGoogle Play Package Namebut it serves well as a placeholder during development - Enter your
Key Hashes. If you dont have release hashes yet usekeytool -exportcert -alias androiddebugkey -keystore ~/.android/debug.keystore | openssl sha1 -binary | openssl base64to get your debug key hash. WARNING test your password on thekeytool -exportcert -alias androiddebugkey -keystore ~/.android/debug.keystoreportion first as if you enter the wrong password you will get the hash of the 'you entered and incorrect password' message :) - You can also turn on
Single Sign Onif you like (We do in the example).
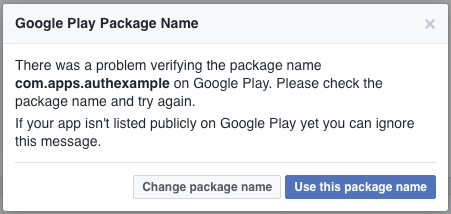
- When you save your will be warned that
There was a problem verifying the package name com.apps.authexample on Google Playyou can safely ignore this error and click theuse this namebutton if you are currently in the developement stage.
- Back in the Firebase Console return to the
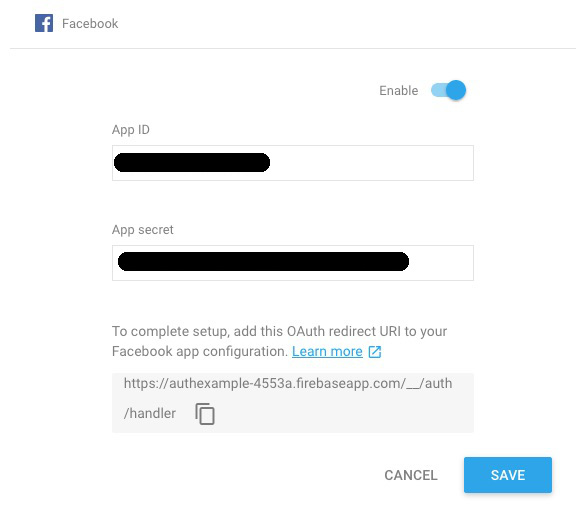
Sign-in Methodtab in theAuthsection - Click on the
Facebookrow in theSign-in providerstable - In the window that opened move the
Enableswitch to the on position - Paste your facebook
App IDandApp Secretinto the boxes. - Copy the
OAuth redirect URI - Click the
Savebutton
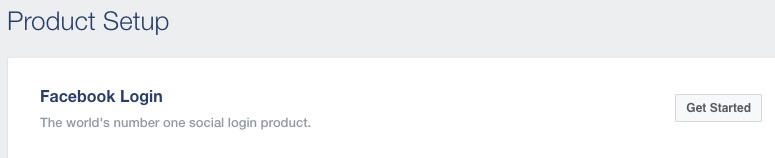
- Back in your Facebook Console click the
Add Productbutton in the sidebar - Click
Get Startedon theFacebook Loginrow
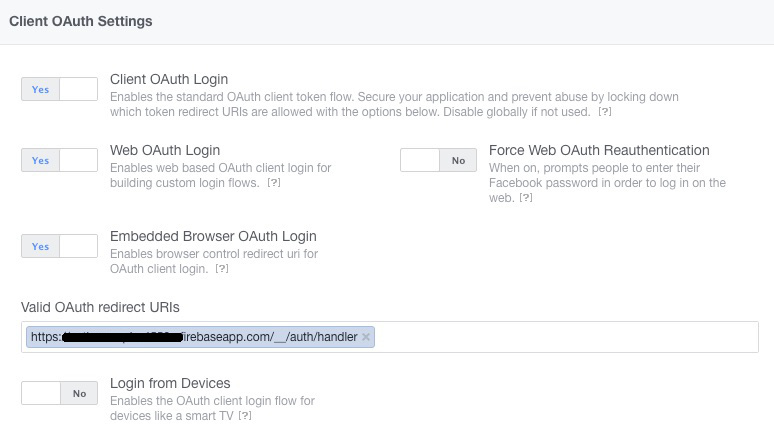
- Paste your Firebase
OAuth redirect URIin theValid OAuth redirect URIsbox - Click the
Embedded Browser OAuth Loginswitch so it saysYes - Click the
Save Changesbutton
Use: fuse build -t=android -r
Use: fuse build -t=iOS -DCOCOAPODS -d
Warning!: The first build may take a crazy long time because of cocoapods.
Trying building with fuse build -t=iOS -DCOCOAPODS -vv and you will probably see it is sitting at Setting up CocoaPods master rep. If so see this link for details http://stackoverflow.com/questions/21022638/pod-install-is-staying-on-setting-up-cocoapods-master-repo