This software project accompanies the research paper: Sharp Monocular View Synthesis in Less Than a Second by Lars Mescheder, Wei Dong, Shiwei Li, Xuyang Bai, Marcel Santos, Peiyun Hu, Bruno Lecouat, Mingmin Zhen, Amaël Delaunoy, Tian Fang, Yanghai Tsin, Stephan Richter and Vladlen Koltun.
This fork includes a browser-based WebUI for generating and viewing 3D Gaussian Splats without using the command line. (https://github.com/Blizaine/ml-sharp)

You can create 3D clips of movies and fly inside! You are only limited by your computer memory.

Amazing tech from Apple works with any image. You can even use OBS as a virtual camera and capture a live image and turn it into a 3D splat. Visit the places you always wanted to see in 3D, from movies to historical events.


click image to watch video ml-sharp
(PC ONLY) Full Support for XREAL Air, XREAL Air 2, XREAL Air 2 Pro, XREAL Air 2 Ultra , XREAL One, XREAL One Pro, VITURE Pro XR, VITURE One , VITURE One Lite, VITURE Luma, VITURE Luma Pro, Rokid Max, Rokid Max Pro, RayNeo Air 3S, RayNeo Air 3S Pro, RayNeo Air 2, RayNeo Air 2S, Apple Vision Pro, Occulus
(PC ONLY) Experience 3D like never before with your new AR glasses that support SBS

Unlock the full potential of your AR/VR hardware.
Don't just watch your movies—step inside them. With the new SBS Movie Maker, ml-sharp can ingest any standard 2D video file and reconstruct it into a stunning, depth-accurate Side-by-Side (SBS) 3D experience.
Watch This Uganda Walking 3D SBS Video Made with ML-Sharp. Use Your XREAL, VITURE , Rokid, RayNeo, Oculus, Meta Quest Glasses
click image to watch video ml-sharp Uganda
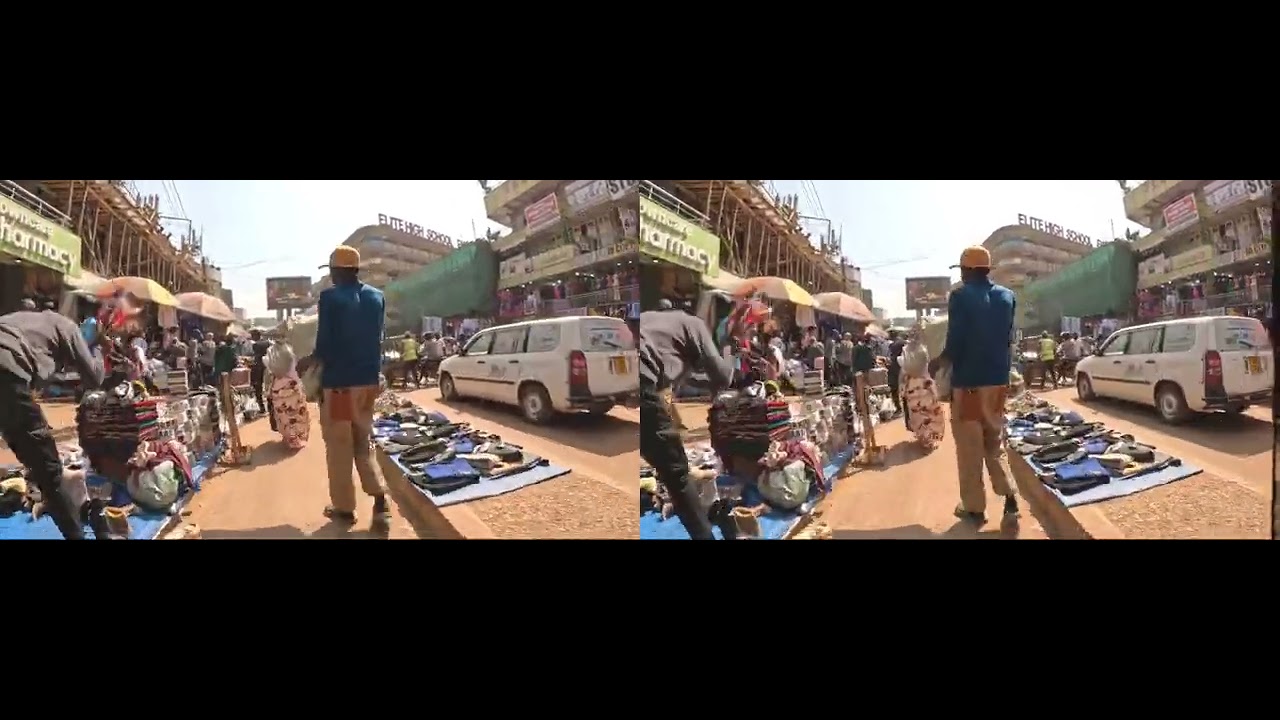
Here is the original Uganda video. You can convert any video to 3D SBS
Opolotivation – KAMPALA CITY - Everyone is Back Already 🌍🇺🇬UGANDA
Supported Hardware: Fully compatible with XREAL (Air/Air 2/Pro/Ultra/One), VITURE (Pro XR/One/Luma), Rokid (Max/Pro), RayNeo (Air 2/3S), Apple Vision Pro, Meta Quest, and any display that supports standard Side-by-Side content.
Unlike basic "2D-to-3D" converters that just shift pixels, ml-sharp uses Apple's cutting-edge SHARP architecture to perform a full 3D reconstruction of every single frame in your video:
- AI Analysis: The engine analyzes the footage frame-by-frame to understand geometry and depth.
- Gaussian Splatting: Each frame is converted into a metric 3D Gaussian Splat scene.
- Stereoscopic Rendering: Using a virtual dual-camera rig, we render two distinct perspectives (Left Eye and Right Eye) with mathematically correct parallax.
- High-Fidelity Mastering: The frames are stitched together and the original audio is remastered into the final container.
Watch This Makkah Walking 3D SBS Video Made with ML-Sharp. Use Your XREAL, VITURE , Rokid, RayNeo, Oculus, Meta Quest Glasses
click image to watch video ml-sharp Makkah

Here is the original Makkah video. You can convert any video to 3D SBS
Immersive Makkah Walking Tour as a Muslim
We refuse to compromise on quality. Your output file is generated at a massive 3840x1080 resolution.
- Left Eye: 1920x1080 (Full HD)
- Right Eye: 1920x1080 (Full HD)
The result is a standard .mp4 file encoded in the industry-standard Side-by-Side (SBS) format. Because we bake the 3D effect directly into the video file, it just works.
- No special players required: Play it in VLC, Windows Media Player, or directly inside your AR Glasses' native media player.
- Universal Compatibility: If your device supports 3D SBS mode, this movie will play perfectly with full depth and immersion.
Watch This Navotas Walking 3D SBS Video Made with ML-Sharp. Use Your XREAL, VITURE , Rokid, RayNeo, Oculus, Meta Quest Glasses
click image to watch video ml-sharp Navotas

Here is the original WALKING NAVOTAS video. You can convert any video to 3D SBS
WALKING NAVOTAS CITY'S EXTREME SLUMS
If you find this app useful, consider buying me a coffee!

- Upload images directly in your browser
- Generate 3D Gaussian Splats with one click
- Interactive 3D viewer powered by Spark.js (THREE.js-based renderer)
- First-person controls for exploring your splats:
- W/S - Move forward/backward
- A/D - Strafe left/right
- Q/E - Move up/down
- Mouse drag - Look around
- Scroll wheel - Adjust movement speed
- Download PLY files for use in other applications
- Network accessible - Use from any device on your local network

We present SHARP, an approach to photorealistic view synthesis from a single image. Given a single photograph, SHARP regresses the parameters of a 3D Gaussian representation of the depicted scene. This is done in less than a second on a standard GPU via a single feedforward pass through a neural network. The 3D Gaussian representation produced by SHARP can then be rendered in real time, yielding high-resolution photorealistic images for nearby views. The representation is metric, with absolute scale, supporting metric camera movements. Experimental results demonstrate that SHARP delivers robust zero-shot generalization across datasets. It sets a new state of the art on multiple datasets, reducing LPIPS by 25–34% and DISTS by 21–43% versus the best prior model, while lowering the synthesis time by three orders of magnitude.

Opolotivation – Uganda Walking Tour YouTube Channel
Watch This KARABA 3D SBS Video Made with ML-Sharp. Use Your XREAL, VITURE , Rokid, RayNeo, Oculus, Meta Quest Glasses
click image to watch video ml-sharp KARABA

Here is the original KARABA video. You can convert any video to 3D SBS
Installing ml-sharp is very easy and runs on any pc or mac. It can also run without GPU but works faster if you have it. We recommend to first create a python environment. For PC you must use python 3.10 on Mac it works fine with python 3.13
Before starting, ensure you have the following installed:
- Python 3.10 (Make sure to check "Add Python to PATH" during installation)
- Git Open up the CMD terminal and go to your root drive. in my example I just went to my d: drive
First clone the repo
git clone https://github.com/iVideoGameBoss/ml-sharp.git
Then go to ml-sharp folder
cd ml-sharp
Now create the venv environment. You must have python 3.10 installed on your PC
python.exe -m venv venv
Now activate the venv
cd venv
cd Scripts
activate
cd..
cd..
Now install the requirements.txt
pip install -r requirements.txt
Now install the requirements-webui.txt
pip install -r requirements-webui.txt
Now install flask which is a lightweight websever
pip install flask
Now run this commend, Apple’s ml-sharp needs pip install -e . because it’s designed to be run directly from source while you’re actively developing and experimenting with it—not as a prebuilt, frozen library.
pip install -e .
Now Install CUDA-Enabled PyTorch & GSplat (CRITICAL STEP) We must install specific versions (PyTorch 2.4.0 + CUDA 12.1) to support the 3D renderer on Windows without Visual Studio.
pip uninstall -y torch torchvision torchaudio gsplat

pip install torch==2.4.0+cu121 torchvision==0.19.0+cu121 torchaudio==2.4.0+cu121 --index-url https://download.pytorch.org/whl/cu121

pip install gsplat --index-url https://docs.gsplat.studio/whl/pt24cu121
Now Fix NumPy Version. Prevent crashes with newer NumPy versions.
pip install "numpy<2"
Now double click the bat file. For me it is in D:\ml-sharp\ cause thats where I cloned it.
This script is now configured to run in Isolated Mode, ensuring it uses the correct libraries we just installed and ignores any conflicting packages elsewhere on your system.
"D:\ml-sharp\run_webui.bat"
This batch file automatically prepares and starts the ml-sharp WebUI by first ensuring required dependencies like Flask are installed, then installing ml-sharp in editable (development) mode so Python always uses the live source code, and finally launching the web server with models preloaded and network access enabled; when you run it, the ML models load first, memory is allocated safely, and the web interface becomes available on port 7860 for your browser or other devices on the same network.
Thats it! Wait until server starts and is ready.
Starting ml-sharp WebUI...

Checking dependencies...

[notice] A new release of pip is available: 23.0.1 -> 25.3
[notice] To update, run: python.exe -m pip install --upgrade pip

[notice] A new release of pip is available: 23.0.1 -> 25.3
[notice] To update, run: python.exe -m pip install --upgrade pip

Starting server on port 7860 (accessible on local network)
Press Ctrl+C to stop the server

2025-12-30 18:40:27,013 | INFO | Preloading model...
2025-12-30 18:40:27,016 | INFO | CUDA GPU detected: NVIDIA GeForce RTX 2060 SUPER
2025-12-30 18:40:27,016 | INFO | Targeting device for inference: cuda
2025-12-30 18:40:27,016 | INFO | Downloading model from https://ml-site.cdn-apple.com/models/sharp/sharp_2572gikvuh.pt
2025-12-30 18:40:29,743 | INFO | Initializing predictor...
2025-12-30 18:40:29,743 | INFO | Using preset ViT dinov2l16_384.
2025-12-30 18:40:33,203 | INFO | Using preset ViT dinov2l16_384.
2025-12-30 18:40:37,180 | INFO | Moving model to cuda...
2025-12-30 18:40:37,787 | INFO | Model successfully loaded and running on: cuda
2025-12-30 18:40:37,788 | INFO | Starting WebUI at http://0.0.0.0:7860
 * Serving Flask app 'webui'
 * Debug mode: off
Open your browser and paste http://0.0.0.0:7860 or http://127.0.0.1:7860
Install Homebrew
/bin/bash -c "$(curl -fsSL https://raw.githubusercontent.com/Homebrew/install/HEAD/install.sh)"
After install, follow the printed instructions to add Homebrew to your shell PATH (for zsh on macOS):
echo 'eval "$(/opt/homebrew/bin/brew shellenv)"' >> ~/.zshrc

eval "$(/opt/homebrew/bin/brew shellenv)"
To confirm:
brew --version
We’ll use Miniconda for environment isolation:
brew install --cask miniconda
Initialize Conda for your shell (zsh):
conda init zsh
exec $SHELL
Check Conda works:
conda --version
ml-sharp expects Python 3.10–3.13 (the repo uses ~3.10–3.13). Use a clean environment:
conda create -n mlsharp python=3.13 -y
conda activate mlsharp
You should now see (mlsharp) in your prompt.
Clone the ml-sharp source:
git clone https://github.com/iVideoGameBoss/ml-sharp.git
cd ml-sharp
Install Python dependencies using the requirements.txt file:
pip install --upgrade pip
pip install -r requirements.txt
pip install -r requirements-webui.txt
Verify installation:
sharp --help
Make the script executable
chmod +x run_webui.sh
Start the WebUI
./run_webui.sh
Wait until you see to open your browser to:
Http://localhost:7860
To run prediction:
sharp predict -i /path/to/input/images -o /path/to/output/gaussians
The model checkpoint will be downloaded automatically on first run and cached locally at ~/.cache/torch/hub/checkpoints/.
Alternatively, you can download the model directly:
wget https://ml-site.cdn-apple.com/models/sharp/sharp_2572gikvuh.pt
To use a manually downloaded checkpoint, specify it with the -c flag:
sharp predict -i /path/to/input/images -o /path/to/output/gaussians -c sharp_2572gikvuh.pt
The results will be 3D gaussian splats (3DGS) in the output folder. The 3DGS .ply files are compatible to various public 3DGS renderers. We follow the OpenCV coordinate convention (x right, y down, z forward). The 3DGS scene center is roughly at (0, 0, +z). When dealing with 3rdparty renderers, please scale and rotate to re-center the scene accordingly.
-
Install the additional WebUI dependency on PC:
pip install -r requirements-webui.txt -
Start the WebUI server:
Windows:
run_webui.batLinux/Mac:
./run_webui.sh -
Open your browser to
http://localhost:7860
The WebUI will be accessible from other devices on your network at http://<your-ip>:7860.
Additionally you can render videos with a camera trajectory. While the gaussians prediction works for all CPU, CUDA, and MPS, rendering videos via the --render option currently requires a CUDA GPU. The gsplat renderer takes a while to initialize at the first launch.
sharp predict -i /path/to/input/images -o /path/to/output/gaussians --render

# Or from the intermediate gaussians:
sharp render -i /path/to/output/gaussians -o /path/to/output/renderings
Please refer to the paper for both quantitative and qualitative evaluations. Additionally, please check out this qualitative examples page containing several video comparisons against related work.
If you find our work useful, please cite the following paper:
@inproceedings{Sharp2025:arxiv,
  title      = {Sharp Monocular View Synthesis in Less Than a Second},
  author     = {Lars Mescheder and Wei Dong and Shiwei Li and Xuyang Bai and Marcel Santos and Peiyun Hu and Bruno Lecouat and Mingmin Zhen and Ama\"{e}l Delaunoy and Tian Fang and Yanghai Tsin and Stephan R. Richter and Vladlen Koltun},
  journal    = {arXiv preprint arXiv:2512.10685},
  year       = {2025},
  url        = {https://arxiv.org/abs/2512.10685},
}Our codebase is built using multiple opensource contributions, please see ACKNOWLEDGEMENTS for more details.
Please check out the repository LICENSE before using the provided code and LICENSE_MODEL for the released models.