My guide on maximizing efficiency with my favorite code editor – VSCode
I personally use the Palenight Theme
- Change the theme and browse themes by opening the command pallette (Command + Shift + P) and typing
Preferences: Color Theme

I use a lot of extensions. I currently have 91 installed, but I will go over some of my favorites and rank them in this guide.
- Auto Rename Tag Automatically rename paired HTML/XML tag. This is particularlly useful for my React projects.
- Camel Case Will Transform selected text in camel case notation. Very useful when having a lot of cursors at the same time
- Code Spell Checker This is great for spell checking variable names and comments. It will even be able to spellcheck camelCase.
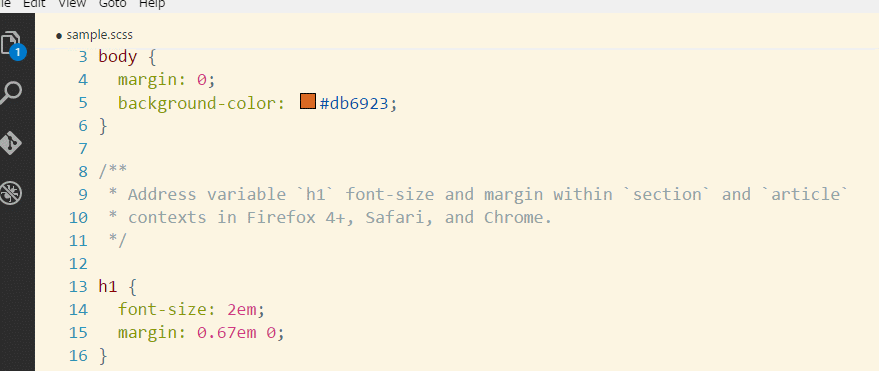
- Color Picker This is great to see the color of a hex value and change it easily.
- DotEnv This is great for handling .env files and coloring them correctly
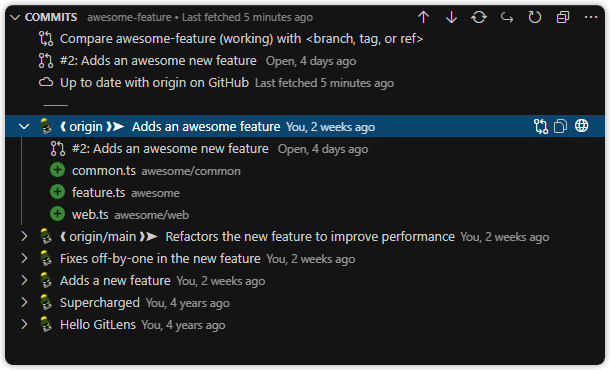
- GitLens A great Extension to view Git commits, branches, stashes, and to be able to see who wrote each line of code, and when they wrote it
- Increment Selection This will allow incrementing or decrementing numbers using multiple cursors (very useful)

- Multi Cursor Case Preserve This will preserve case when using multiple cursors. One of my most useful extensions

- Node Readme This will allow you to view the npm documentation on a package in the editor

- Prettier Code Formatter This is my code formatter of choice. I have VSCode format on save so I use this a lot
- Project Manager This is very nice when you have a lot of projects. It will show up as a different tab on the left panel and will allow you to easily swap between projects

-
Remote SSH An amazing package that will ssh you into a machine and the entire VSCode editor will be at your disposal. No need for scp or vi. You can code directly in VSCode on the machine
-
Selected Character Count This is very useful. If you want to know how many zeroes there are in a string, how many characters, etc. Just highlight the text and do "Character Count" in the command

- Tabnine AI Autocomplete This is similar to GitHub copilot, and it will give some very helpful autocomplete coding suggestions


- TypeScript Importer Automatically searches for TypeScript definitions in workspace files and provides all known symbols as completion item to allow code completion.
- Enable Bracket pair colorization
Editor › Bracket Pair Colorization: Enabled - Change
Editor: Multi Cursor ModifiertoctrlCmdwhich will allow you to hold command on mac and click to add more cursors
- For previous Atom users: Use the Atom Keymap Extension and the keybindings should be familiar
Command + Shift + Pwill be defaulted to open the command paletteCommand + Shfit + Lshould be set toSearch Editor: Select All Matches- this is very useful. When you search for text, you can do this keybinding and pressescand cursors will be put at each occurrence of the text. This is more powerful than the basicFind and Replace. You can add entire sections of code or edit things other than the common occurrance as well.Command + Jshould be set toView: Toggle Panel Visibility- this will hide and close the terminal easilyCommand + Shift + Dshould be set toCopy Line Down- this is how to duplicate lines or selectionsOption + DownArrowshould be set toMove Line DownandOption + UpArrowshould be set toMove Line UpControl + Kshould be set toDelete All Right- this will delete an entire line of codeControl + Command + DownArrowshould be set toAdd Cursor BelowandControl + Command + UpArrowshould be set toAdd Cursor AboveCommand + \should be set toView: Toggle Primary Side Bar Visibility- this will toggle hiding the left sidebar that contains the explorer. Useful for when in small windows
Being able to change an entire csv file to a json file all at once with multiple cursors is very powerful. I try to use multiple cursors as much as possible, but there is a learning curve to how to do it correctly. Just like Replace all, you must be careful when using a lot of cursors at once.
- There are multiple ways to add cursors
- Holding
Controland clicking the cursor on where you want the cursor (Make sure to set the preference in the VSCode Preferences section) - Using the keybinding you set earlier
Control + Command + DownArroworControl + Command + UpArrow - Using the keybinding you set earlier
Command + Shfit + Lafter searching for occurrances of text to add a cursor at each occurrance - Pro Tip: You can hold
Commandand click on a cursor to remove it
- After adding your cursors, you must make sure to follow the pattern of each line. Look at this example below:
const x = 2000;
...
const exampleVar = 2;
-
To change both value to have a string value of
"samplestring", you would first add a cursor to each line. Use a method above, I would recommend starting with just doingCommandand clicking somewhere on each line. -
I like to put the cursor on a random place on each line and then do
Command + LeftArrowto go to the beginning of the line. This way both cursors are at the same place. -
Then you will notice some differences in each line. If you simply use the arrow keys to navigate, variables
xandexampleVarwill mess up your cursor alignment since they have a different amount of characters. Instead, navigate while holdingOptionand the arrow keys. This will move your cursors by each word instead of each character -
Now move your cursors to the beginning of each value.

-
Now you need to select the full value of each (notice they are again a different amount of characters)
-
You can choose to do
Option + Shiftand move right, and you will will select the full value. But I usually doCommand + Shiftand move right. This will handle any issues where the value might be considered multiple words (e.g. example_value). -
Now you have selected the entire word (and maybe the semicolon too)
-
Type
"samplestring"and you should have successfully finished your mission as shown below. Make sure that you re-add the semicolon if you took it away with the previous command -
You can do this with an infinite amount of lines – as long as they have the same pattern to them
