A Python implementation of neural style transfer using two distinct approaches to compare performance and output quality.
This repository implements neural style transfer algorithms using two different methodologies:
- Custom Implementation: Building the algorithm from scratch using TensorFlow's linear algebra functions, following Gatys et al.'s original approach with VGG-19 convolutional layers
- Pre-trained Model: Using TensorFlow Hub's pre-trained neural artistic stylization network proposed by Ghiasi et al.
The project compares the outputs and performance of both implementations to evaluate their effectiveness.
├── images/
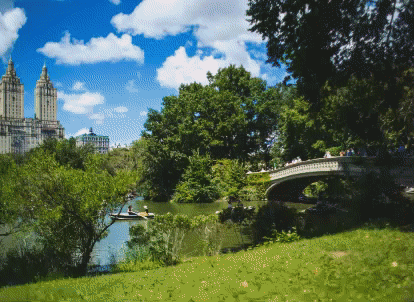
│ ├── content/ # Content images for style transfer
│ ├── style/ # Style reference images
│ └── stylized_output/ # Generated stylized images
├── notebooks/
│ └── Neural_Style_Transfer_Base_Implementation.ipynb
└── README.md
- Python 3.7+
- TensorFlow 2.x
- Jupyter Notebook
- GPU support recommended for faster processing
- Clone the repository:
git clone https://github.com/your-username/Neural_Style_Transfer_VGG19.git
cd Neural_Style_Transfer_VGG19- Install required dependencies:
pip install tensorflow tensorflow-hub jupyter matplotlib numpy pillowNote: Currently, no Dockerfile is present in this repository. To run this project with Docker, you would need to:
- Create a Dockerfile with the appropriate Python environment and dependencies
- Build the Docker image
- Run the container with volume mounts for the images directory
If you have a Dockerfile, you can run:
# Build the image
docker build -t neural-style-transfer .

# Run the container
docker run -it -v $(pwd)/images:/app/images neural-style-transfer- Open the Jupyter notebook:
jupyter notebook notebooks/Neural_Style_Transfer_Base_Implementation.ipynb-
Follow the step-by-step instructions in the notebook
-
Explore the generated stylized images in the
/images/stylized_output/folder
- Blog Post - Detailed implementation walkthrough
- Open in Colab - Run directly in Google Colab