Joomla Configuration

The official installstion guide provides several different way to install Joomla.
If you want to use the conventional method of installation, you need to copy the Joomla! zip file to your hosting account, unzip, create a database, and then run the installation. Complete instructions can be found at Installing Joomla. Further information can be found at Joomla! Installation Resources.
Here is a quick guide:
- Download and unzip the Joomla package from http://www.joomla.org/.
- Create a database for Joomla on your web server, as well as a MySQL user who has all privileges for accessing and modifying it.
- Upload the Joomla files to the desired location on your web server.
- Change permissions (see next section).
- Run the Joomla installation script by accessing the URL in a web browser. This should be the URL where you uploaded the Joomla files. Follow the installation steps to configure your website.
cd to the joomla folder, then run sudo chown -R www-data ./ and sudo chmod -R 755 ./
The www-data should be the user running the website, it could be www or others on your server.
When you generate the app, please provide the URL of your Joomla website. It should be the folder where index.php stays.
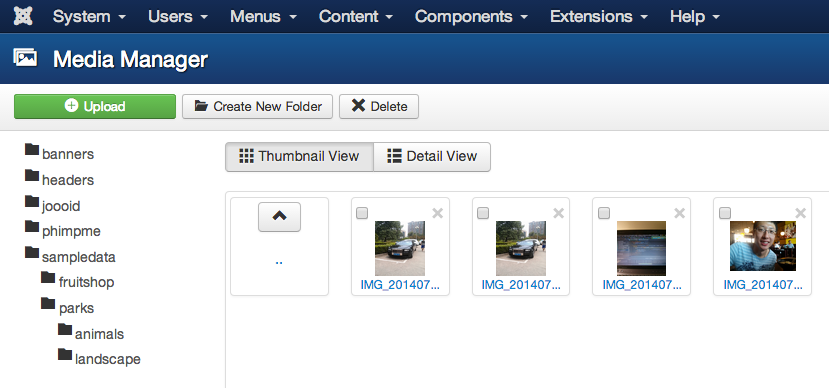
The app will upload all images to the folder specified during generation. You can see those images in the Media Manager of Joomla.
You need to install the "Joooid" plugin into the Joomla website. While using the app to upload images, an account of your Joomla site is required. Make sure those accounts have appropriate permissions.
Timelines are provided by Joomla plugins, you can search for them in the back-stage management of Joomla.
- Log in to the back-stage management (the
administratorfolder) - Enter menu "Extensions" -> "Extension Manager", then you will see the "Install from Web" tab
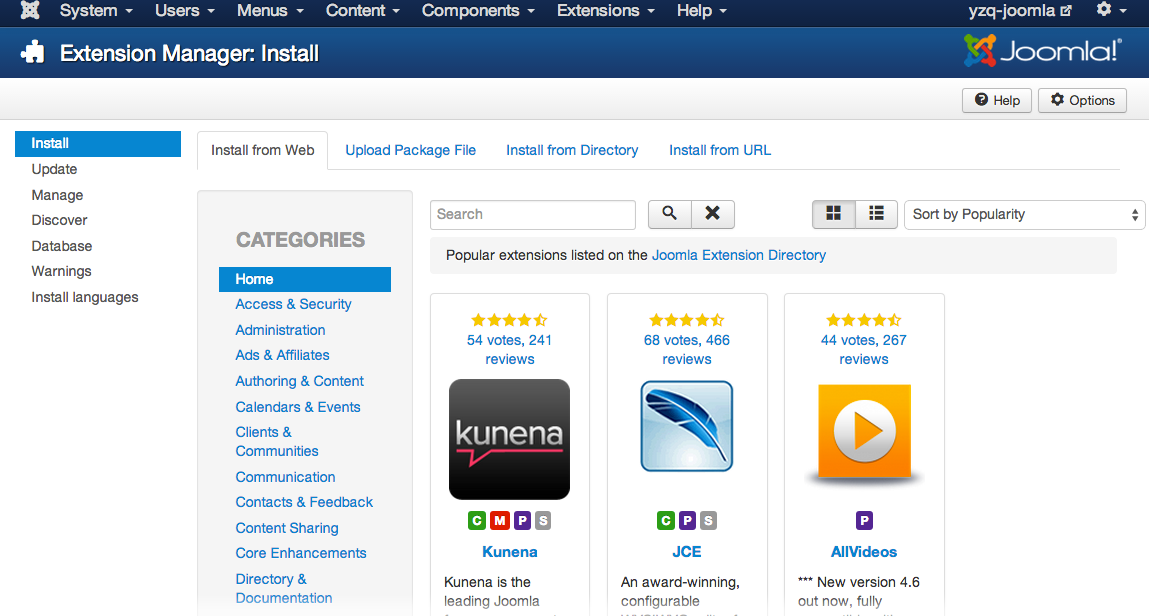
- Use keywords like "timeline" to search for plugins
You can choose a plugin that best meets your requirement.
If users of Phimp.me Android app turn on the geographic location when uploading images, the GPS data (latitude and longitude) will be included in the EXIF data of images.
You can either find a plugin which displays a map with that information automatically. Another way is to install "Google Maps by Reumer" and turn on the function of adding short code for this plugin during generation. If so the app will post an article containing an image and the associated map.