Hello friends in this video I have made a paper cutting machine using arduino and some stepper motors and custom PCB. I have used Two stepper motors one feeds the paper to the cutter and one stepper motor slides the blade to cut the paper. User will enter data like how many strips need to cut and how long each strip would be, from the the 2.8" nextion HMI
Sometimes, art projects can require the creation of many different pieces of material to be used in the construction of an item. Imagine wanting to build a mosaic out of construction paper but then realizing you’ll need hundreds of tiny strips that are each cut to the exact same length.
I come up with a solution in the form of an Arduino-based paper cutter. This project follows from a recent one where he assembled an automatic wire cutting machine that can handle up to four different colors simultaneously.
design consists of a large block of wood for the base with a pair of opposing, parallel rails on either side.
Just beside one of these is a NEMA 17 stepper motor with a gear that meshes with and rotates a set of rubber rollers that span the entire width of the machine to feed paper through. At the end of the base is another rail
that supports the cutting head (a razor blade) which is slid back and forth with another stepper motor.
Both motors are driven by a custom control board that houses a pair of A4988 motor drivers and an Arduino Nano.
An I2C-enabled screen sits at the front, and it displays a simple GUI with which the user can select both the length of each paper strip and how many should be cut.
Some 3D printed parts
Aluminium Rails T shape
12mm Wooden sheet
2 NEMA 17 Stepper motor
6MM SS smooth rod
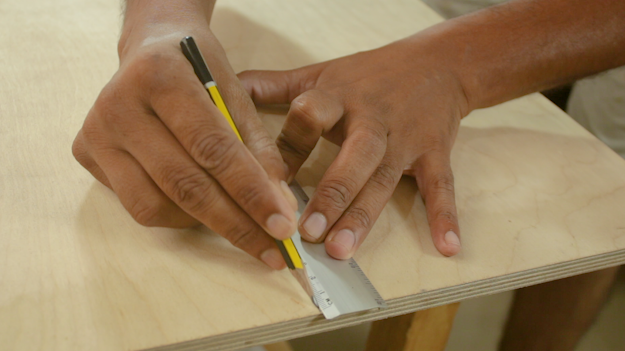
9mm Raor blade
Rubber roller from old printer
Timming belt
Idler pulley
2.8" Nextion HMI
First I prepare based for this machine from 12mm wooden sheet
I cut it in 200 x 350 size.
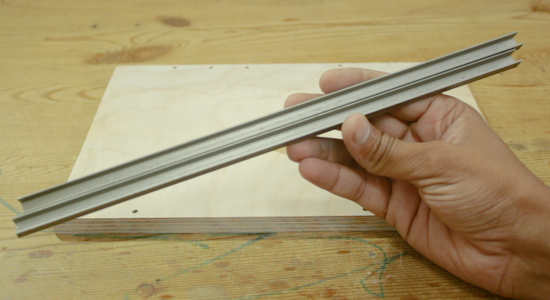
I ued this type of 10mm U shape aluminium this is used as guuid for paper
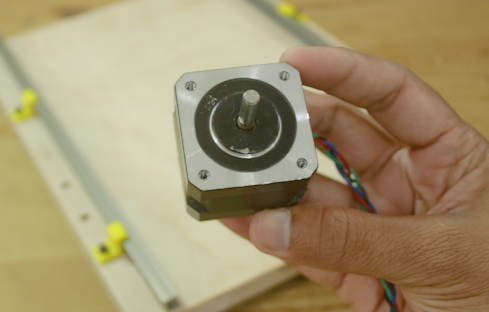
This are the Nema17 stepper motor I have used 2 of this type
One to feed paper to the blade, and one is to cut the paper.
Basically stepper motors are brushless DC motors, normally a permanent magnet rotor placed in between of stator winding.
Stator winding then energize step by step in a sequential way so it get magnetize and force rotor to align with the magnetic field of stator coil.
in this way rotor begin rotate in small steps, due to this behavior the motor gets its name “stepper motor”
As we can see now by controlling the stator winding generations sequence we can precisely control the position of rotor without any position feedback system.
this quality of stepper motor makes is best suitable to be used were high precision motion is required like CNC machines.

This is the rubber roller you can find this type off roller in any OLD printers.
Rubber mounted on the shaft is provide great grip with paper, this will make very easy to feed paper
at the on end of the roller's shaft I have attached a 3D printed gear, this gear get engage with the other
gear which is mounted on the shaft of nema 17 stepper motor.
This stepper motor runs the roller against the paper and paper feed to the cutting blade

This is the sliding mechanism for the blade
Two 6mm thick SS smooth rod is mounted parallel at both end I have used 3D printed bracket to attached both SS rods.
at one end I have mounted stepper motor with GT2 Teethed pulley on the shaft and on other End I have installed
a Idler puller a GT2 timing belt used to slide this mechanism a razor blade is attached to the center part

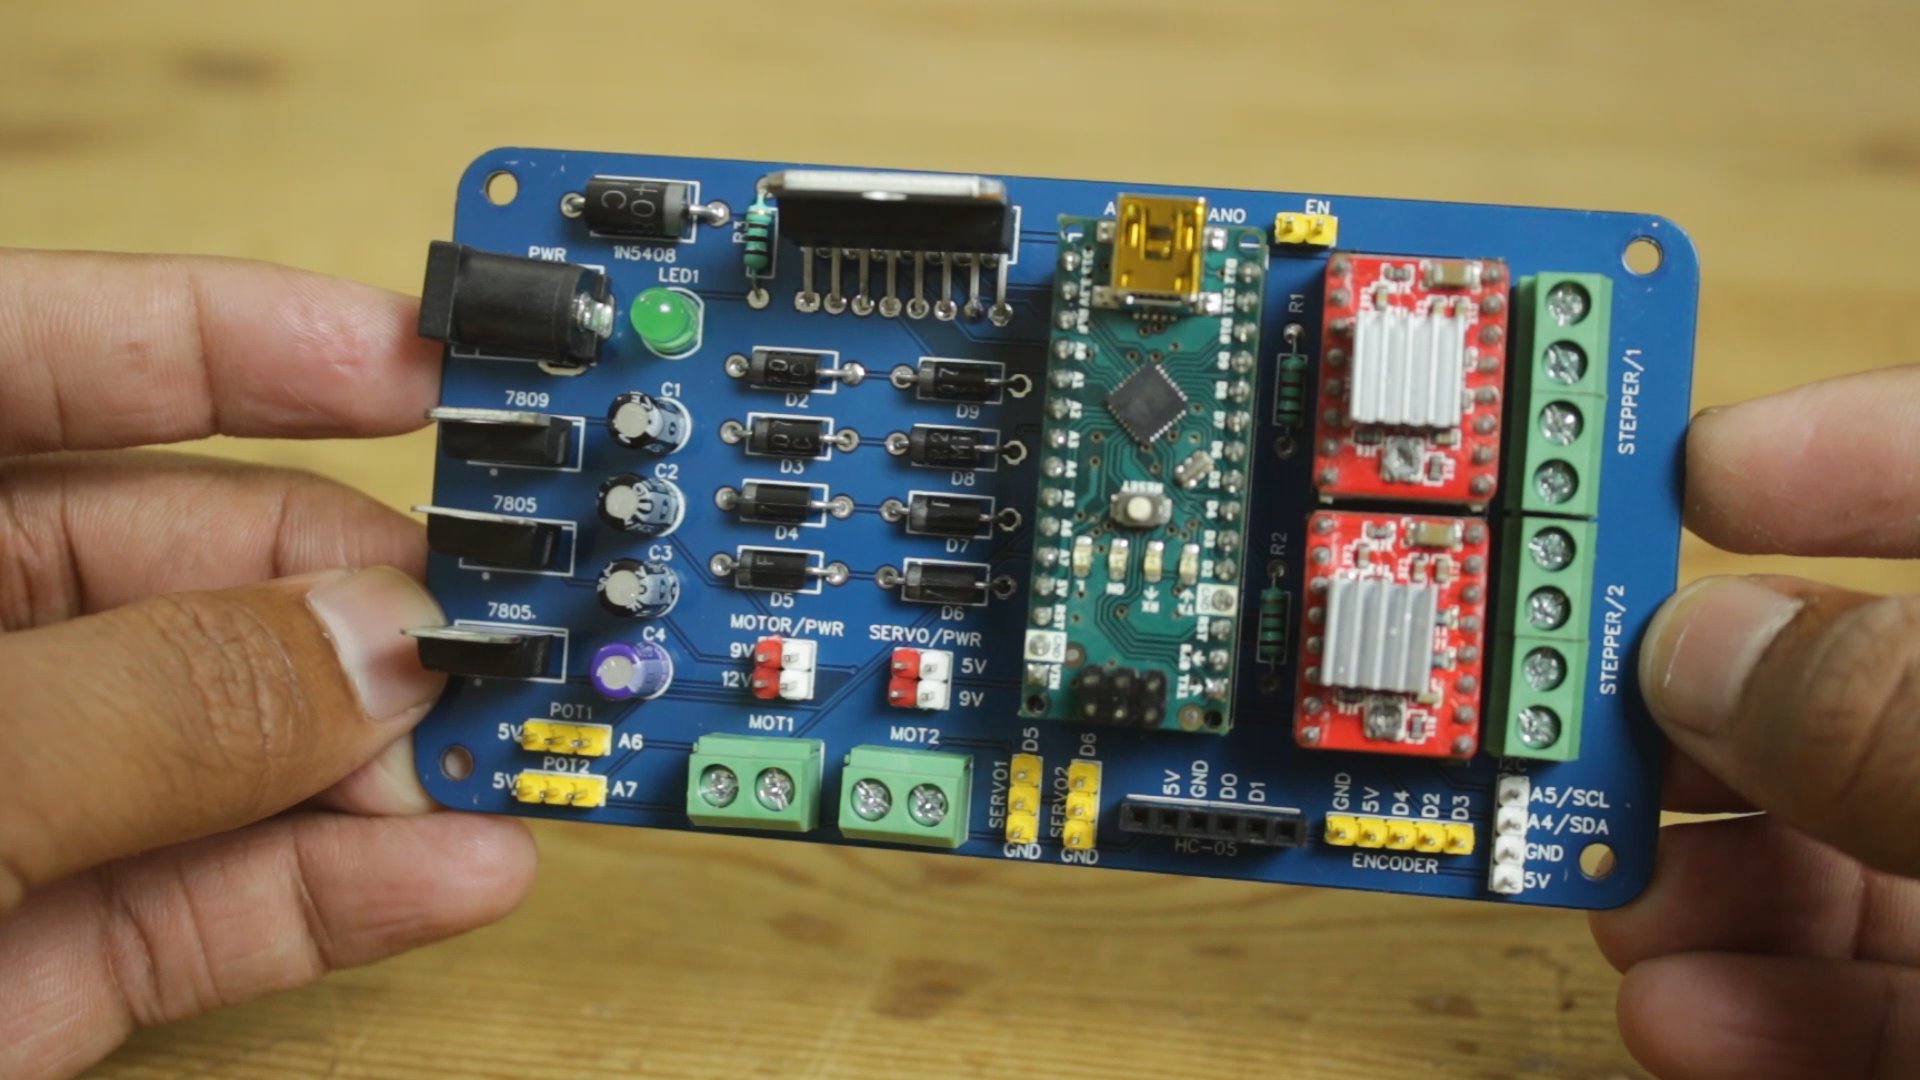
Making such projects without PCB is night mare yes trust me you cannot get wanted result and professional touch in your project if you ignore PCB So some days back I have developed my Multipurpose PCB. This PCB is used to build wide range of arduino projects
followings are the some features of PCB
- Wide range of power input 9V to 24V DC
- Cross polarity protection
- DC motor voltage selection 9V or 12 V DC
- Servo motor voltage selection 5V or 9V DC
- Manual microstepping setting for stepper motor
- Power indication LED
- L298N IC for heavier DC motor
- ON board 5V and 9V regulator no need to arrange different power sources
- Header pins and screw terminals for easy connections
List of the Components you can connect to the PCB
- 2 DC motor ( 9V to 24V DC)
- 2 Potentiometer
- 2 Servo motors ( 5V to 9V DC)
- 1 Serial device (BT module, HMI, Communication module, RX, TX)
- 1 Encoder (2 interrupt pin & 1 PB pin)
- 1 I2C device (SCL/SDA Device, display, MPU6050 etc)
- 2 Stepper motors

I have design circuit and PCB in easyEDA and ordered PCB from JLCPCB
This is the link of PCB editabl file
If you seriously need quality PCB quickly in your hand then you must have to try JLCPCB PCB manufacturing service. They have Special offer of $2 for 1-4 Layer PCBs, free SMT assembly monthly. If you get yourself registered today at JLCPCB you get 18$ welcome coupon from JLCPCB.
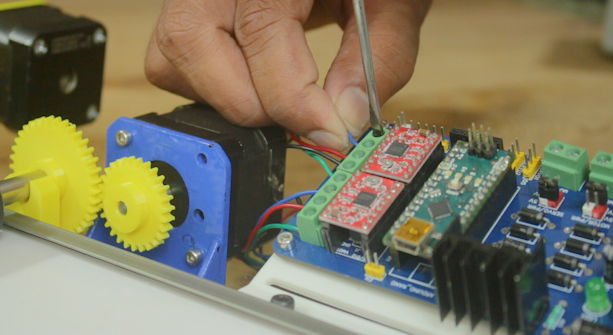
I have mounted PCB on the 3D printer platform then I connect both Stepper motor with PCB terminals and
connected Nextion HMI with RX & TX pins
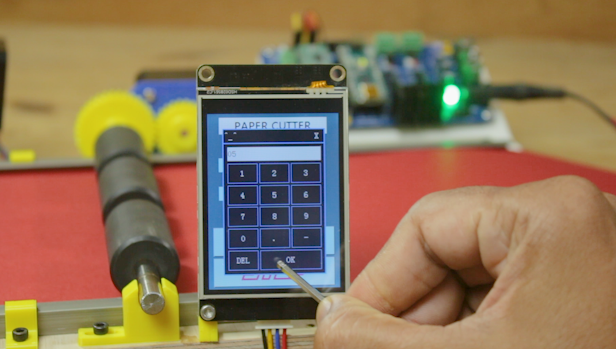
This is how I competed this machine as we power up machine its ready to use.
User can input data through touch Screen user can define how many strips he wants and how long each strips must be
as soon as we press the start button machine start to cut the strips of paper as per provided data