Riverice
RiverIce is a tool developed in house written to enable autonomy in Github while also keeping our organization secure. RiverIce was generated with the angular cli and currently deployed in our sb-tools Kubernetes cluster in AWS.
-
Navigate to https://riverice.smashinglabs.net
-
Select “Login” in the top right corner.
-
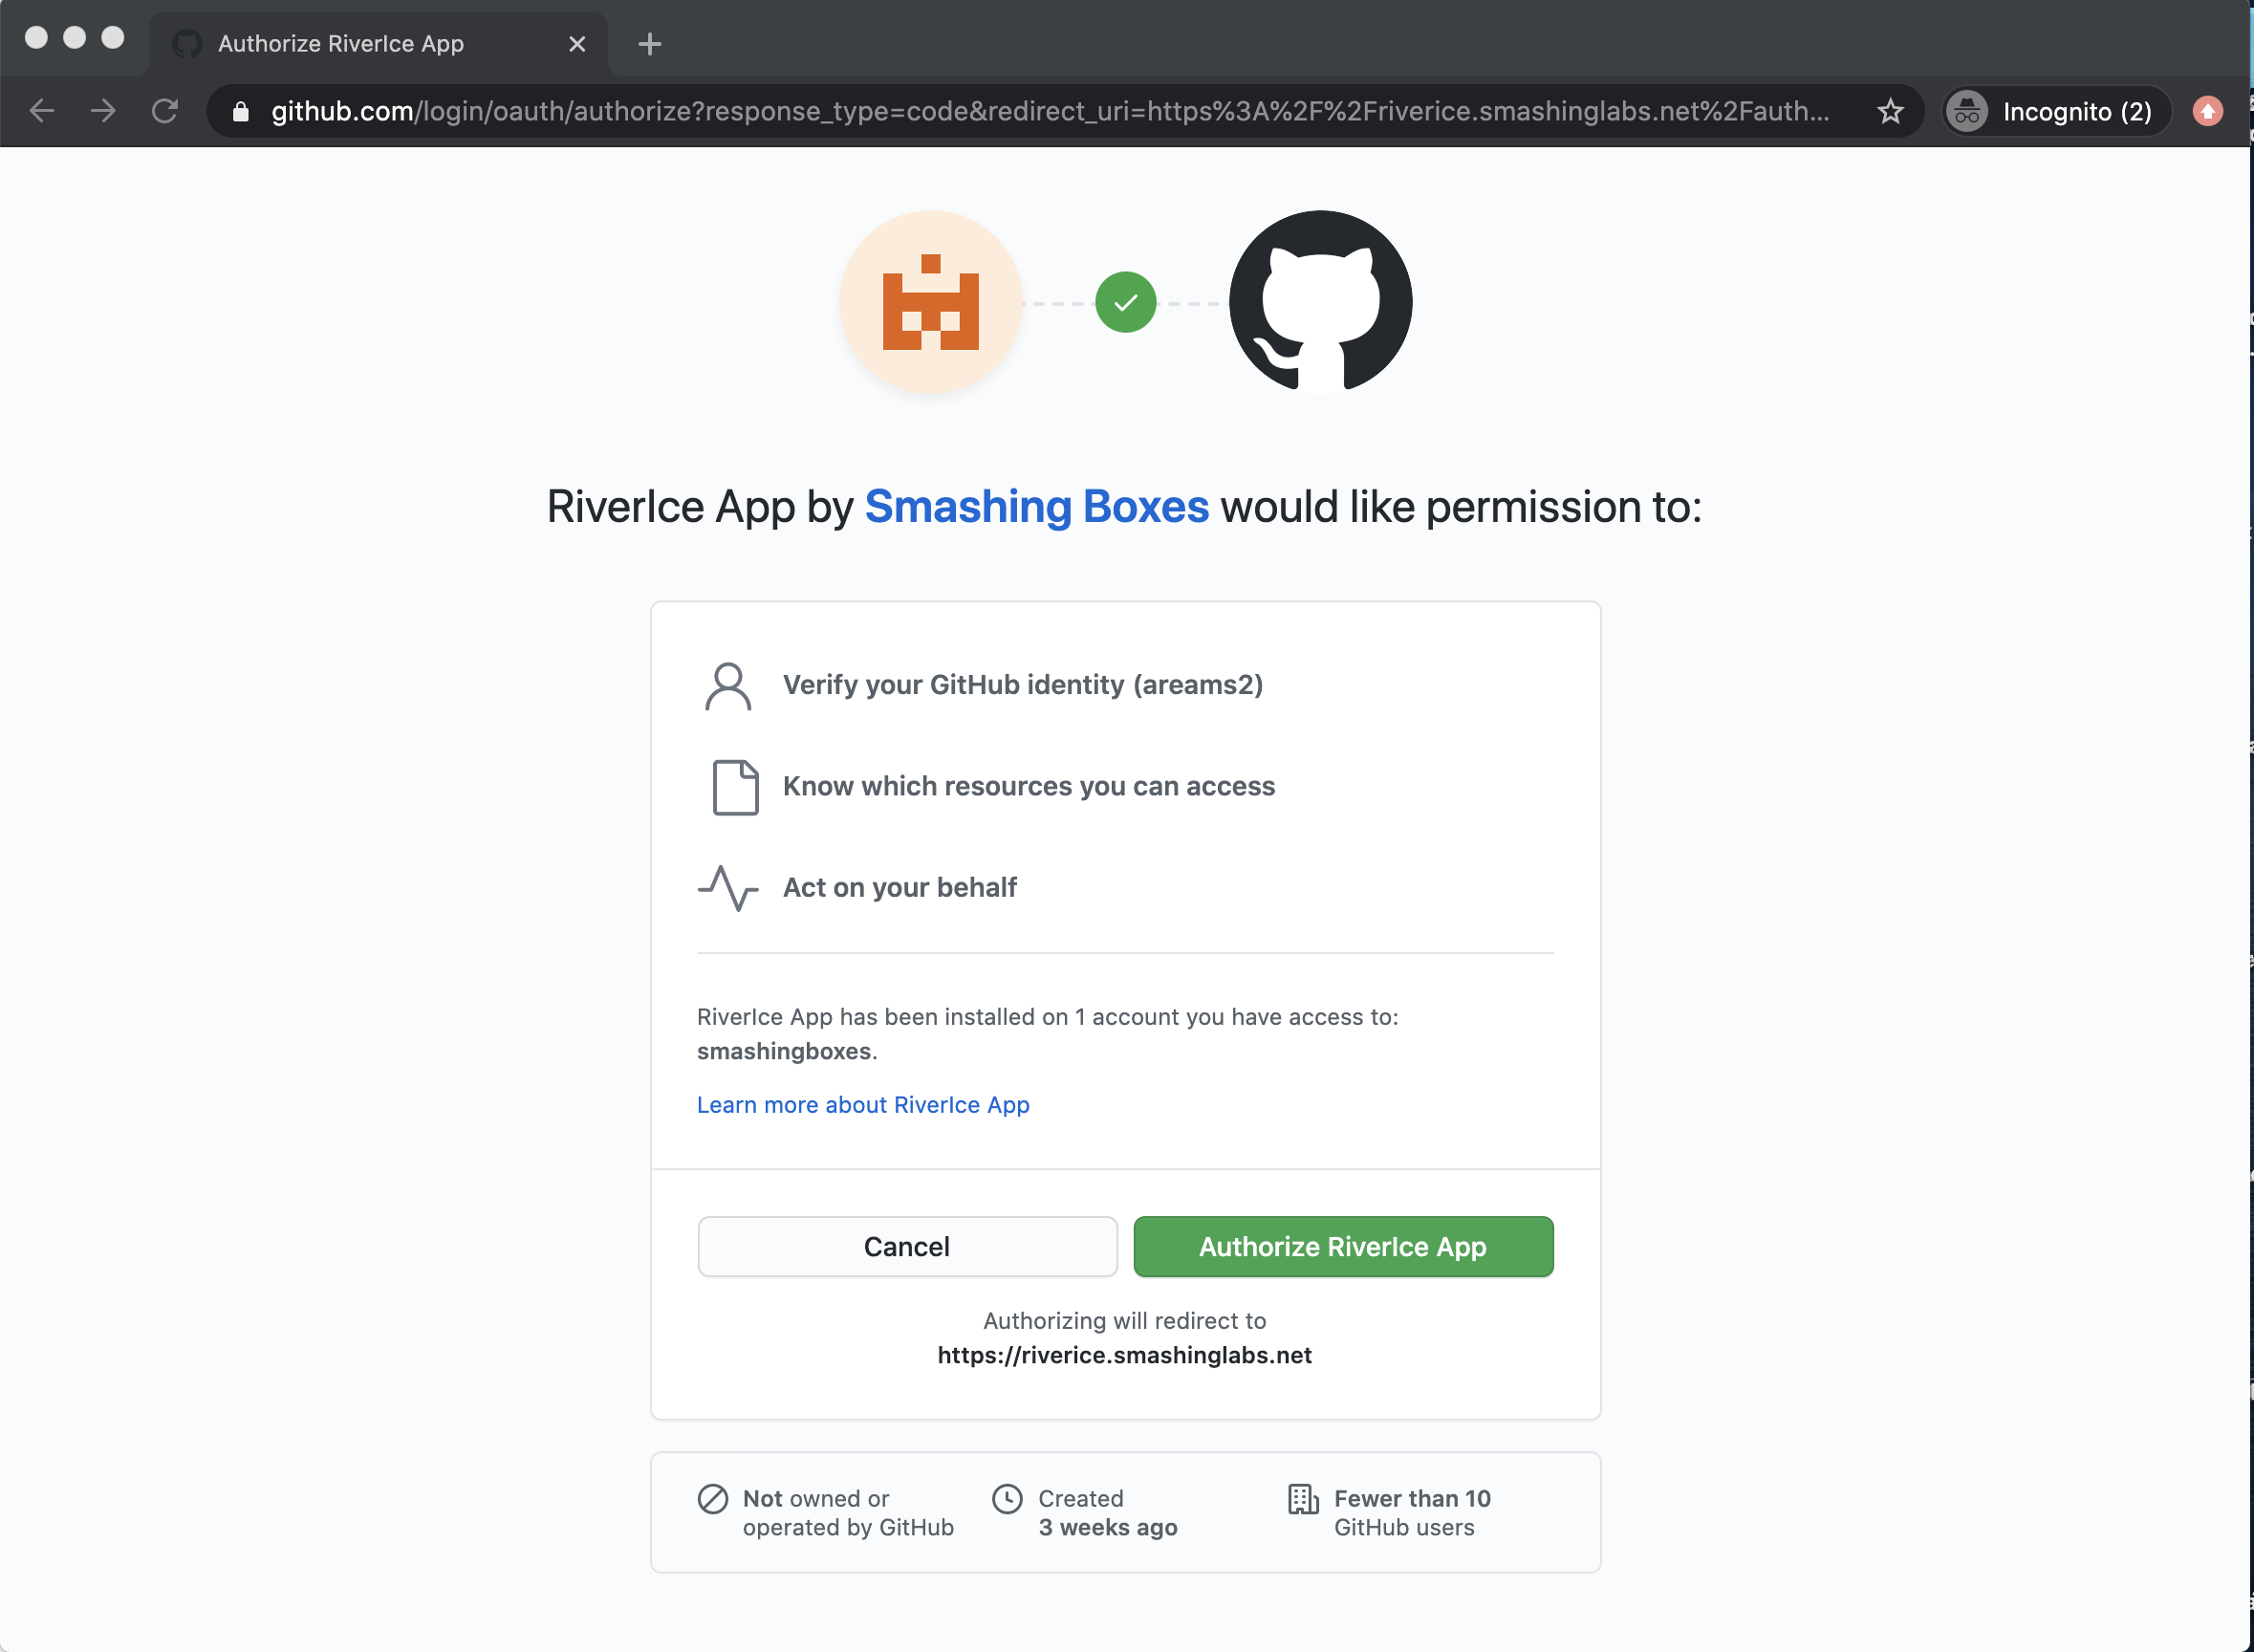
You will be redirected to github and asked to authorize the application for use in your github account.
-
Once you authorize the app, you will be redirected back to RiverIce.
-
On the Create Repository screen, enter repository information:
-
Select “Product” or “Service”
-
Enter the Customer name
-
Enter the Product name
-
Enter the Subsystem name
-
Enter the Subsystem type
-
|
Note
|
subsystem types include API, web application, command line application, mobile application, desktop application, and service. Each subsystem type will append a different string to the repository name: |
-
API: "-api"
-
Web: "-www"
-
Command line: "-cli"
-
Mobile/ Desktop apps: "-app"
-
Service: "-svc"

-
Select submit. The next screen should confirm your repository was successfully created. If applicable, a new team will be created using the value of the "customer name" field. You will also be able to add additional members to the new team on this screen.
-
Navigate to Github, to confirm you repository was successfully created.
