HACK⚡️Date is a revolutionary solution to the longstanding problem of finding the perfect team for a hackathon. This platform allows participants to register as partial teams, and using custom machine learning models, it analyzes their detailed GitHub stats to match them with other partial teams that have complementary skills and experience. The platform provides a comprehensive dashboard to view team and individual member profiles, which includes their coding proficiency, previous hackathon experience, and their GitHub activity. The platform not only helps individuals find the right team members but also provides opportunities for networking and collaboration with like-minded individuals. This hackathon registration platform represents a significant step forward in the way that people come together to create innovative solutions to complex problems. This README file contains instructions on how to install and set up a Django project on your local machine. These instructions assume that you are using a Unix-based operating system (e.g. macOS, Linux) and have basic knowledge of the command line.
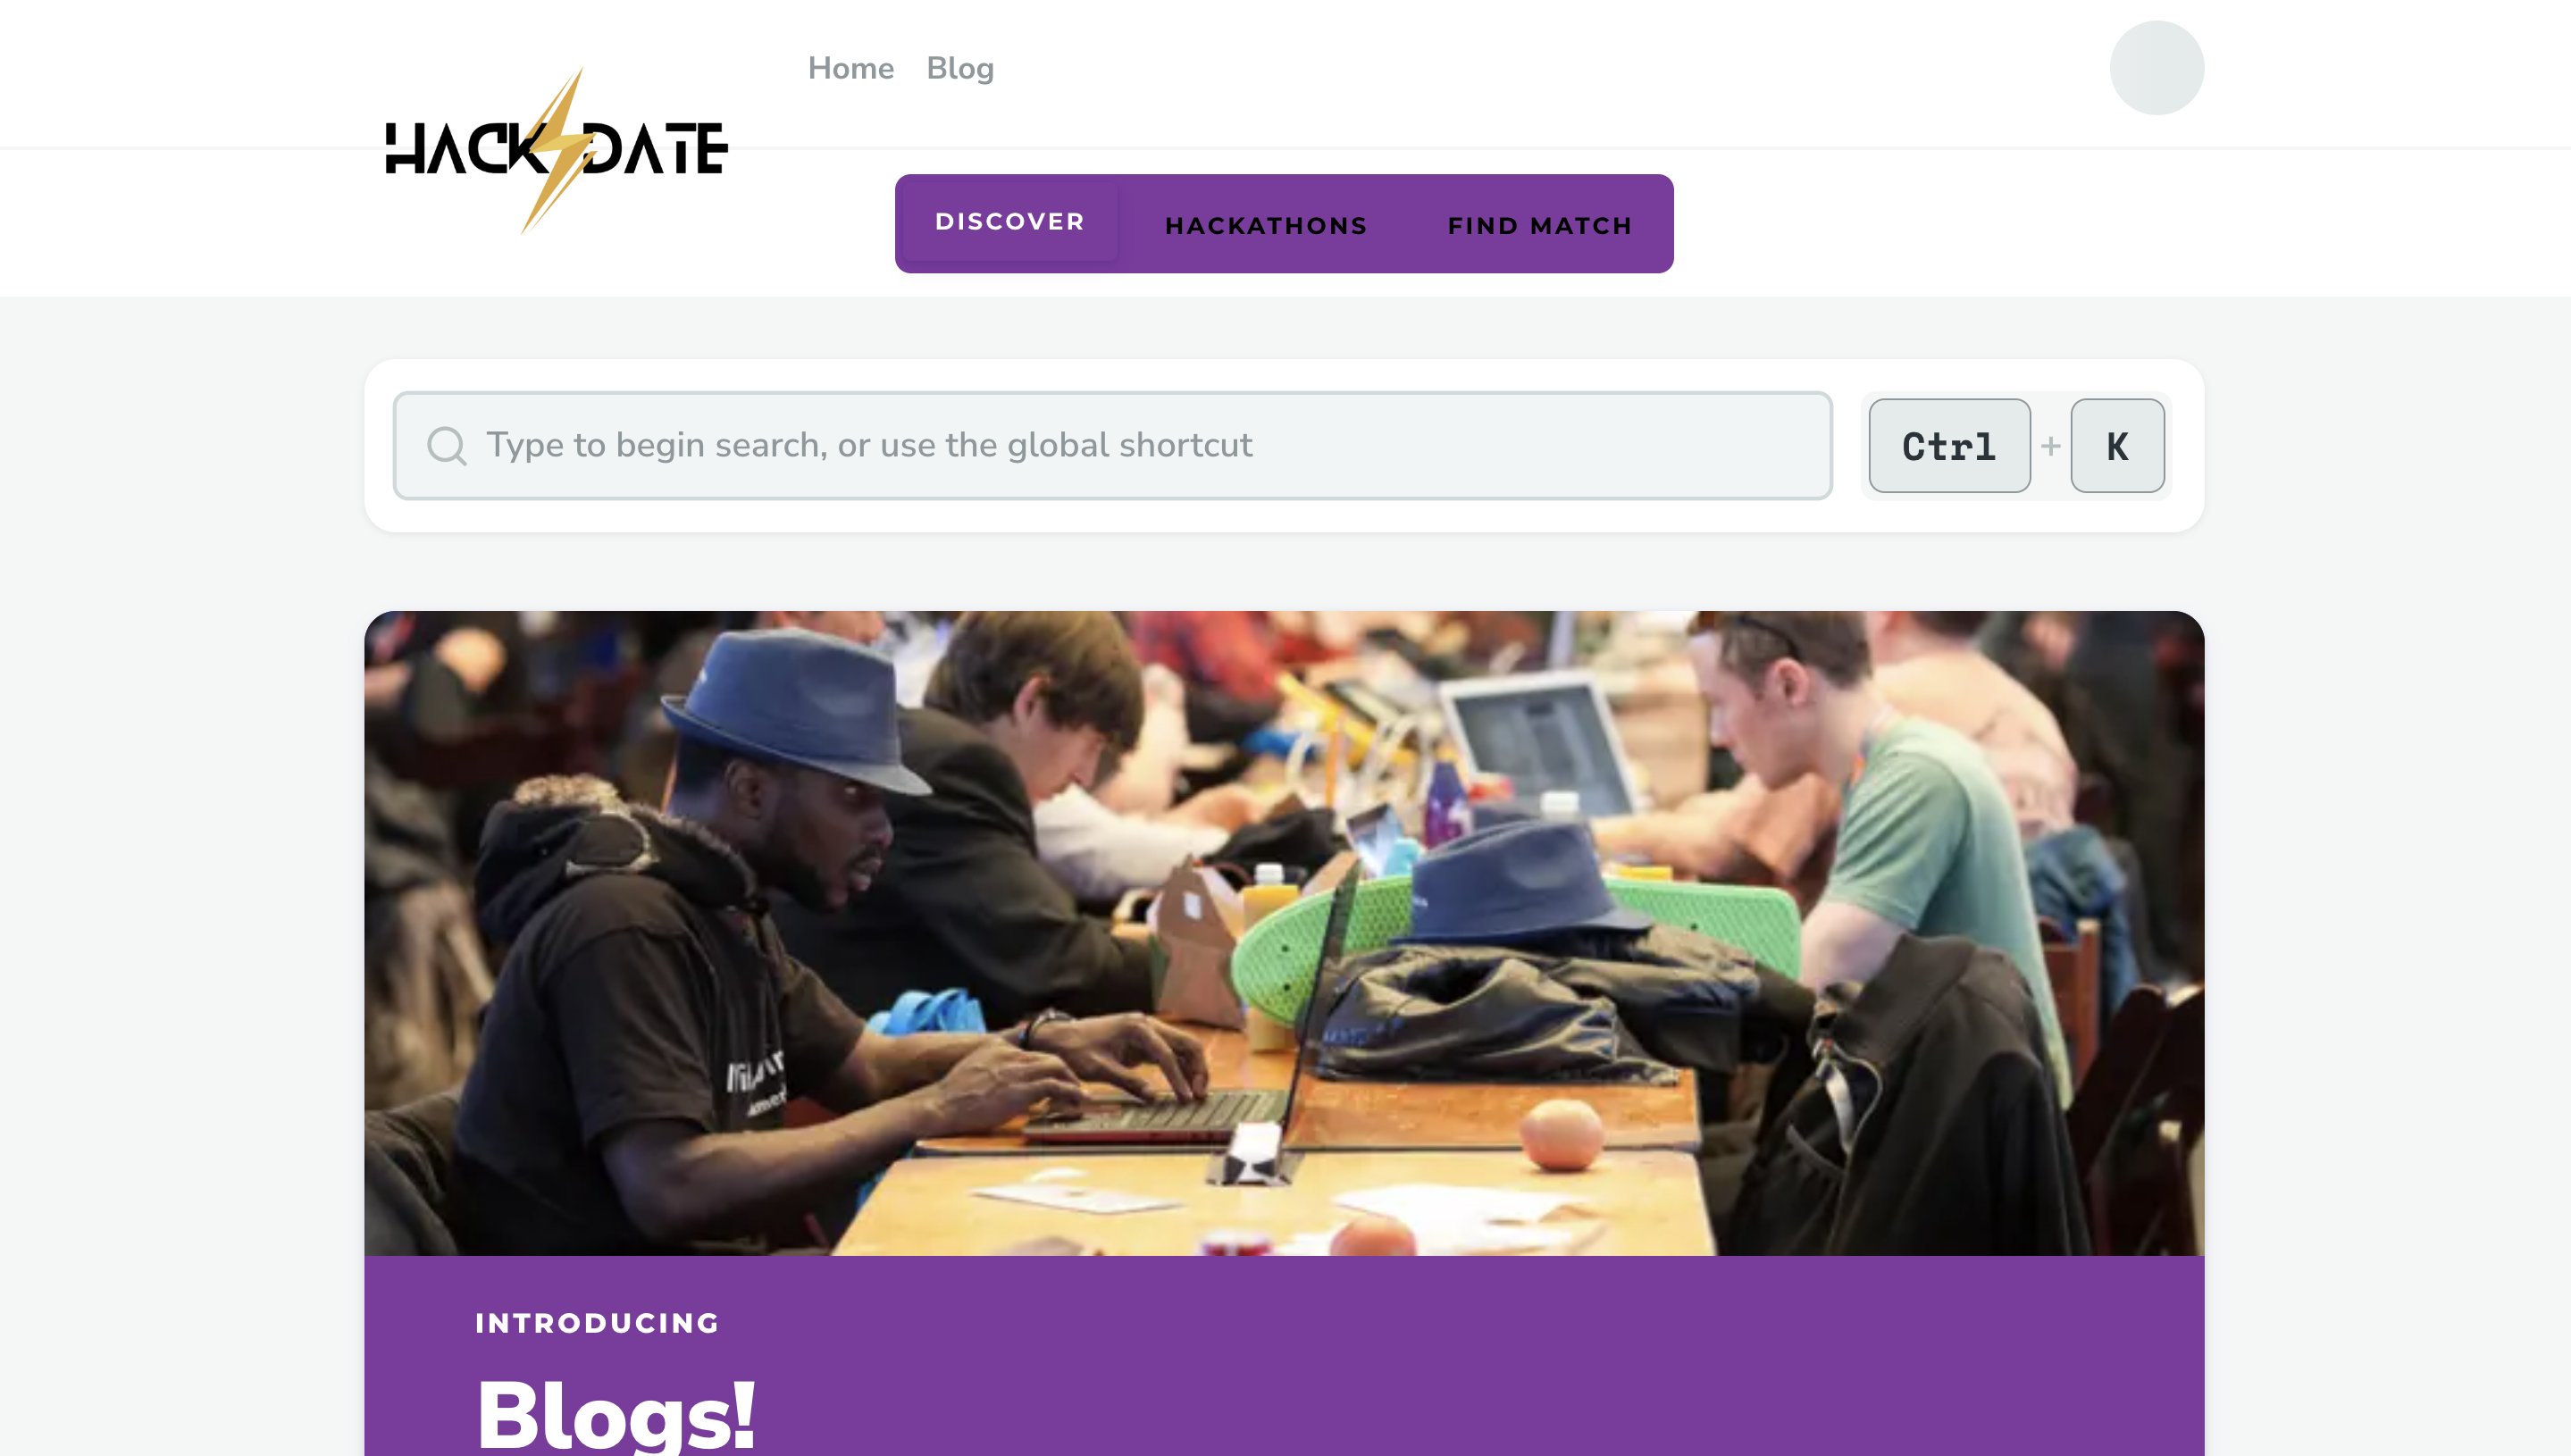
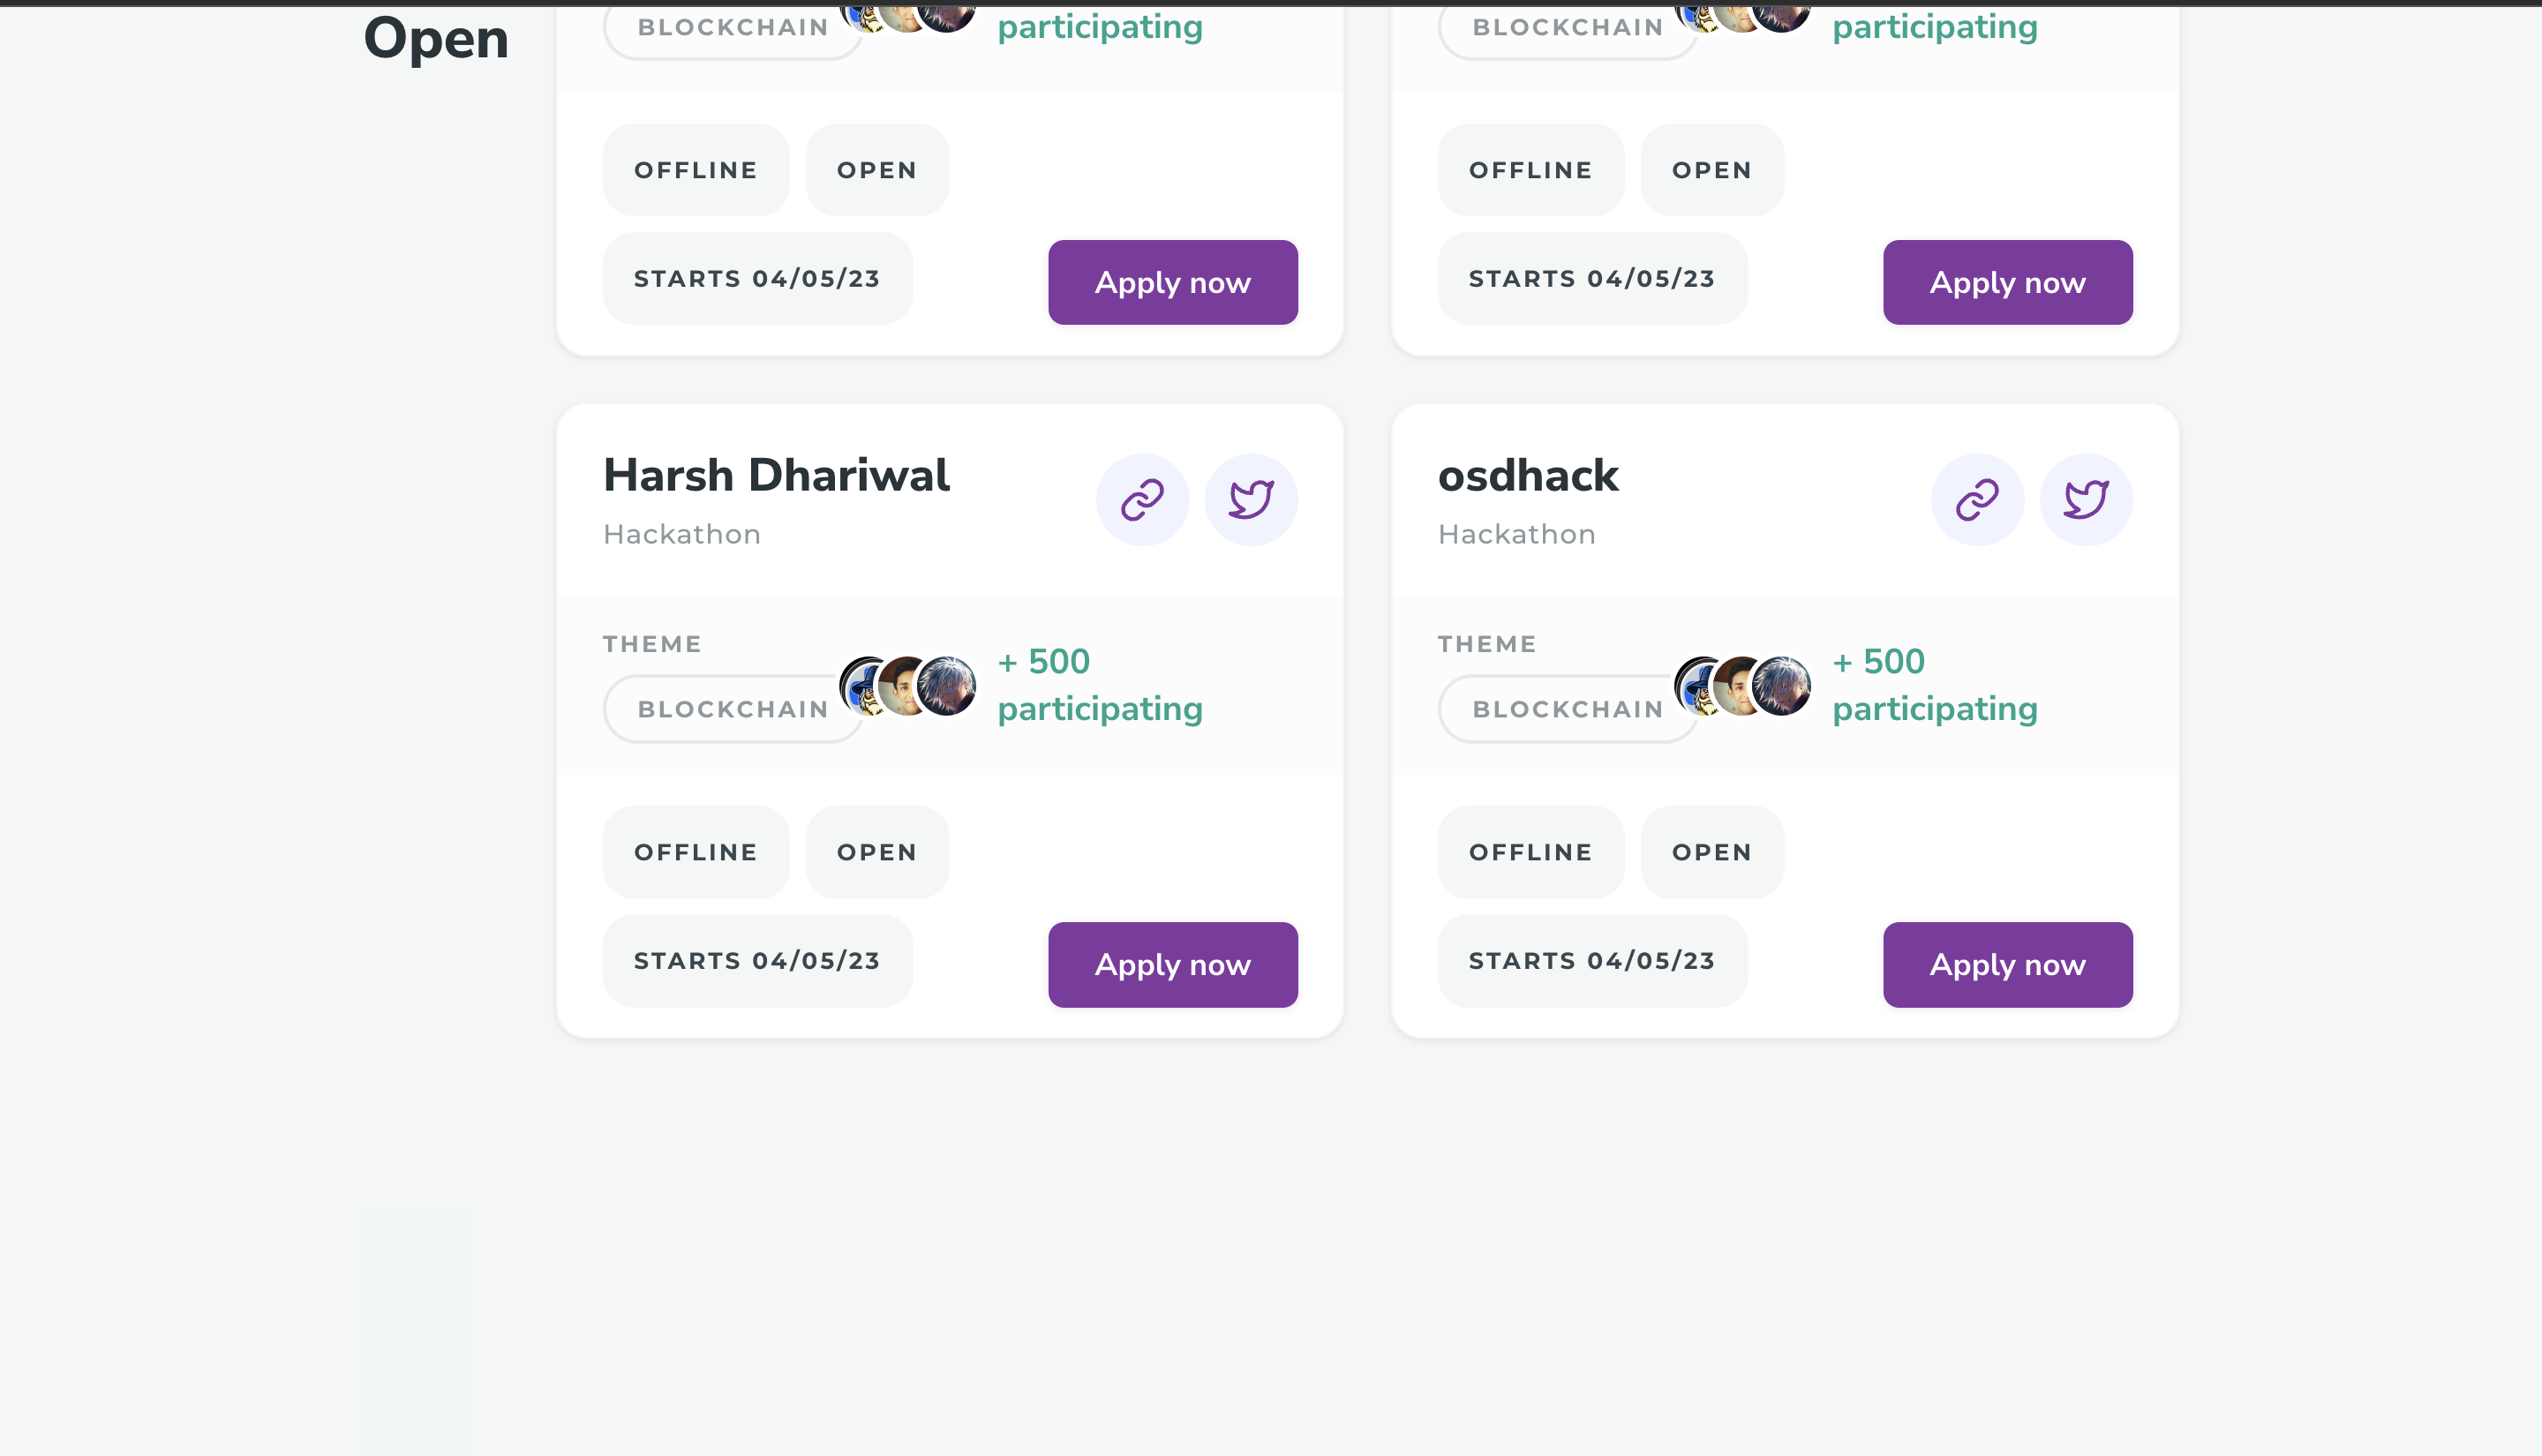
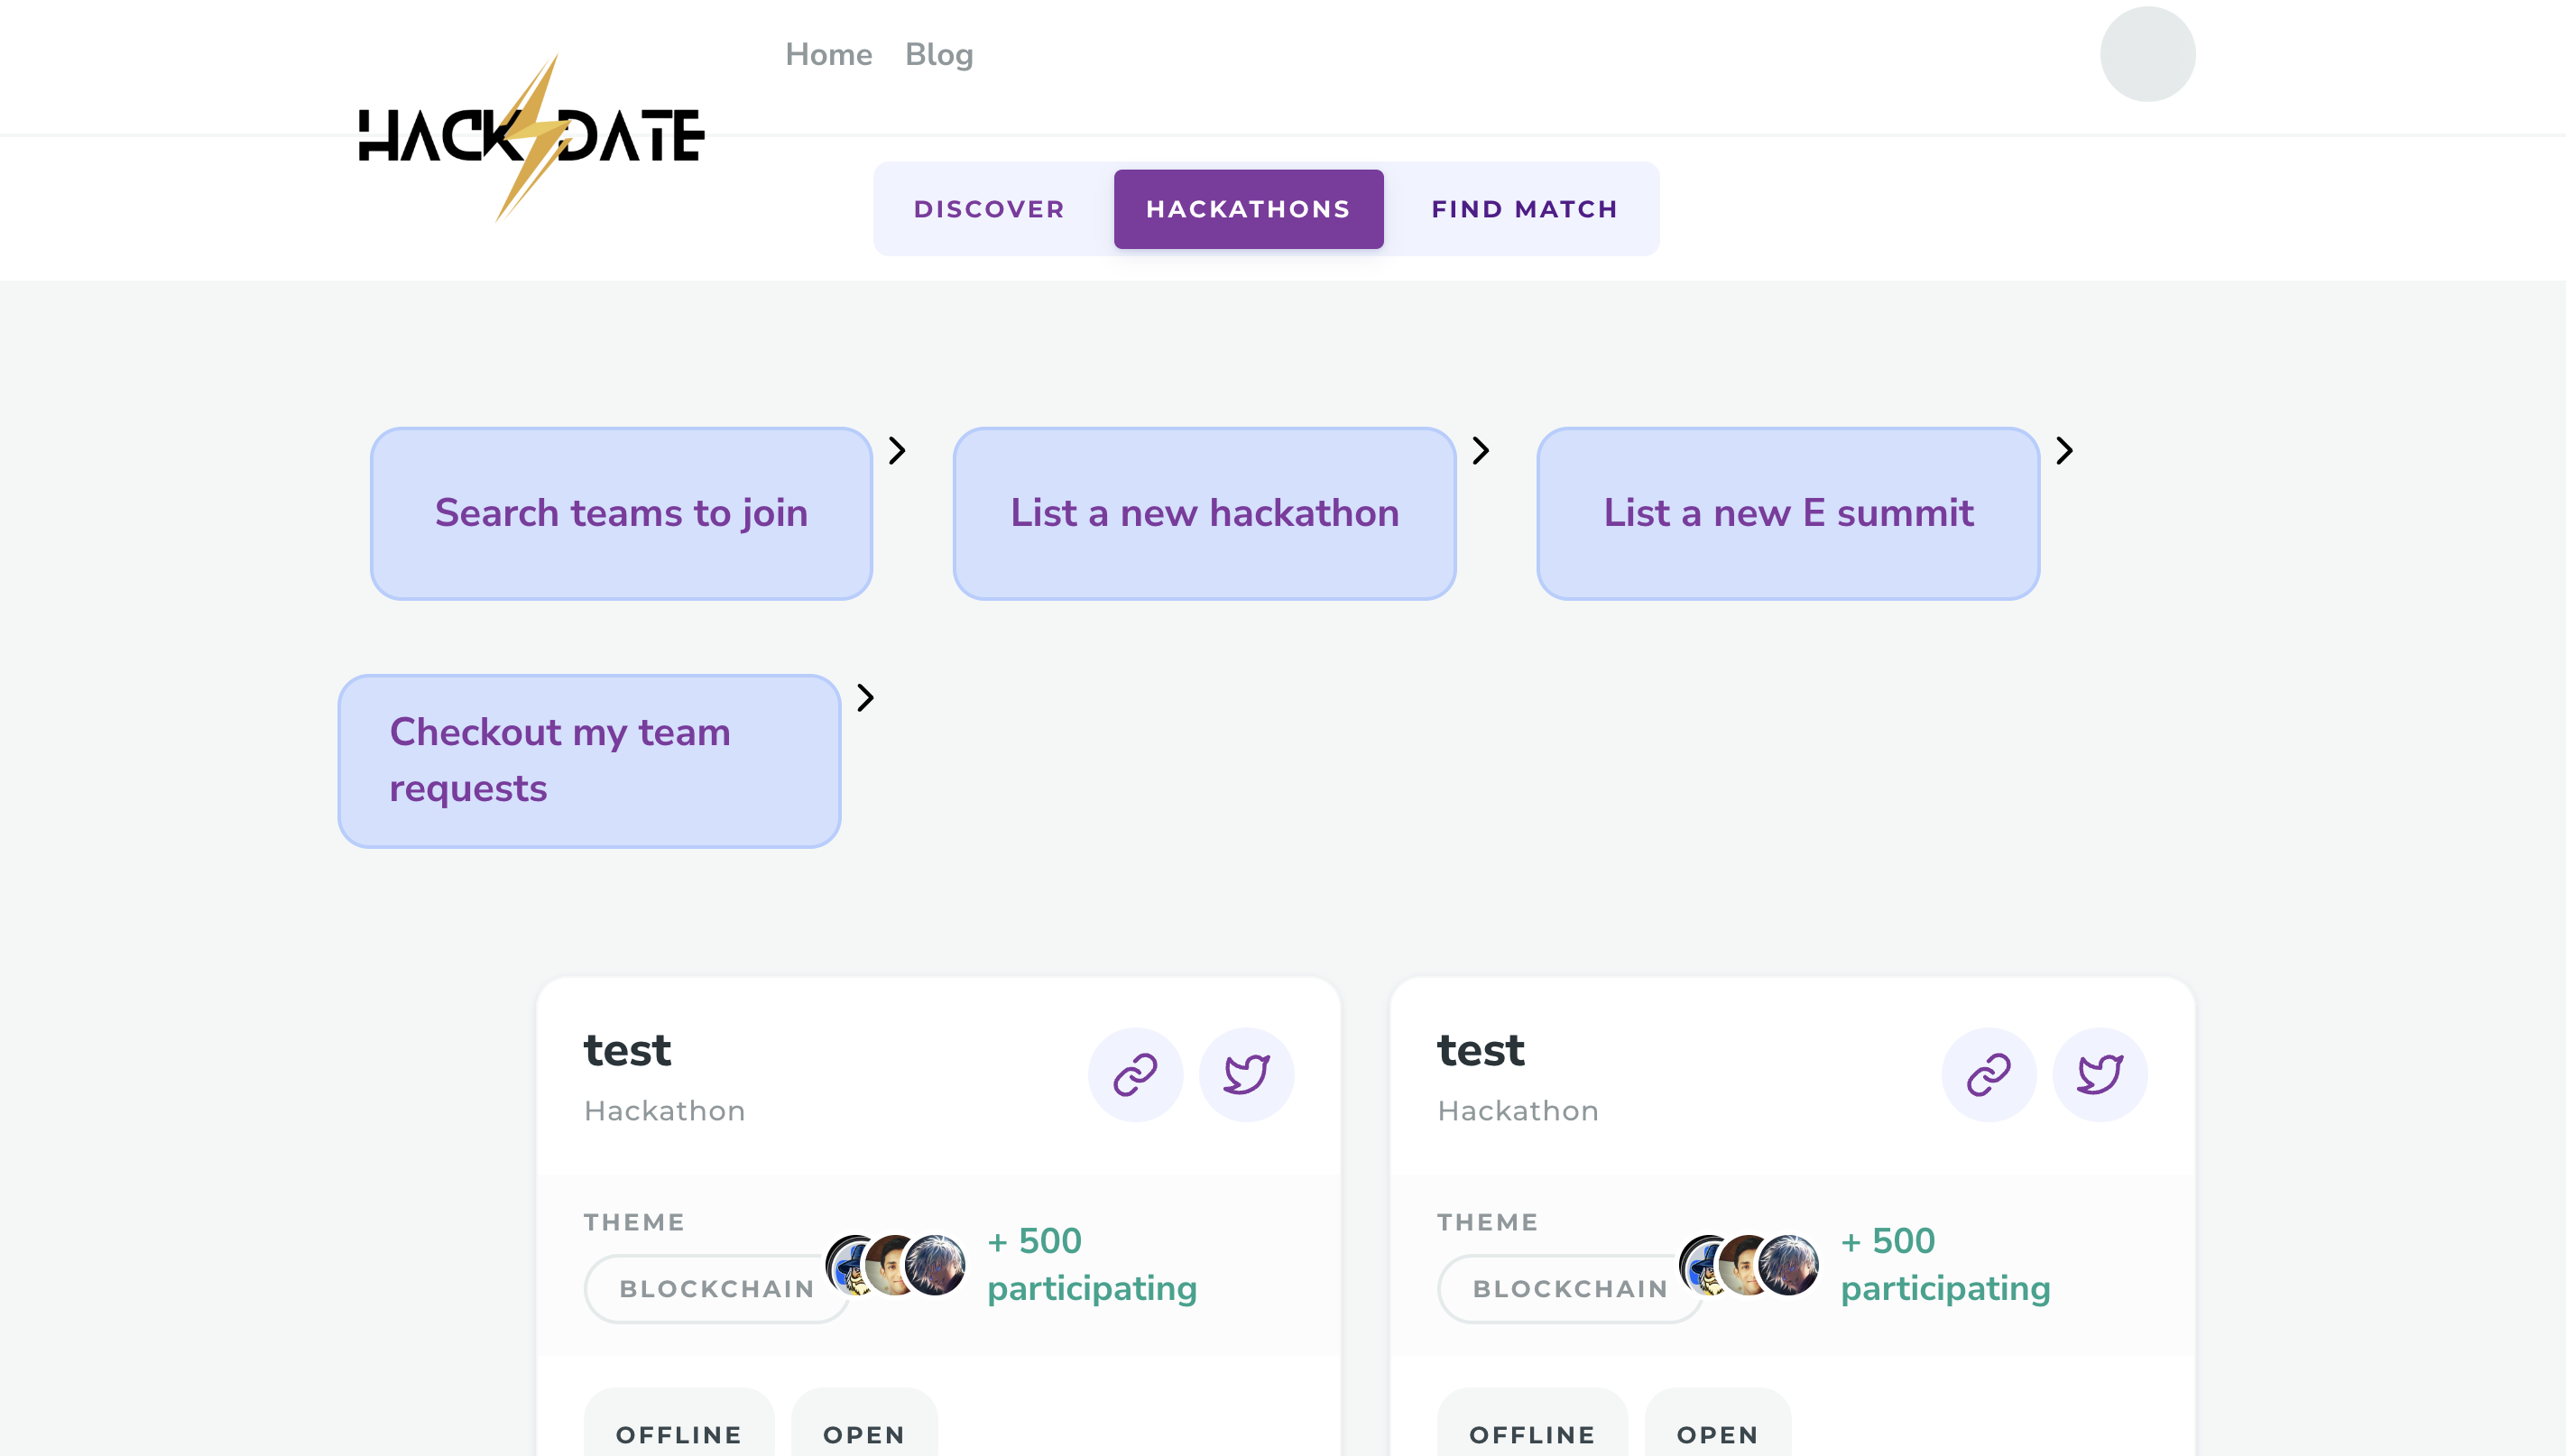
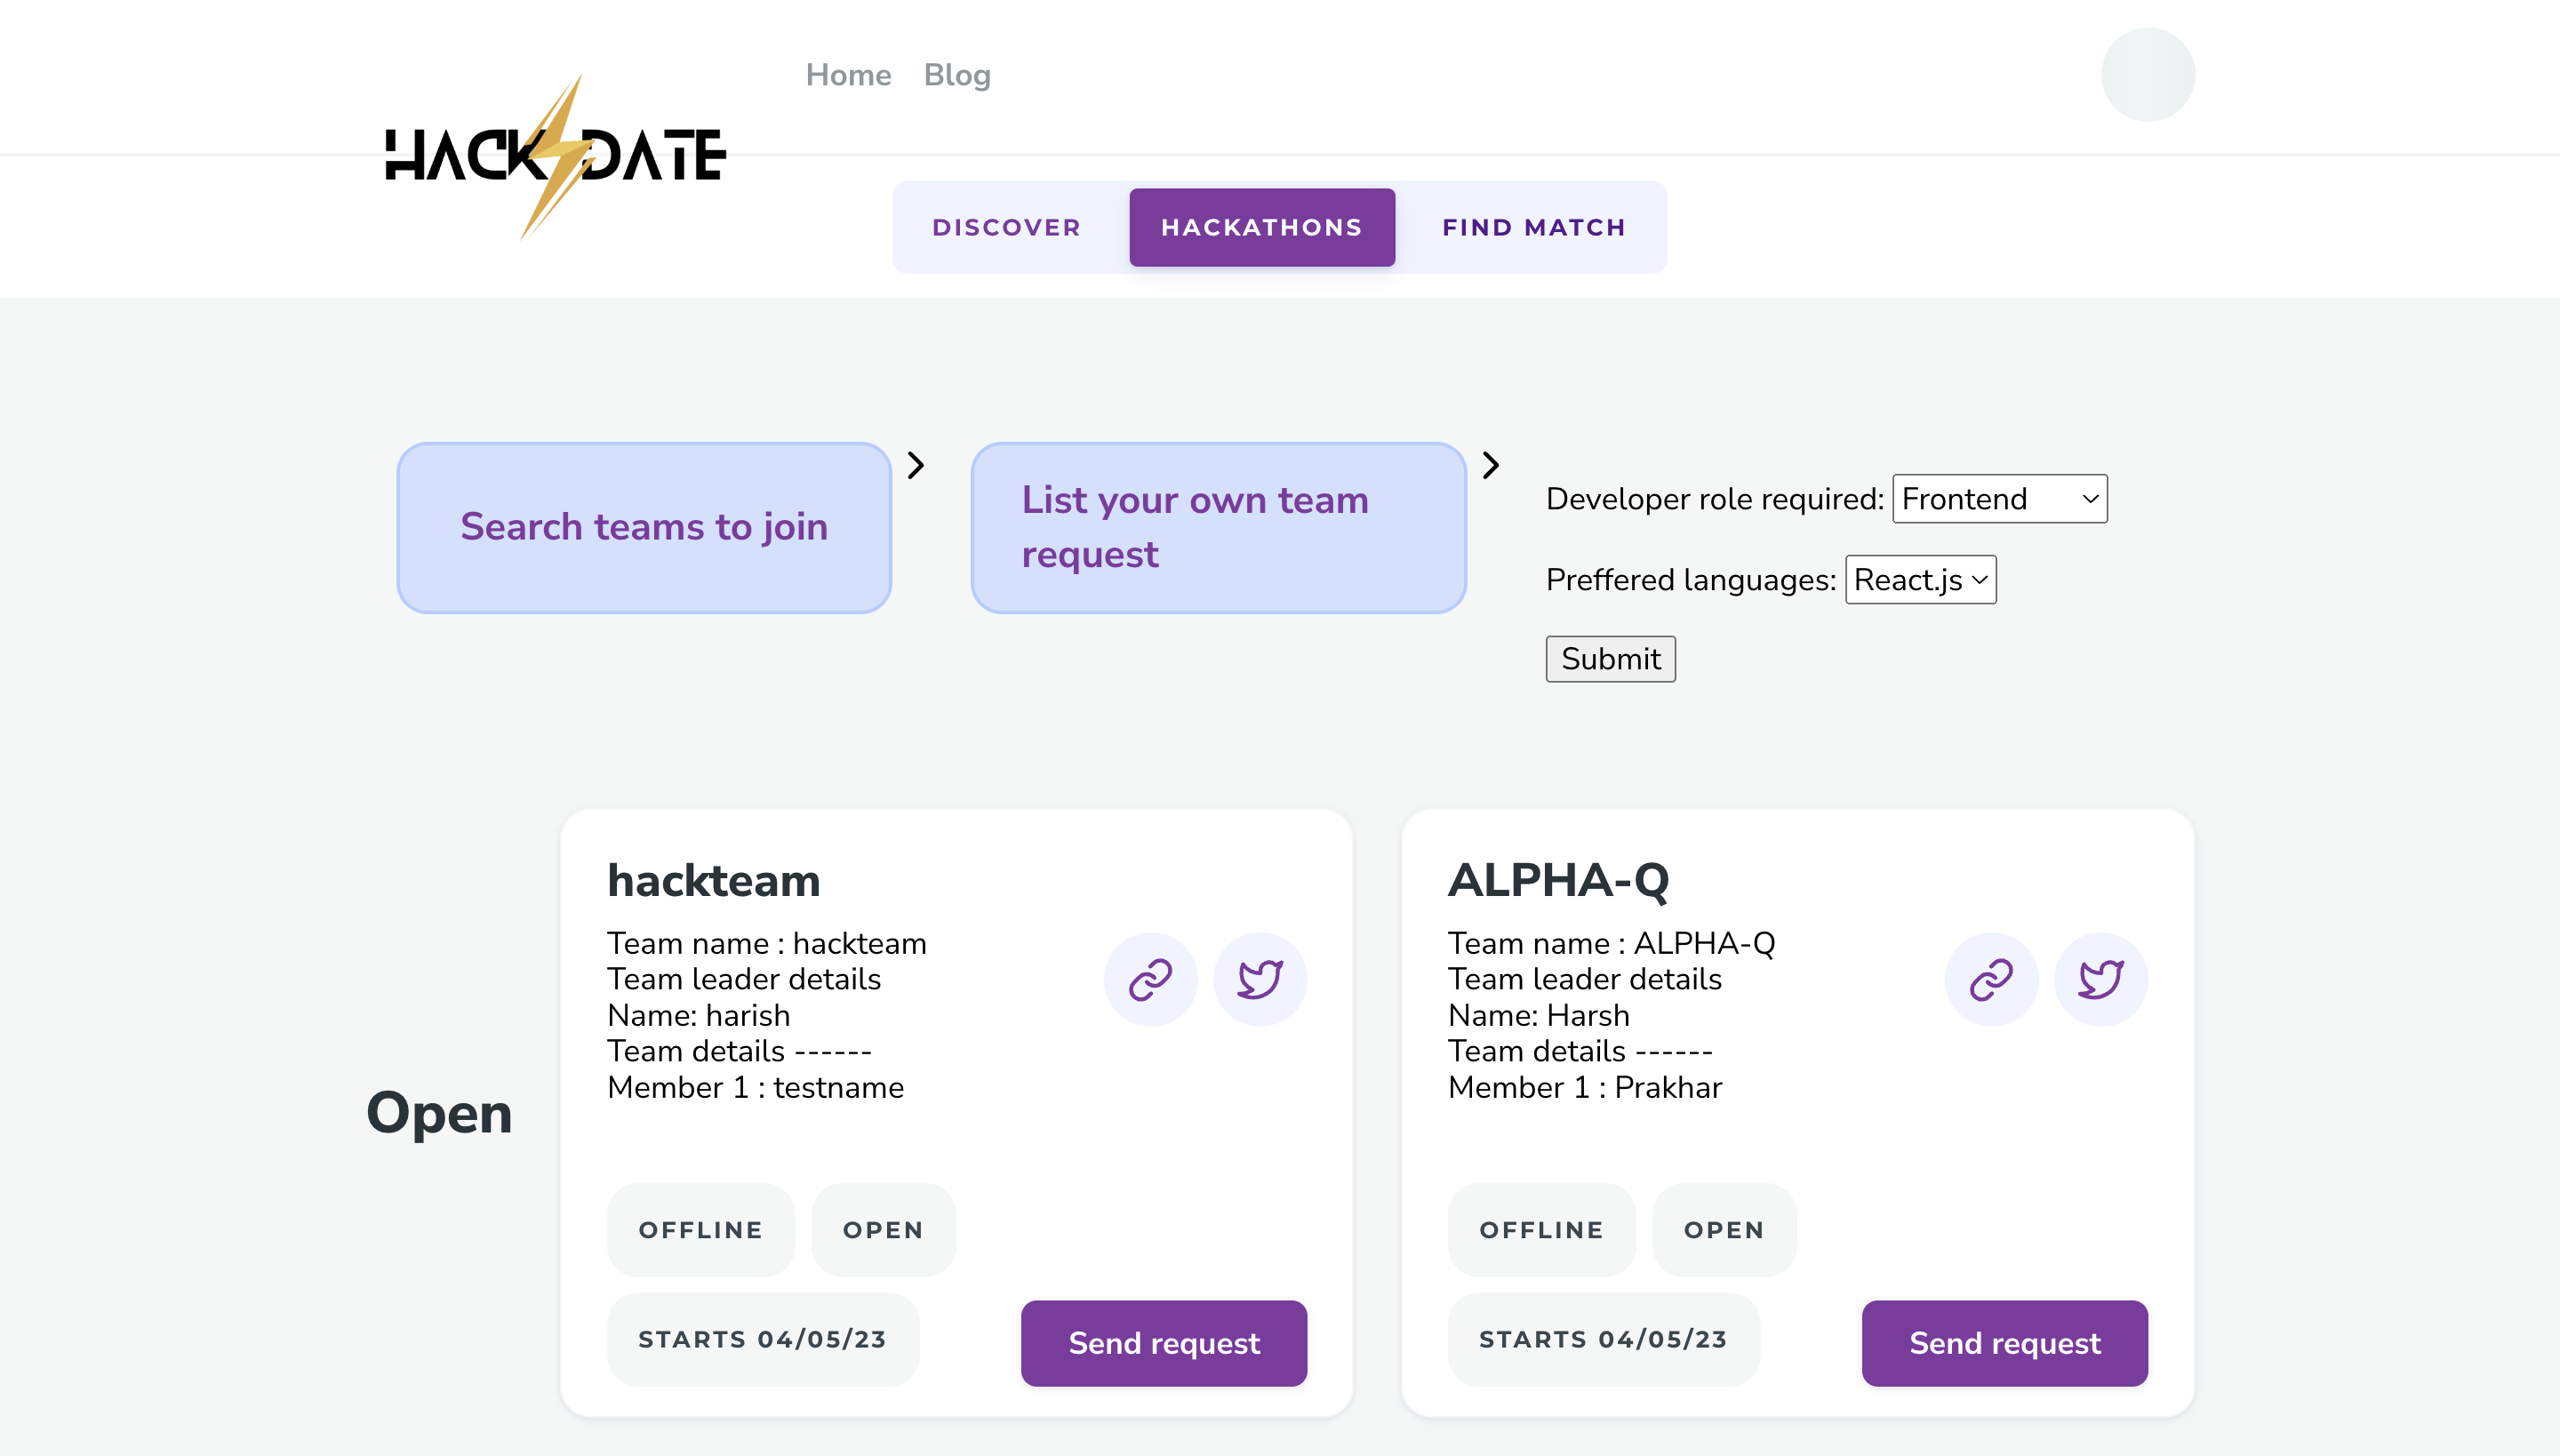
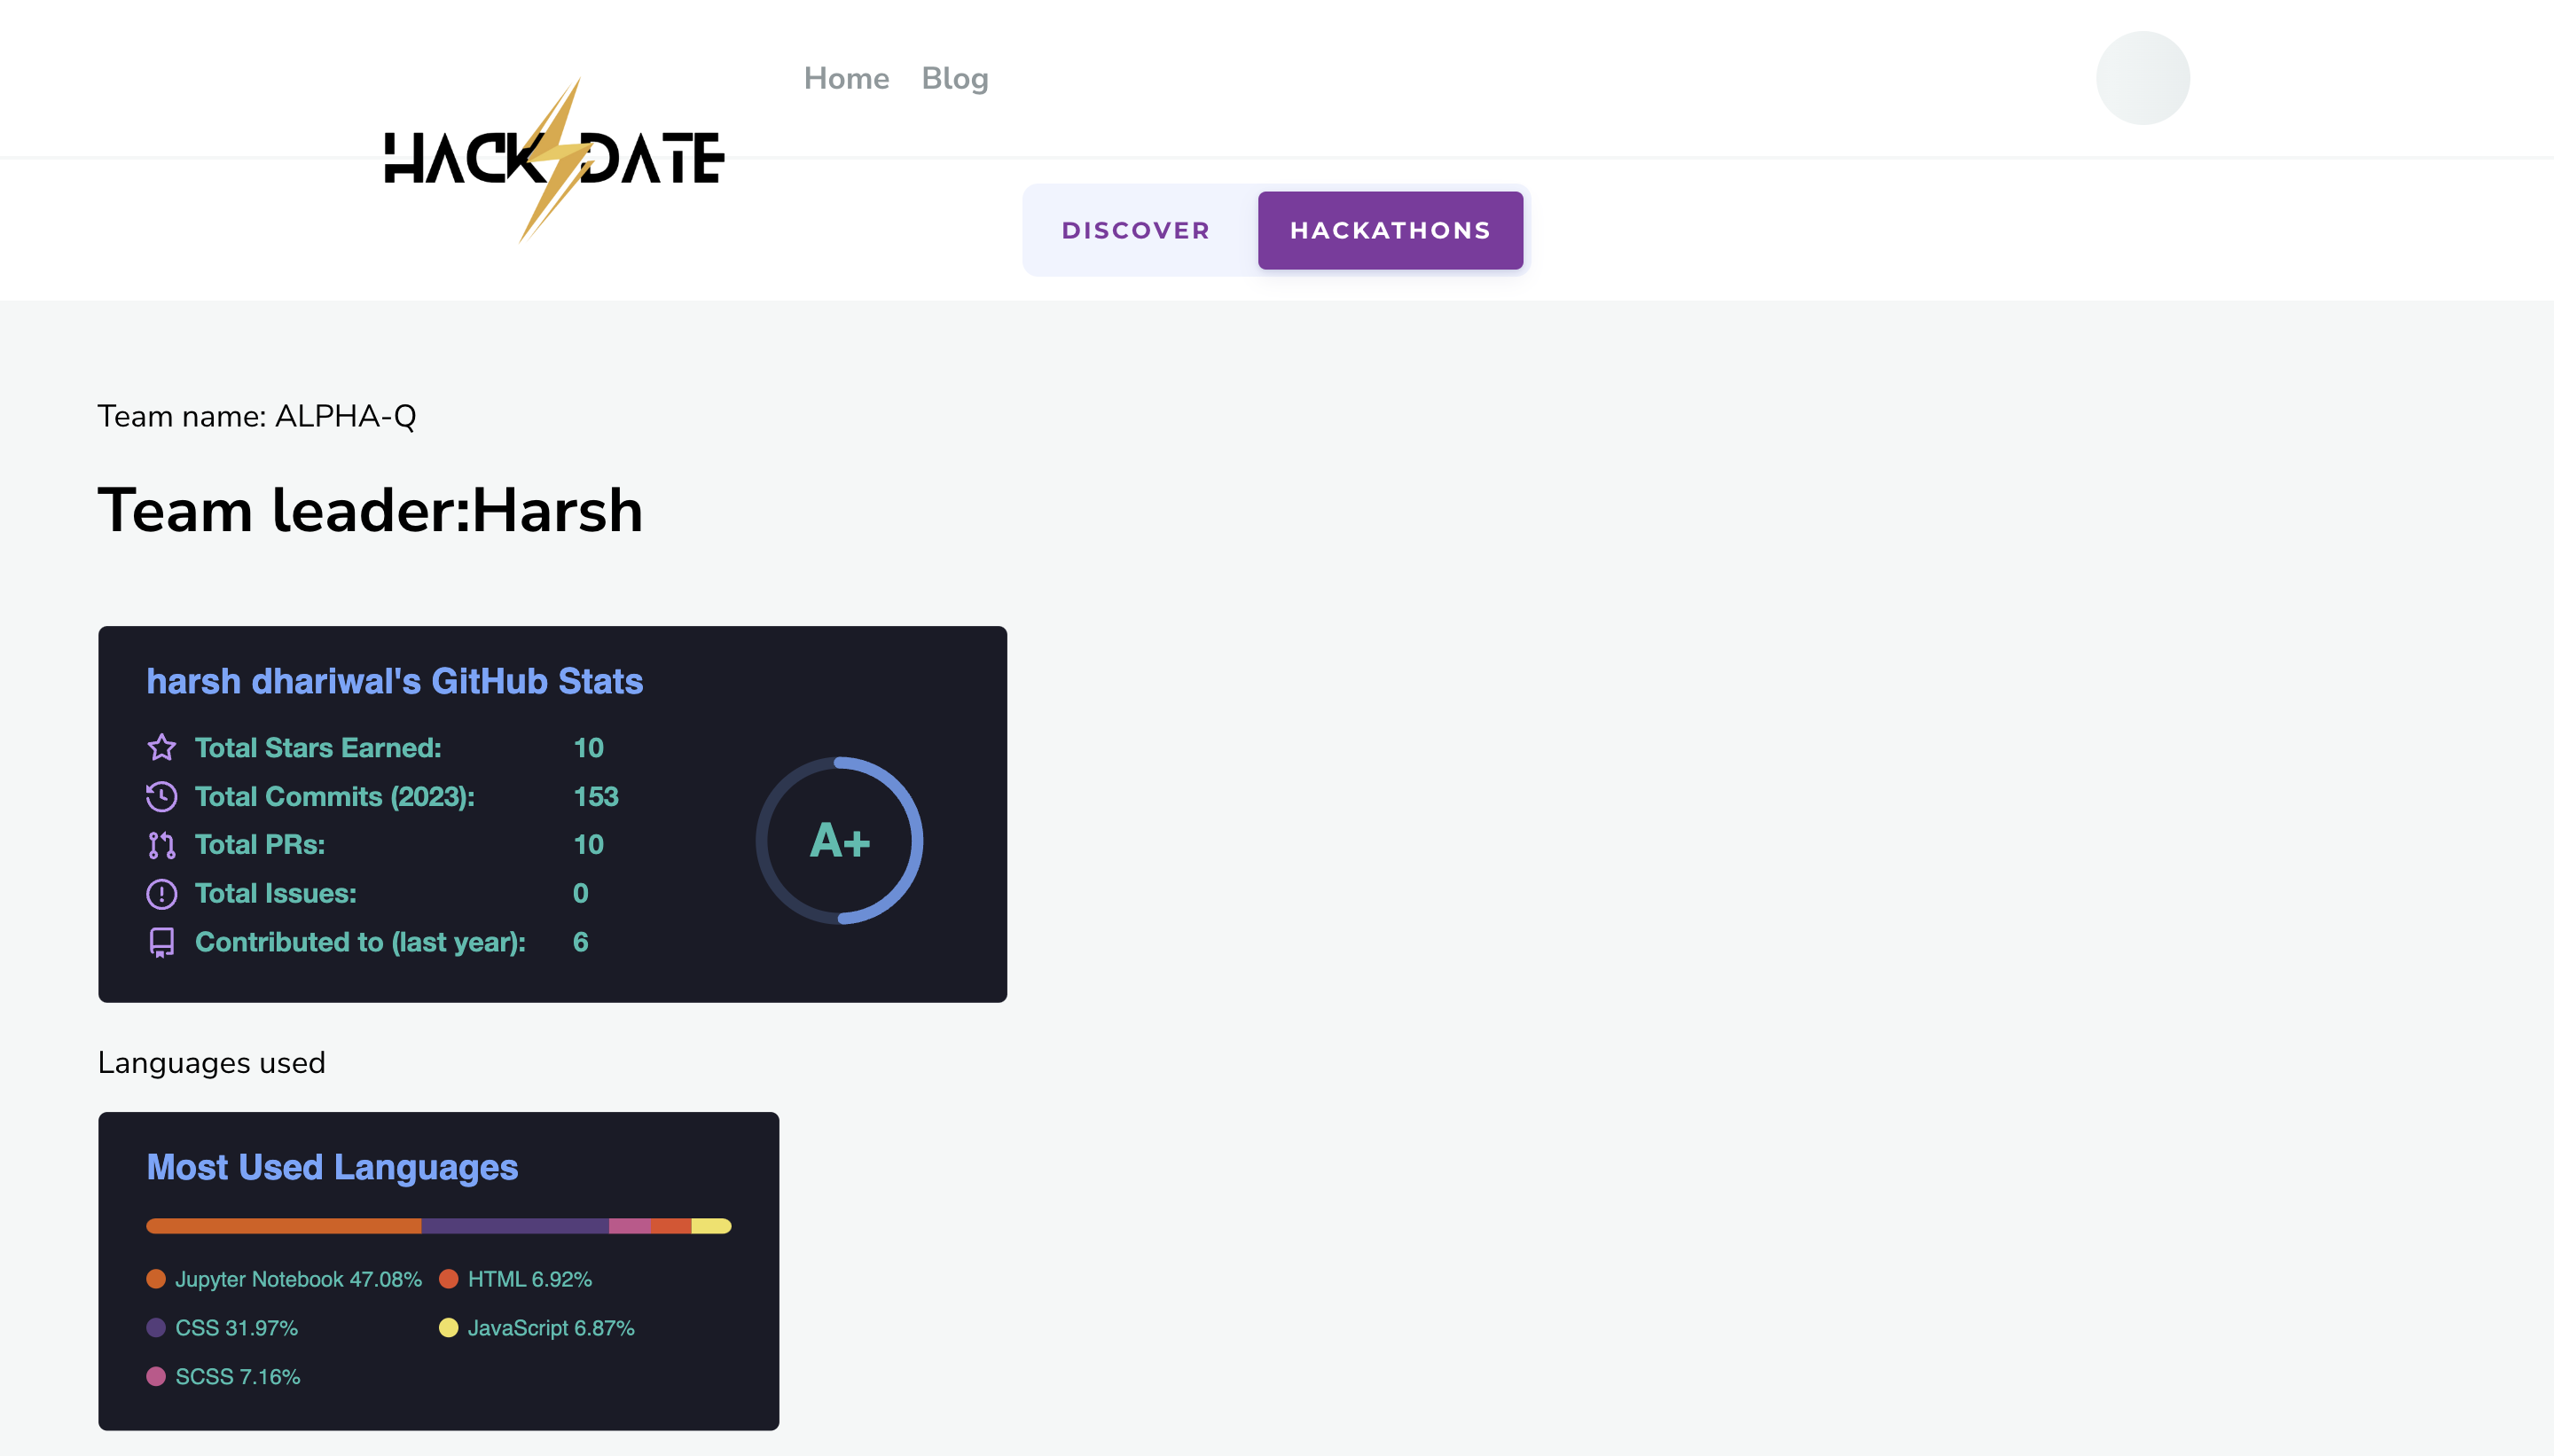
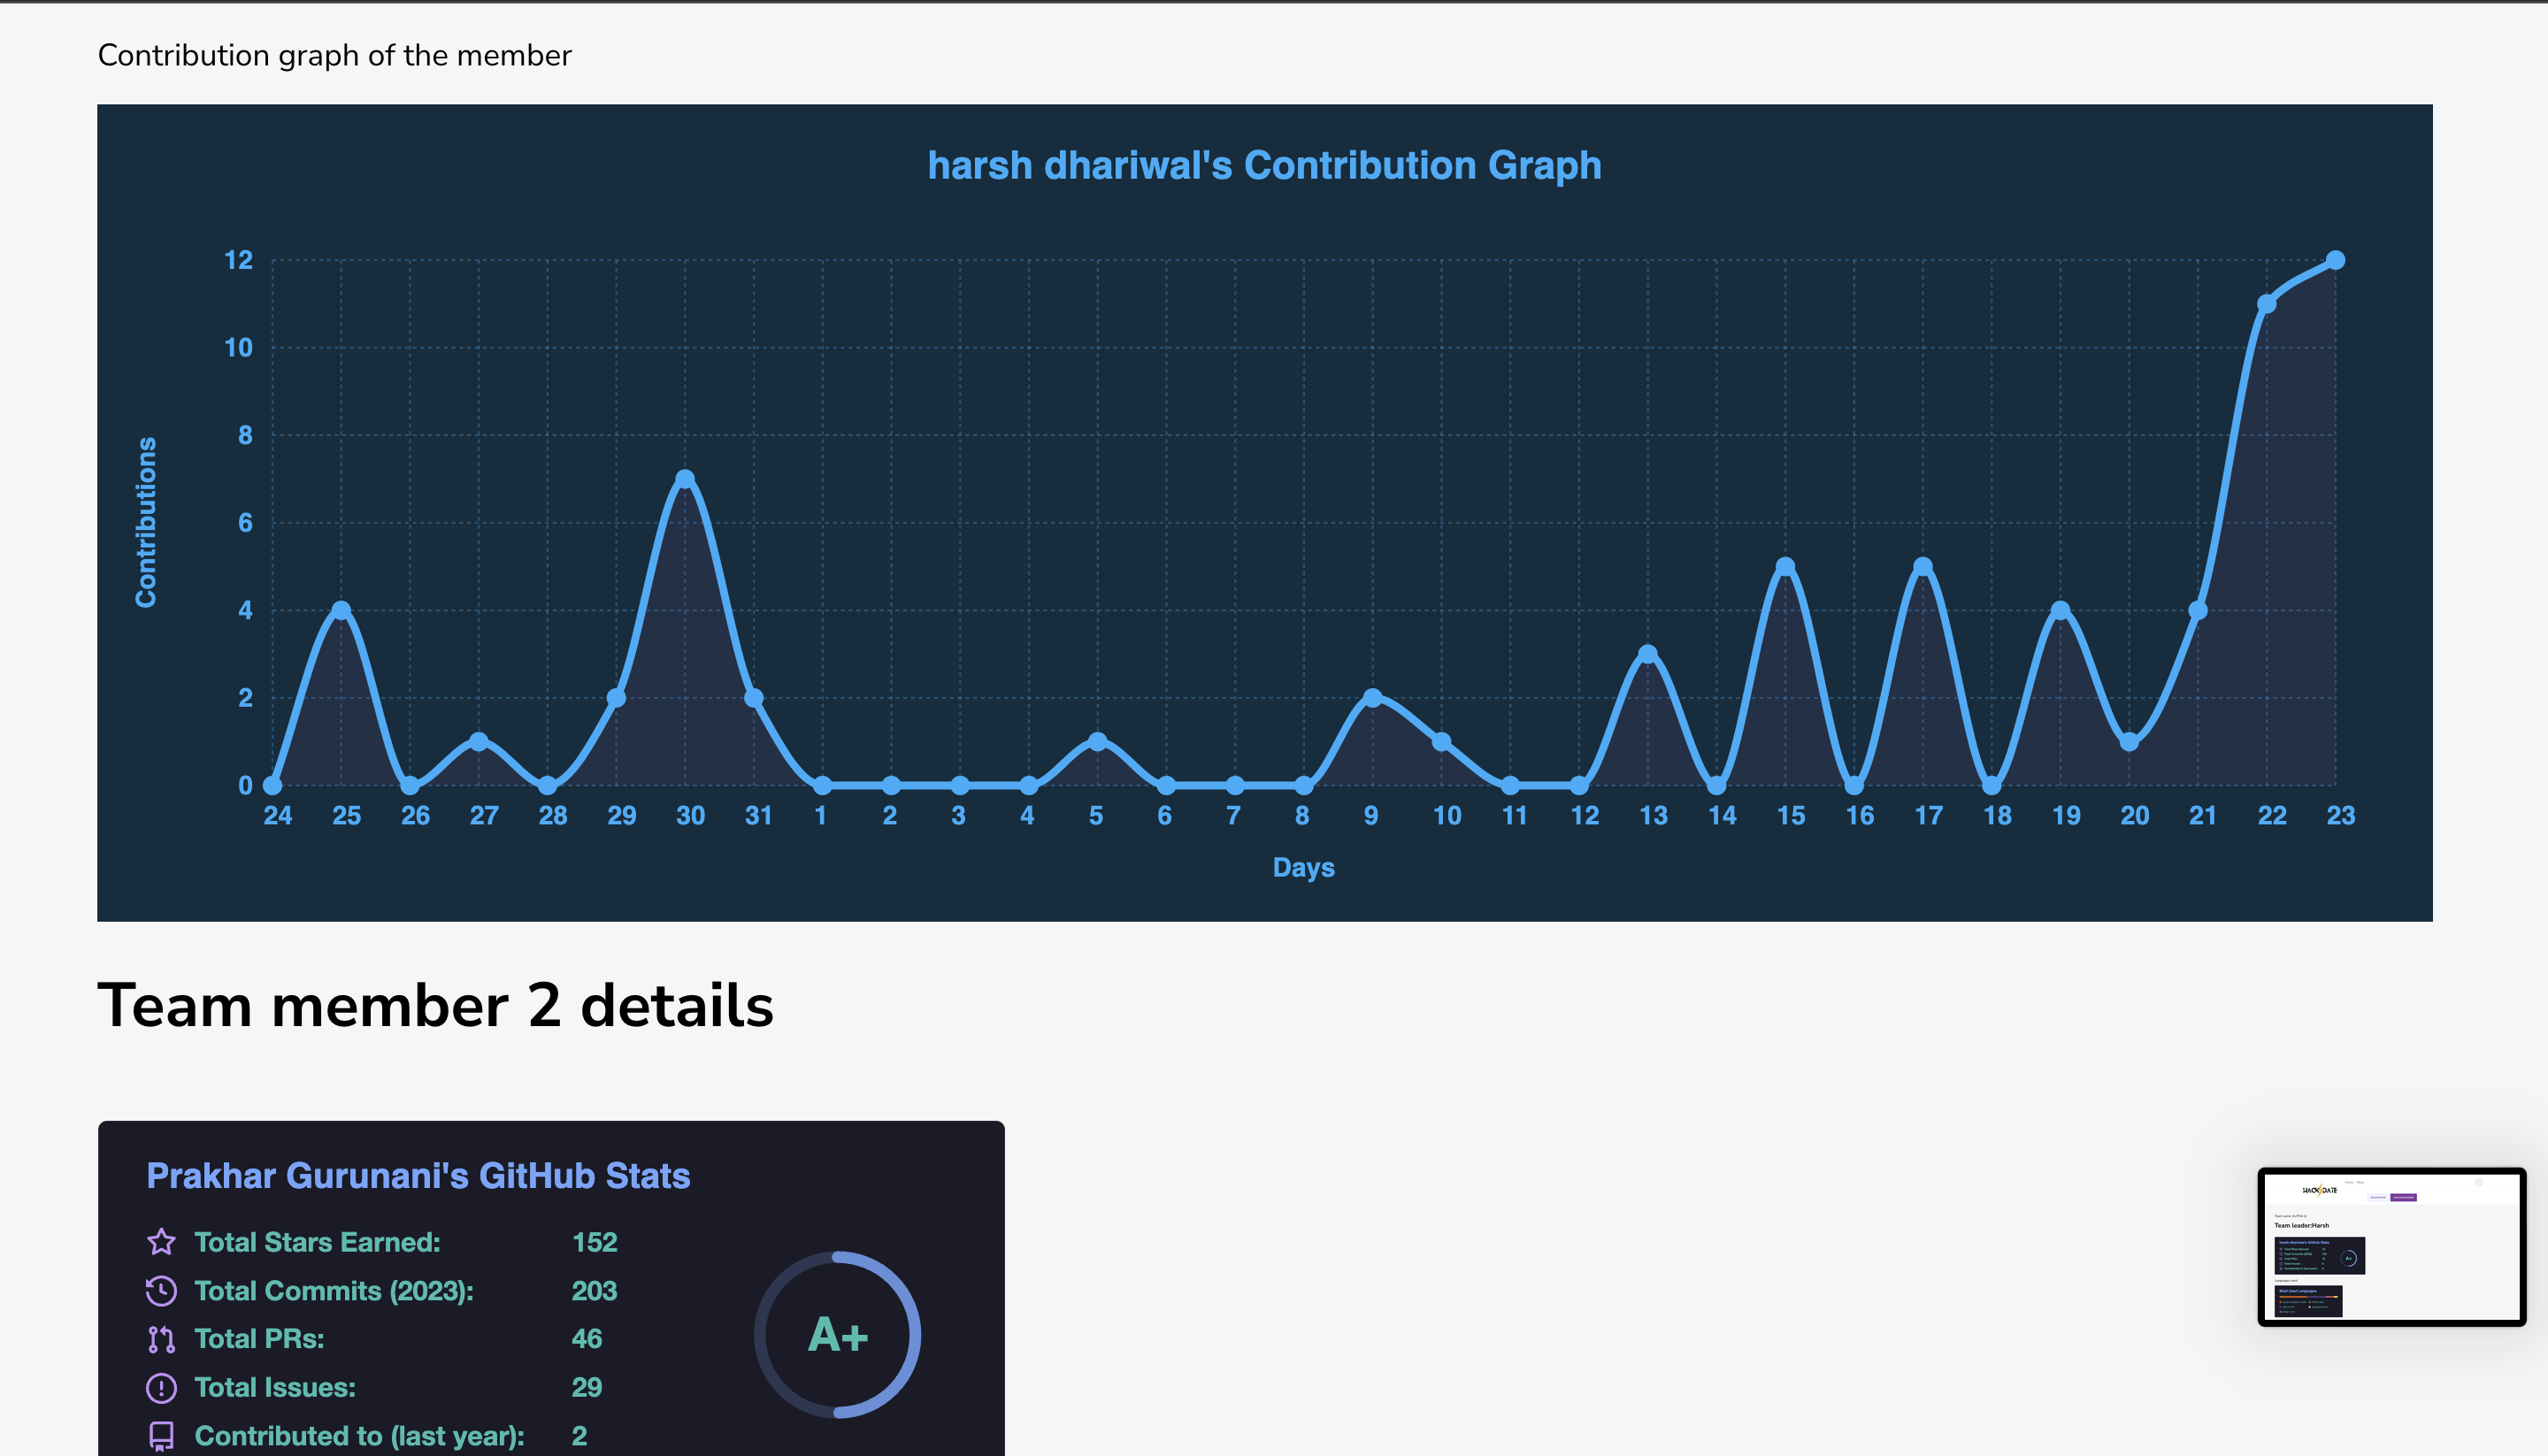
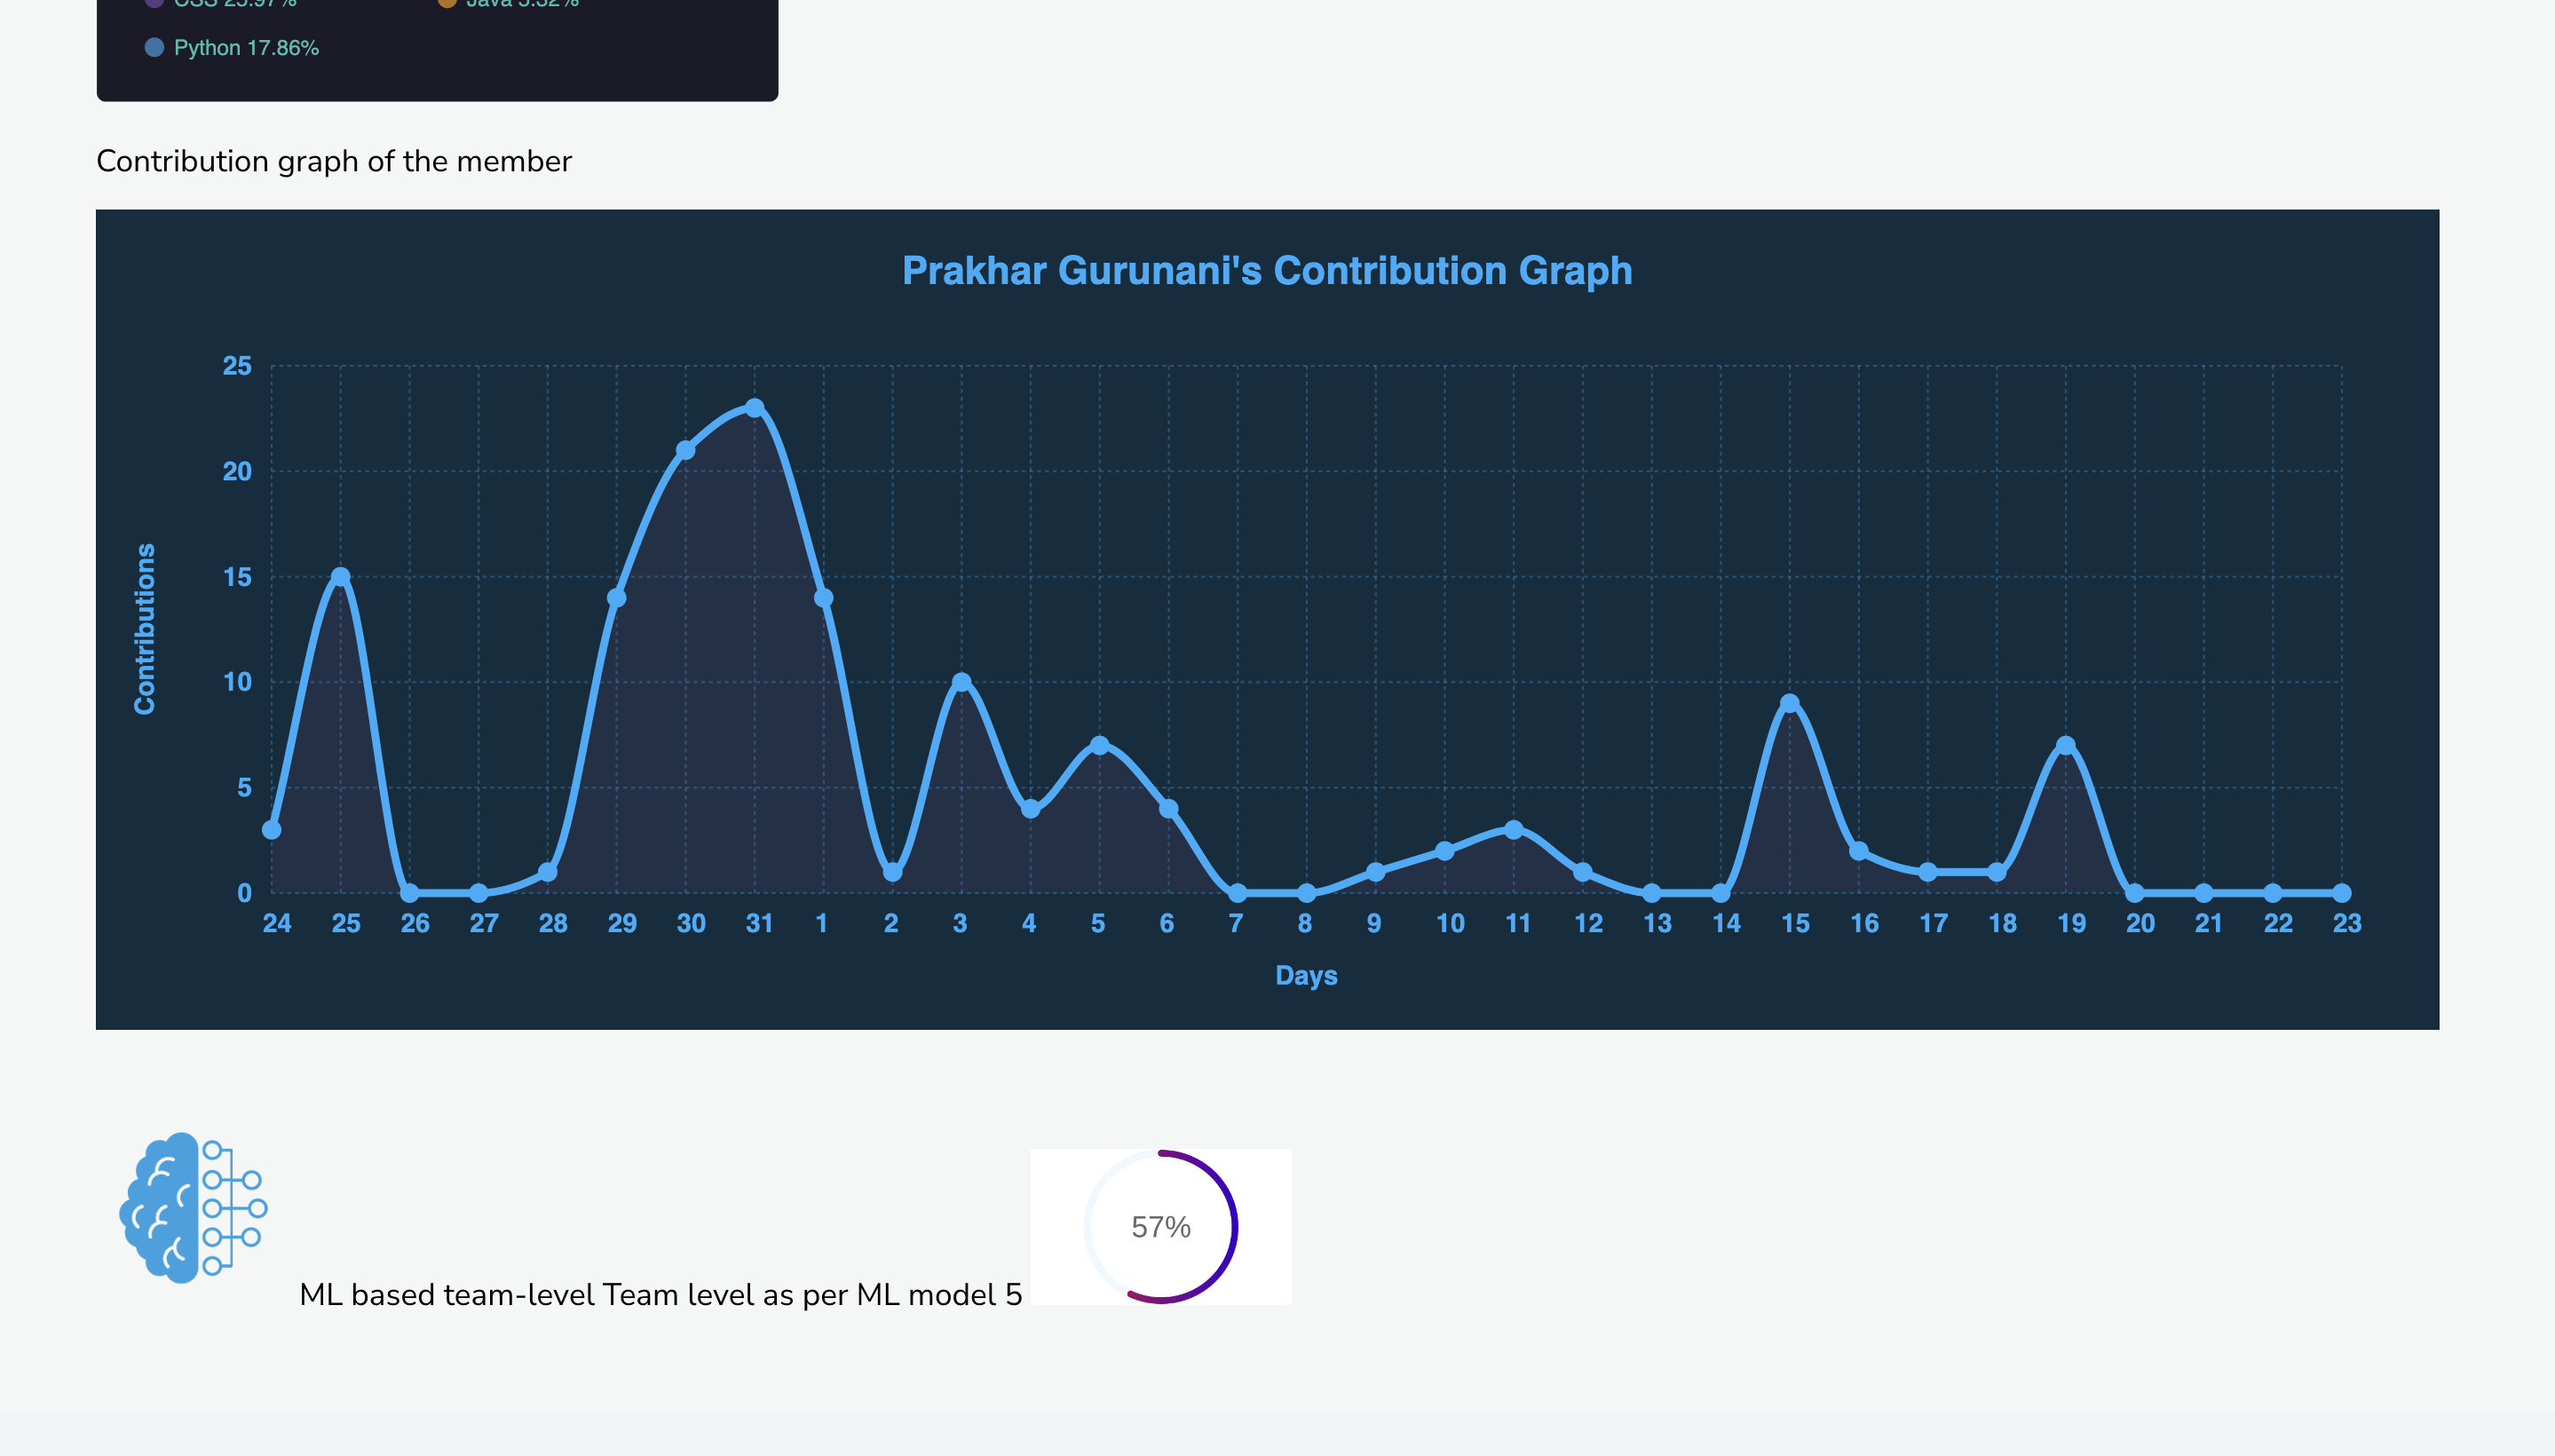
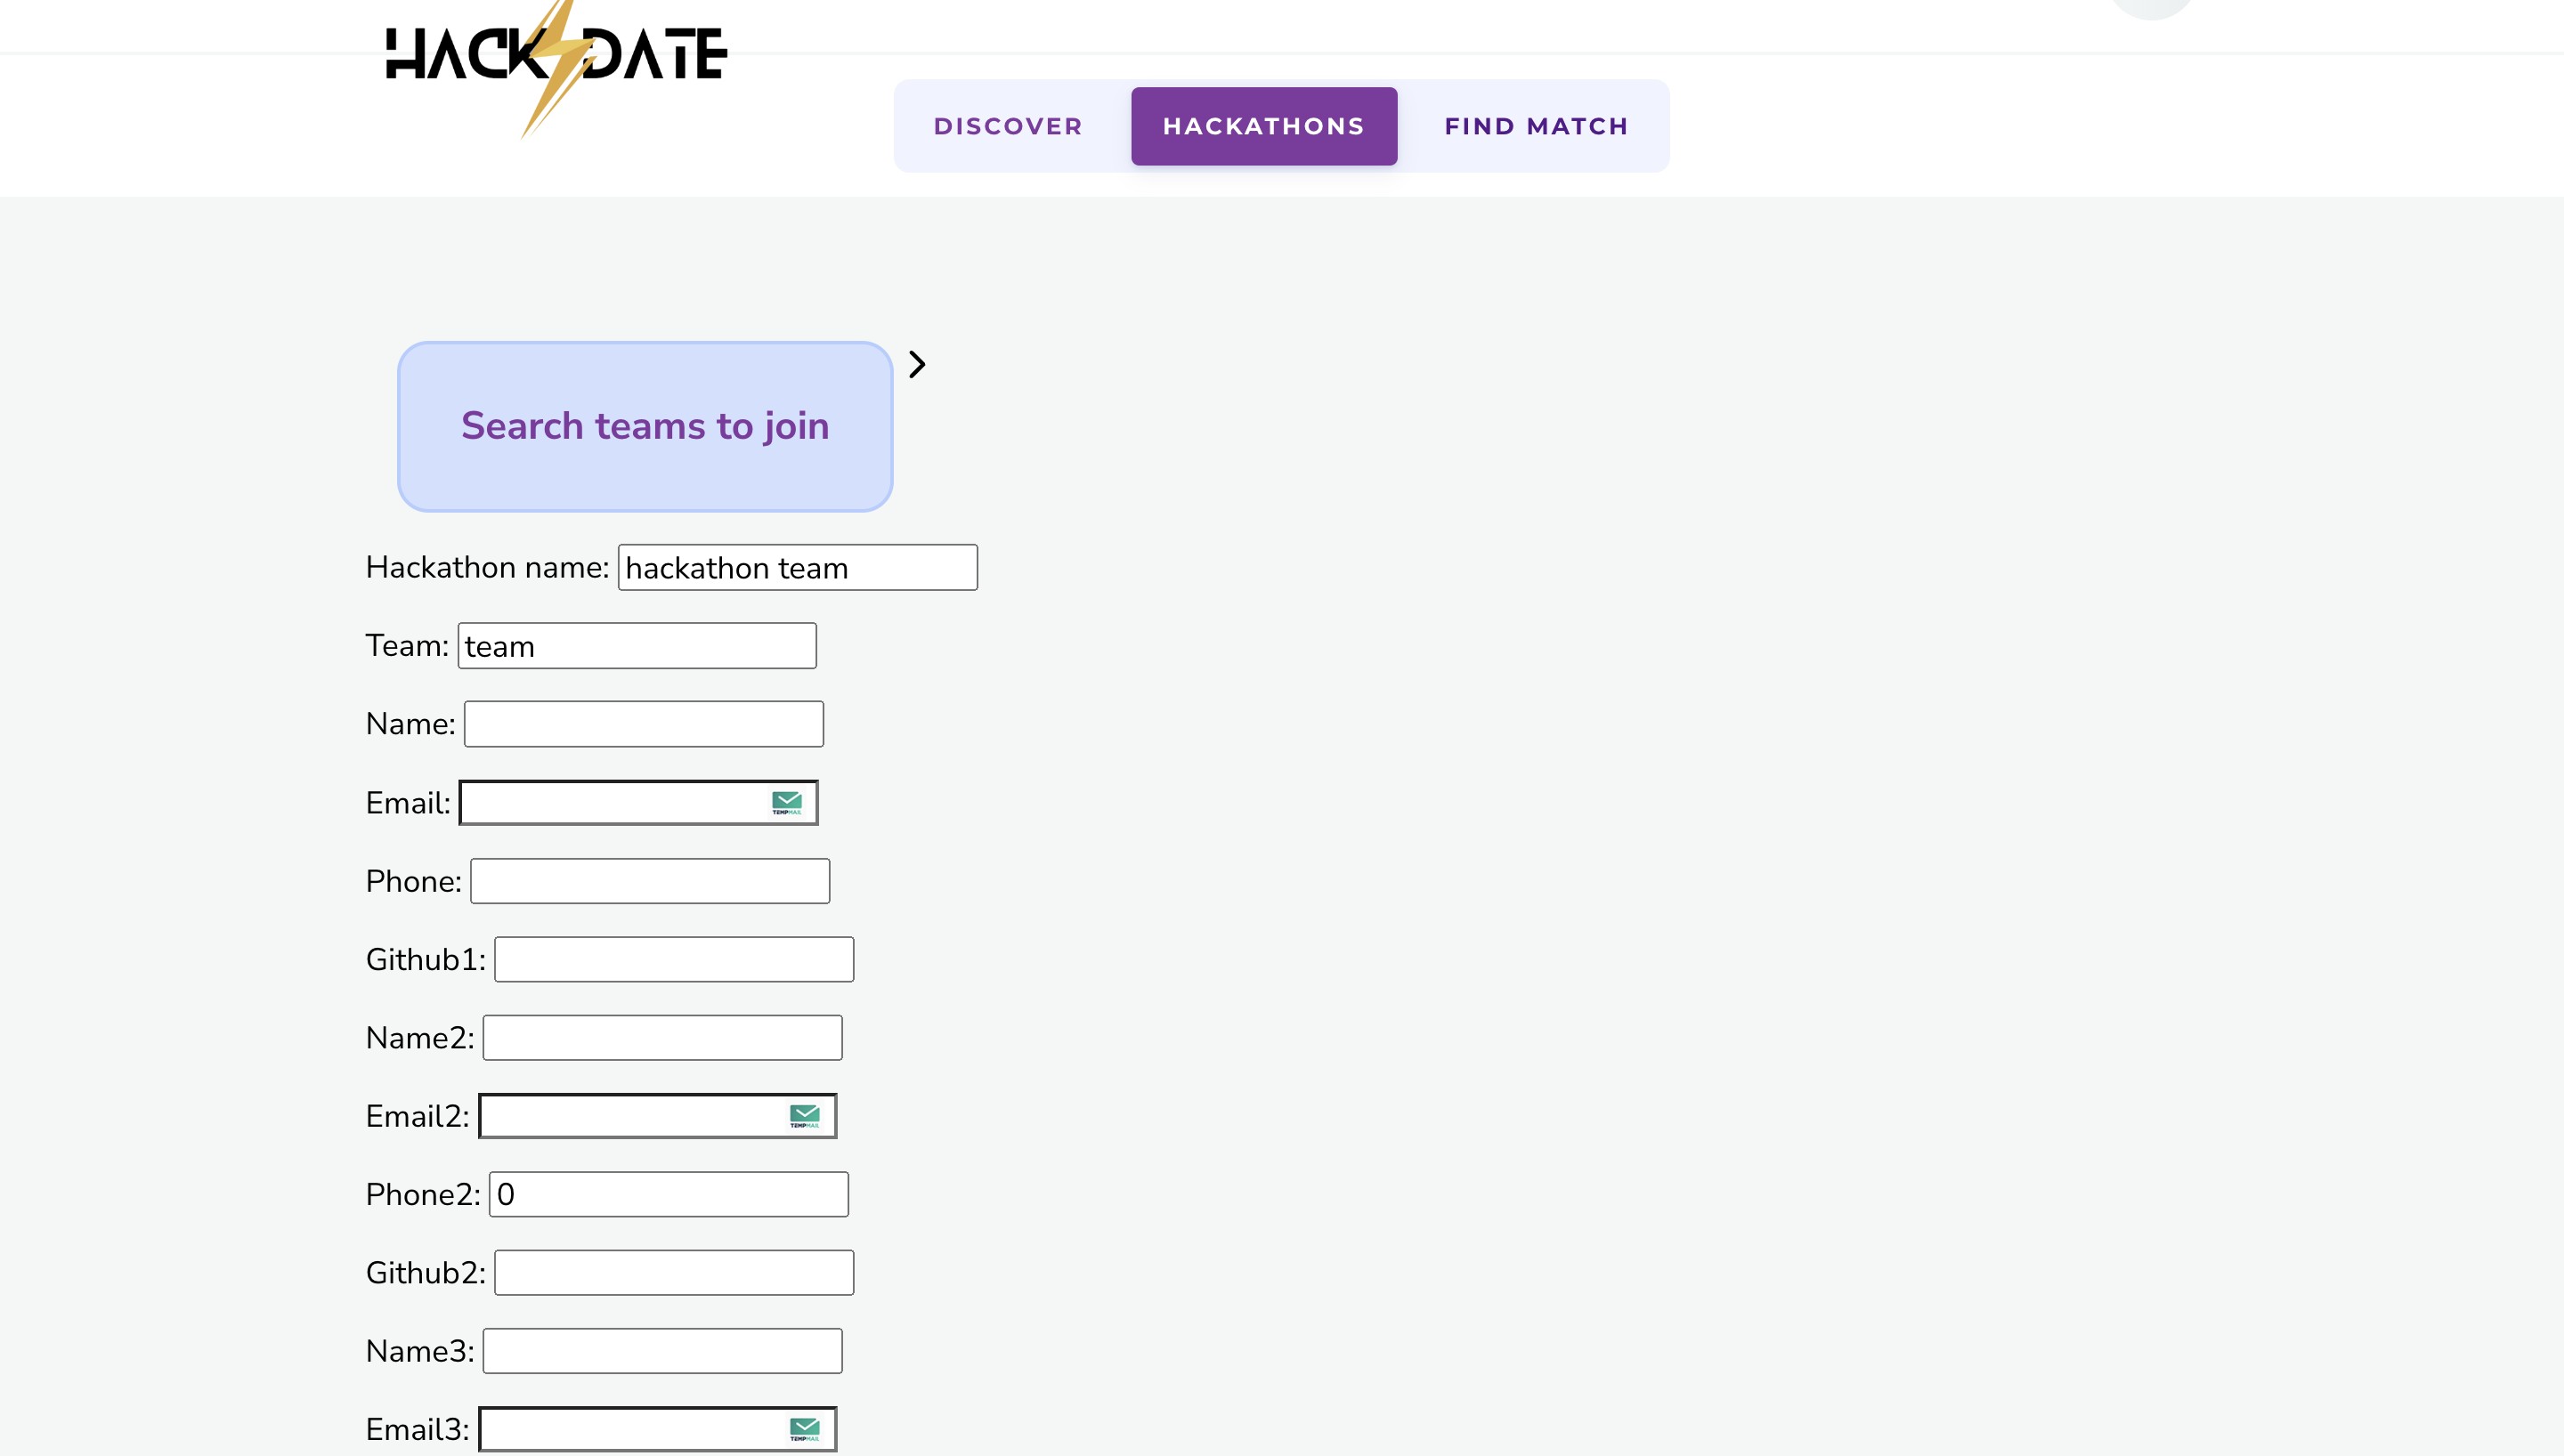
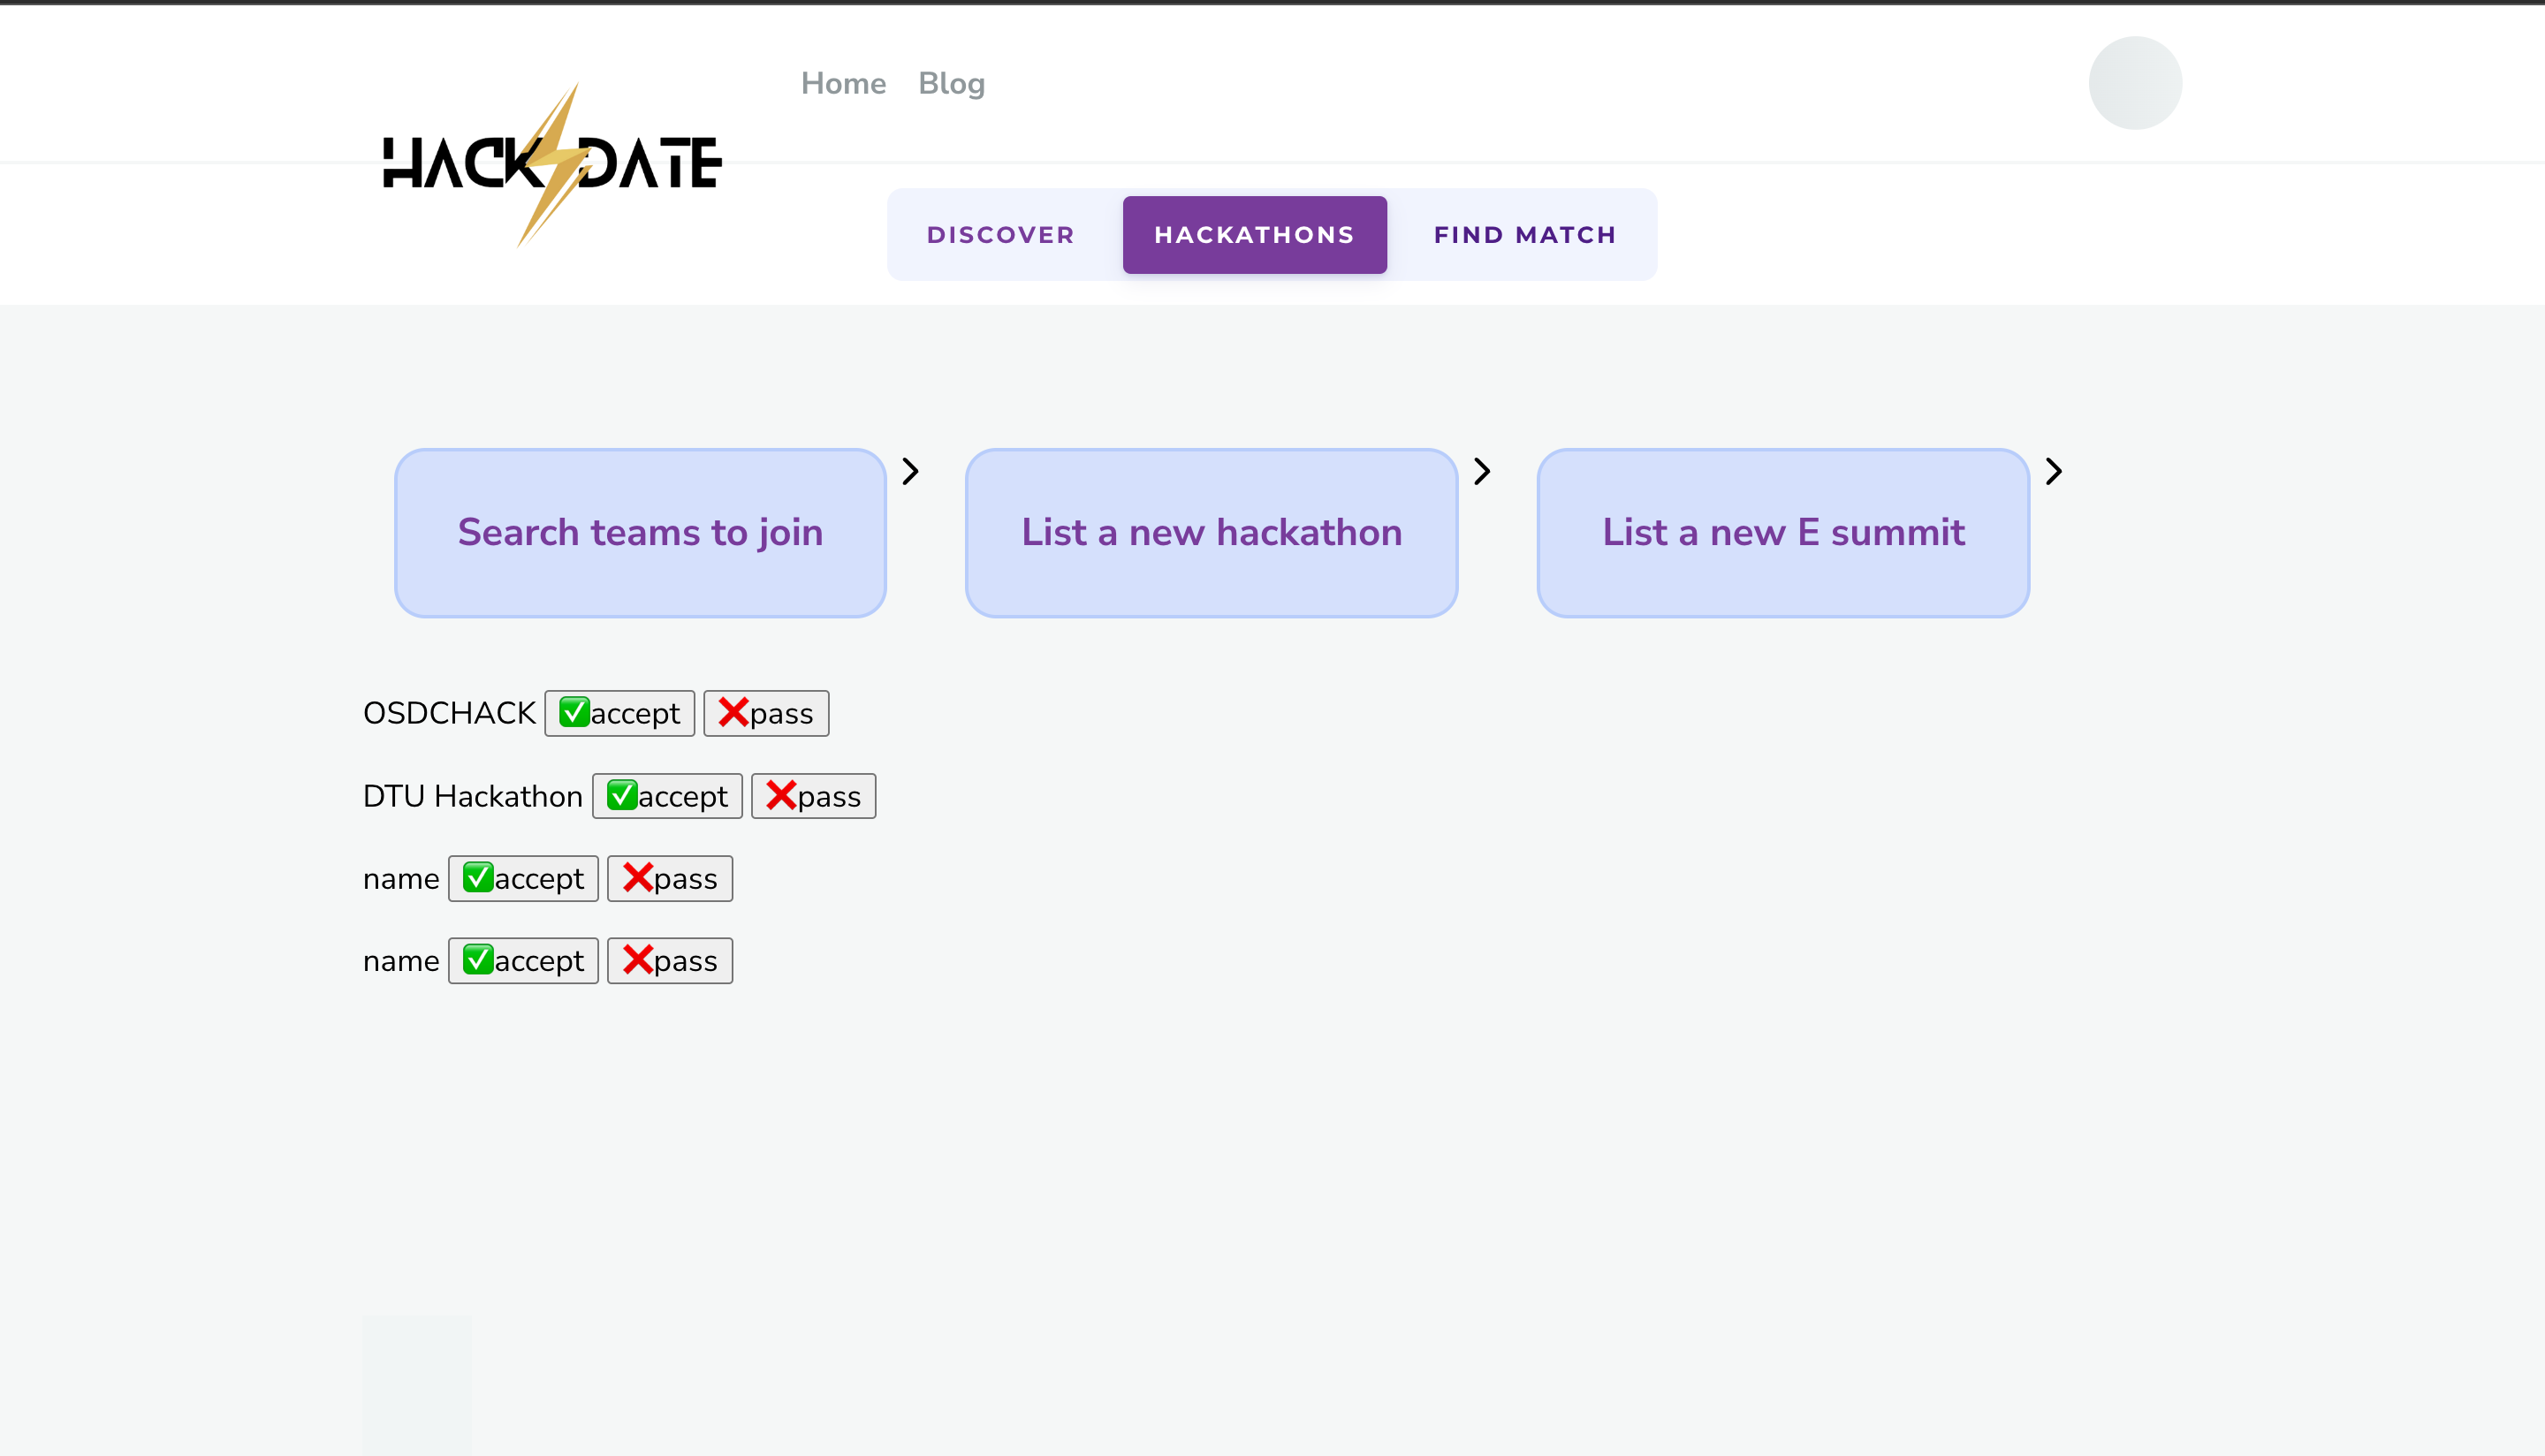
Project screenshots

Step 1: Install Python and pip
Before you can install Django, you need to have Python and pip installed on your system. You can download the latest version of Python from the official Python website: https://www.python.org/downloads/. Pip should come bundled with Python, but you can check by running the following command in your terminal:
python3 -m pip --version
Step 2: Create a virtual environment
It is good practice to create a virtual environment for your Django project to avoid version conflicts with other Python projects on your machine. To create a virtual environment, run the following command in your terminal:
python3 -m venv myenv
This will create a new virtual environment named "myenv" in the current directory.
Step 3: Activate the virtual environment
To activate the virtual environment, run the following command in your terminal:
source myenv/bin/activate
You should see the name of your virtual environment in your terminal prompt.
Step 4: Install Django
With your virtual environment activated, you can now install Django using pip:
pip install django
This will install the latest version of Django.
Step 5: Create a new Django project
To create a new Django project, run the following command in your terminal:
Copy code django-admin startproject myproject This will create a new Django project named "myproject" in the current directory.
Step 6: Run the development server
To run the development server, navigate to the project directory and run the following command in your terminal:
python manage.py runserver
This will start the development server on http://127.0.0.1:8000/.
Step 7: Create a new app
To create a new app within your Django project, run the following command in your terminal:
python manage.py startapp myapp
This will create a new app named "myapp" in the project directory.
Step 8: Update the settings
In the "settings.py" file in your project directory, add your app to the INSTALLED_APPS list:
INSTALLED_APPS = [ 'myapp', ...]
Step 9: Create database tables
To create the database tables for your project, run the following command in your terminal:
python manage.py migrate
Step 10: Create a superuser
To create a superuser for the Django admin, run the following command in your terminal:

python manage.py createsuperuser
Follow the prompts to create a username and password for the superuser.
Congratulations! You have now installed and set up a Django project on your local machine. You can start building your web application by adding views, templates, and models to your app. To learn more about Django, check out the official Django documentation: https://docs.djangoproject.com/en/3.2/.