Recipe Nest is a full-stack web application designed to connect chefs and food lovers. It serves as a platform for sharing recipes, showcasing culinary talents and fostering a culinary community.
- Guest and Authenticated Views: Separate interfaces for food lovers and registered chefs.
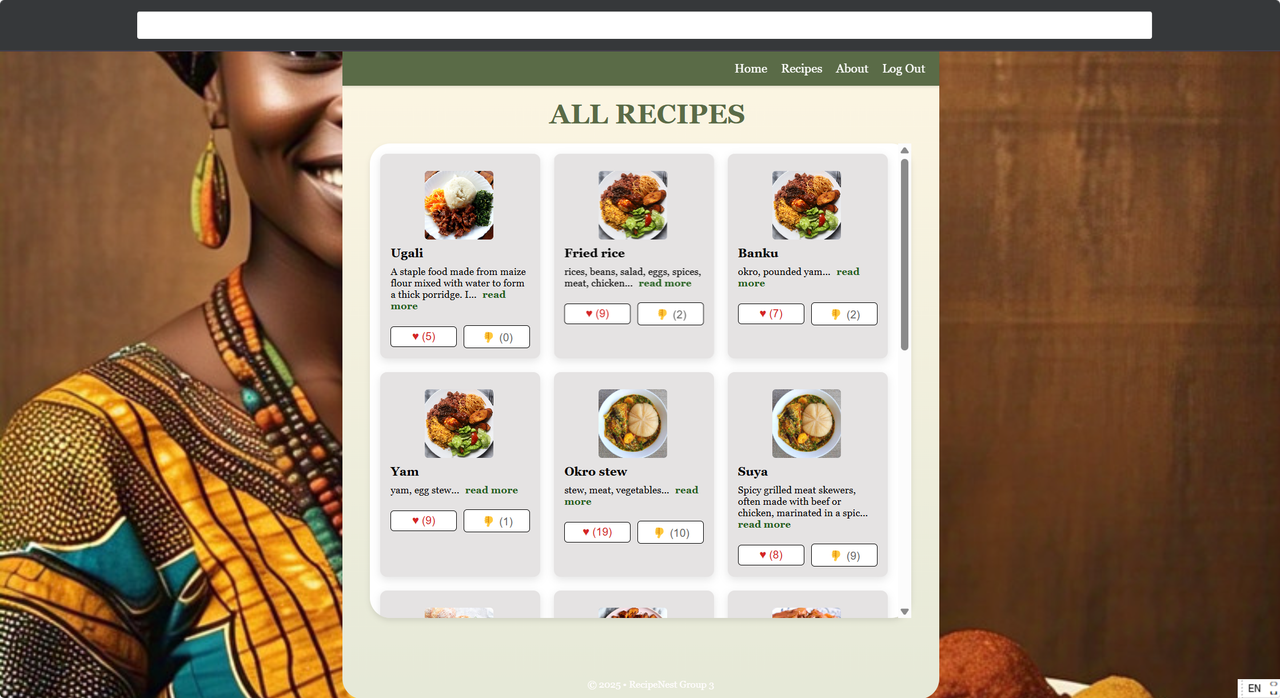
- Recipe Management: View, add, edit and delete recipes.
- Chef Profiles: Explore chef profiles and their recipes.
- Interactive UI: Carousel for top chefs, responsive design and dynamic content loading.
- Social Sharing: Share recipes on social media platforms.
- Likes/Dislike Counts: Like and Dislike recipes.
- Authentication: Secure login and registration using JWT.
- API Endpoints: RESTful APIs for managing chefs, recipes, and user interactions.
- Database Integration: SQLite database for storing user, recipe, and chef data.
- Entity Framework Core: Used for database migrations and data access.
- React: For building the user interface.
- React Router: For navigation and routing.
- CSS: Custom styles for a visually appealing design.
- Vite: For fast development and build processes.
- ASP.NET Core: For building the API.
- Entity Framework Core: For database management.
- SQLite: Lightweight database for development.
- Node.js v22.15.0 or higher
- npm v10.9.2 or higher
- ASP.NET SDK v6.0 or higher
- SQLite extension
- Visual Studio Code
- Download and install all prerequisites
- Verify the Node.js version: Use command
node -vwhich should print "v22.15.0". - Verify npm version: Use command
npm -vwhich should print "10.9.2".
-
Clone the repository:
git clone https://github.com/techgirldiaries/RecipeNest.git
-
Navigate to the backend directory:
cd RecipeNestAPI -
Run the backend:
dotnet run --launch-profile http
-
Open the application for backend at http://localhost:5120 by ctrl + click on the Link .
-
Open a new terminal and Navigate to the front-end directory:
cd recipe-nest -
Install frontend dependencies:
npm install
-
If you are encountering issues while installing frontend dependencies, try this method:
npm install --legacy-peer-deps
-
Run the frontend:
npm run dev
-
To open the application in the Local (browser view) and Network (mobile view), ctrl + click on the links.
- POST /api/auth/login: Login a user.
- POST /api/auth/register: Register a new user.
- GET /api/auth/recipes/all: Fetch all recipes.
- POST /api/auth/recipes: Add a new recipe.
- DELETE /api/auth/recipes/{id}: Delete a recipe.
- GET /api/auth/chefs: Fetch all chefs.
- GET /api/auth/chefs/{id}: Fetch a specific chef's profile.
-
Guest/Food Lover:
- Log in with any email to browse recipes.
- View chef profiles and their recipes.
- Like or dislike recipes as a guest.
-
Registered Users:
- Create an account and log in as a chef.
- Add, edit or delete your own recipes.
- View and manage your profile.
- Change account settings
- Interact with other chefs' recipes.
-
Chef Features:
- Access the dashboard to manage account and recipes.
- View analytics for guest or food lover interactions.

To contribute:
-
Fork the repository.
-
Create a new branch for your feature or bug fix:
git checkout -b feature-name
-
Commit your changes and push to your fork:
git commit -m "Description of changes" git push origin feature-name -
Submit a pull request to the main repository.
Please ensure your code follows the project's coding standards and includes relevant tests.
To run tests for the backend:
-
Navigate to the
RecipeNestAPIdirectory:cd RecipeNestAPI -
Run the tests using the .NET CLI:
dotnet test
To test the frontend:
-
Navigate to the
Recipe-nestdirectory:cd .. then, cd Recipe-nest
-
Run the tests using npm:
npm test
To deploy Recipe Nest:
-
Build the frontend:
cd src
npm run build
This will generate a
distfolder with the production-ready frontend. -
Publish the backend:
cd ../RecipeNestAPI
dotnet publish -c Release -o ./publish
This will generate a
publishfolder with the production-ready backend. -
Deploy both the frontend and backend to your hosting provider (e.g., Azure, AWS, or Heroku).
- Add recipe ratings and reviews.
- Implement a subscription model for premium features.
- Introduce a mobile app version.
- Nodejs for the frontend framework.
- React with Vite for the frontend framework.
- ASP.NET Core for the backend framework.
- .NET CLI to run backend development
- Microsoft Entity Framework
- SQLite for the database.
Q: Can I use Recipe Nest without registering?
A: Yes, guests can browse recipes and interact with them without creating an account.
Q: How do I reset my password?
A: Use the "Forgot Password" link on the login page to reset your password.
Licensed under the PolyForm Noncommercial License - Commercial use is prohibited
Copyright (c) 2025 Oluwakemi Obadeyi