How to Use YoloV5 With Custom Label and Dataset
Clone this repo and install requirements.txt dependencies, including Python>=3.8 and PyTorch>=1.7.
$ git clone https://github.com/ultralytics/yolov5  # clone repo
$ cd yolov5
$ pip install -r requirements.txt  # install
In your dataset folder you need to create two sub folders images and labels -

In both images and labels folders you need to create two additional folders train and val -
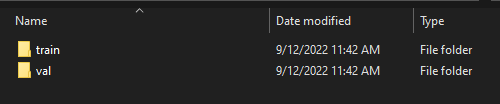
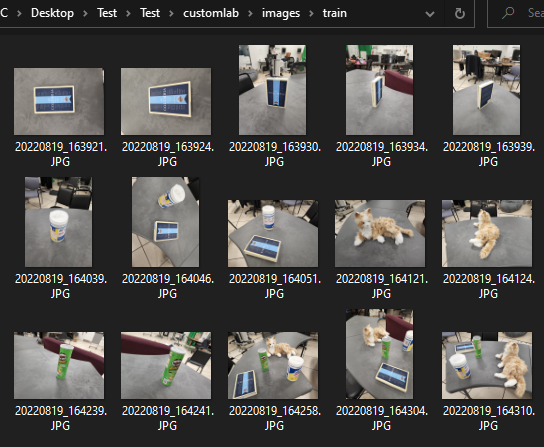
Keep your training images in images/train folder and validation images in images/val folder-
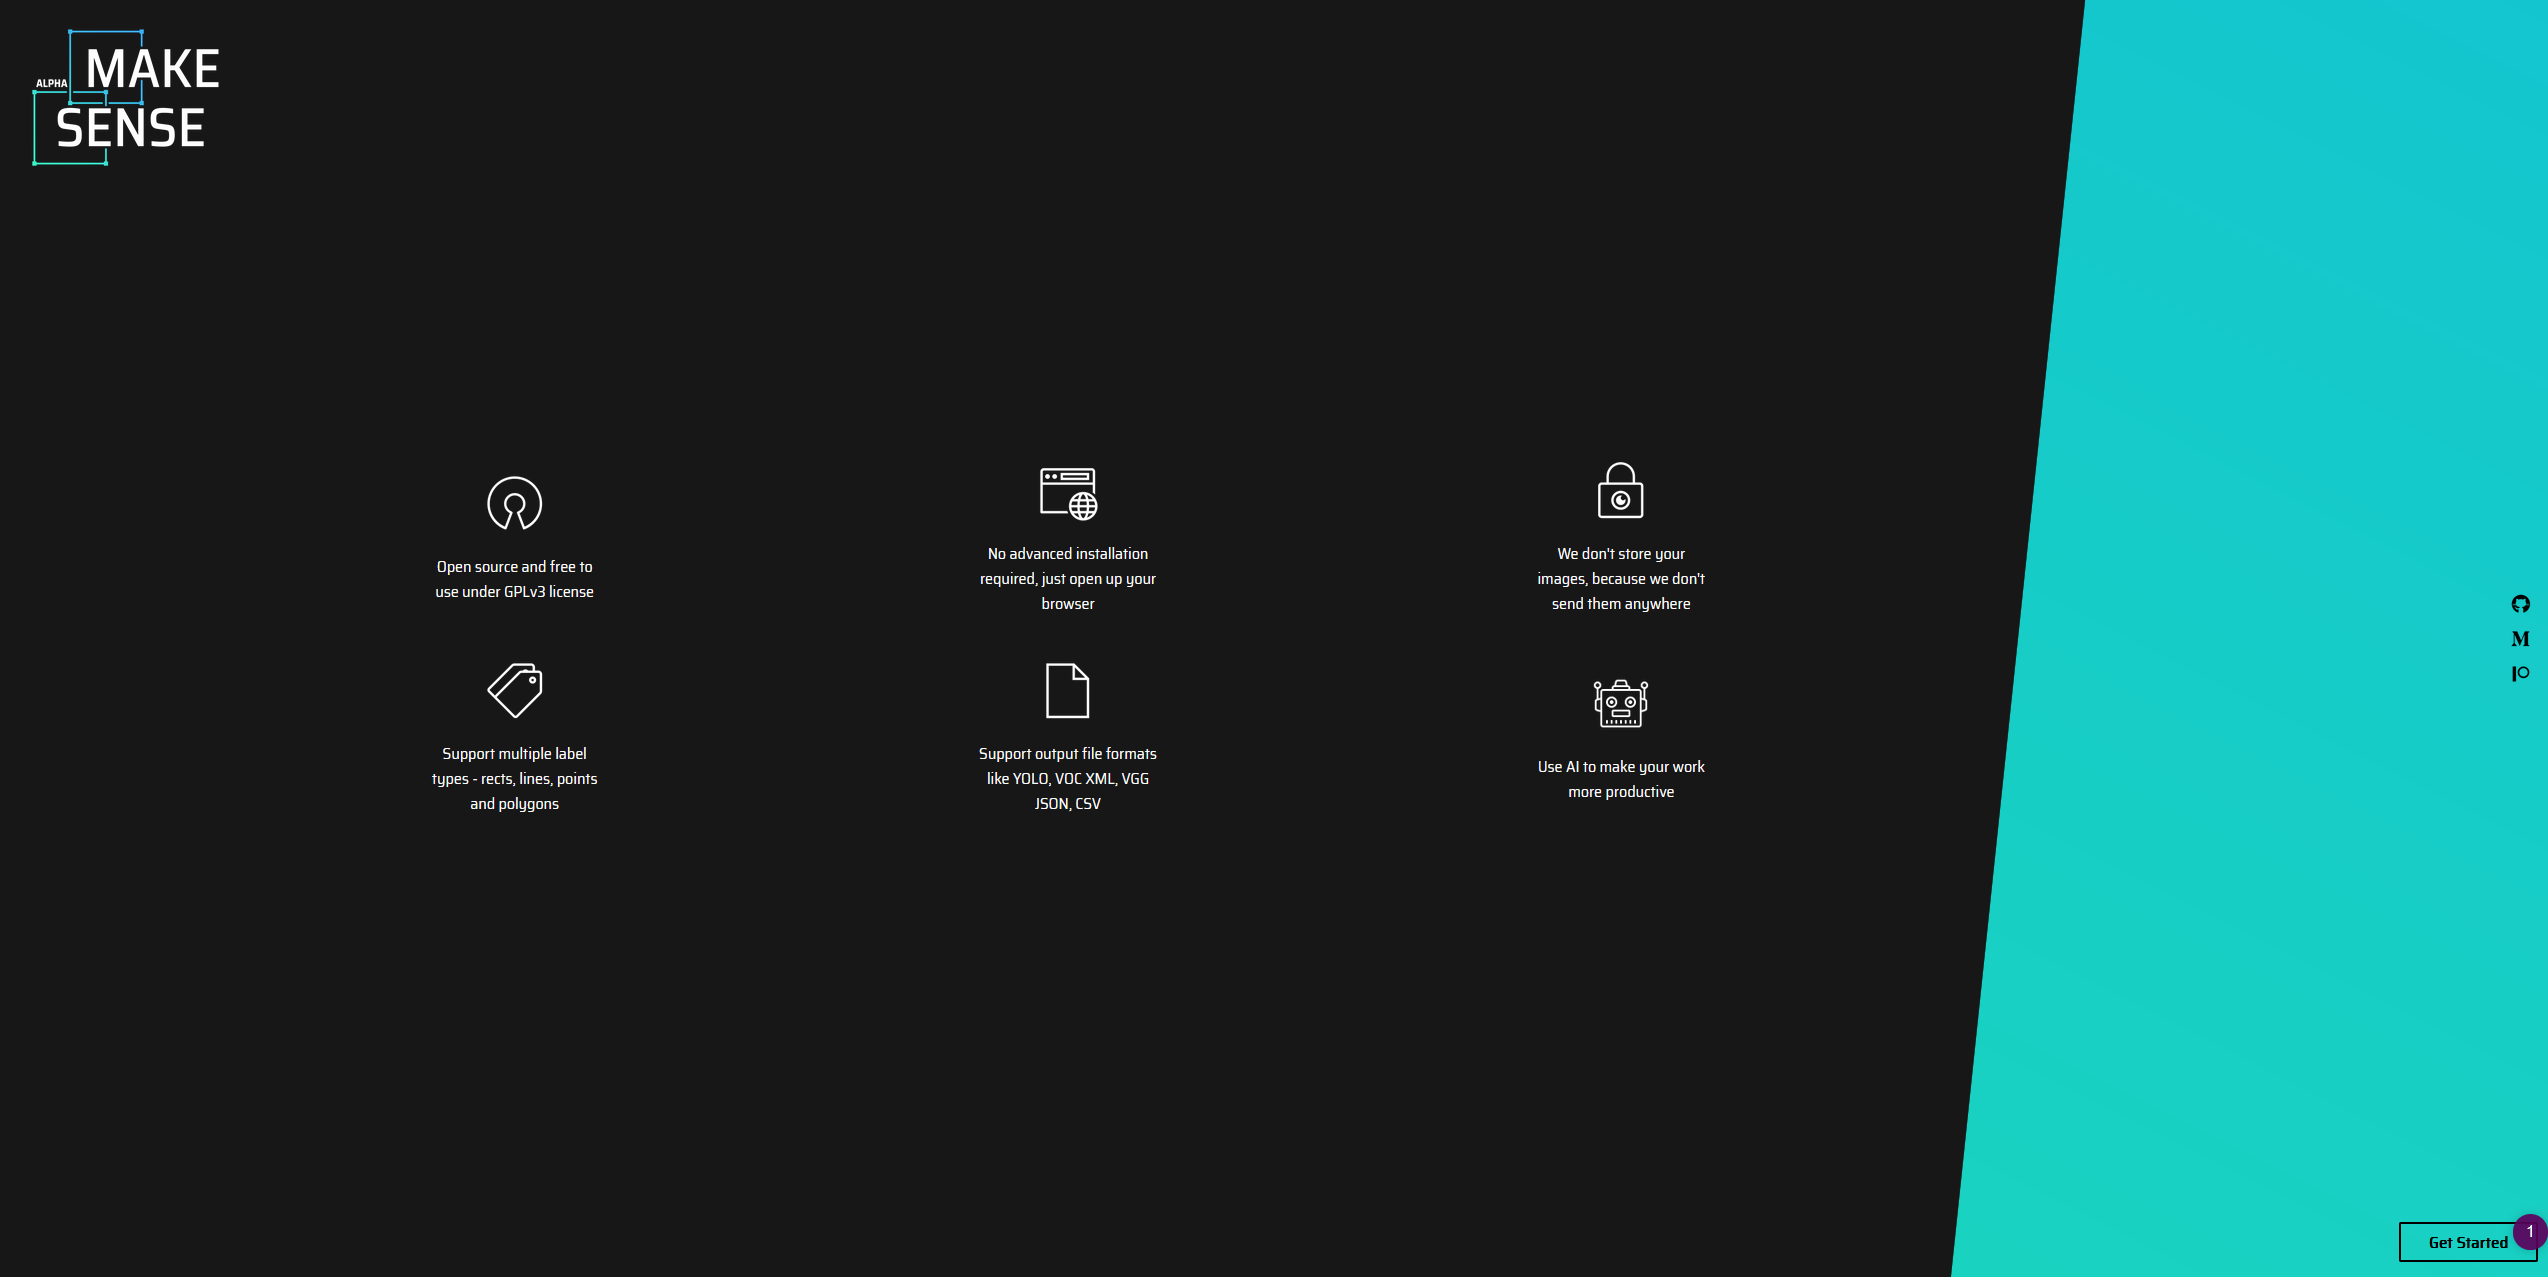
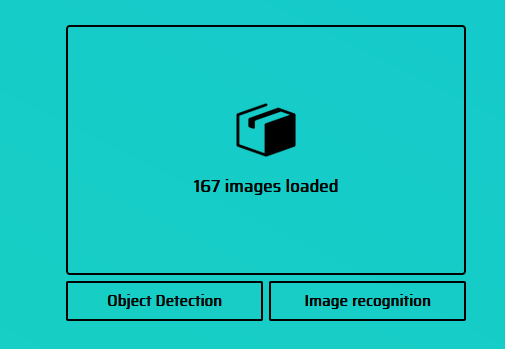
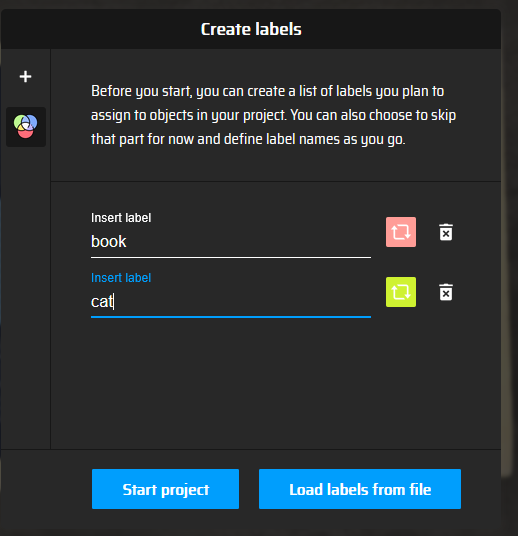
For this you can use makesense.ai
You can drag and drop your entire training data here and select object detection. (Note that you should annotate train and val data separately to avoid mix up)
Add labels that you want to detect. Note down the order of labels you are inputting because the annotation will index in that way. (For example - 0 for book, 1 for cat)
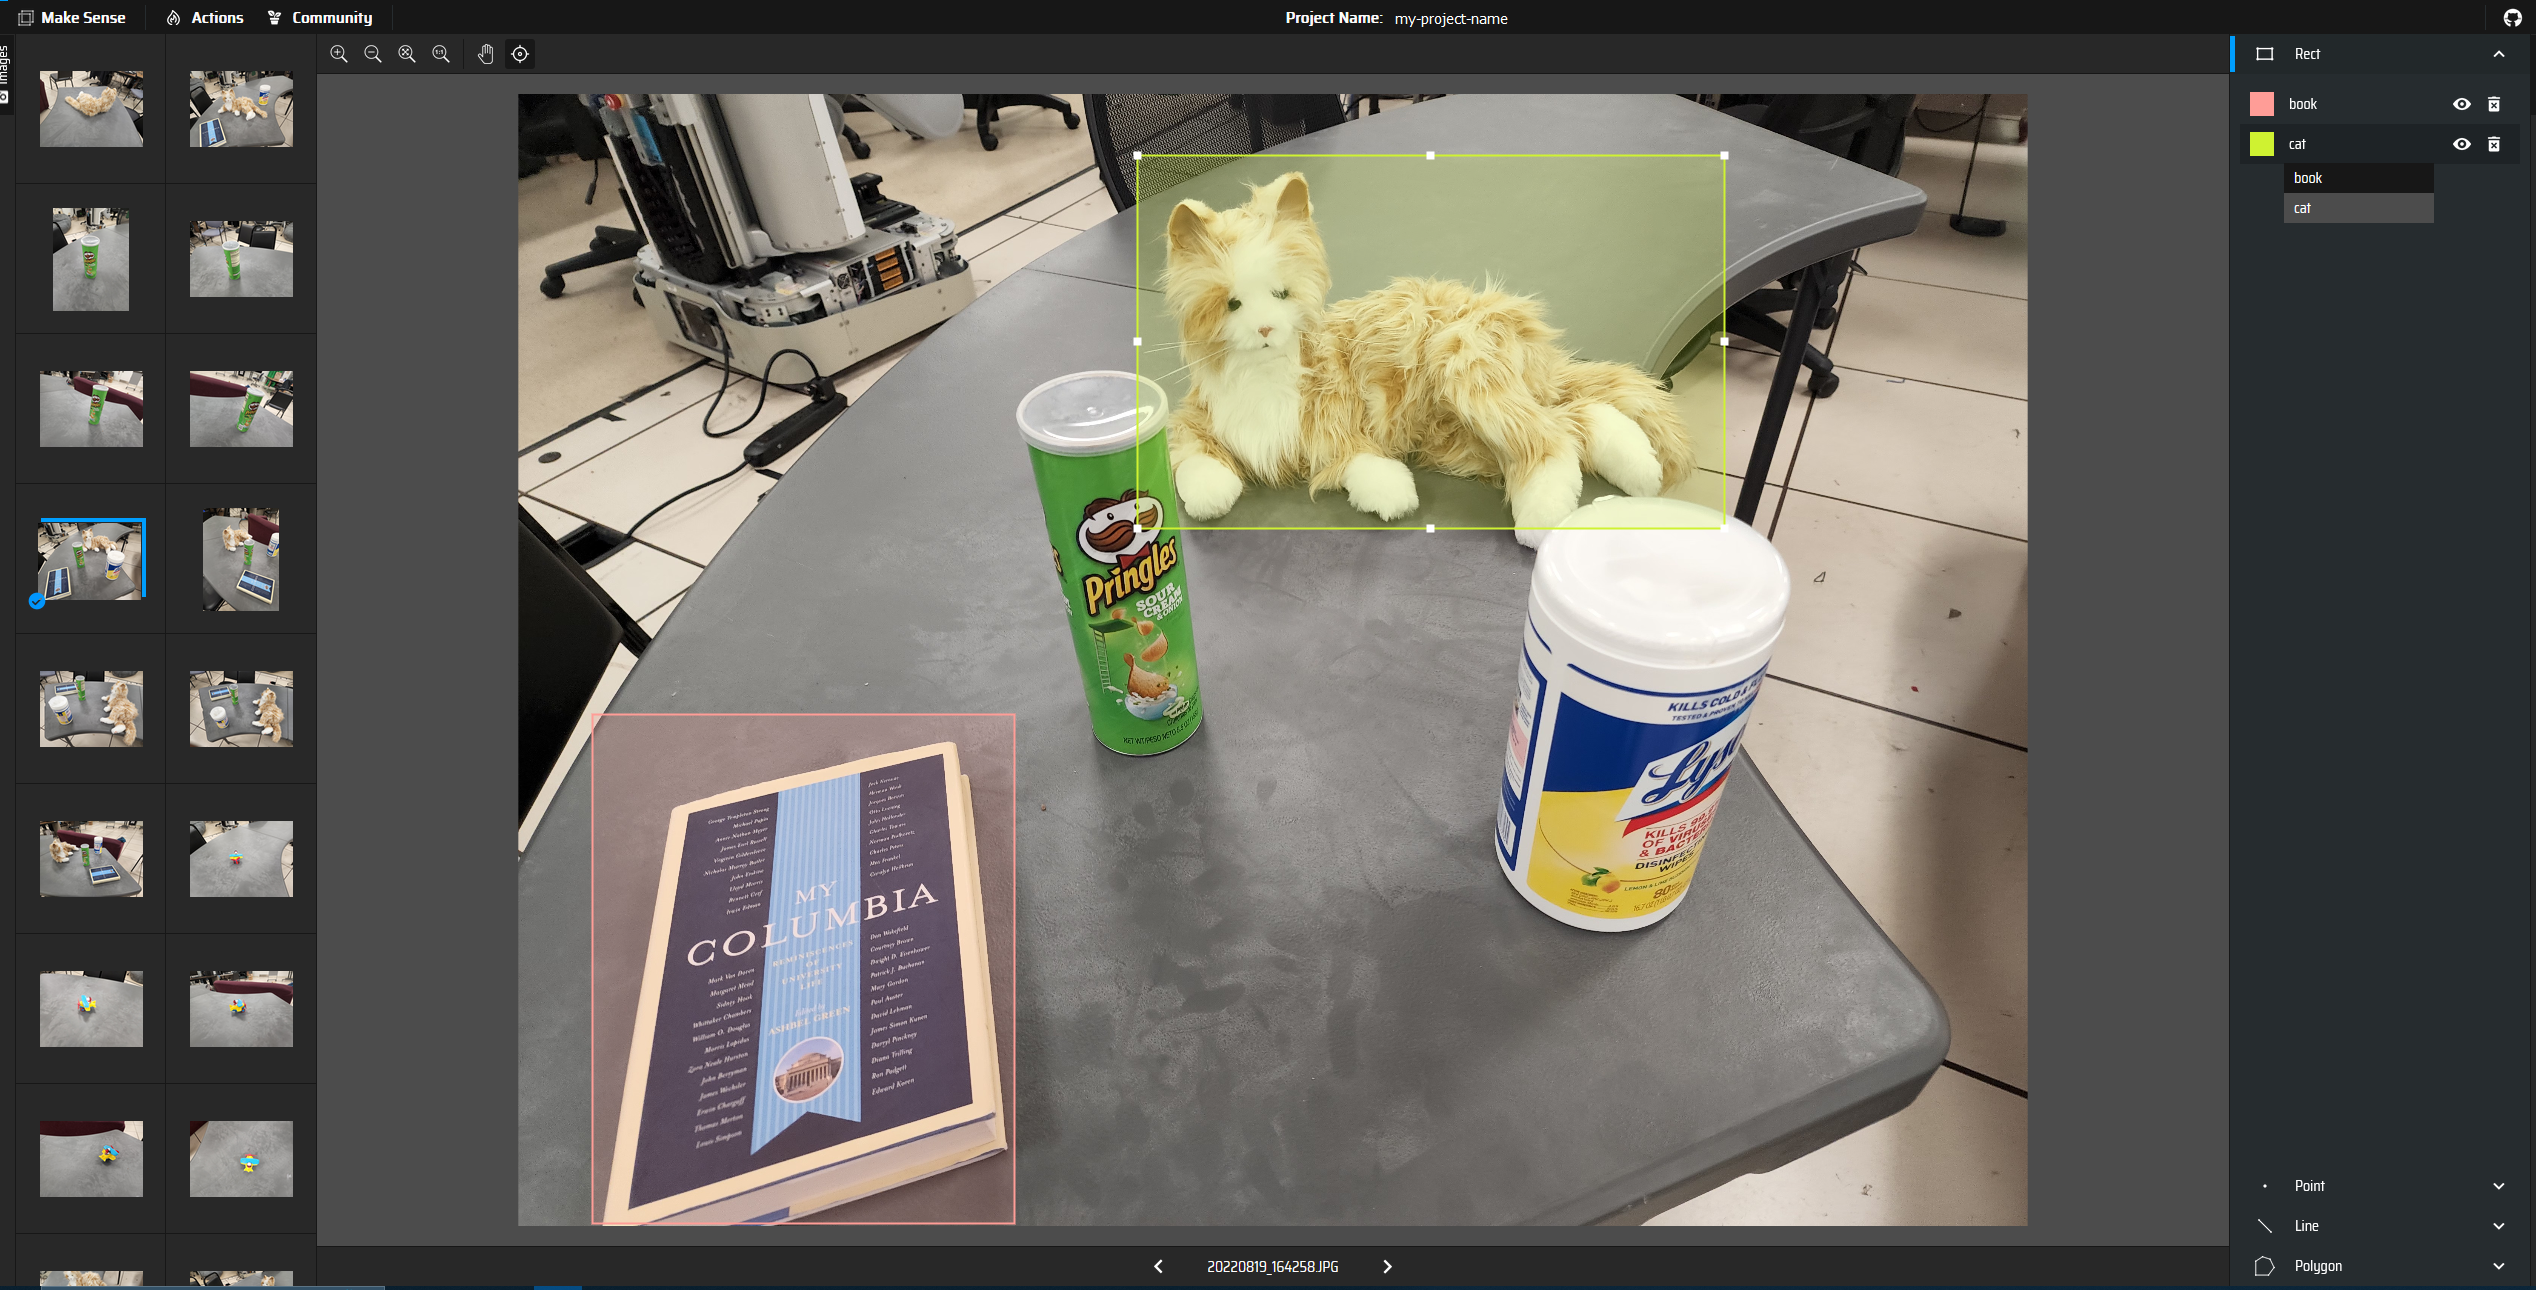
Use mouse to draw bounding box and add label to each object.
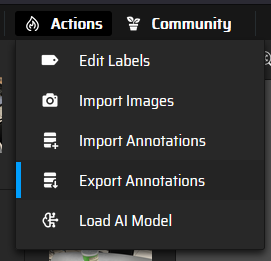
When you are done labeling, export the annotation -
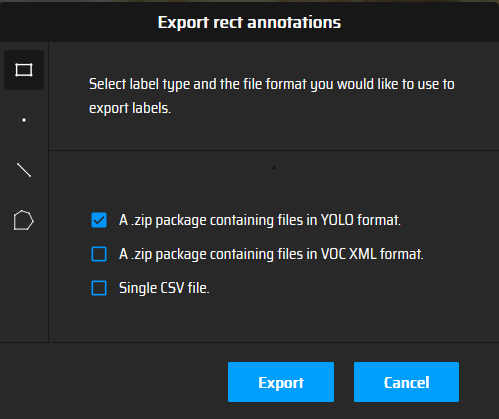
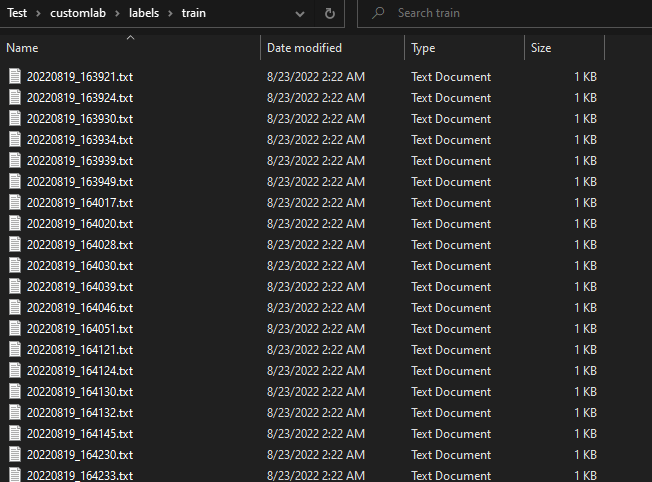
The zip file will contain annotation for each images as .txt format. Move them to appropriate dataset\labels\train or dataset\labels\val folder.
Before you start training, you need to create your custom .yaml file in your {yolov5 repository}/data folder. Example custom.yaml file can be seen below -
path: ../datasets/customlab # dataset root dir
train: images/train  # train images (relative to 'path') 128 images
val: images/val  # val images (relative to 'path') 128 images
test:  # test images (optional)

# Classes
nc: 12  # number of classes
names: ['Cat', 'Columbia Book', 'Robot Book', 'Bowl', 'ToyDuck', 'ToyPlane',
'Pringles','Lyzol', 'BlackPump', 'Chair', 'Microwave', 'Freeze']  # class names
Now you can train your YOLOv5 model on custom dataset by specifying dataset, batch-size, image size and either pretrained --weights yolov5s.pt (recommended), or randomly initialized --weights '' --cfg yolov5s.yaml (not recommended). Pretrained weights are auto-downloaded from the latest YOLOv5 release.
# Train YOLOv5s on custom datasets for 200 epochs
$ python train.py --img 448 --epochs 200 --data custom.yaml --weights yolov5s.pt
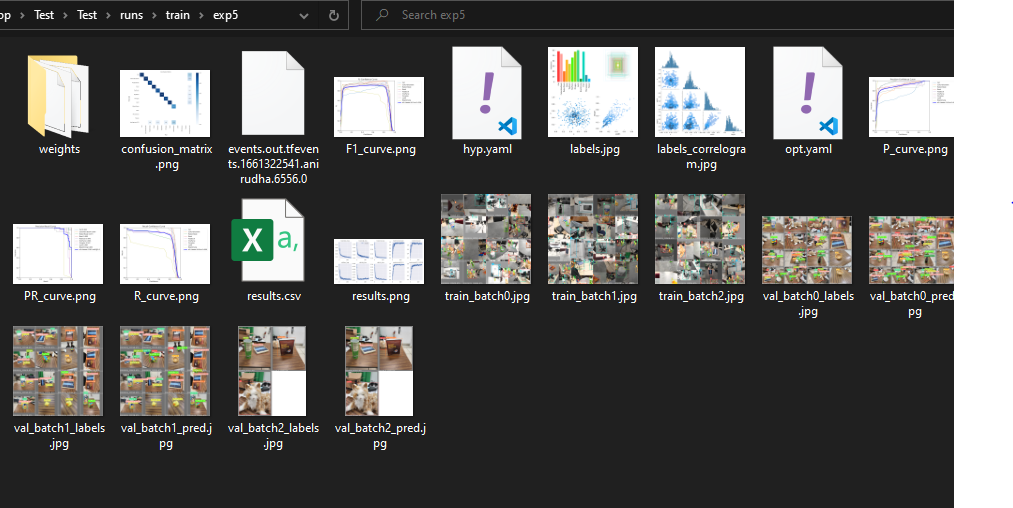
All training results are saved to runs/train/ with incrementing run directories, i.e. runs/train/exp2, runs/train/exp3 etc. I have not specified batch-size cause YoloV5 has a custom method that can auto detect optimize batch size based on CPU and GPU power and VRAM.
After finishing the training you can check your result on run folder
In the weights folder you will find the trained weights -
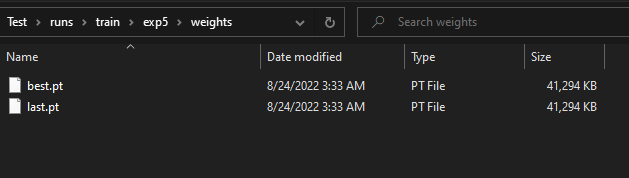
You can easily load these weights in pytorch like this -
model = torch.hub.load('ultralytics/yolov5', 'custom', path='path/to/best.pt')  # default
model = torch.hub.load('path/to/yolov5', 'custom', path='path/to/best.pt', source='local')  # local repo
Now you can train YoloV5 on custom dataset and load the trained model using the weights. You can use this model to do object detection in new image data. Here is an example code
import cv2
import torch
from PIL import Image

# Model
model = torch.hub.load('ultralytics/yolov5', 'custom', path='path/to/best.pt')

# Images
im1 = Image.open('test.jpg')  # PIL image

# Inference
results = model(im1) # batch of images

# Results
results.print()
results.save()  # or .show()

results.xyxy[0]  # im1 predictions (tensor)
results.pandas().xyxy[0]  # im1 predictions (pandas)
#      xmin    ymin    xmax   ymax  confidence  class    name
# 0  749.50   43.50  1148.0  704.5    0.874023      0  person
# 1  433.50  433.50   517.5  714.5    0.687988     27     tie
# 2  114.75  195.75  1095.0  708.0    0.624512      0  person
# 3  986.00  304.00  1028.0  420.0    0.286865     27     tie