Running Code on the Robot
🍏🐧 If you're using MacOS/Linux rather than Windows, unfortunately you can't do this.
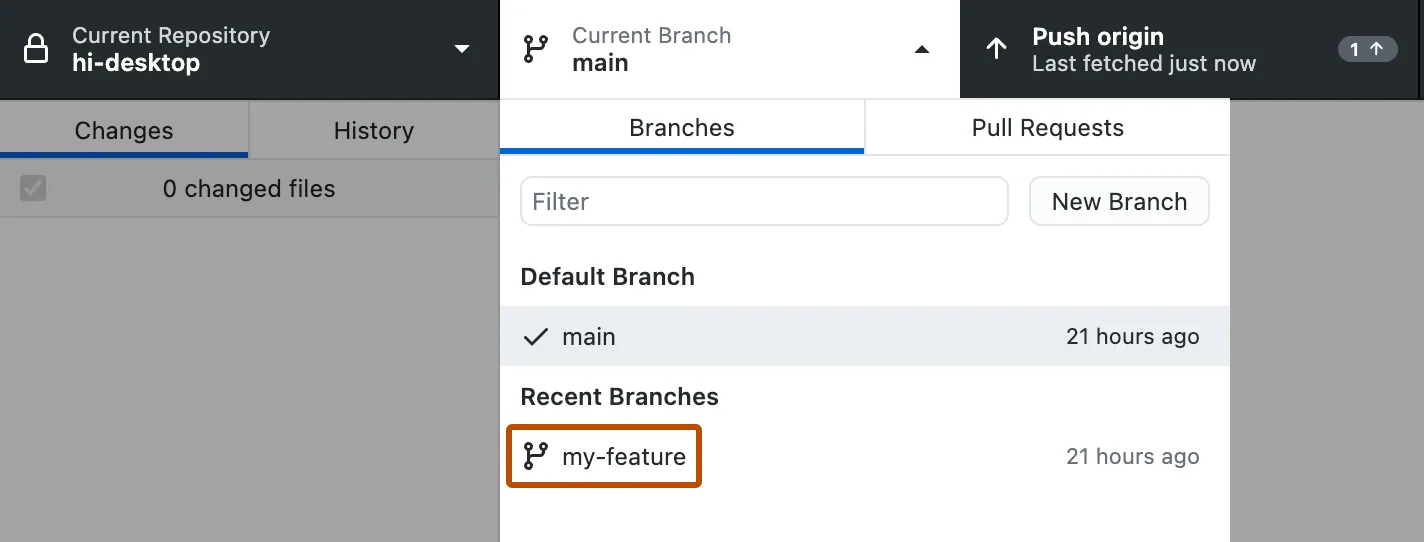
- If you want to run a tested version that can be used in matches, please ensure you are on the
mainbranch in GitHub Desktop. Otherwise, ensure you are on the feature-specific branch you are testing. - Open the Command Palette using the keyboard shortcut
Ctrl+Shift+P, then enter "Build Robot Code". Fix any bugs if it fails, and let it download any dependencies while online. - Ensure all of the hardware is wired correctly using the wiring diagram. Turn the robot on by closing the circuit at the circuit breaker, and wait for it to initialise.
🚨 For safety rules and hardware-specific notes please see this page.
| Change Branch on GitHub Desktop | Wiring Diagram |
|---|---|
 |
 |
| Image courtesy GitHub Pages docs |
- Connect the RoboRIO on the robot by USB, or connect to the robot's WiFi network (currently
8173-UntitledSpaceCraft) on your computer. - Open the Command Palette using the keyboard shortcut
Ctrl+Shift+P, then enter "Deploy Robot Code". - Open the FRC Driver Station App, ensure the Team Number under the gear icon is
8173, and wait for it to connect to the robot. Plug in the joystick to your computer via USB if needed. You can find more information about the Driver Station's functionality here.
| Icon | Driver Station | Ensure Team Number Correct |
|---|---|---|
 |
 |
|
| Images courtesy WPILib docs |
- Select the Op Mode you want to run (TeleOperated / Autonomous / etc.) then click "Enable" to start the robot.
⚠️ If something goes wrong, press the spacebar, or the circuit breaker on the robot, to emergency-stop the robot. You will then have to restart the whole robot using the circuit breaker.