authentication
Muximux supports four authentication methods, configured via auth.method in config.yaml:
| Method | Description |
|---|---|
none |
No authentication (default) |
builtin |
Username/password login managed by Muximux |
forward_auth |
Delegates to an external auth proxy (Authelia, Authentik, etc.) |
oidc |
OpenID Connect with an identity provider (Keycloak, Auth0, Okta, etc.) |
The default is none.
auth:
  method: none
Anyone who can reach Muximux can use it. This is suitable for trusted networks or when authentication is already handled externally (e.g., VPN-only access).
Username/password login with bcrypt-hashed passwords and cookie-based sessions.
auth:
  method: builtin
  session_max_age: 24h        # How long sessions last (default: 24h)
  secure_cookies: true         # Set true if serving over HTTPS
  api_key: "your-secret-key"   # Optional: for API access without login
  users:
    - username: admin
      password_hash: "$2a$10$..."  # bcrypt hash
      role: admin
      email: admin@example.com     # Optional
      display_name: "Admin User"   # Optional
    - username: viewer
      password_hash: "$2a$10$..."
role: userThe hashpw utility is a separate binary built from cmd/hashpw/:
# Build and run
go build -o hashpw ./cmd/hashpw
./hashpw
This prompts for a password and outputs a bcrypt hash to paste into config.yaml.
You can also pass the password as an argument (useful for scripting):
./hashpw 'my-secret-password'Docker users: The hashpw utility is not included in the Docker image. Generate hashes on your host machine, or use any bcrypt tool:
# Using htpasswd (from apache2-utils)
htpasswd -nbBC 10 "" 'my-secret-password' | cut -d: -f2

# Using Python
python3 -c "import bcrypt; print(bcrypt.hashpw(b'my-secret-password', bcrypt.gensalt()).decode())"-
admin-- Full access. Can modify settings, manage apps, groups, themes, icons, and users. -
power-user-- Extended dashboard access. Can view and interact with apps with elevated permissions but cannot manage users or change security settings. -
user-- Dashboard access. Can view and interact with apps but cannot change configuration.
- Cookie-based (cookie name:
muximux_session) - Automatically refreshed on activity
- Can be invalidated by changing the user's password (all other sessions for that user are invalidated)
-
session_max_ageaccepts duration strings like1h,24h,7d
For use behind a reverse proxy that handles authentication. Muximux reads user identity from HTTP headers set by the auth proxy.
auth:
  method: forward_auth
  trusted_proxies:
    - 10.0.0.0/8
    - 172.16.0.0/12
    - 192.168.0.0/16
  headers:
    user: Remote-User        # Header containing username (default: Remote-User)
    email: Remote-Email      # Header containing email (default: Remote-Email)
    groups: Remote-Groups    # Header containing groups (default: Remote-Groups)
    name: Remote-Name        # Header containing display name (default: Remote-Name)
  logout_url: https://auth.example.com/logout  # Optional: redirect here on sign-out
IMPORTANT:
trusted_proxiesis required. Muximux will reject all forward auth requests if no trusted proxies are configured. This prevents users from spoofing auth headers by connecting directly.
Only the direct TCP connection IP (from RemoteAddr) is checked against trusted proxies -- forwarded headers like X-Forwarded-For are not trusted for this check.
When logout_url is set, clicking "Logout" in Muximux clears the local session and redirects the browser to the auth provider's logout endpoint. Without this, the user's external session remains valid and they are silently re-authenticated on the next page load.
Authelia:
logout_url: https://auth.example.com/logoutAuthentik:
# For proxy outpost (forward auth mode):
logout_url: https://app.example.com/outpost.goauthentik.io/sign_out

# For domain-level outpost:
logout_url: https://auth.example.com/outpost.goauthentik.io/sign_out
Caddy Security (caddy-security plugin):
logout_url: https://auth.example.com/logoutTraefik Forward Auth (thomseddon/traefik-forward-auth):
logout_url: https://auth.example.com/_oauth/logoutOrganizr:
logout_url: https://organizr.example.com/api/v2/logoutIf your provider is not listed, check its documentation for the logout or sign-out endpoint URL.
Users whose groups contain "admin", "admins", or "administrators" (exact match) are automatically assigned the admin role.
When forward auth is enabled, Muximux will not show a login form. Instead, users who reach Muximux without being authenticated (e.g., by accessing the internal IP directly instead of through the reverse proxy) see an informational message explaining that authentication is handled by an external provider.
This prevents confusion from showing a username/password form that cannot be used -- since forward auth delegates all authentication to the reverse proxy, there are no local credentials to enter.
Your reverse proxy (Nginx, Traefik, Caddy) authenticates users via Authelia, then forwards the request to Muximux with identity headers. Muximux reads these headers and creates a session.
Direct integration with identity providers like Authentik, Keycloak, Auth0, Okta, and others.
auth:
  method: oidc
  oidc:
    enabled: true
    issuer_url: https://auth.example.com     # OIDC discovery endpoint base
    client_id: muximux
    client_secret: ${OIDC_CLIENT_SECRET}      # Supports env var expansion
    redirect_url: https://muximux.example.com/api/auth/oidc/callback
    scopes:                                   # Default: [openid, profile, email]
      - openid
      - profile
      - email
    username_claim: preferred_username         # Default: preferred_username
    email_claim: email                        # Default: email
    groups_claim: groups                       # Default: groups
    display_name_claim: name                  # Default: name
    admin_groups:                             # Groups that grant admin role
      - admins
- muximux-admins- User clicks "Login with SSO" on the login page.
- The browser redirects to the OIDC provider's login page.
- After authentication, the provider redirects back to Muximux's callback URL.
- Muximux exchanges the authorization code for tokens.
- User info is fetched from the provider's userinfo endpoint.
- A local session is created.
- Create a new application/client in your provider.
- Set the redirect/callback URL to:
https://your-muximux-domain/api/auth/oidc/callback - Note the client ID and client secret.
- The issuer URL is usually the base URL of your provider (e.g.,
https://auth.example.com/application/o/muximux/for Authentik).
Use ${VAR_NAME} syntax in config.yaml to reference environment variables. This is useful for secrets:
client_secret: ${OIDC_CLIENT_SECRET}When api_key is set in the auth config, you can authenticate API requests using the X-Api-Key header instead of a session cookie. This is useful for integrations, scripts, and automated tools.
curl -H "X-Api-Key: your-secret-key" https://muximux.example.com/api/appsThe API key is checked using constant-time comparison to prevent timing attacks.
Muximux authentication controls access to the Muximux dashboard and its API. It does not automatically protect the apps you add to it.
-
With
proxy: true-- Requests to the app go through Muximux's built-in reverse proxy, where authentication is enforced. Users must be logged into Muximux to reach the app. This is the secure option. -
Without
proxy: true-- The browser loads the app directly from its own URL (in an iframe, new tab, etc.). Muximux is not in the request path and has no ability to block or authenticate those requests. Anyone who knows the app's URL can access it directly.
Bottom line: If you expose Muximux to the internet and want it to gate access to your apps, enable the reverse proxy for those apps. Otherwise, secure your apps with their own authentication, a separate reverse proxy, or a VPN.
See Apps & Groups > Open Modes for more details.
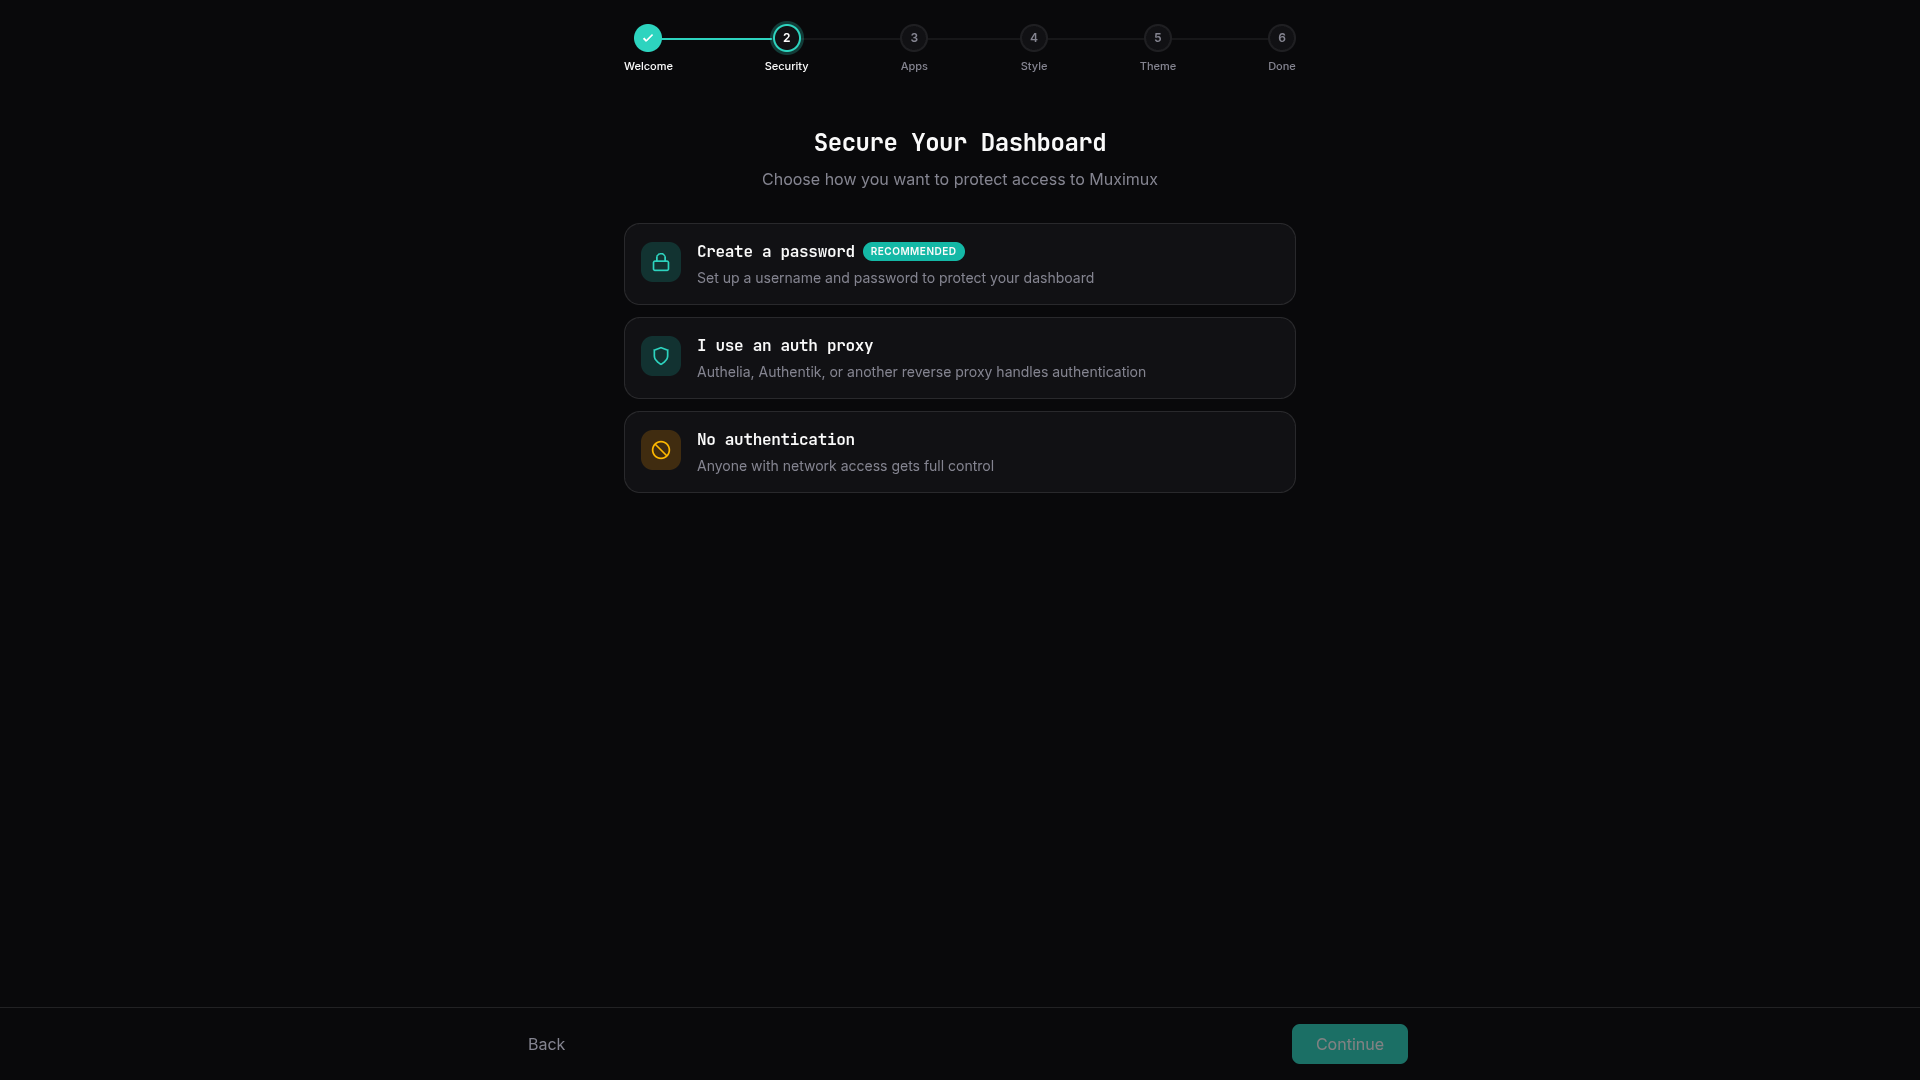
When Muximux starts with no configuration, the onboarding wizard includes a Security step that lets you configure authentication before anything else. You can choose between password authentication, forward auth, or no authentication. This ensures the dashboard is secured from the first launch.
If authentication is already configured (or you're running behind an auth proxy), the security step is skipped and the wizard proceeds directly to app setup.
Admin users can manage accounts from Settings > Security > User Management:
- Add users -- Set a username, password (minimum 8 characters), and role
- Change roles -- Promote or demote users via the role dropdown
- Delete users -- Remove accounts (you cannot delete yourself or the last admin)
These changes take effect immediately and are persisted to config.yaml. Users can also be managed via the User Management API.
Admin users can switch the authentication method from Settings > Security without restarting Muximux. The available options are:
- Password -- Built-in username/password authentication
- Auth Proxy -- Forward auth via Authelia, Authentik, etc. (requires trusted proxy IPs)
- None -- No authentication
When switching to a different method, existing user accounts are preserved in the configuration but only authenticate when the method matches. For example, switching from builtin to forward_auth means password logins stop working, but the user records remain in config.yaml and will work again if you switch back.
Auth method changes can also be made via the API.
Users can change their own password via Settings > Security or the POST /api/auth/password endpoint. Changing a password invalidates all other sessions for that user (except the current one).
Password requirements: minimum 8 characters.