Install via Google Tag Manager
- Navigate to mediajel.io/home
- Click the Dropdown icon on your profile on the top right. Click your org name from the drop down menu
- Click the Tracking tab. Expand the tracking tag you want to install on your website by clicking on the right arrow icon. Open the Cart Platform dropdown and select the Cart you are using for your ecommerce menu.
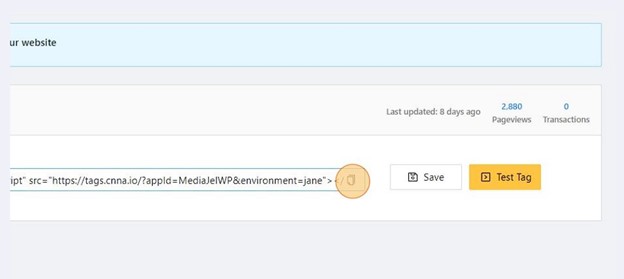
- Click the Copy icon to copy the script that we will place later on your GTM container.
- Go to tagmanager.google.com
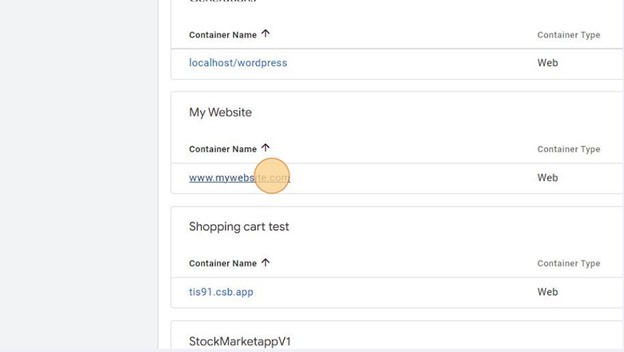
- Select the GTM container that should already be installed on your website. In this example our website is www.mywebsite.com
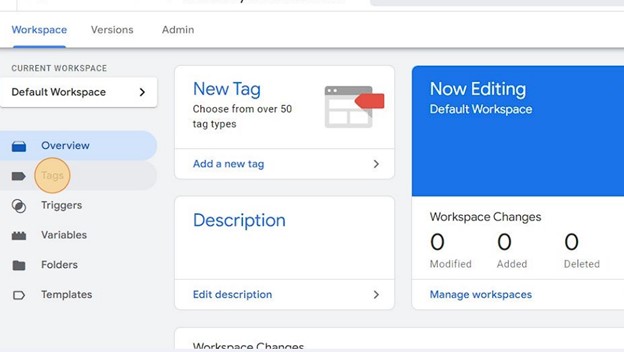
- Go to the Tags section.
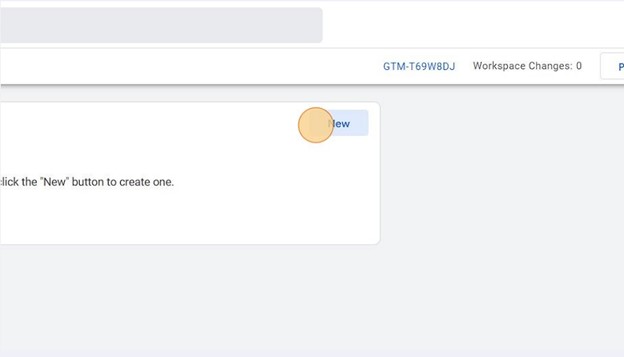
- Create a new tag by clicking the “New” button.
- Rename the Untitled Tag to Attribution Tag or any preferred name of your choosing. Click Tag Configuration

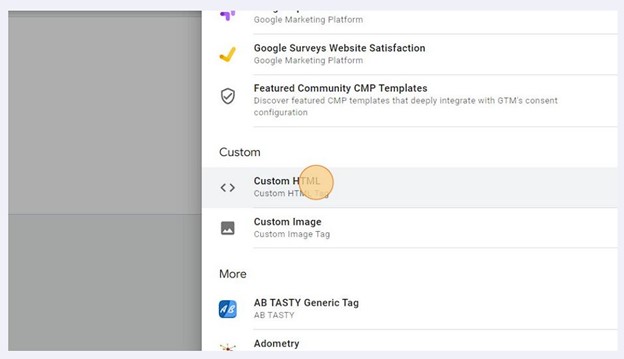
- Click Custom HTML.
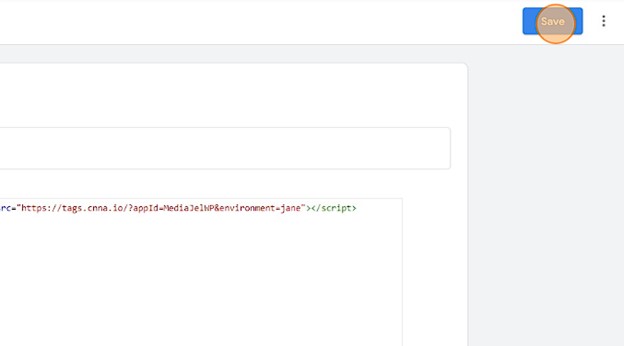
- Click on the HTML sheet and paste the attribution snippet you copied awhile ago. Set the Trigger to All Pages.
- Click Save.
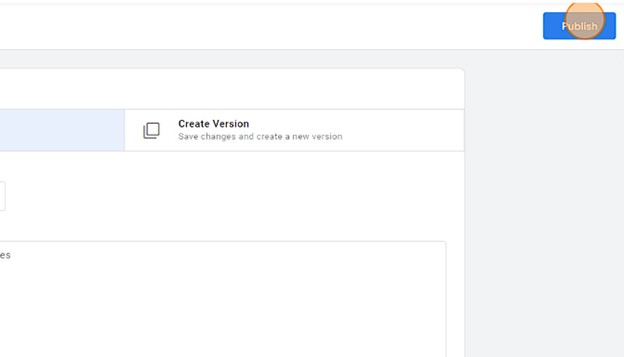
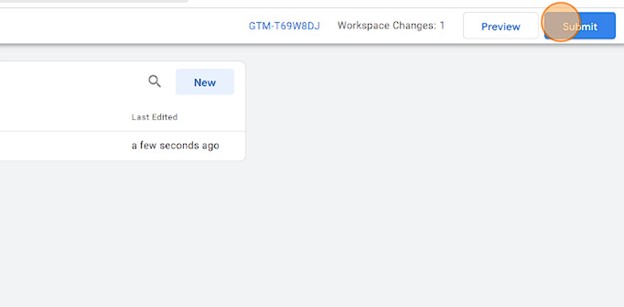
- Click Submit to publish your changes.
- Optionally. Provide a descriptive name when you submit your changes.
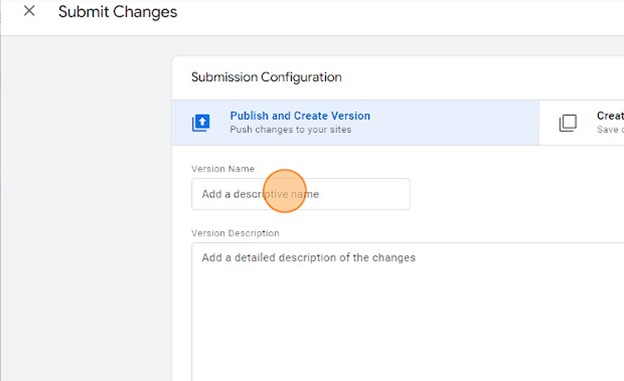
- Click Publish.