Creating a new Maven Project and editing pom.xml
In this section, we will learn how to create a new Maven project from scratch. So, get your Intellij ready, and we will start it right away!
Things covered in this section:
-
To start a new Maven project, simply click
New Project>Mavenand chooseliberica-1.8for the project SDK. Then put any name of your project as follows:
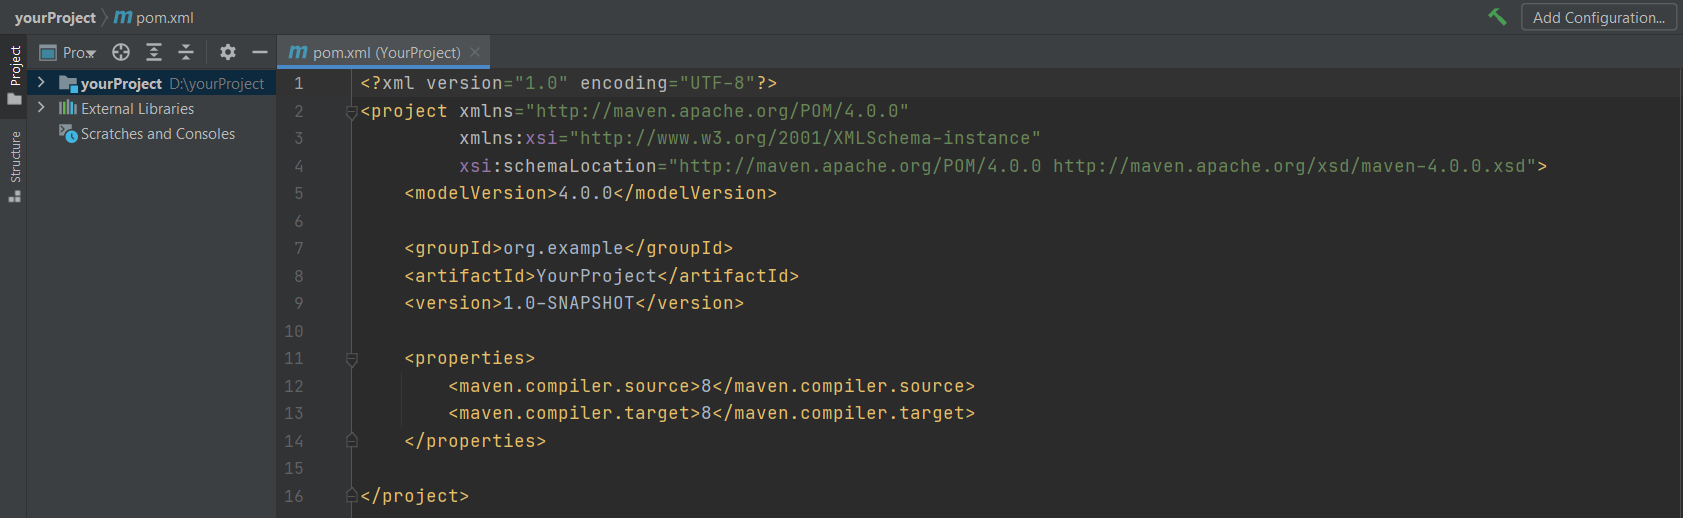
Intellij will start a new project with pom.xml file being already open which looks something like this:
In order to edit the pom.xml smoothly, first, we need to know what are the dependencies that we will be using for our project. Let say we are doing a simple Deeplearning4j project, we will need to add deeplearning4j-core and nd4j-native-platform to the pom.xml file. Follow the steps below to add the two dependencies into the project:
-
Luckily, using Intellij makes thing easier! We just need to write the first few letters (including
<) then Intellij will give suggestion and we just need to pressenteras follows:
-
-
Add artifact ID, group ID and the version of the dependency that we want to include in the project in between of the
dependencytag.We can search for the artifact ID, and the group ID in this website https://mvnrepository.com. In short, group ID is the unique name of the group that created the project and artifact ID is a unique name of the project.
Other interesting thing about the the group ID and the artifact ID is, their names are used as directory in the Maven repository. Let us take a look at this link https://mvnrepository.com/artifact/org.deeplearning4j/deeplearning4j-core/1.0.0-beta7.

To add an artifact ID, simply type the name of the artifact ID of the dependency in between the
artifactIdtag. Again, just type the first few letters, and Intellij will give some suggestion(for the artifact id, group id as well as the version) that we can choose from.
To add another dependency, just repeat step 2 to step 3. Make sure the dependency tags are in between the dependencies tags.
-
Wait for Intellij to resolve the dependencies. Note that the process may take some times, since the dependencies are being downloaded from the Maven repository.
-
Once all the dependencies are resolved, we can import the library that we want from the dependencies that we added in the pom.xml file
With Maven, we can manage our project efficiently. We can add some other dependencies and we can change the version of the dependencies. Make sure the dependencies are compatible with each other.