6. Troubleshooting
Depending on the circumstances, various problems can occur which result in error messages displayed by the level meter. These are shown and explained in the following lists which are grouped by:
- Errors during startup process
- Errors during network establishment process
- Errors during login process
- Error messages during shutdown process
| Error | Explanation |
|---|---|
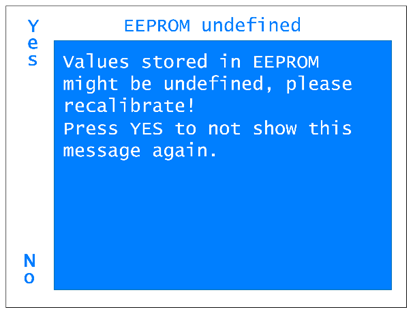 |
This is an error which notes that in the last update of the firmware the storage allocation has changed and thus the calibration values within the EEPROM could be corrupt. As stated, please recalibrate the level meter. |
| Error | Explanation |
|---|---|
 |
“no network”: This error can occur during each data transmission process between the level meter and the server. If a connection to a Coordinator cannot be established, this error is shown on the display. Maybe the Coordinator is not within reach or it is not connected correctly. |
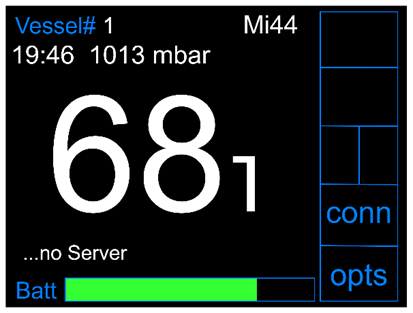 |
“no Server”: This is another error which can occur during each data transmission process between the level meter and the server. In this case, a connection to a coordinator could be established, but communication with the server is not possible. Reasons for that could be that the server is shut down or it is currently not connected to the internet. Another reason could be that the coordinator is not activated in the HMS. |
| Error | Explanation |
|---|---|
|
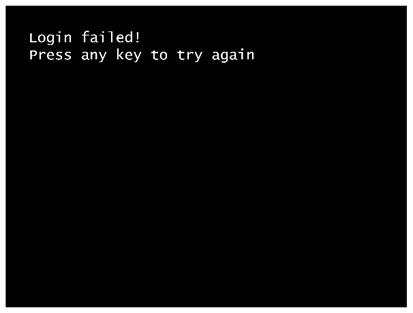
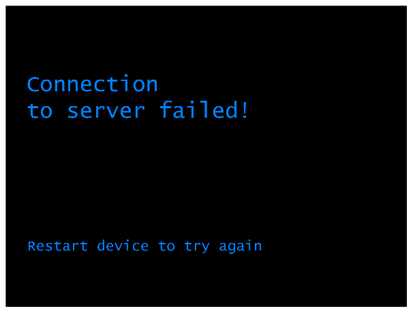
“no network”: During the start process and after typing in the vessel ID, the level meter sends a login message to the server. If there comes no answer back from the server, probably due to network or server problems, the level meter shows the upper message: “Login failed! …” If a key is pressed, another communication attempt is started. If this one does also fail, the lower message is shown which results in shutting down the device. In order to use the level meter nonetheless, the level meter can be started in the Offline mode by pressing the two hidden buttons above the display during start process. In this case, the measurement parameters from the EEPROM (which stores the parameters used most recently) will be used by default. They can also be set manually (see chapter 4 subchapter Daily Operation). For further information regarding the offline mode, please see also chapter 3 subchapter Start Process. |
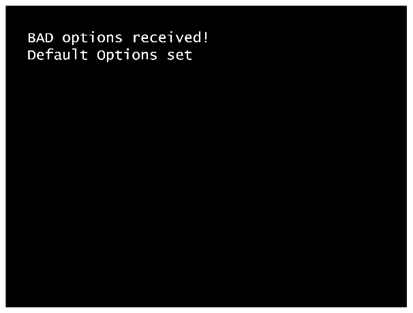 |
The level meter has received vessel options from the server which do not meet the specifications, e.g. when it receives an array of 44 bytes but expected to get one of 40 bytes. The reason for this error is probably to find in the HMS software on the server or an incompatibility between level meter firmware version and the version of the HMS. In this case, the default are used for measurements. |
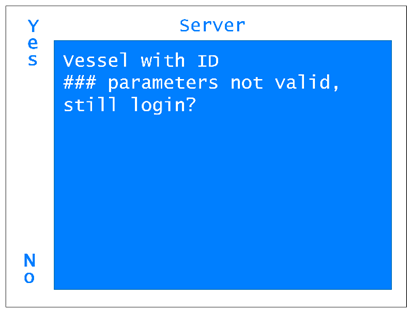 |
This error notes that the vessel is found in the HMS but the measurement parameters are not yet confirmed. The purpose of the confirmation in the HMS is to state that the parameters are chosen consciously, matching the vessels’ probe and are not just default values or arbitrary values. Without the confirmation in the HMS, it can not be guaranteed that the measurement parameters are suitable for the vessel and thus the measured level can differ from the real level. Therefore, by pressing “yes”, all subsequent measurements will be declared as “not valid” and they will not contribute to any visualizations resulting from the HMS (floorplan, gas network plan), though they will be recorded and will be accessible via the HMS. |
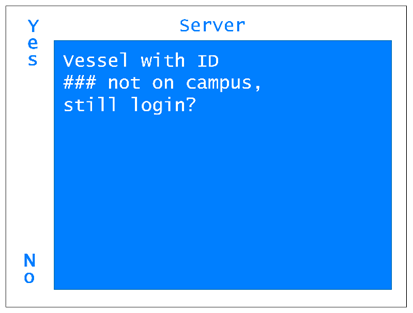 |
This error notes that the vessel is not booked in on the campus, meaning that the weighing at the balance has not been done. Another reason could be that the entered vessels ID is just wrong. Thus, please check whether the ID is correct. If so, the weighing has in fact been forgotten. The measurements will contribute to all visualizations resulting from the HMS, but the booking-in of the vessel should be made up manually to avoid a gap in the statistics. |
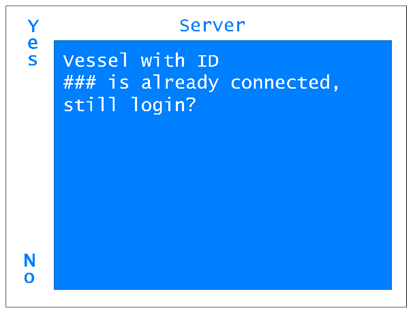 |
This error notes that there is already a level meter connected to this vessel (or a vessel with this ID). This could be caused by typing in a false vessel ID. Thus, please check whether the ID is correct. By continuing, the new level meter replaces the previous one in the HMS. In this case, have a look into the HMS which level meter is without assignment. |
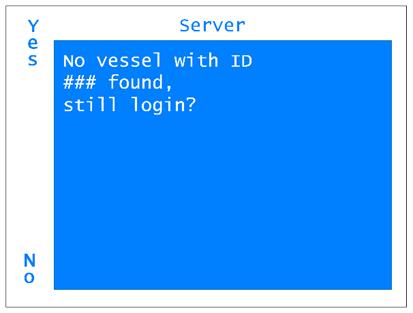 |
If there exists no vessel with the given ID in the HMS, this error is shown. Please check whether the vessel ID is correct. If so, by clicking on “Yes”, a new vessel of the type "Helium Vessel default" is generated in the HMS. The measurement parameters will be the default ones and thus stated as “not valid” in the HMS which results in measurements being not implemented in any visualizations of the HMS (see the error “Vessel … parameters are not valid” above). Also, all other values like vessel type, manufacturer etc. needs to be added in the HMS. In addition, the error shows that no booking-in (weighing) has been done when the vessel was delivered. This also needs to be corrected manually in the HMS to avoid a gap in the data (see also the error “Vessel … not on campus” above). |
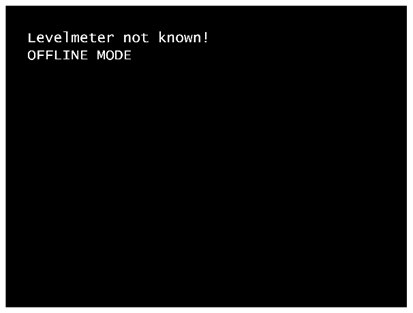 |
If the level meter is not known in the HMS, it is probably from another institute and thus not meant to be connected to the HMS. It therefore enters the Offline mode and does not receive any further information from the HMS. |
| Error | Explanation |
|---|---|
 |
This error is shown when there are unsent messages left which would be deleted by shutting down the level meter. Press “No” and wait for transmission to avoid loss of data. Note that for transmission a network connection via a Coordinator is necessary. |
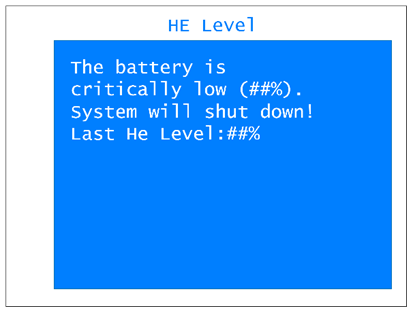 |
This error notes that the battery level is that low that it will be shut down automatically. Charge the device to continue with measurements. |
If the battery is discharged below 2.7 V, the protective circuit disconnects the battery to protect it from deep discharge. This results in a condition in which the charger does no more charge the battery because no voltage is measured at the charging port. In this case, the provided rescue power supply can be used to charge the battery nonetheless. If the rescue power supply is not provided, for example a lab power supply can also be used to charge the battery by applying 200 mA to the charging port with a voltage limit of 8 V (see pin assignment in figure 3 and table 3 in subchapter "Ports"). After a few minutes, the protective circuit should unblock the battery and the normal charger can be used further.