Single Sign On
CloudBeaver Enterprise supports Federated Authentication for SSO (Single Sign-On) access into the application. Your provider must support SAML to access the application.
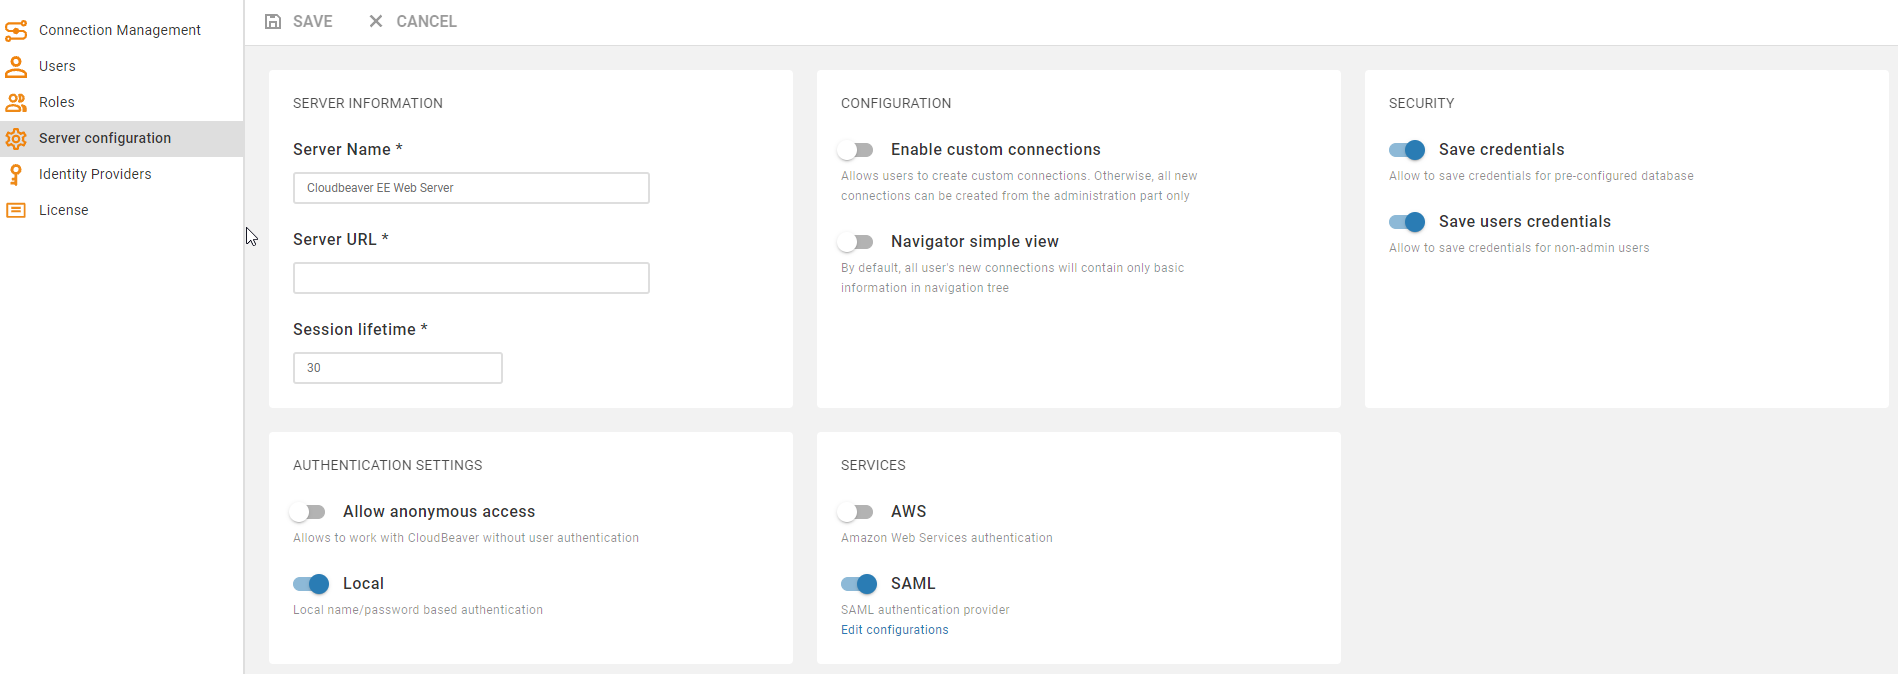
- Go to the Administration menu and enable SAML in the Server configuration tab.
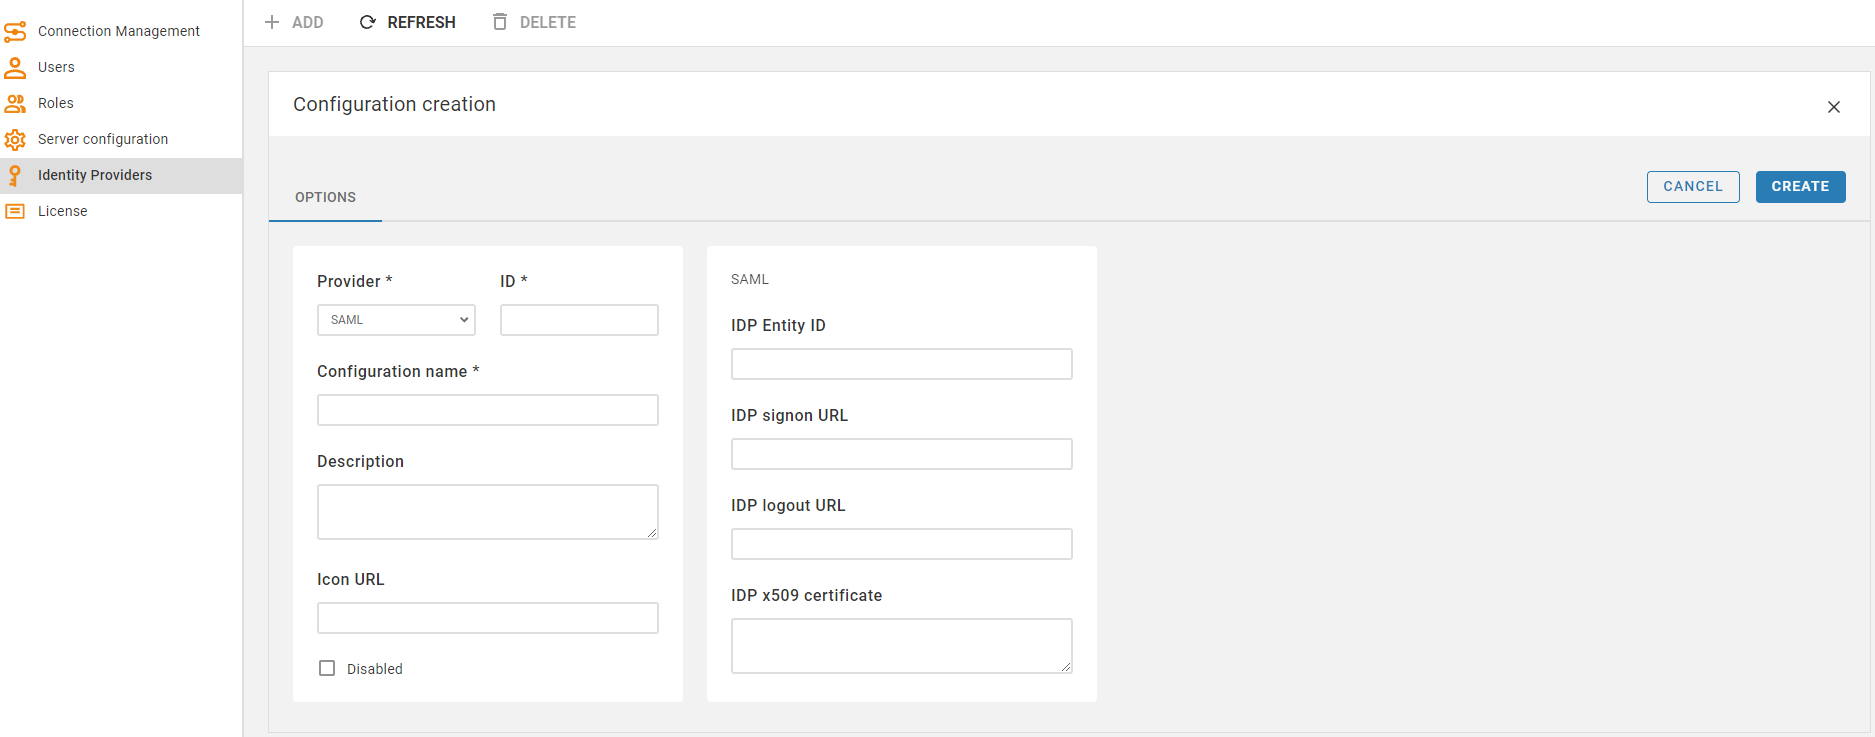
- Go to the Identity Providers tab and create a new configuration using the SAML IdP (Identity Provider) details.
- Open the created configuration and download the metadata file.
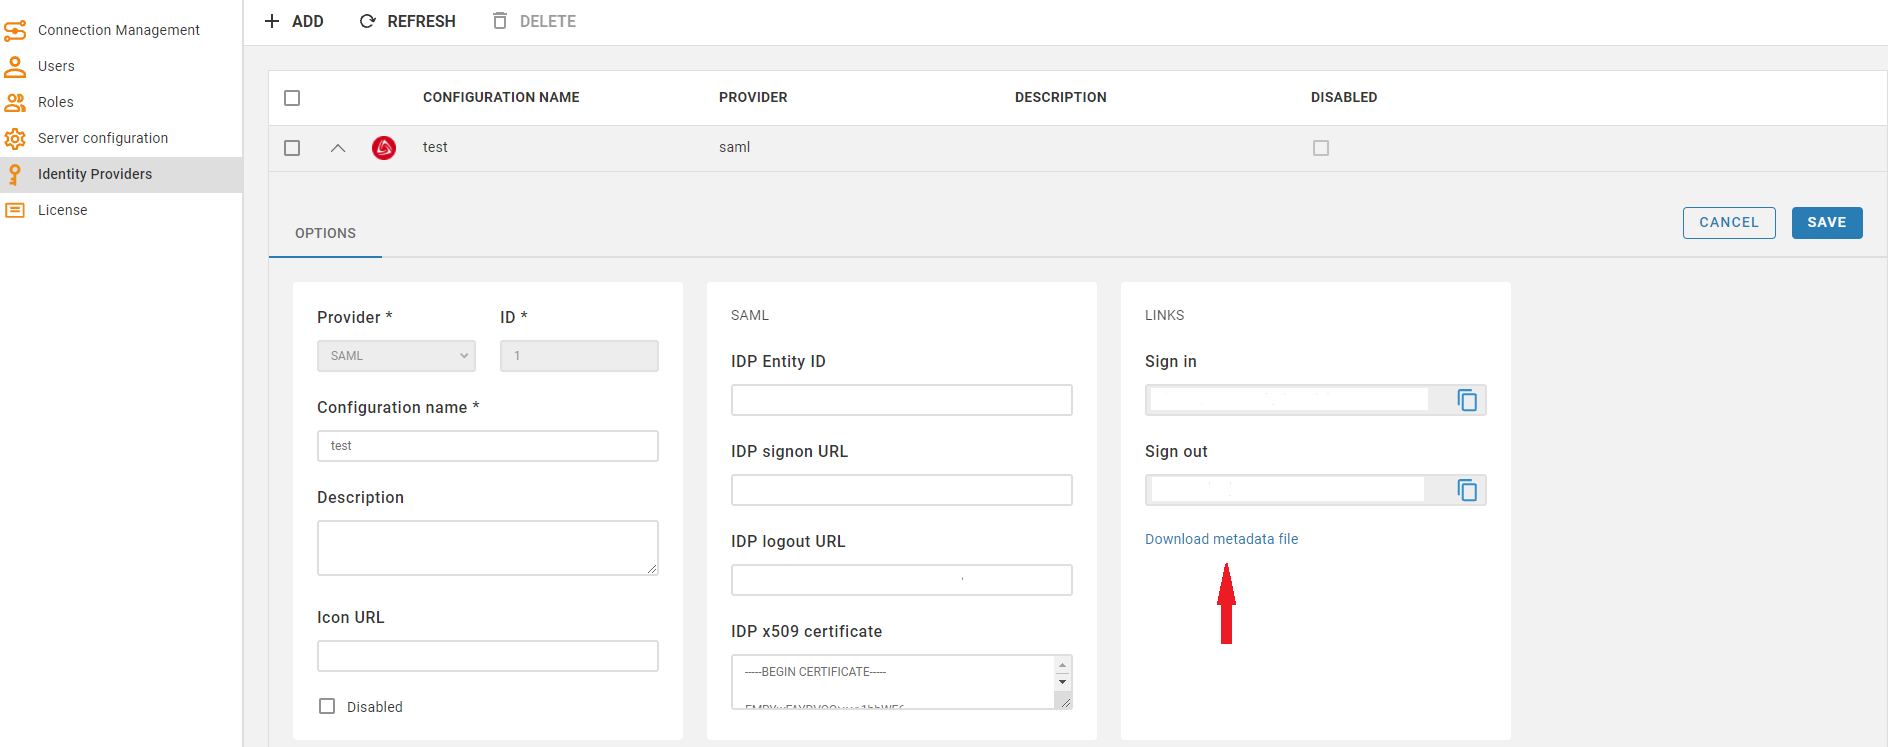
- Go to the SAML IdP website and add the metadata parameters from the file (entityID and Location) to the SSO access settings, assign users and add the attribute mappings according to the SAML IdP requirements.

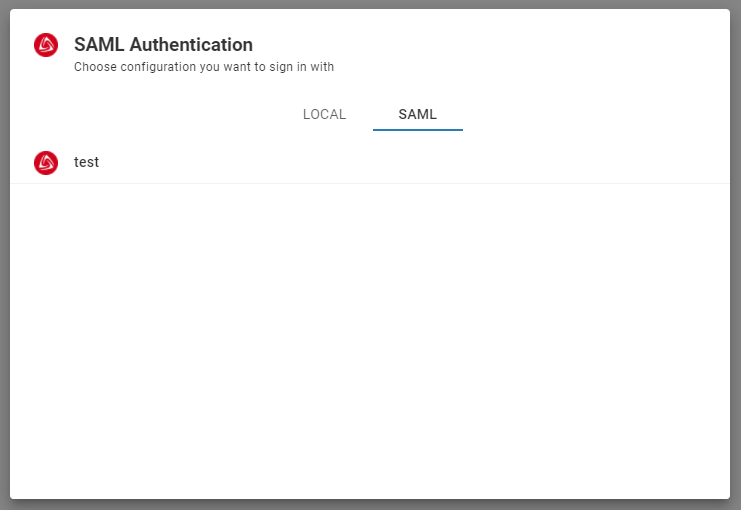
The new SAML tab becomes available after creating the configuration in the CloudBeaver authentication dialog. This is where the user can select the configuration and thereafter login into the application using SSO.
More information you can find here: Configuring SAML assertions for the authentication response.
- Go to the AWS Settings tab and enable the Federated authentication.
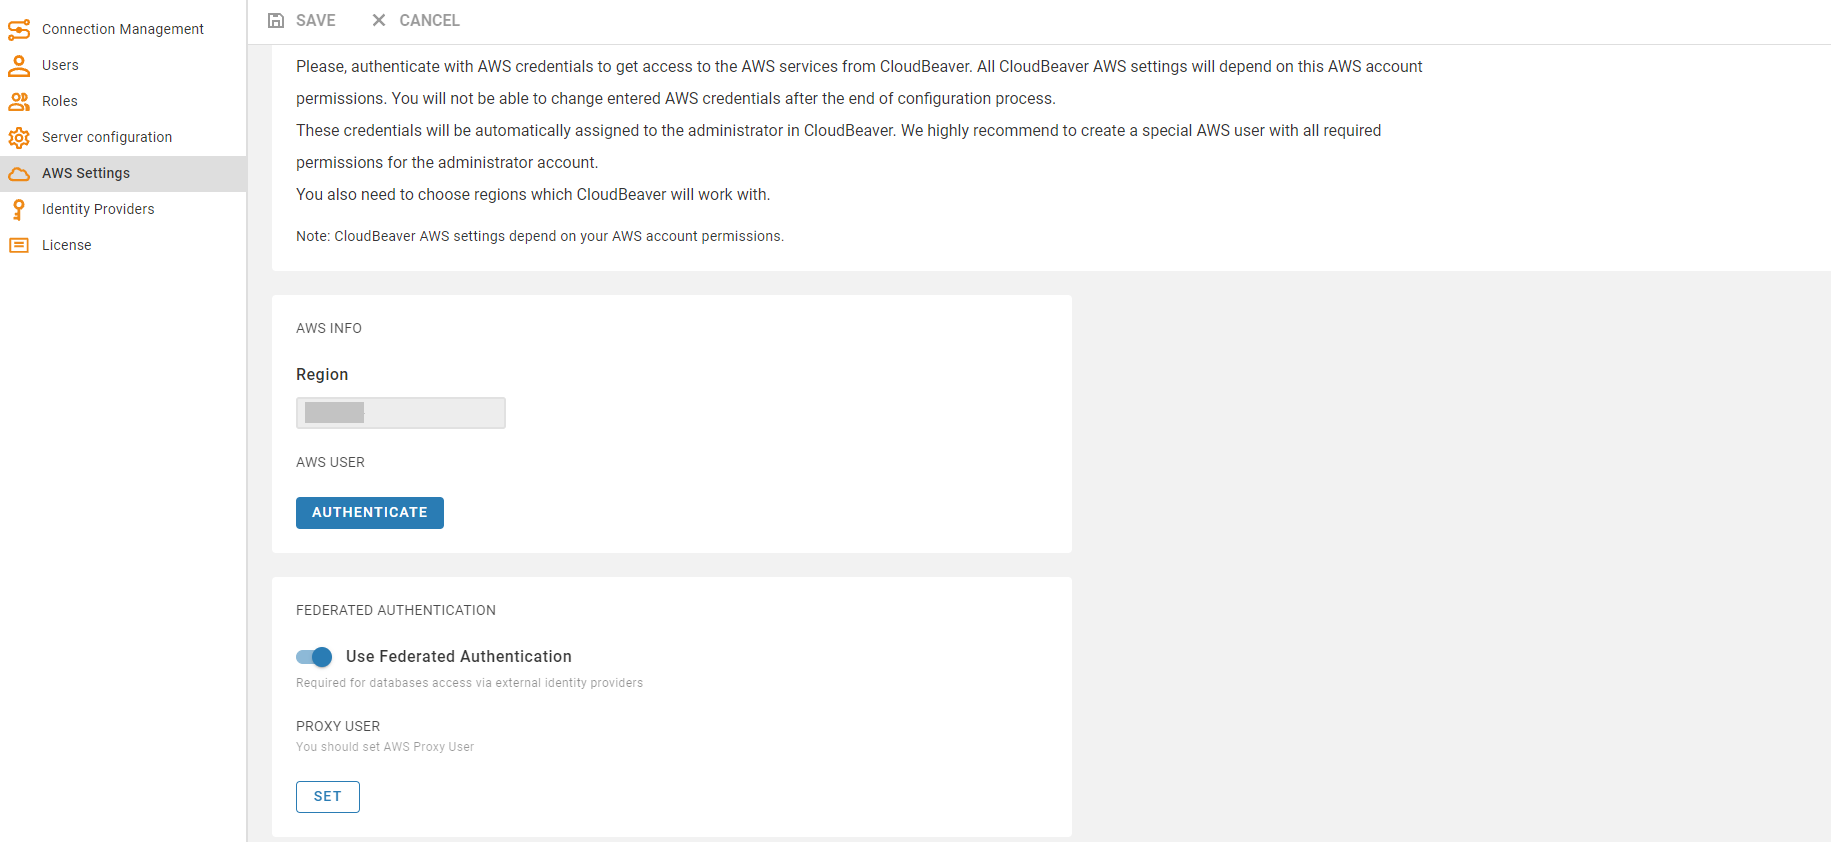
- Add the Proxy User on the same page. You can set the current user or add a new one.
When an AWS user is logged into CloudBeaver using SSO, it has the Proxy User and the IAM user's identity-based permissions. The AWS User cannot receive further permissions from the Proxy User than he already has based on the IAM user's identity-based permissions.
CloudBeaver does not keep your authentication information on the server-side and in configuration files. Once your session expires, you will need to authenticate again. When a user logs out from the application, CloudBeaver also performs a session logout from SAML IdP.
- Getting started
- Create connection
- Connection network options
- Supported databases
-
Drivers management

- Database authentication methods
- Database navigator
- Properties editor
- Data editor
- SQL editor
-
Entity relation diagrams
- Cloud services
-
AI Smart assistance
- Data transfer
- General user guide
- Administration
- Server configuration
-
Server security and access configuration
- Authentication methods
- Access management
- Proxy configuration
-
Secret management
- Logs
-
Query manager
- Workspace location
- Command line parameters
-
Session manager
- Deployment options
- CloudBeaver Editions
- FAQ
- Development