Extensions
Welcome to the developers' area! If you want to make an extension for the launcher, you're at the right place.
The launcher written in Java, so you have to develop your extension in Java.
I'm using IntelliJ Idea to create the project. You can use anything you want, the point is the same.
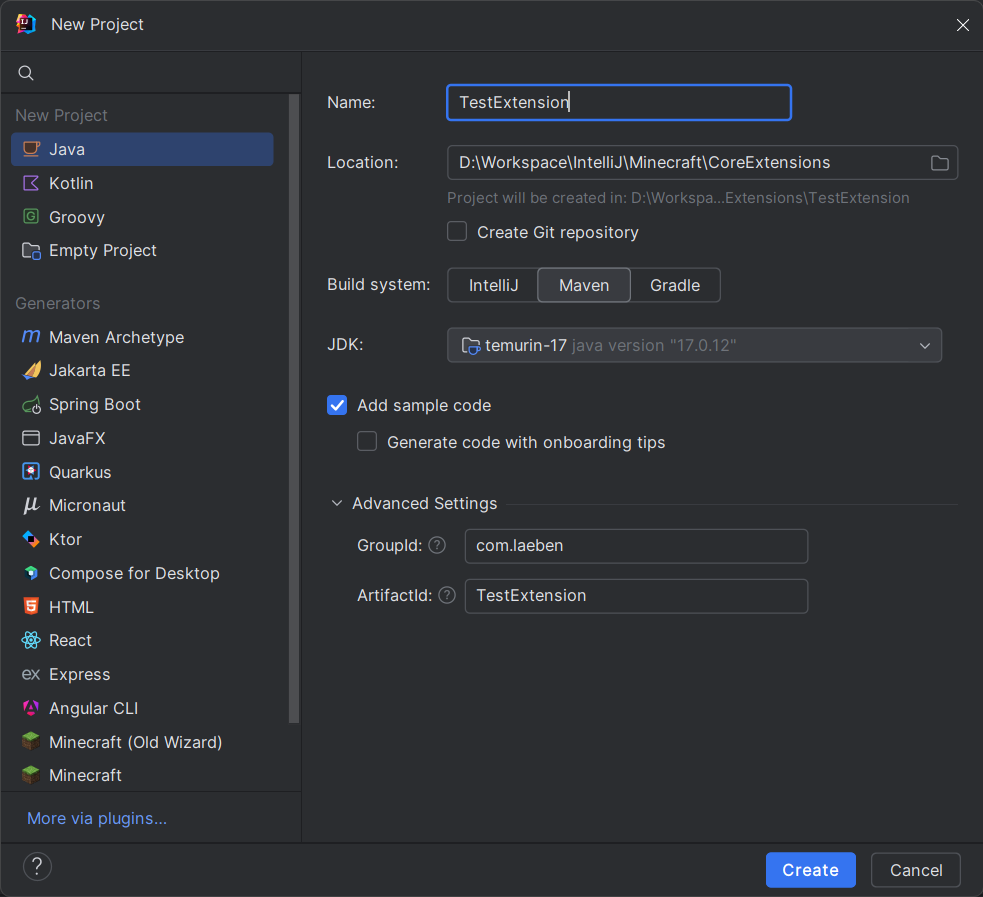
- Fill the required personal fields. (name, location, groupId, and artifactId)
- Select the build system as Maven.
- Select the JDK. (17 recommended)
- Create.
Now, we need to add the Core Launcher JAR file into the project.
- Download the latest file from here.
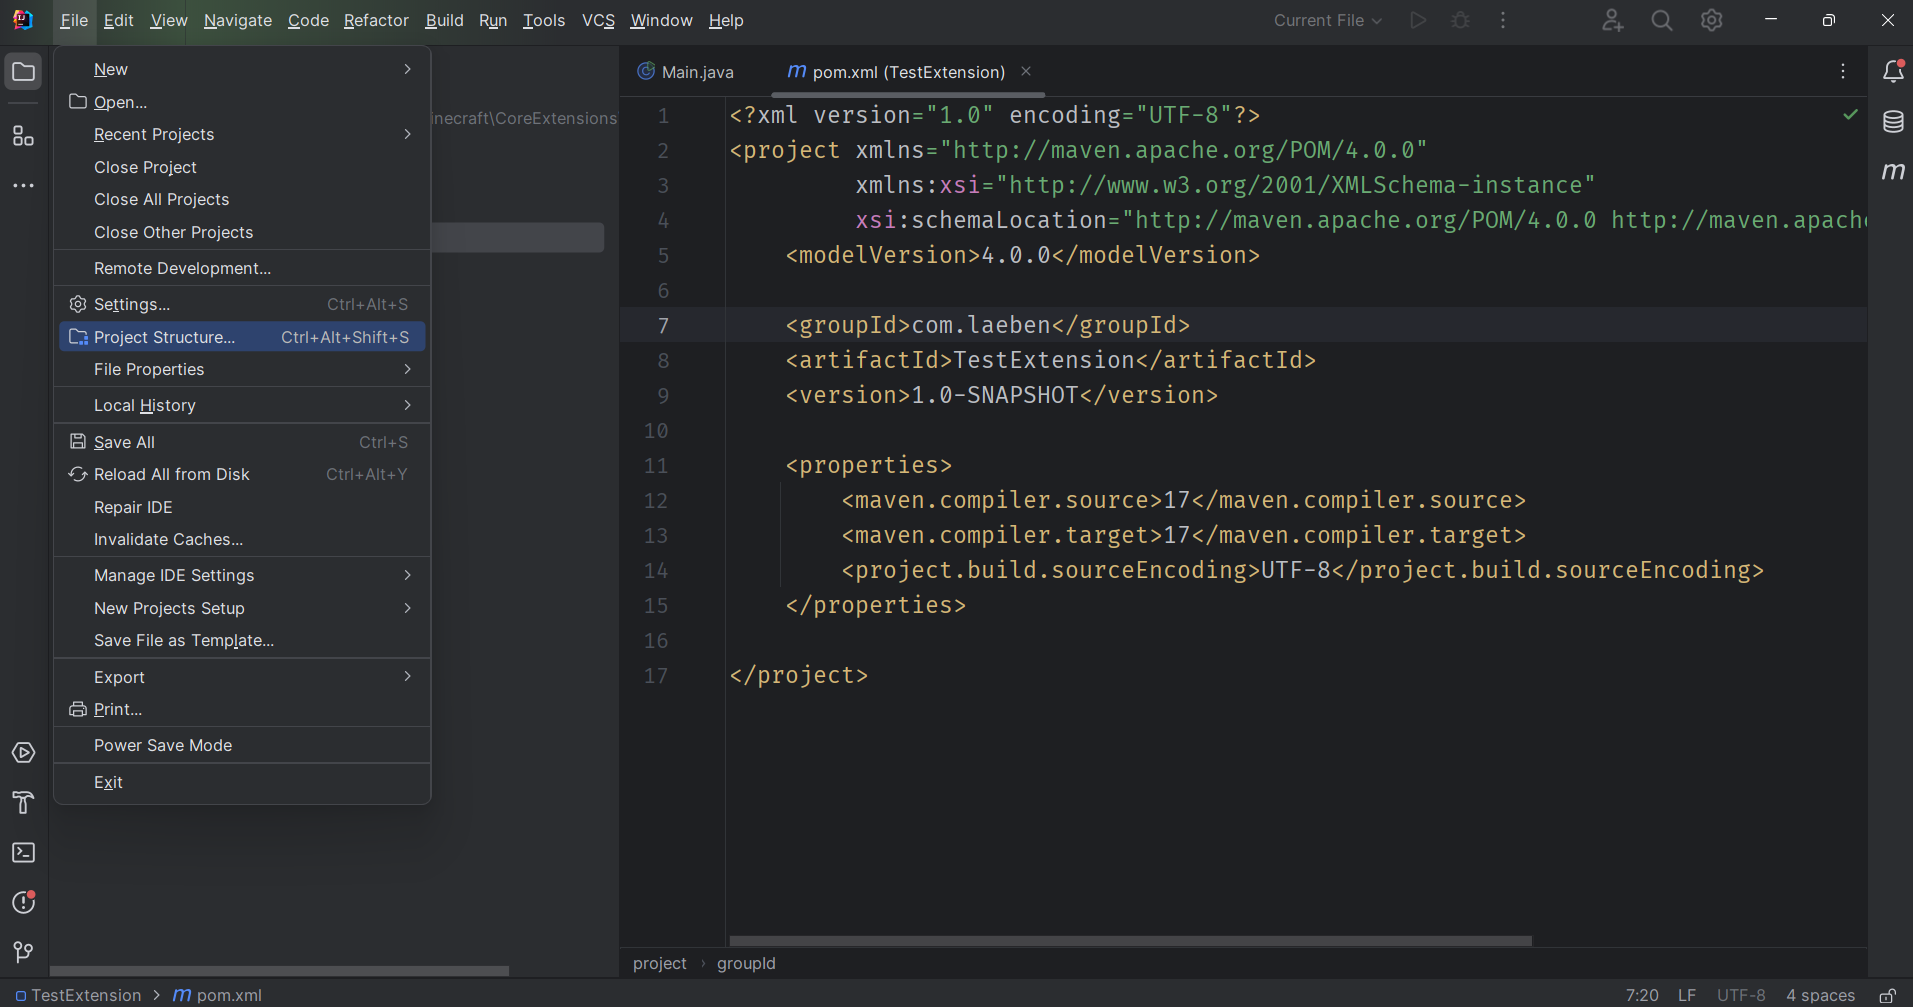
- Open the project structure panel from File > Project Structure.
-
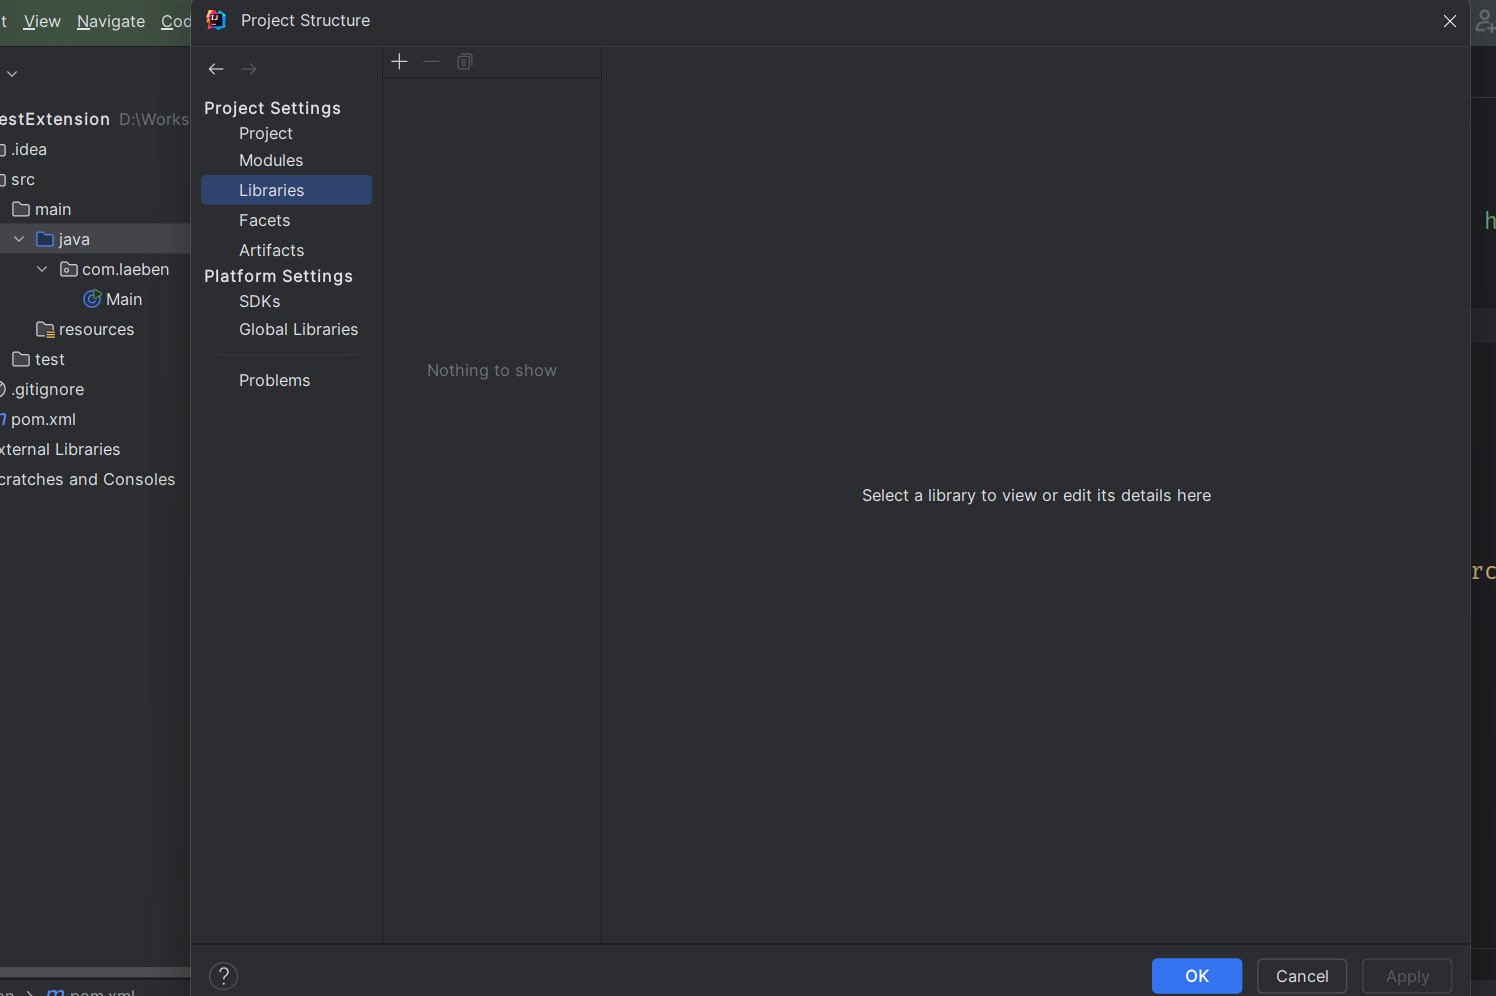
Navigate to the Libraries and click on the + button. Select Java and your JAR file. Click OK button.
-
It should see like this:

- Click OK.
We are in the last step before we start developing.
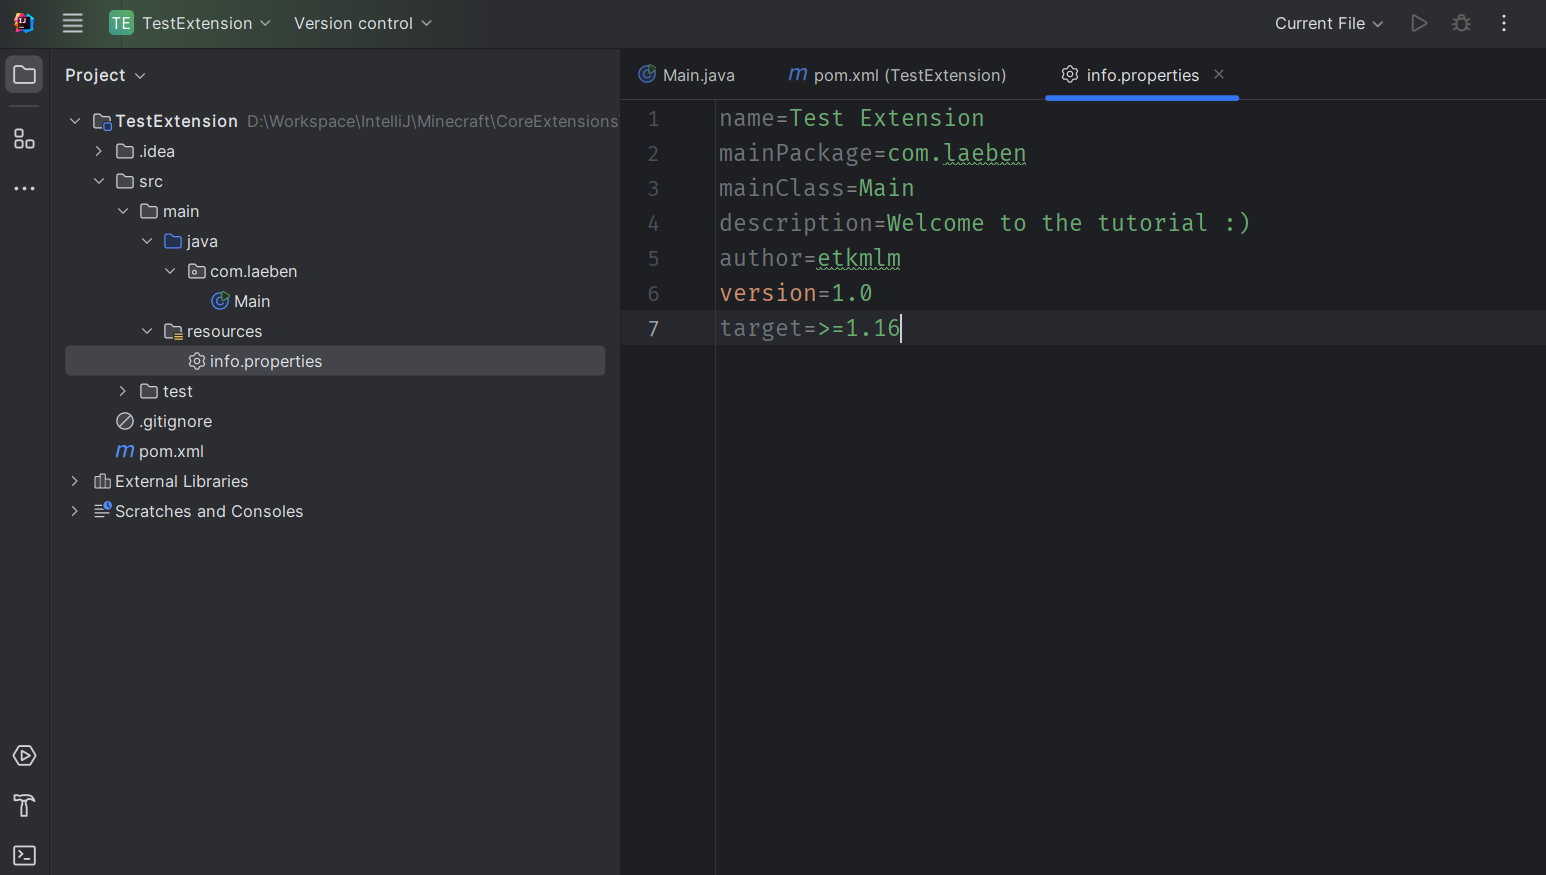
- Create a file named
info.propertiesinto the resources folder. An example file:
name=Test Extension
mainPackage=com.laeben
mainClass=Main
description=Welcome to the tutorial :)
author=etkmlm
version=1.0
target=>=1.16
target property is a limit for the launchers' version.
>=1.16 means it allows all versions bigger than or equal to 1.16 (1.1.6)
>1.16 means it allows all versions bigger than 1.16 (1.1.6)
1.16 means it allows only the version 1.16 (1.1.6)
<1.16 means it allows all version lower than 1.16 (1.1.6)
<=1.16 means it allows all versions lower than or equal to 1.16 (1.1.6)
- It should see like this:
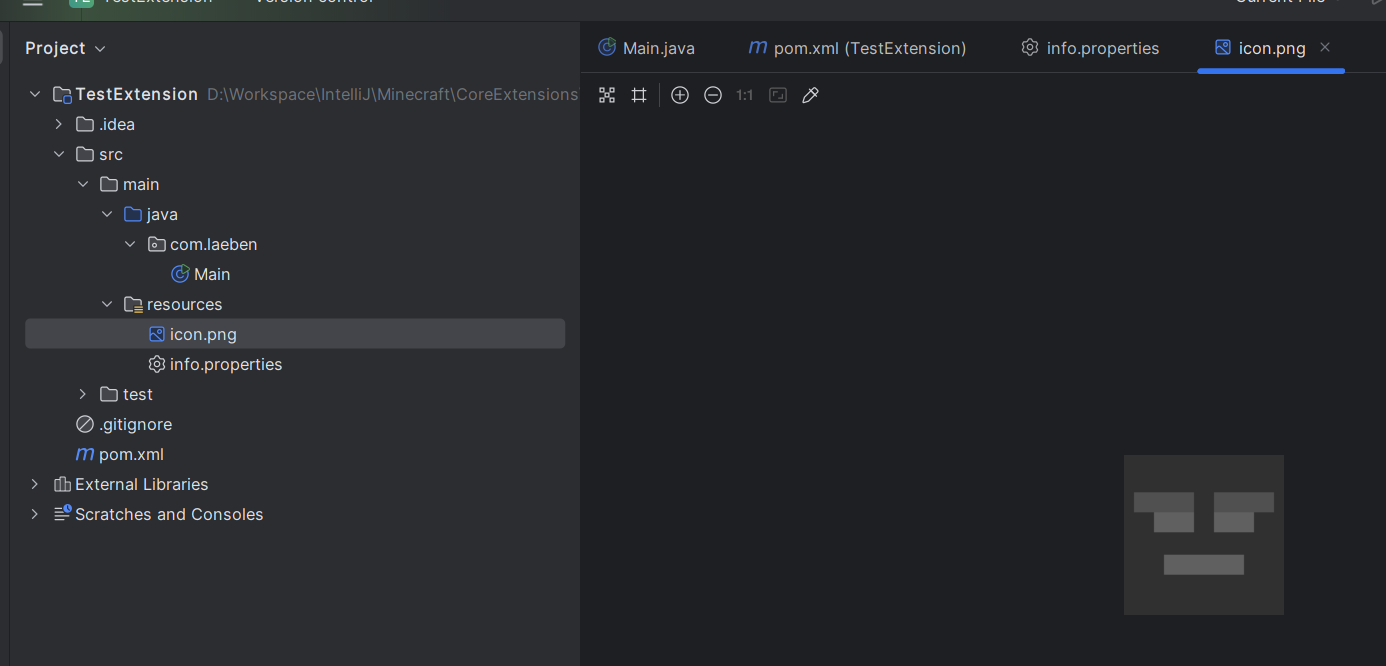
- If you want, you can add a PNG icon file into the folder named
icon.pngon size 128x128.
-
Go to the Main class or create one that exactly with the name you wrote it in the properties file.
- You can delete the
mainmethod, we don't need it.
- You can delete the
-
Create a function named
initwith a parameter for type Extension.
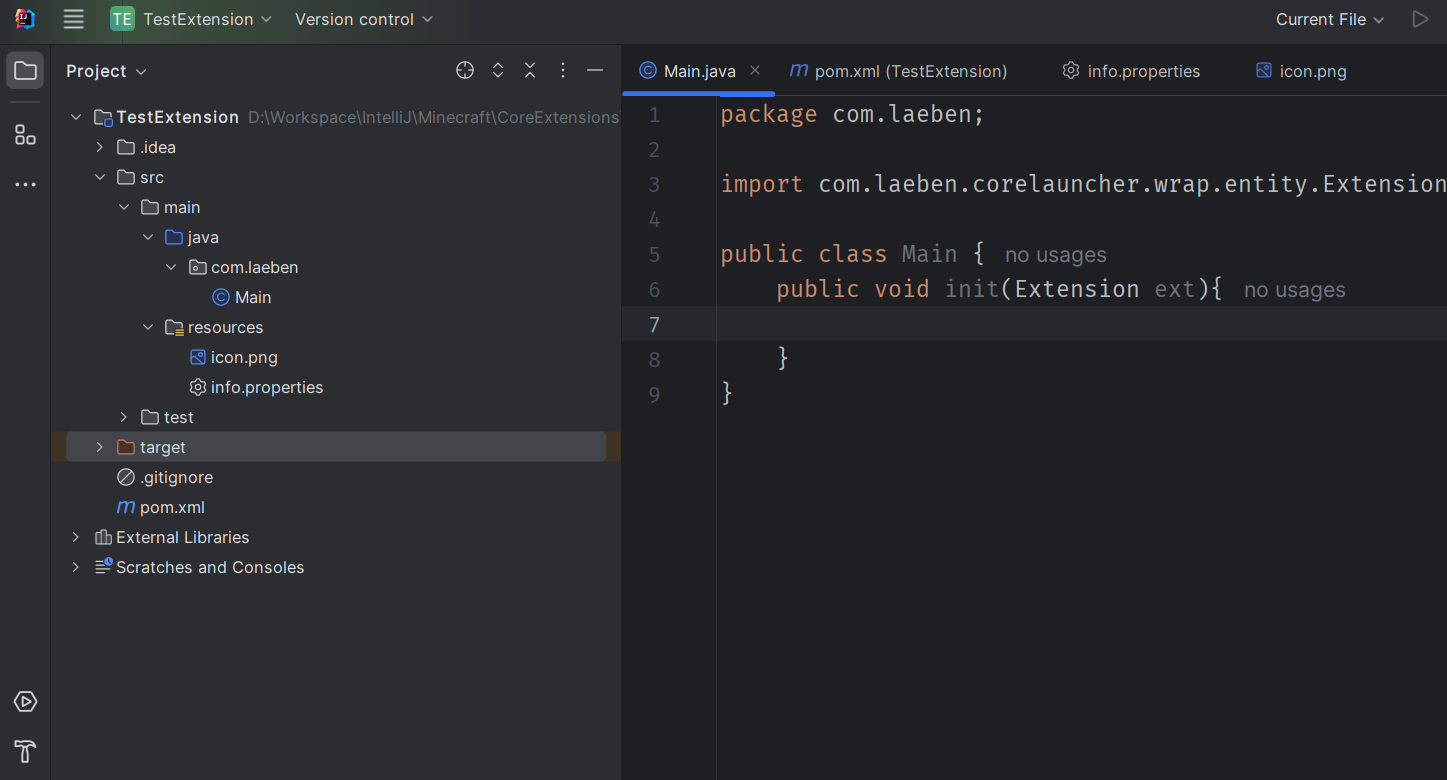
This is the place where your adventure will begin. You can start to develop your extension now.
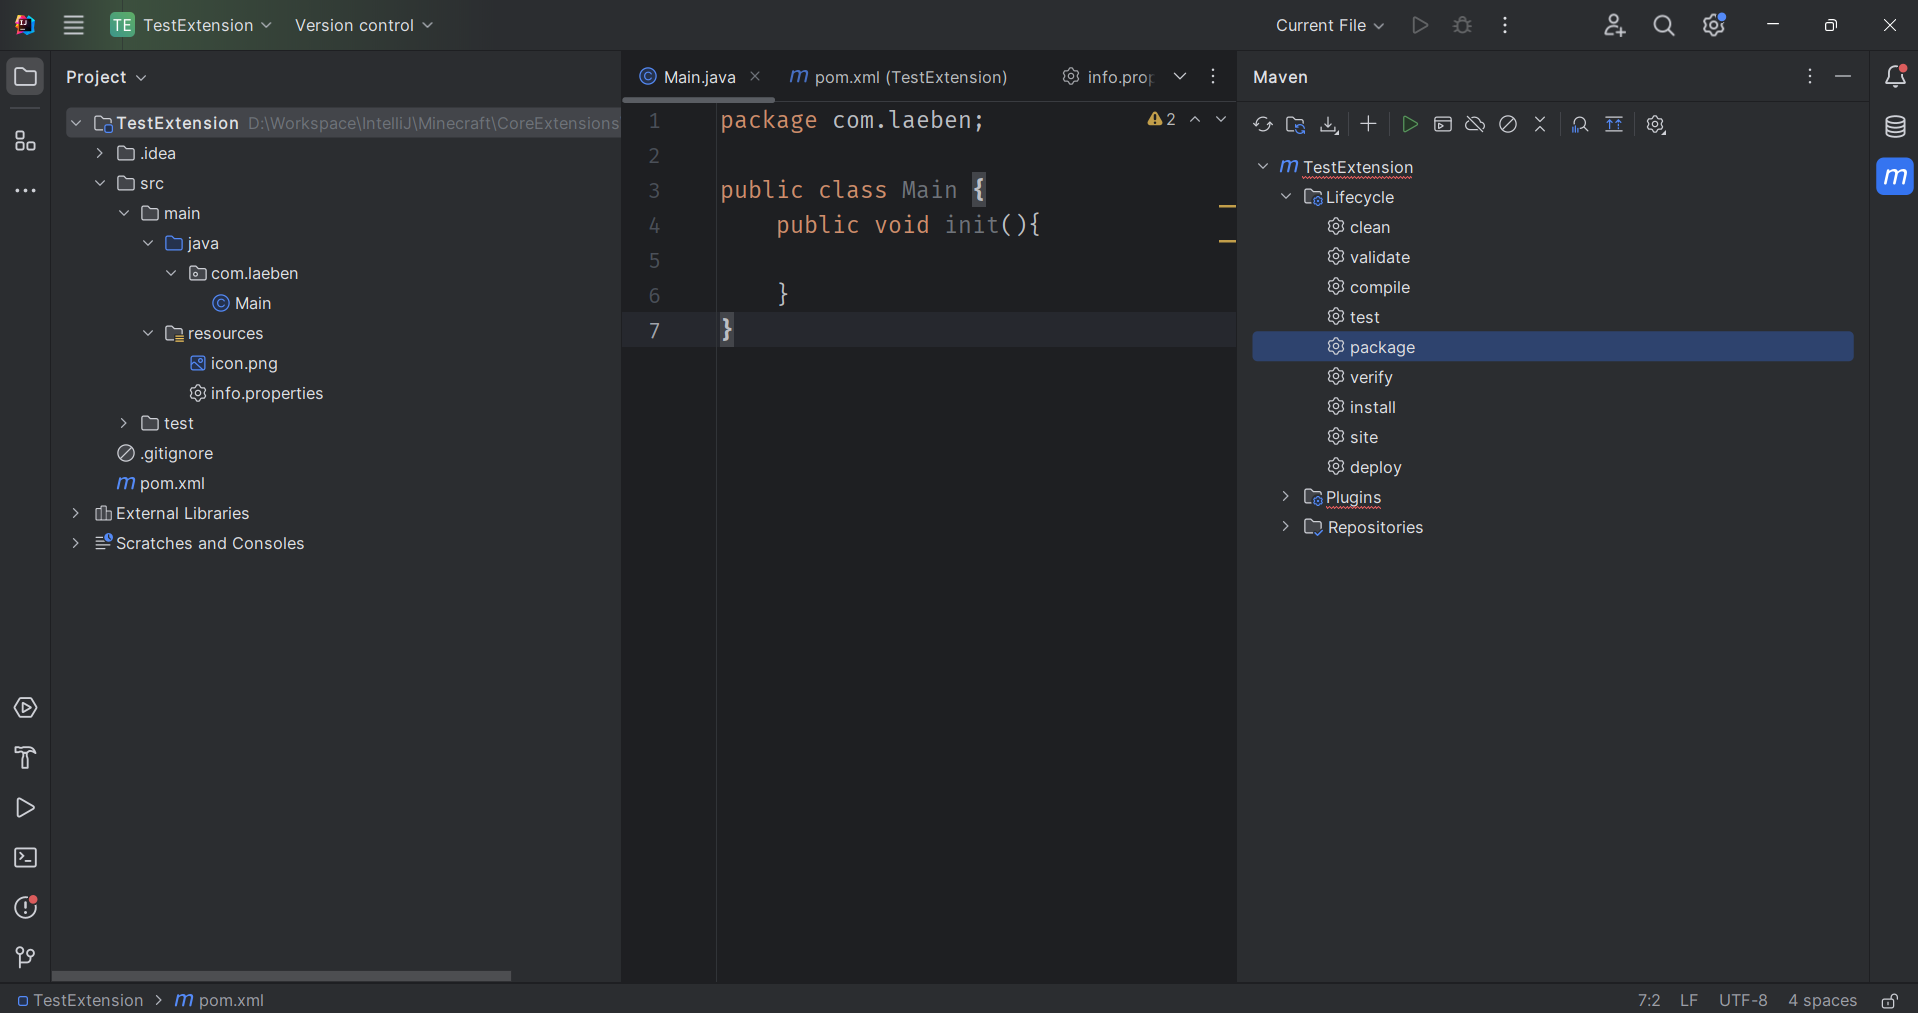
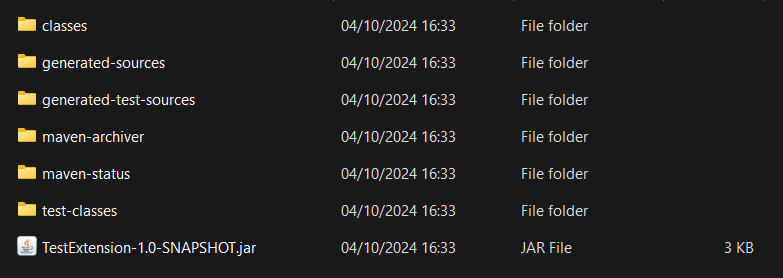
You can pack your project into a JAR file. Go to Maven Menu > Lifecycle > package and after the hard work, your JAR file will be shown in your project directory > target folder as Name-Version-SNAPSHOT.jar
After you published your extension, you need to use it in the launcher, right?
The launcher loads the extensions from a folder in the launcher executable path. So, you need to get into the launcher's application folder. Then create a folder named extensions and move your extension into it. Done!
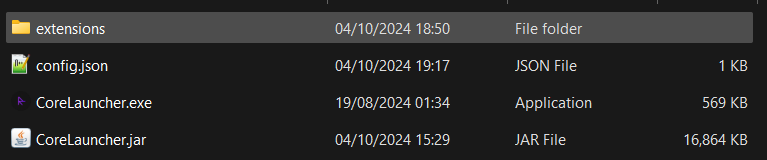
Sample view
More details for the extensions page here.
void init(Extension)
Called before the UI initialization after the load of the all classes.
You can register your listener classes, or init your variables here. Just for an example, I will set the name of the argument to ext.
Register your listener class
ext.registerListener(new MyListener());
Register a translate file
First, you have to create a resource bundle in your resources folder.
Translator.registerSource(a -> ResourceBundle.getBundle("YourBundleName", a));
Listeners handle all launcher activity.
void onUILoad()
Called when the UI loaded.
void onTabLoad(CTab)
Called when a tab loaded.
void onWindowCreate(Object)
Called when a window created.
For now, the launcher have only one window named as Main
void onDialogCreate(CDialog)
Called when a dialog created.